Apple Pay is a digital wallet from Apple that lets customers pay using their iPhone, iPad, Mac, or Apple Watch.
Instead of typing in card details, shoppers can complete their purchase with Face ID, Touch ID, or a passcode.
Apple Pay Button Visibility Requirements
See the display requirements of the Apple Pay button in your store:
- Supported browsers: Safari (Apple)
- Devices: iPhone with iOS 10 or later and MacBook with macOS 10.12 or later
- HTTPS requirement: HTTPS (SSL certificate) is required to accept Apple Pay payments
- Verification: Your website domain should be verified with Apple Pay. You can verify it manually, too.
Apple Pay Configuration
Here are the settings to configure for Apple Pay for Square integration in your WooCommerce store.
Step 1: Go to the Apple Pay section under Square
Navigate to WooCommerce ⇨ Settings ⇨ Square and go to the Apple Pay section.
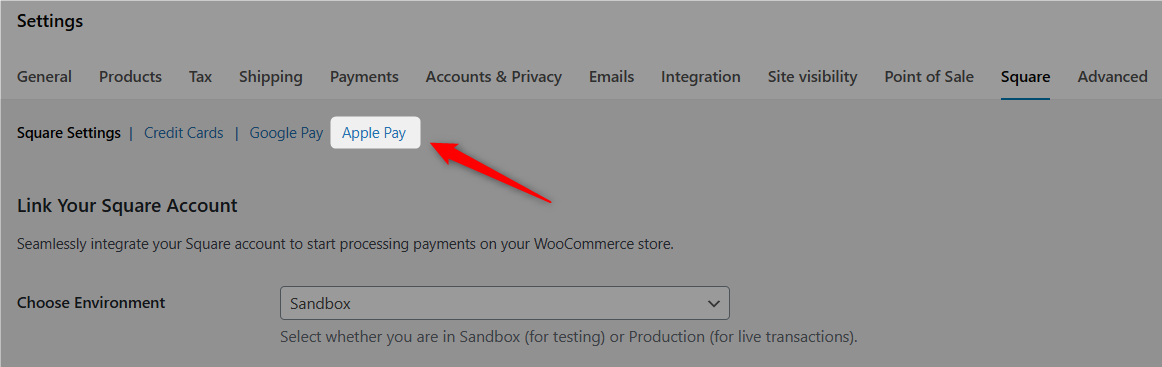
You’ll reach the Apple Pay configuration area.
Step 2: Set up display options for Apple Pay
First, turn on and set up Apple Pay display settings.
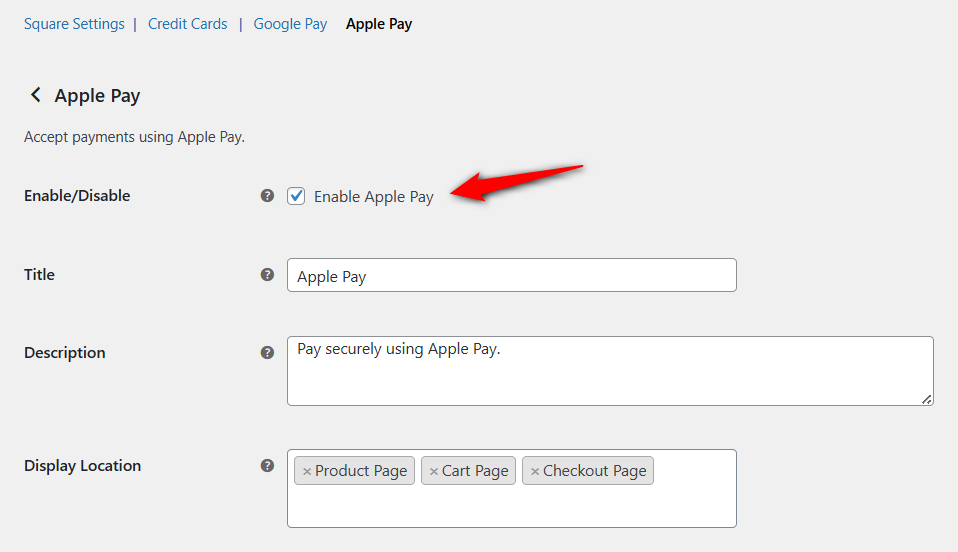
Enable Apple Pay
Toggle the checkbox to enable or disable Apple Pay as a payment method for customers in your WooCommerce store.
Title
Enter the title for Apple Pay to be displayed during checkout, visible to shoppers.
Description
Customize the description below the title to add more details or reassurance to shoppers during checkout.
Display Location
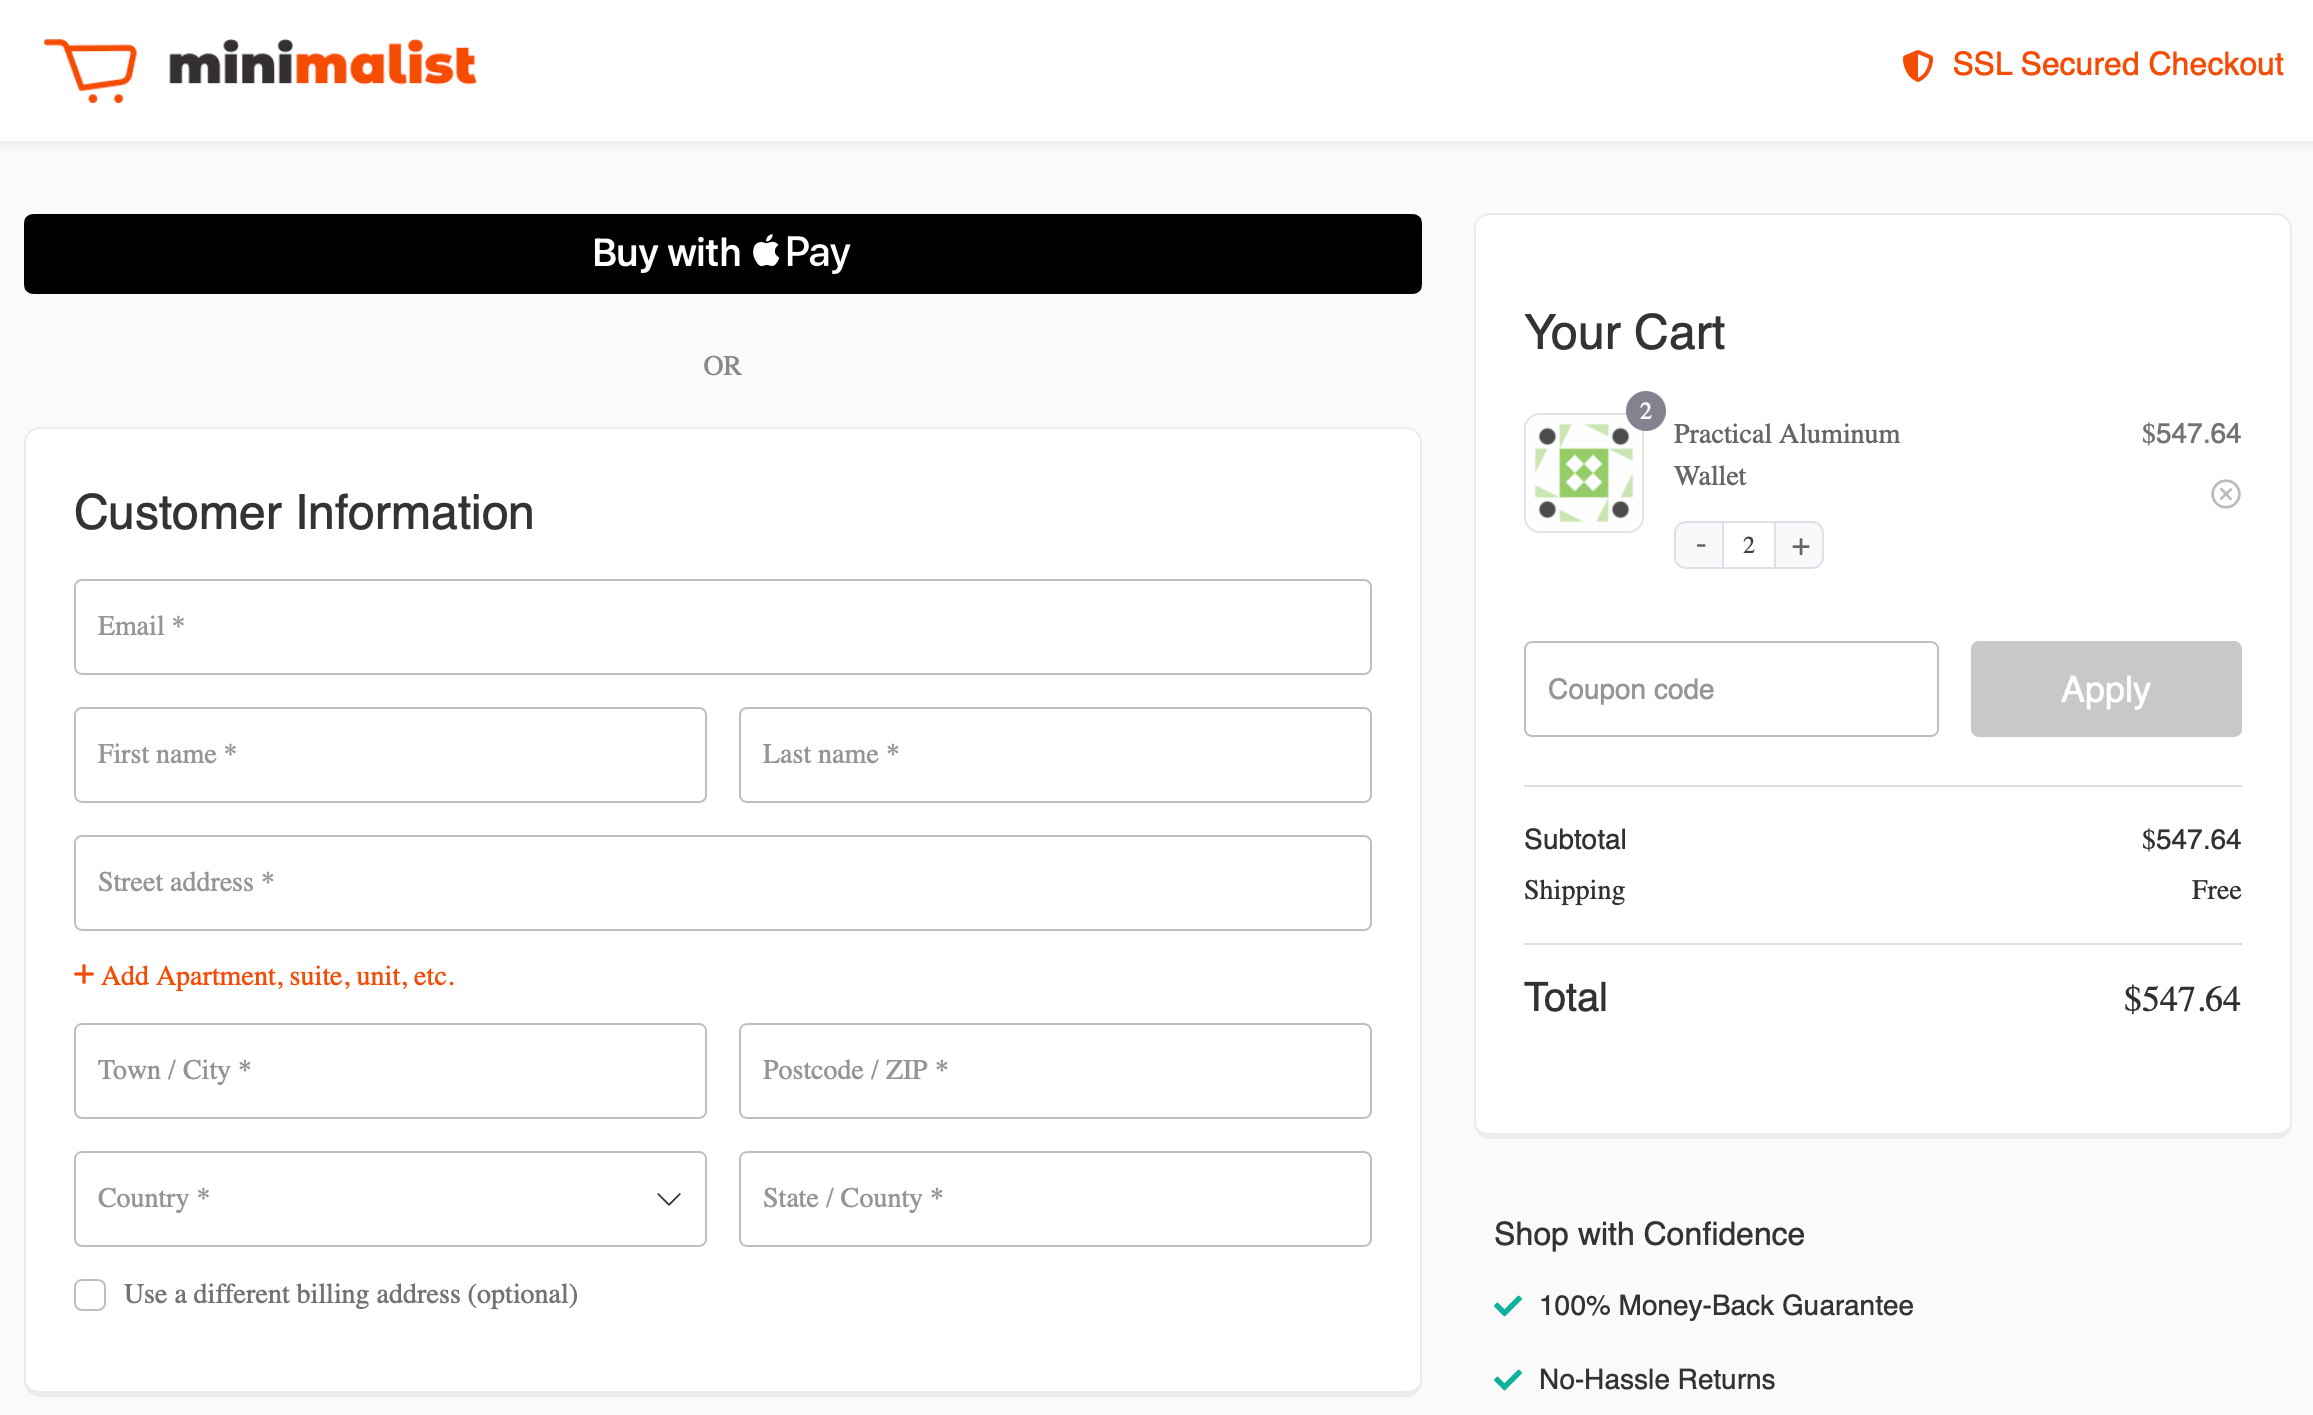
Controls where the Apple Pay button appears on your store’s pages.
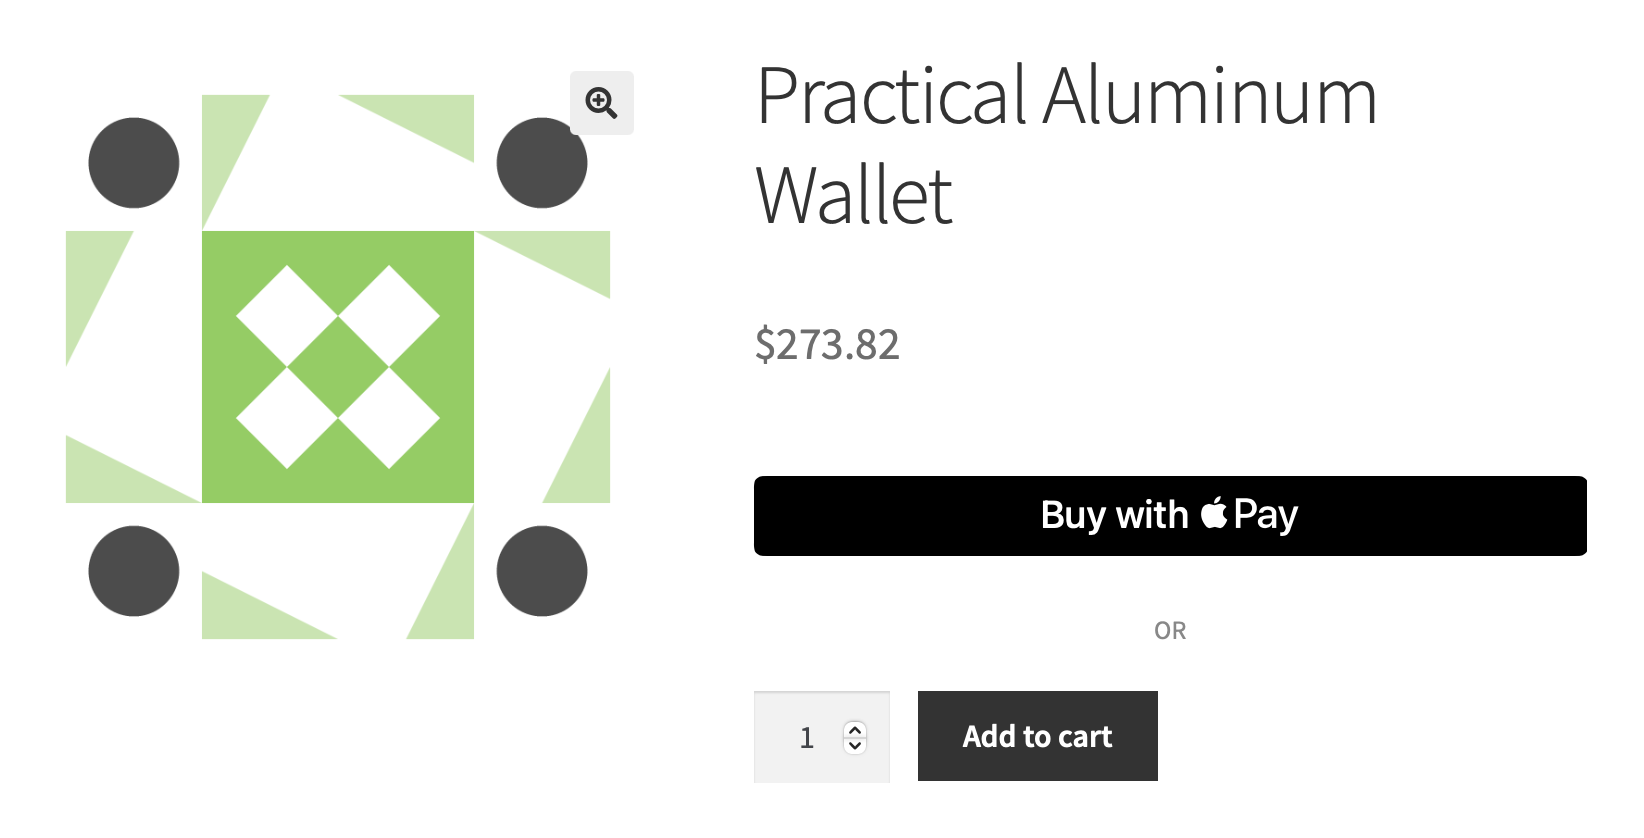
- Show the Apple Pay button on individual product pages
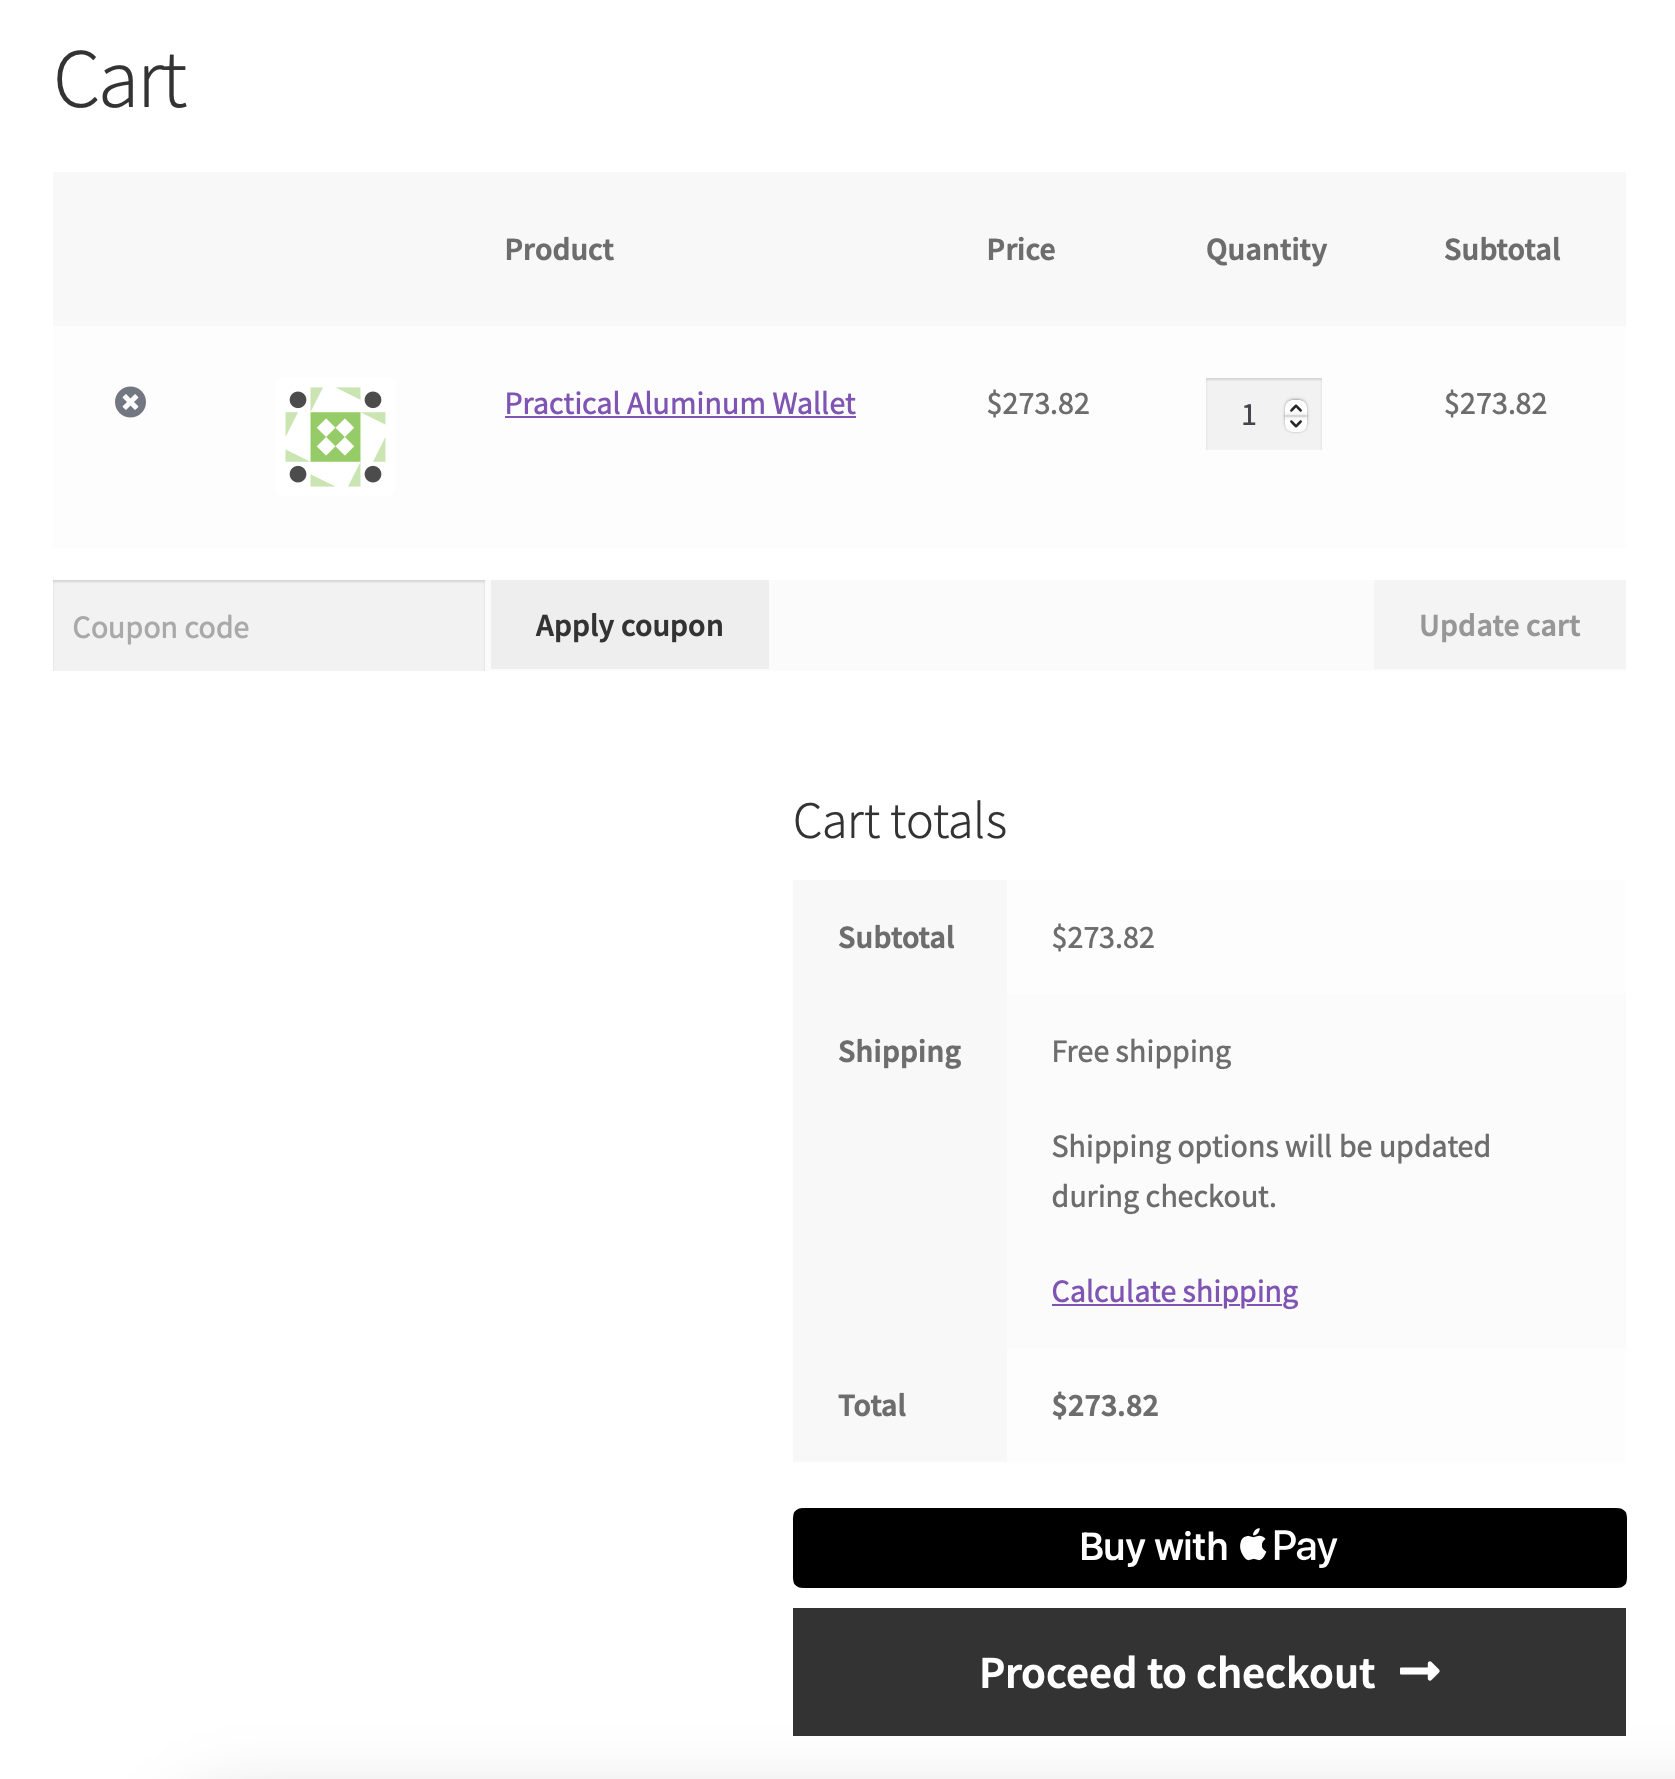
- Show the button on the WooCommerce cart page:
- Show the Apple Pay button on the checkout page:
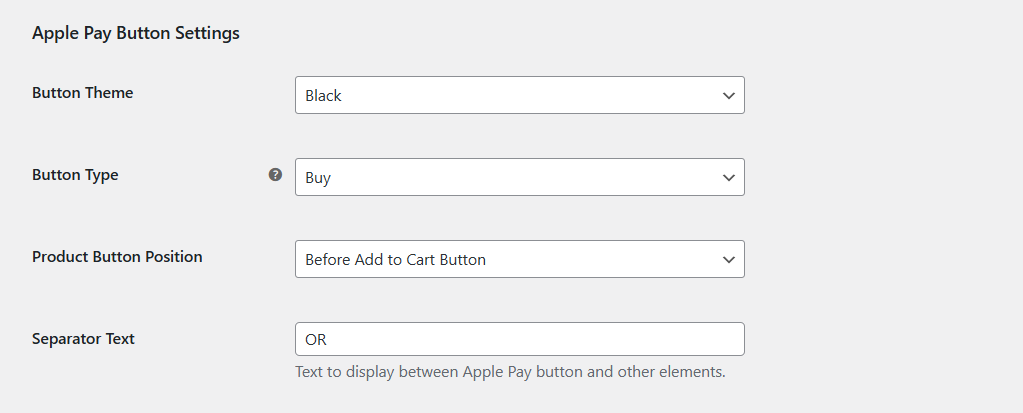
Step 3: Customize the Apple Pay button
Here are Apple Pay button customization options:
Button Theme
Choose the appearance of the Apple Pay button on your site:
- Black: Black button with white text.
- White: White button with black text.
- White Outline: White button with black border and text.
Button Type
Define the text that should be displayed on the Apple Pay button, such as Buy, Checkout, Order, Book, Rent, Subscribe, etc.
Product Button Position
Control the Apple Pay button position on the product pages:
- Before Add to Cart Button
- After Add to Cart Button
Separator Text
Add the text to separate the Apple Pay button from other elements.
Step 4: Configure special settings for Apple Pay
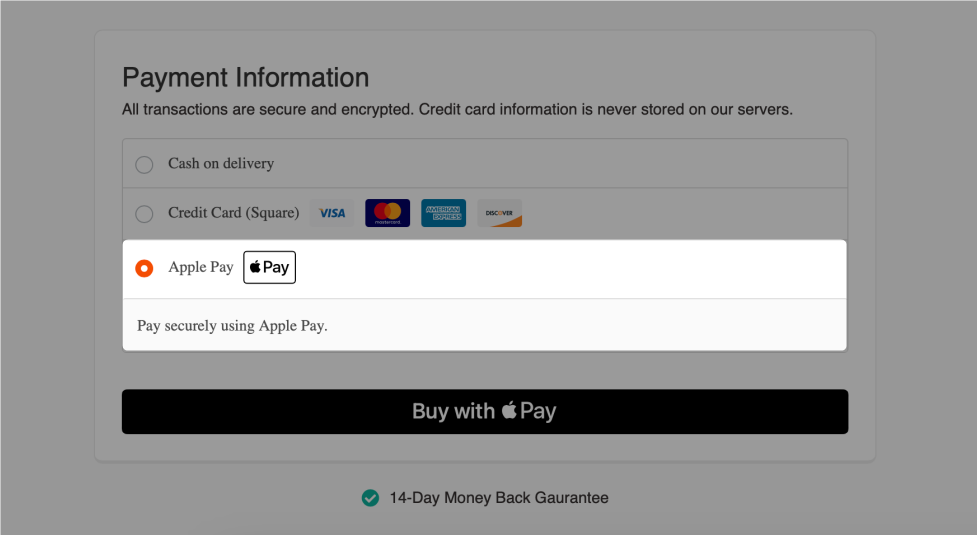
Hide in Regular Payment Gateway List
Enable this setting if you prefer to have the Apple Pay button only show up as the express pay button rather than in the default list of payment methods.

If you keep this option unchecked, it’ll appear both as an express payment button and inside the payment method (inline) list, as shown below:
Save the changes when done.
Testing
Test it out by completing the payment with the test cards.
Once everything is done, make sure to enable the Production mode to go live!


