Google Pay is a digital wallet from Google that allows customers to pay online using their saved credit or debit cards.
Instead of entering card details manually, shoppers can complete their purchase with just a tap or click when logged into their Google account.
Google Pay Button Visibility Requirements
See the requirements to display the Google Pay button in your store:
- Supported browsers: Google Chrome, Mozilla Firefox, Apple Safari, Microsoft Edge, Opera, and UCWeb
- HTTPS requirement: Google Pay requires your website to be served over HTTPS (secure connection)
- Countries: Google Pay is supported in all regions except for Japan.
- Compliance with Google Pay API Terms and Policies: Make sure to comply with Google Pay API Terms of Service, Acceptable Use Policy, and Google’s Brand Guidelines
Google Pay Configuration
Below are the key settings to configure for Google Pay integration in your WooCommerce store.
Step 1: Go to the Google Pay section under Square
Navigate to WooCommerce ⇨ Settings ⇨ Square and click on the Google Pay section.

You’ll land on the Google Pay configuration area.
Step 2: Set up display options for Google Pay
First, turn on and set up display settings for Google Pay.

Enable Google Pay
Toggle the checkbox to enable or disable the Google Pay express checkout method in your WooCommerce store.
Title
Enter the name for the Google Pay method that customers will see during checkout.
Description
Customize the description to provide more information or reassurance to customers during checkout.
Display Location
Select the pages where you want the Google Pay button to appear, depending on where you want customers to be able to make payments.
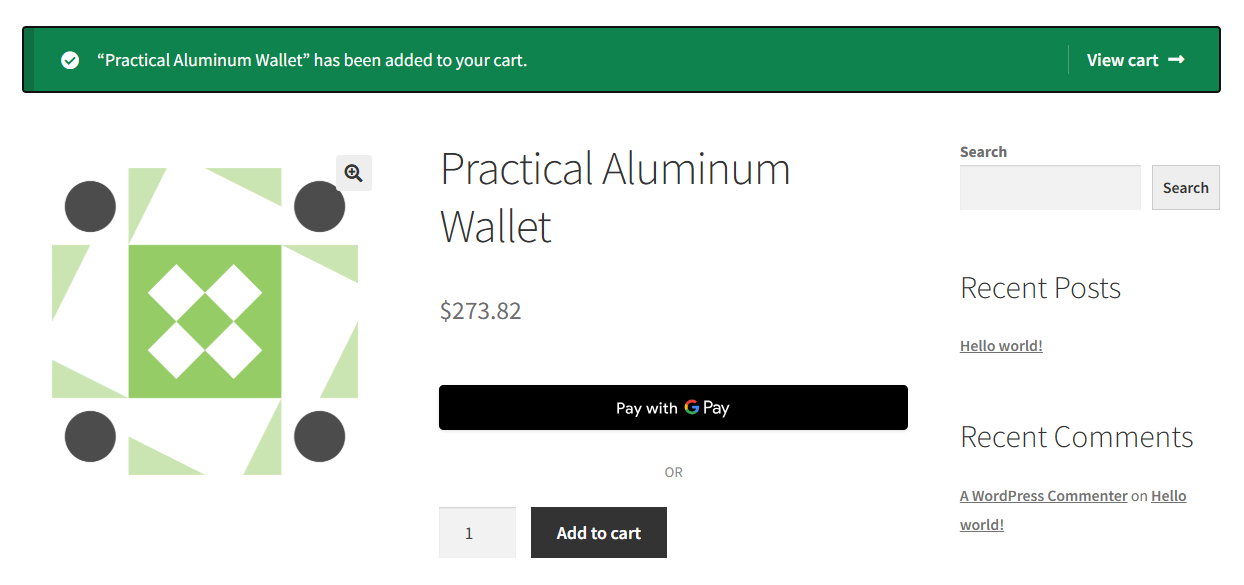
- Google Pay button on product page:
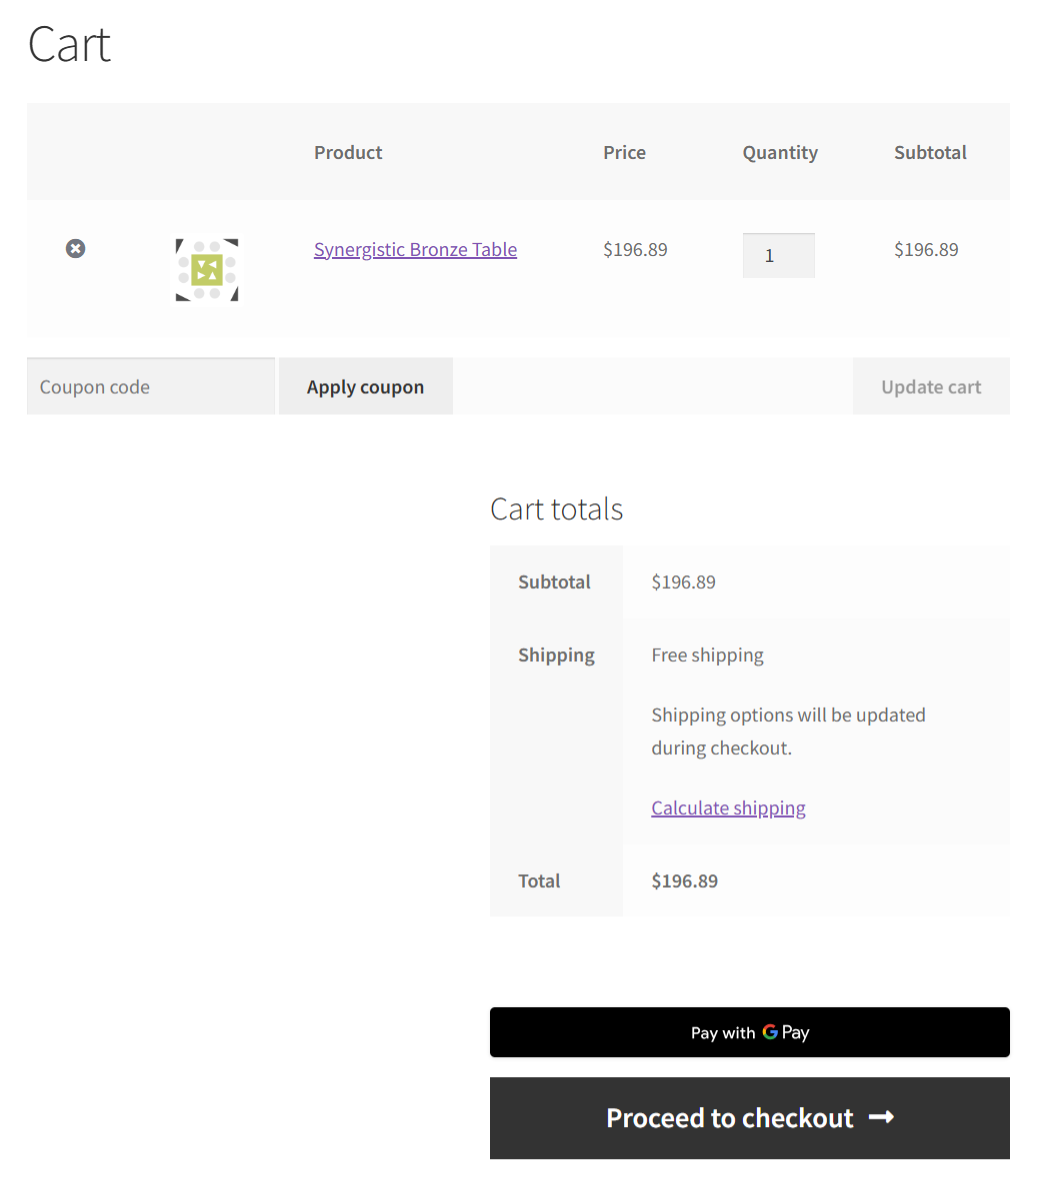
- Display the Google Pay button on the cart page:
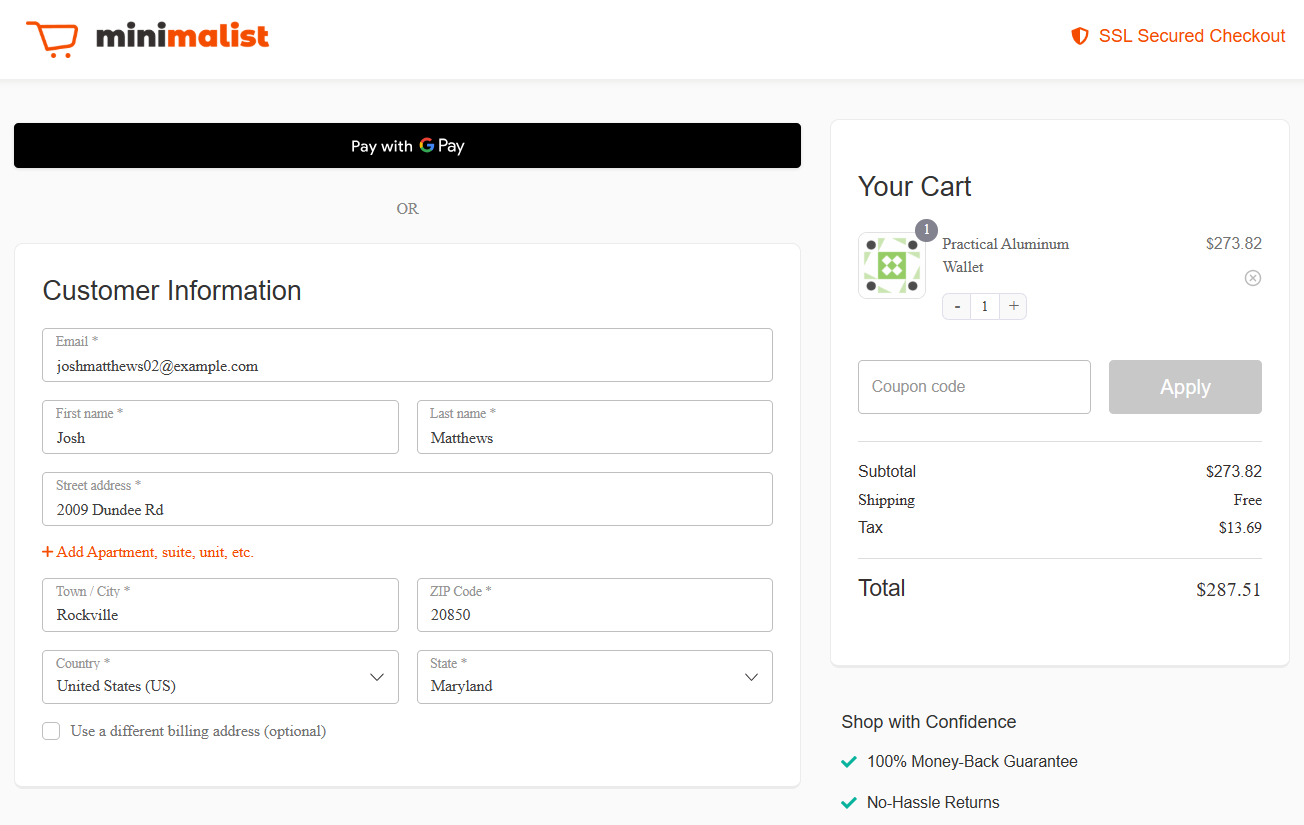
- Google Pay button on the checkout page:
Step 3: Customize the Google Pay button
Here are button customization options:
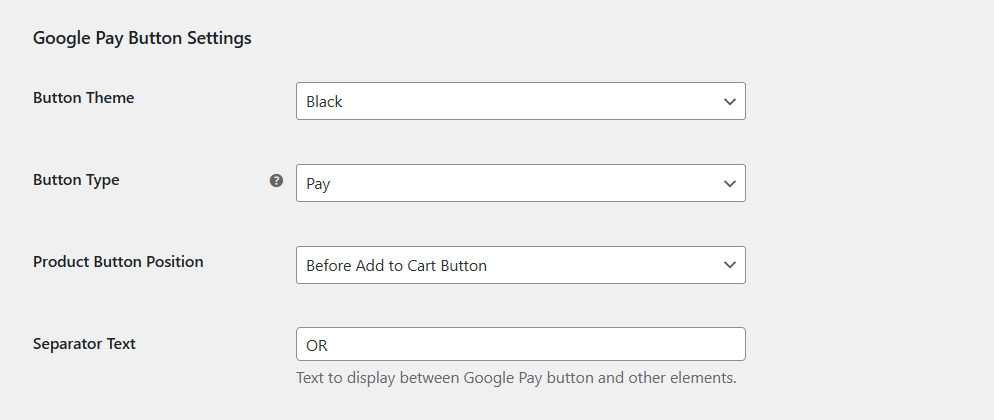
Button Theme
Determine the appearance of the Google Pay button on your store.
- Black: A black GPay button with white text
- White: A white button with black text
- Default: Google's recommended button style
Button Type
Define the text displayed on the Google Pay button.
- Buy: Ideal for general purchases.
- Checkout: Best for the checkout process.
- Order: Suitable for food or restaurant orders.
- Pay: Used for payment transactions.
Product Button Position
Control the placement of the Google Pay button on the product page.
- Before Add to Cart Button: Display the Google Pay button before the "Add to Cart" button.
- After Add to Cart Button: Display the Google Pay button after the "Add to Cart" button.
Separator Text
Add the text that separates the Google Pay button from other payment options.
Step 4: Configure special settings for Google Pay
Hide in Regular Payment Gateway List
Enable this setting to make Google Pay available only via a specific button, rather than the default payment method list.

If you keep this option unchecked, it’ll appear both as an express payment button and inside the payment method (inline) list below.

Save the changes when done.
Testing
When you click on the Google Pay button, a pop-up will appear with your details to pay via saved cards in your Google account.
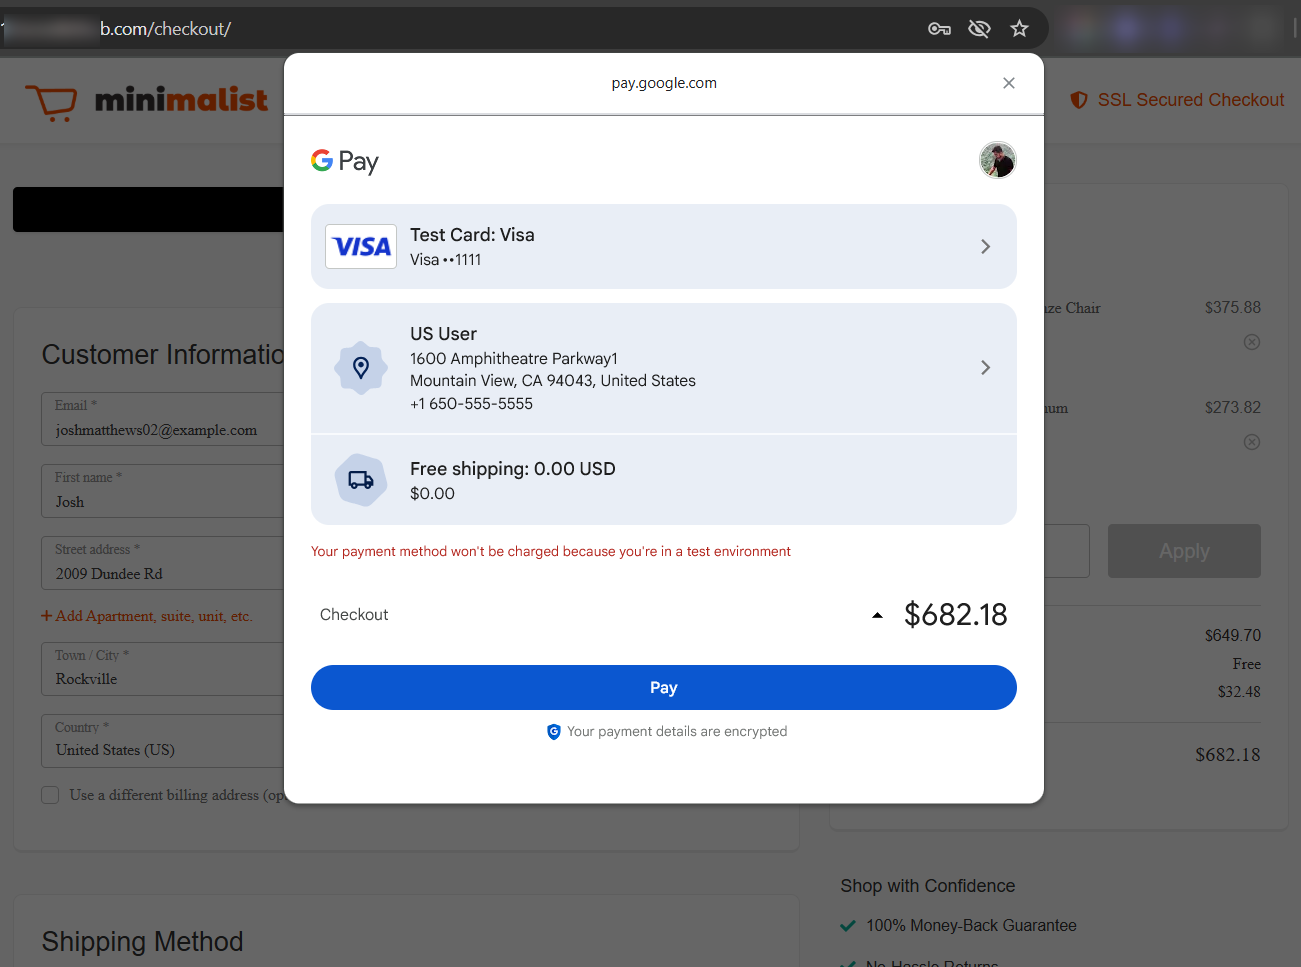
Upon successful payment, you’ll be directed to the thank you page with Google Pay as your payment method.

This is how you can set up and test the Google Pay method with the Square gateway for WooCommerce.
Once you’re done testing, make sure to turn on the Production mode and go live!


