You can split-test your funnels with a single click within the Funnel Builder.
In this doc, we’ll demonstrate how to set up an A/B test on your sales funnel pages.
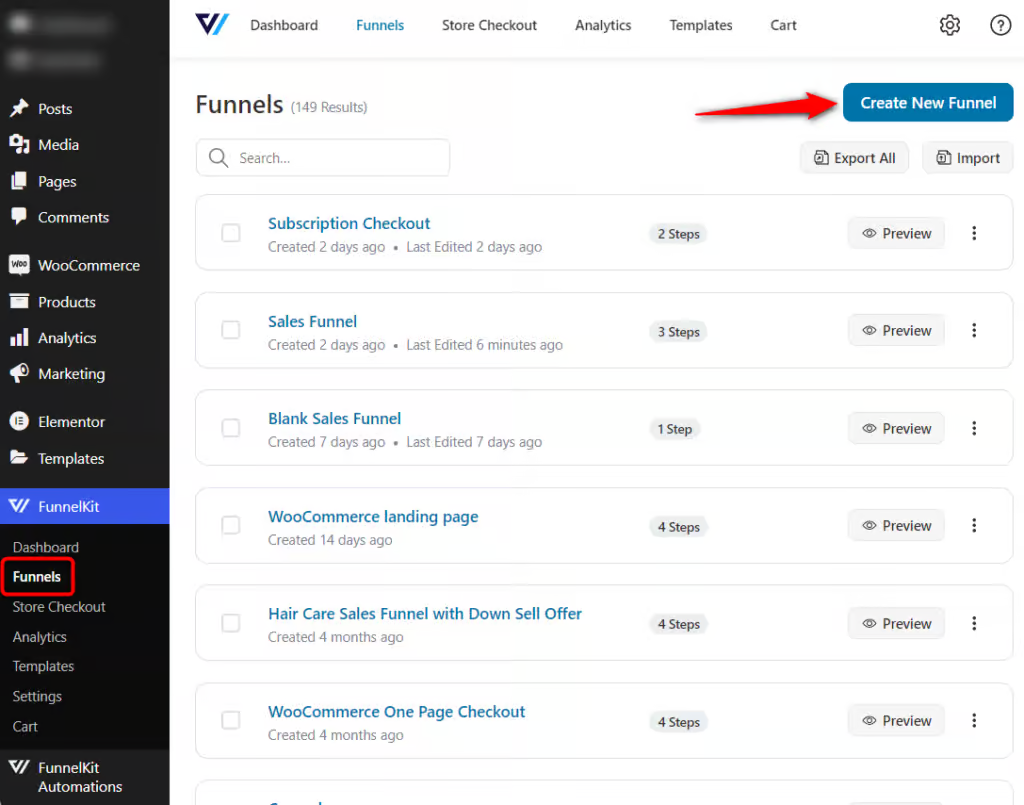
Step 1: Add a new funnel
Go to FunnelKit > Funnels and click on Add New Funnel.
You'll be directed to the templates screen.
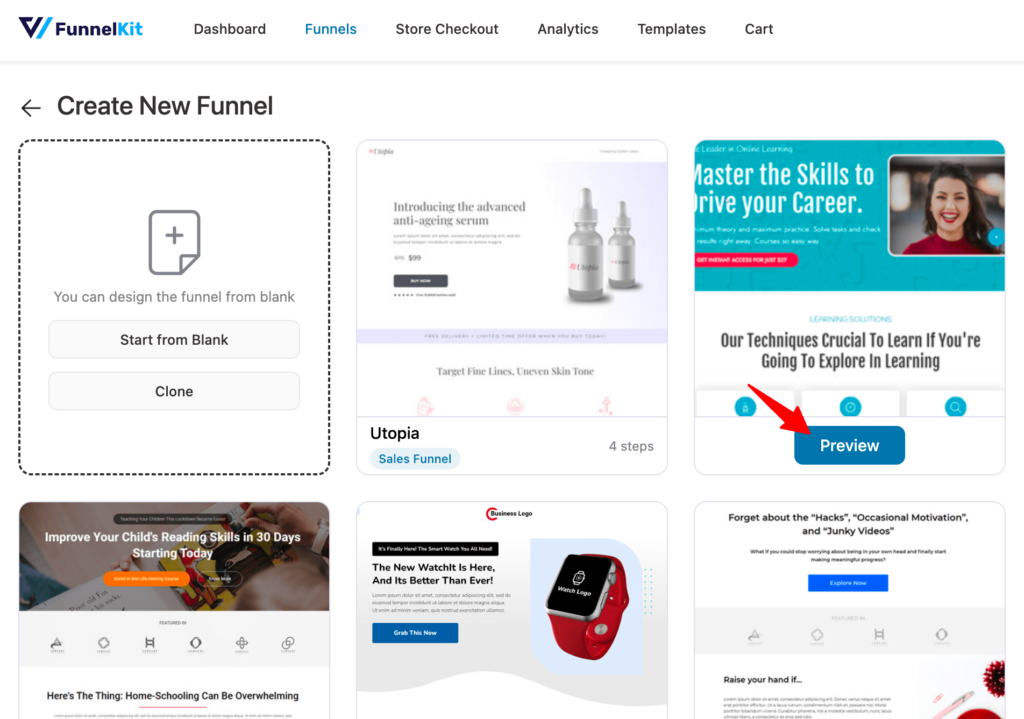
Step 2: Import the template
Select the page builder and import the template you want.
We have selected the Sales Funnel and clicked on Preview next to the Courselog template.
You'll be able to see the full preview of all the pages in that template.
Next, click on Import This Funnel and name it.
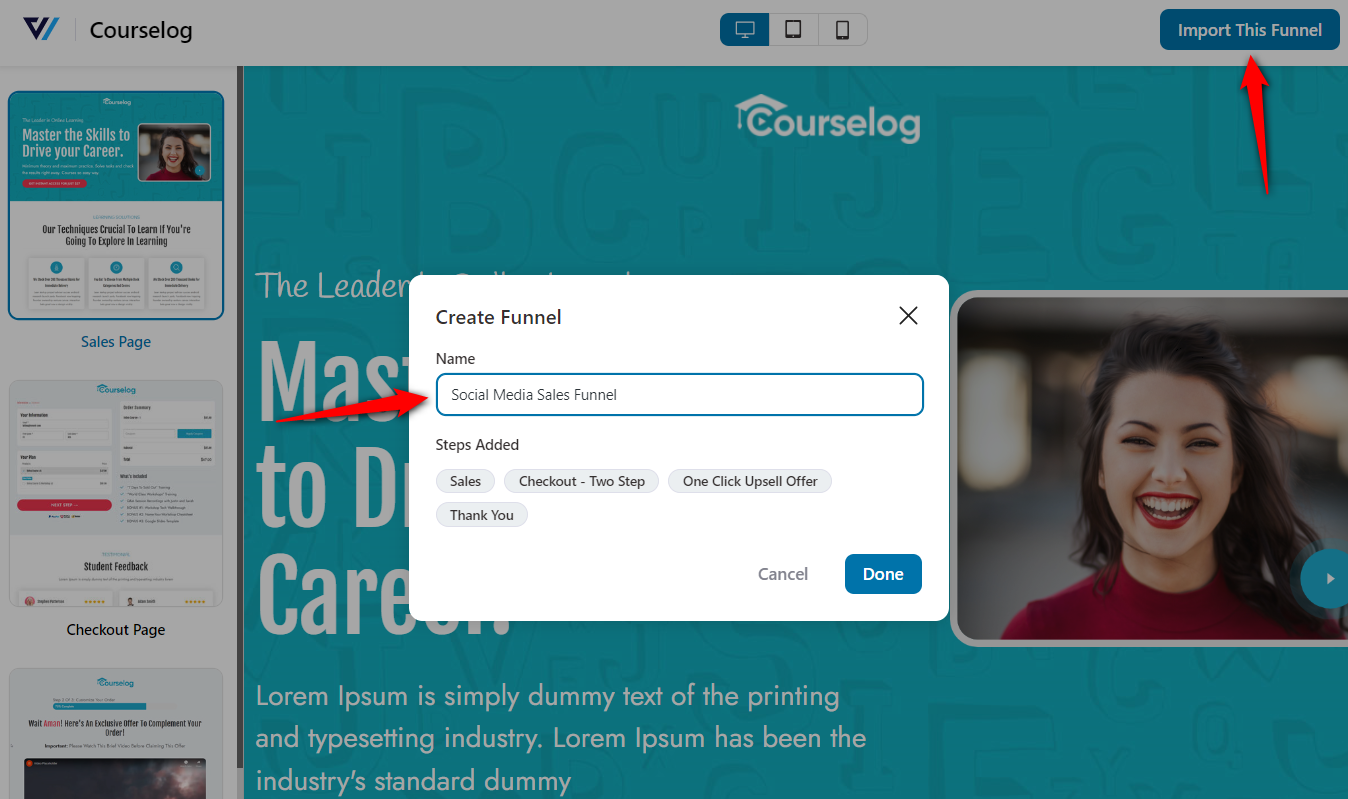
Your sales funnel will get created.
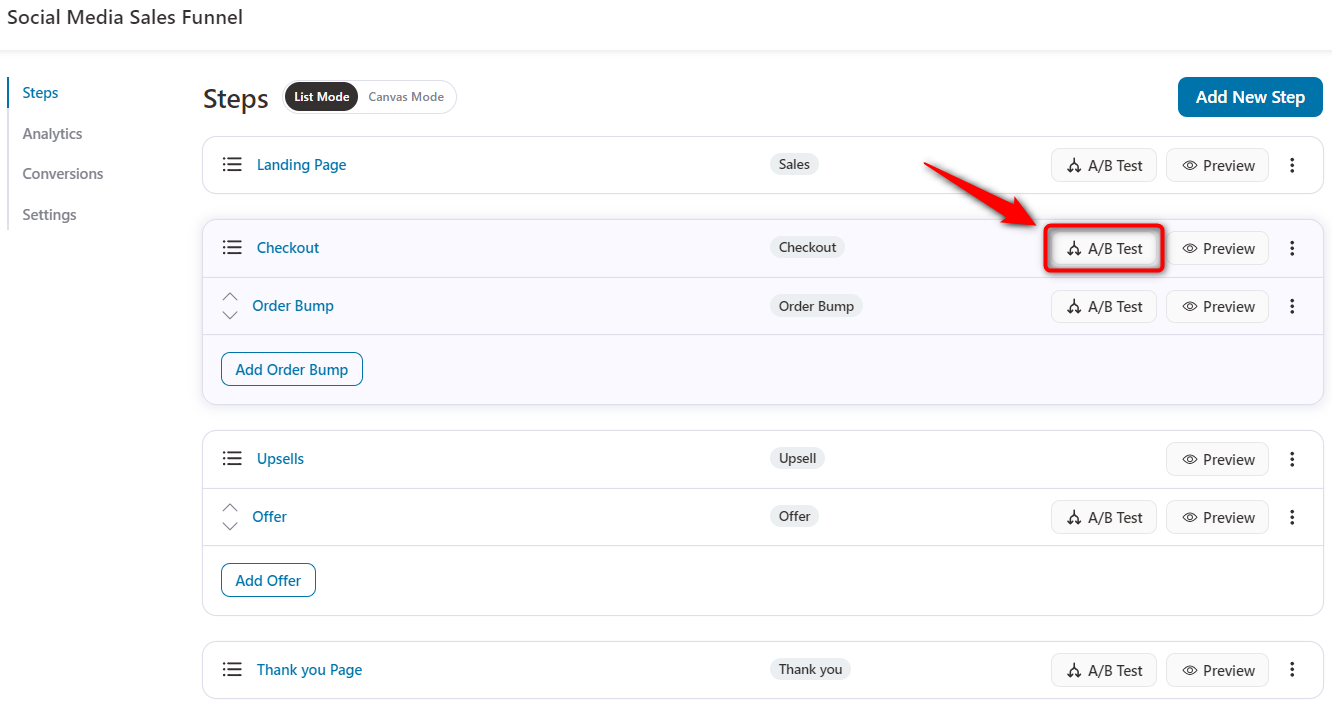
Step 3: Set up the A/B test
Click on A/B Test next to the page you want to split test.
Step 4: Add the variant
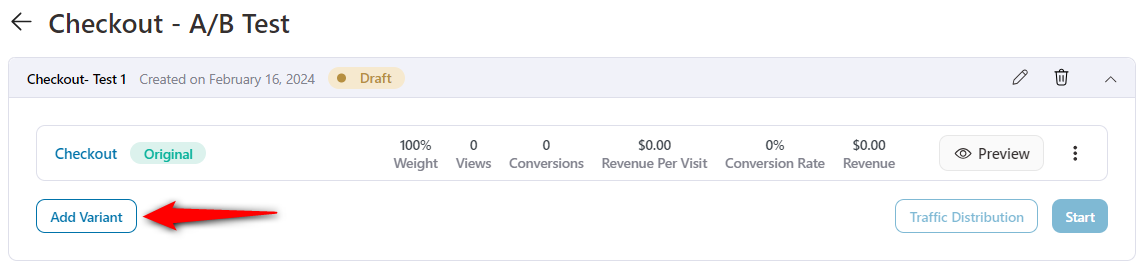
Here, you can see 100% of the traffic going to the original page.
Let’s configure the variants of your Checkout funnel - click on Add Variant.
You can add a variant either by:
- Creating a duplicate variant from the original, or
- Selecting a template from another funnel
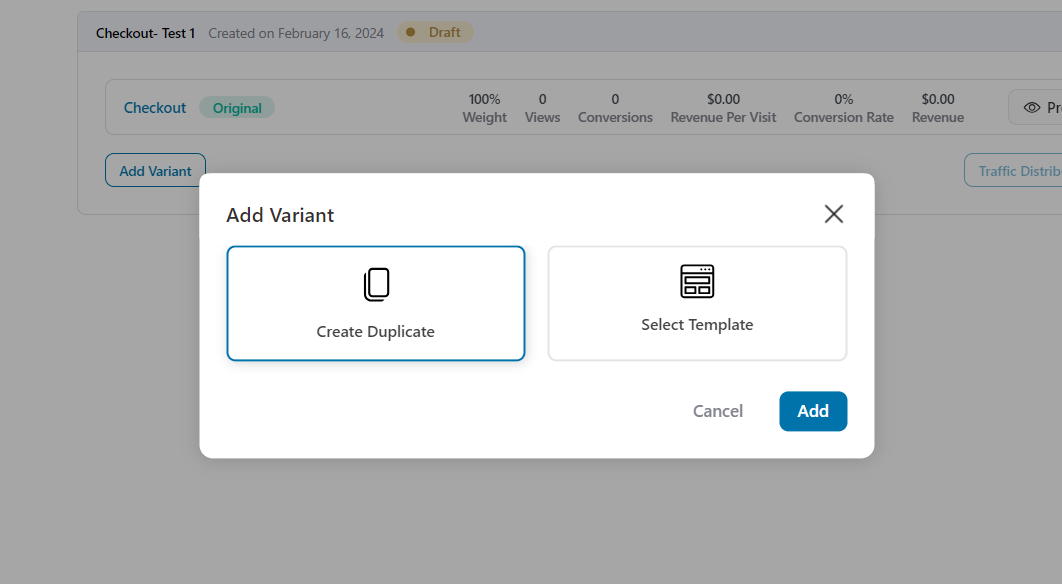
As an example, we've selected Create Duplicate and click on Add.
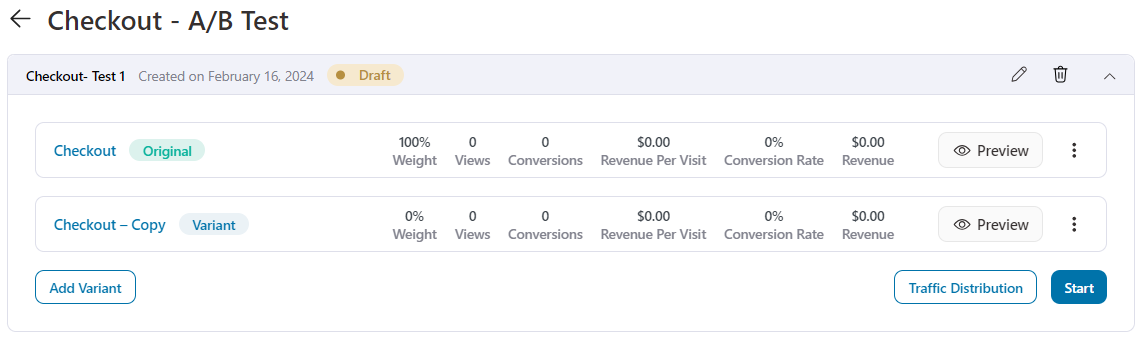
Your variant has been successfully created.
You can A/B test anything in FunnelKit; be it the text, headlines, button color, design, background, etc.
Click on Edit to customize each page the way you want using the page builder you’ve selected.
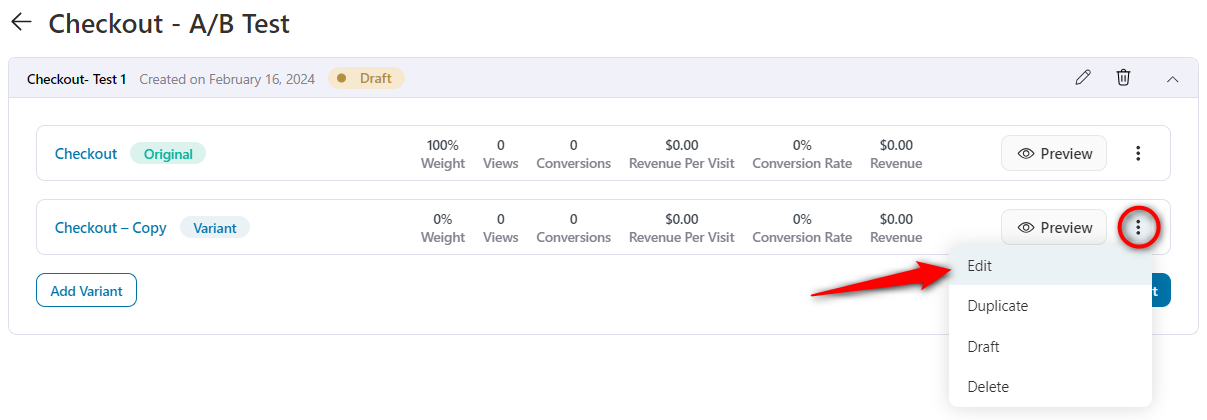
Save the changes once you’re happy with the design.
Step 5: Set up the weight distribution
Click on the weight distribution button and set the traffic distribution to each of your variants.
Here, we will give 50-50 distribution to both of our variants.
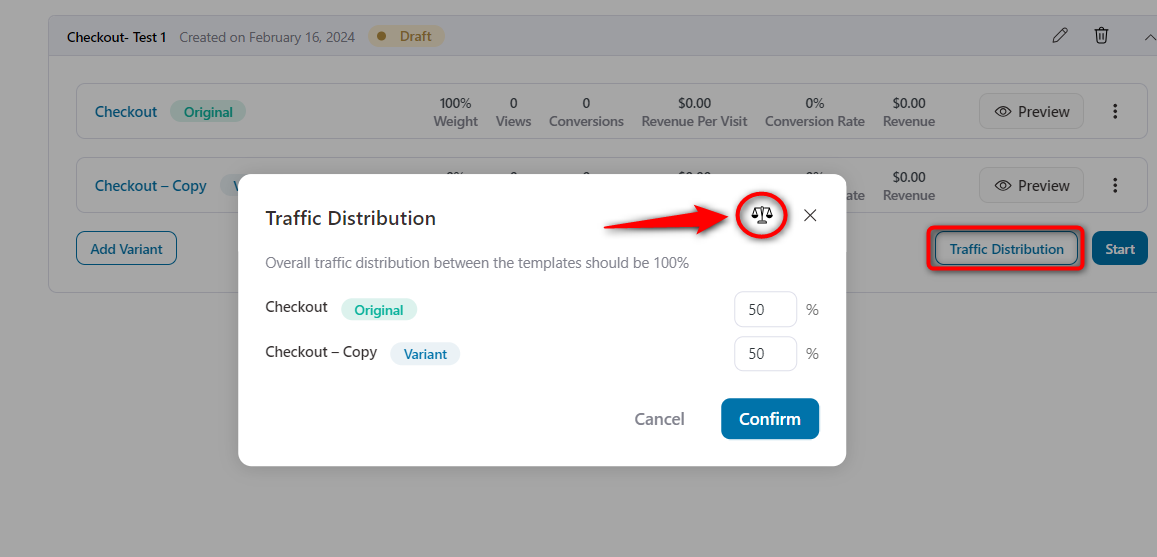
Once done, click on the Confirm button.
Step 6: Start the A/B Test
Click on Start to run your A/B test.
Here are some instructions you’ll get when you start this test.
You can pause and restart your A/B test, adjust the traffic distribution and remove the variant anytime you want during the test.
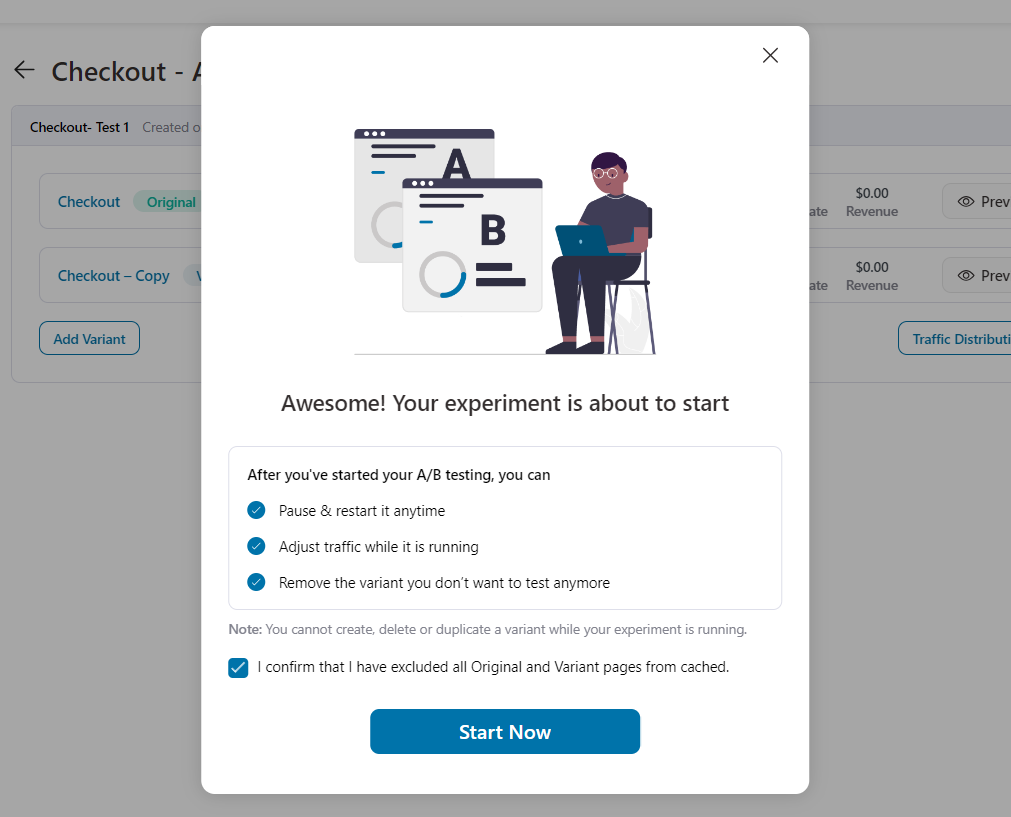
Click on Start Now to run your A/B test.
This will start the test on your Checkout page.
You can A/B test all of your funnel pages, i.e., Opt-in pages, Sales pages, Checkout pages, Order bumps, One-click Upsells, and Thank You pages.
In the next documentation, we will understand how to analyze the metrics and declare a winning variant.


