To manually register your domain for setting up Apple Pay, follow these steps:
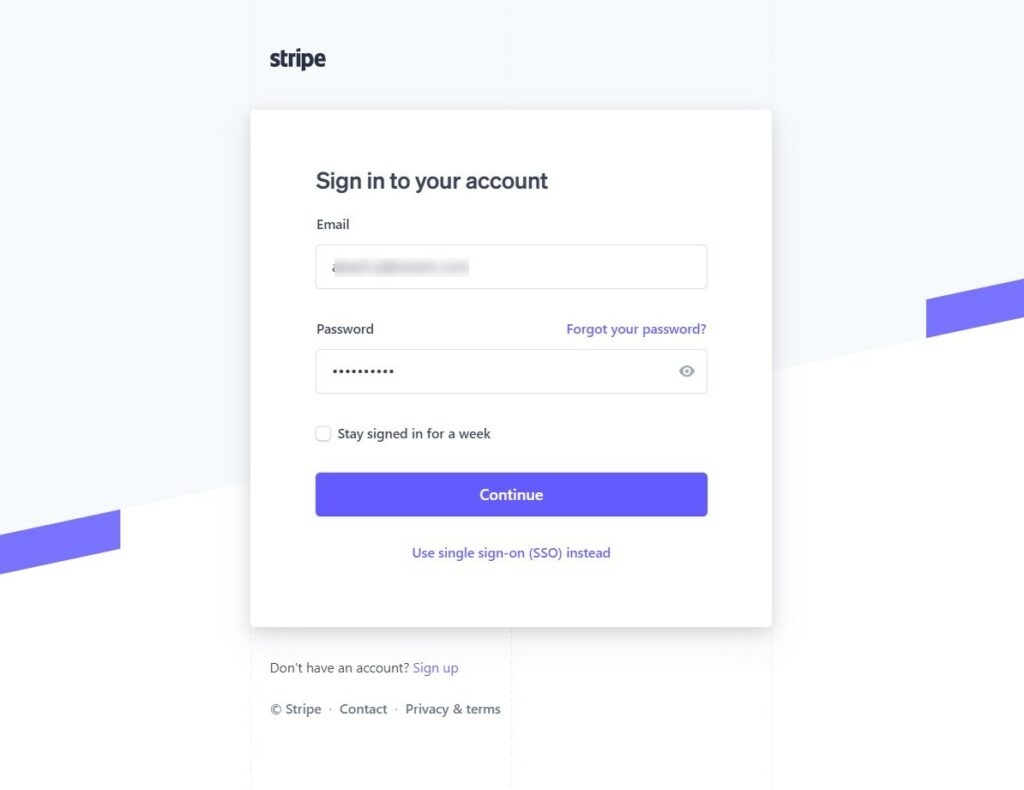
Step 1: Log in to your Stripe account
Go to Stripe and log in to your account.
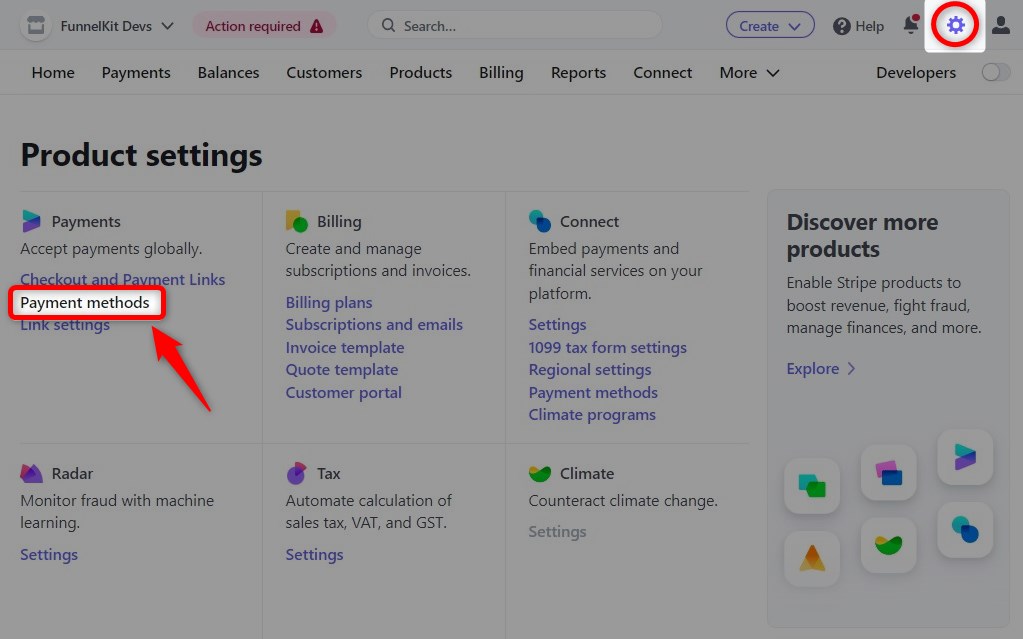
Step 2: Go to Settings
Click on Settings (gear icon) and go to the Payment Methods link.
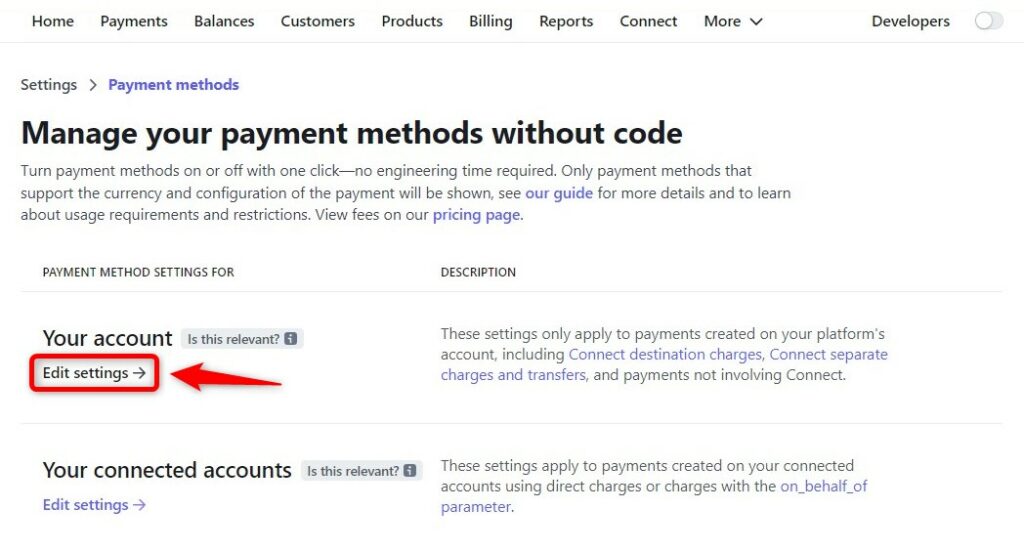
Click on Edit Settings under your account.
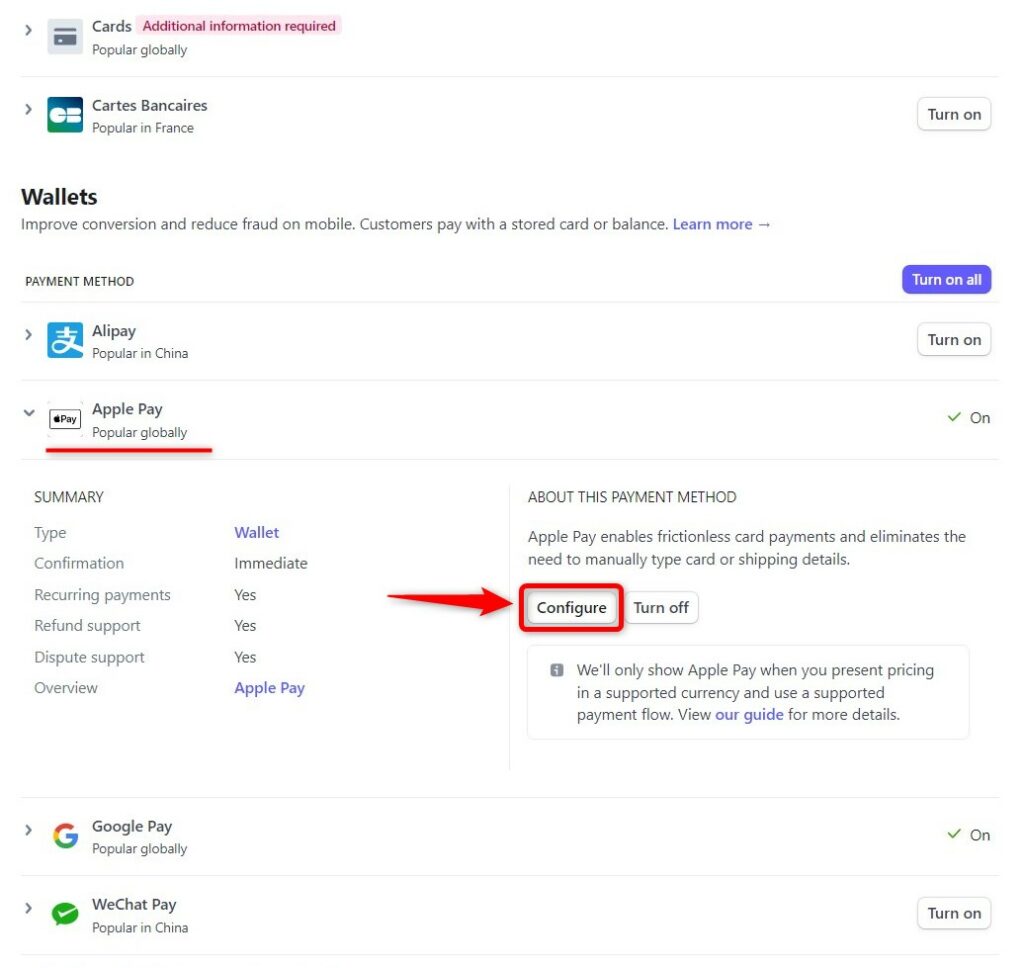
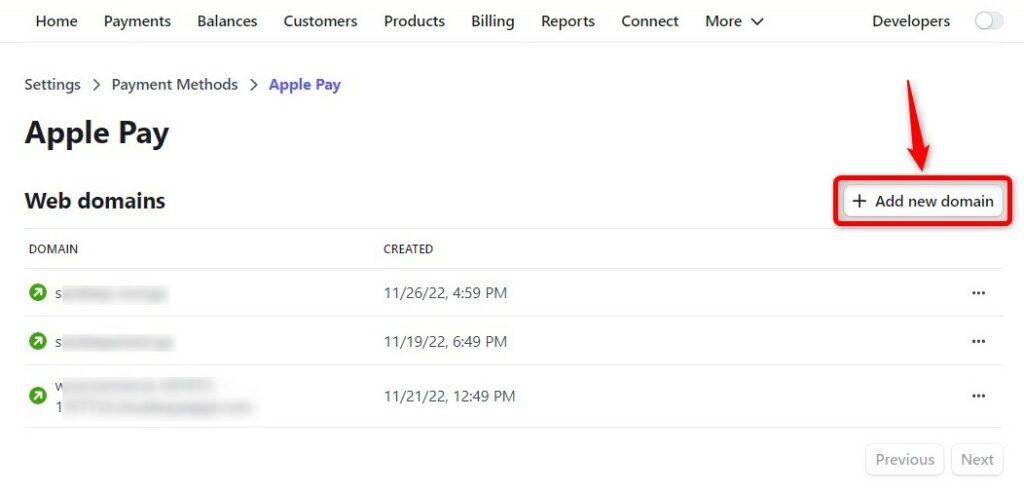
Step 3: Configure Apple Pay
Scroll down and click on Configure next to Apple Pay.
From here, hit the Add new domain button.
Enter your domain name and download the verification file. Make sure to host this file on your server as mentioned.
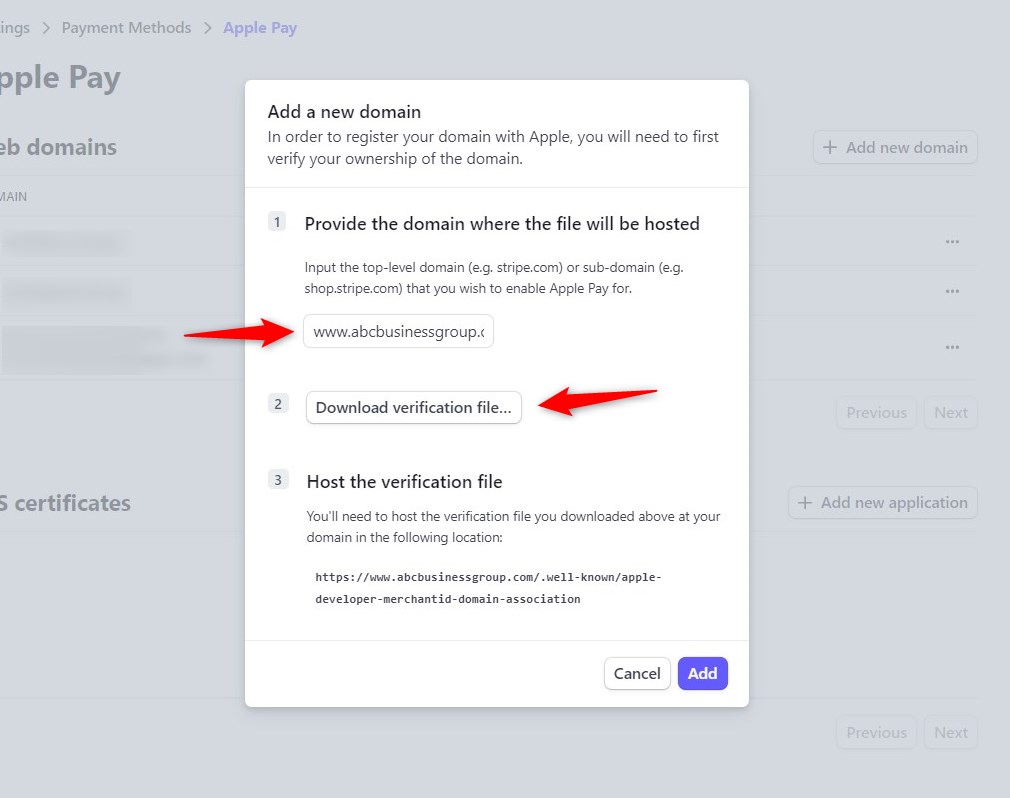
Once done, click on the Add button.
After that, Stripe will verify your domain. If your domain cannot be verified, it'll alert you for any error.
That’s it! This is how you can manually register your domain to configure Apple Pay.


