
Want to connect WooCommerce with ActiveCampaign?
Connecting your store to your CRM allows you to manage your contacts well, run automations, add tags based on items purchased, and much more.
One of the ways to do it is through Deep Data integration. It's a popular method but is limited in its abilities.
For example, you cannot trigger an action based on a user's order total, cart total, and other more detailed user insights.
In this post, we will show you how to connect WooCommerce and ActiveCampaign using FunnelKit Automations.
Let's begin with the WooCommerce ActiveCampaign integration process.
Table of Contents
How to Connect WooCommerce with ActiveCampaign?
We will be using FunnelKit Automations to connect WooCommerce with ActiveCampaign.
FunnelKit Automations is an automation builder that allows you to automate follow-up emails and SMSs regarding abandoned carts, anniversaries, post-purchase education, and more.
Not only that, FunnelKit Automations seamlessly integrates with tools such as Twilio, form builder plugins such WPForms, Gravity Forms, Ninja Forms and more, Zapier, and even Slack.
Apart from these, it also integrates with CRMs like Mailchimp, Drip, ConvertKit, and others, to help you manage your contacts and market better.
ActiveCampaign is one such CRM that FunnelKit Automations integrates with beautifully.
Follow the following steps to bridge the gap between your WooCommerce Store and ActiveCampaign.
Step 1: Install FunnelKit Automations
To connect FunnelKit Automations with ActiveCampaign, first, you need the FunnelKit Automations plugin installed in WordPress.
👉 Learn more to install and activate FunnelKit Automations on your website.
Step 2: Go to Connectors
Once you have installed it, you will find it in your WordPress menu.
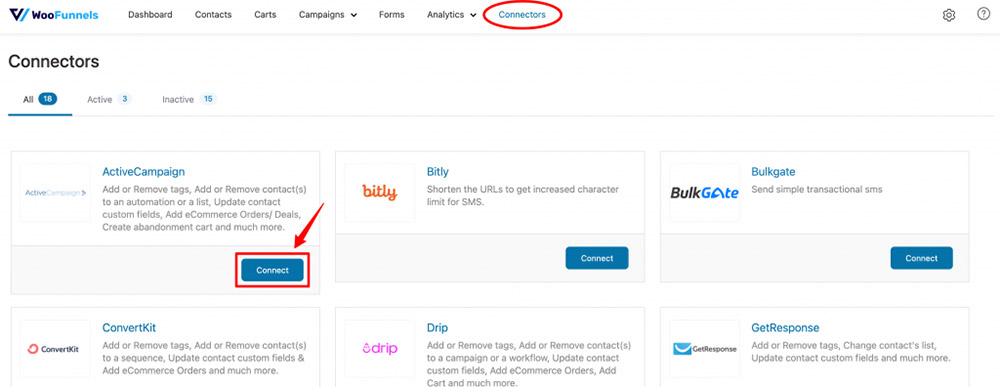
Click on the Connectors option.
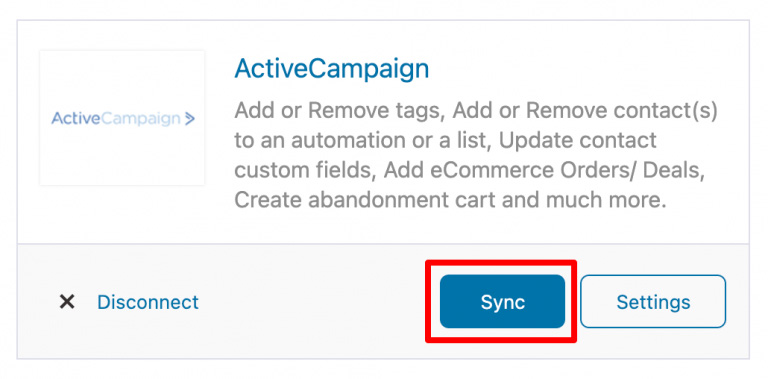
Here you will find ActiveCampaign as one of the connectors. Click on Connect to begin.
After that, a pop-up window will open where you'd need to enter the API URL and Key.
You can get these codes from the ActiveCampaign account.
Step 3: Get the API key from ActiveCampaign
In another window, open your ActiveCampaign account and go to the settings option from the sidebar.
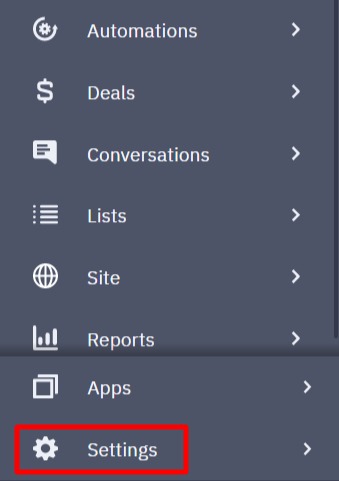
Choose the developer option from the list provided to open those settings. Here you will find your ActiveCampaign account API URL and Key listed.
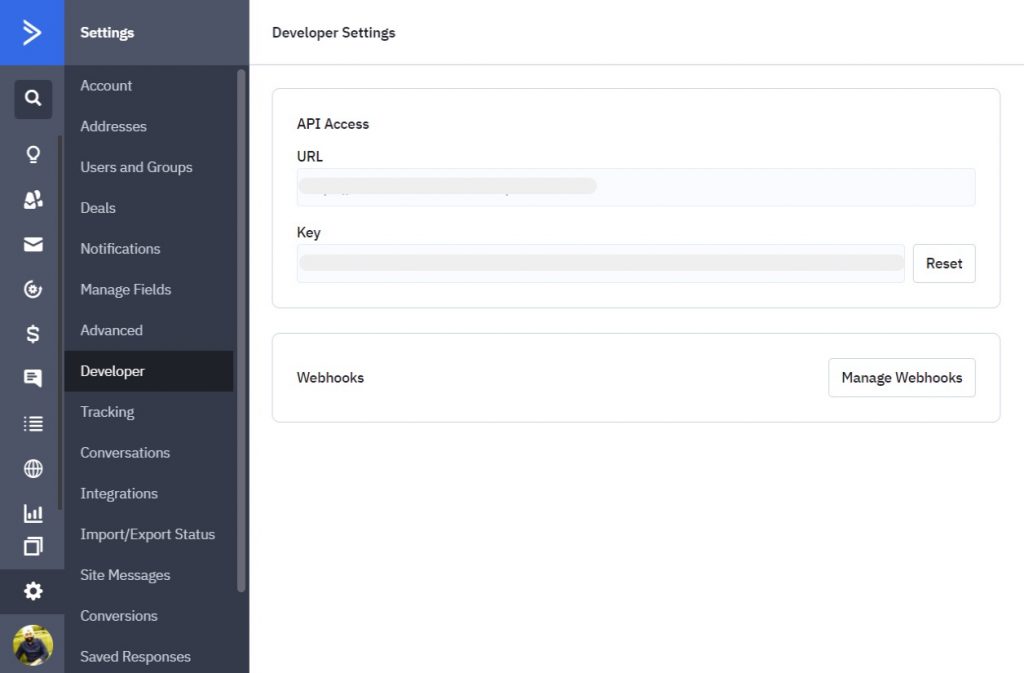
This URL and Key are what would help you connect your ActiveCampaign account with WooCommerce.
Step 4: Copy and Paste the API
Once you've located the API URL and Key, copy them and paste them into the FunnelKit Automations connector window.
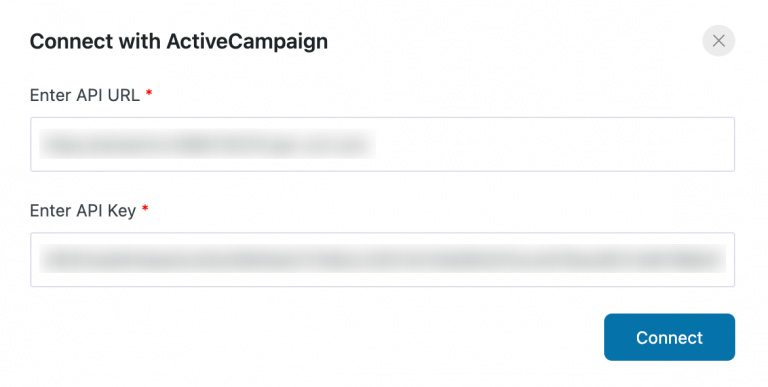
Then click on the Connect button to secure the changes made.
Step 5: Sync the Contacts
Once you've made the connection between ActiveCampaign and your WooCommerce store, click on Sync to sync all the previously existing contacts to ActiveCampaign.
Adding Tags in ActiveCampaign
When any user interacts on your website, tag them to help you segment them better for future reference. This is how you add a tag after the creation of a new order:
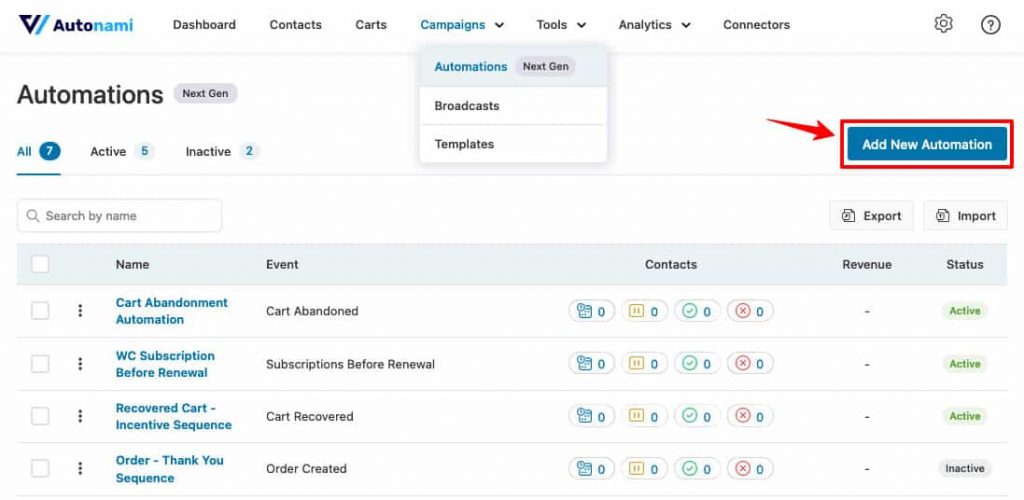
Step 1: Add a New Automation
Go to FunnelKit Automations > Automations from your WordPress account sidebar.
Then, click on Add New to start a new automation sequence.
Enter the name of your automation and click on Add.
This is what the automation canvas would look like:
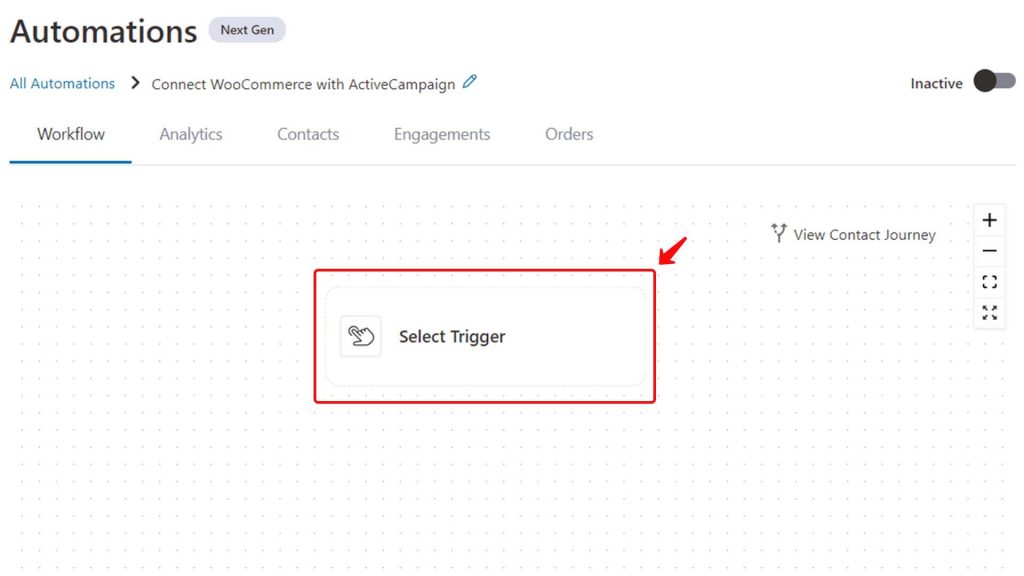
Add an event and get designing your automation.
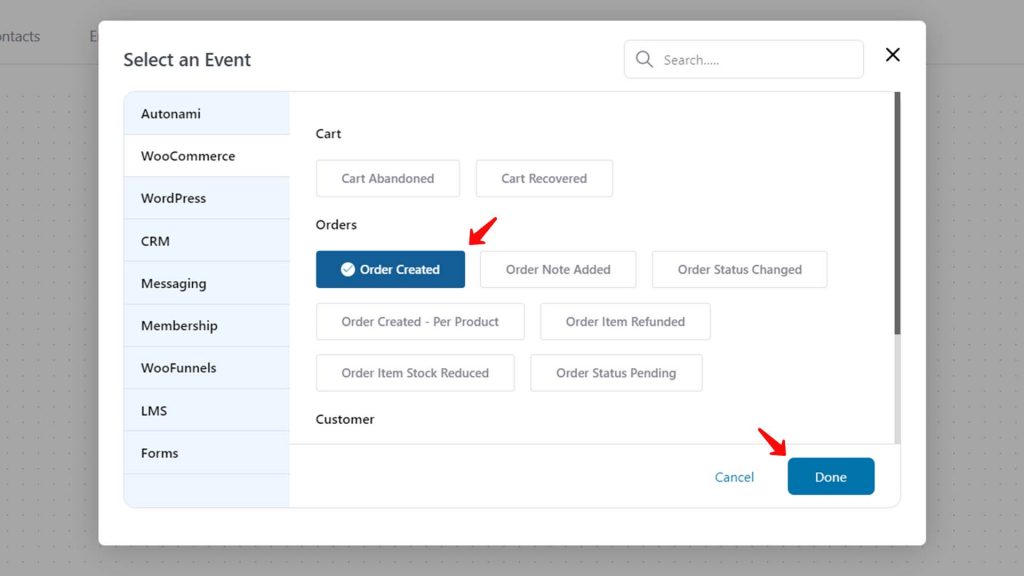
Step 2: Define the Event
The event defines the action taken by the users.
There is a range of event options available to you:
- Cart Abandoned: When a user leaves a cart before completing the payment.
- Cart Recovered: After the abandoned cart is recovered and the user makes the purchase.
- Order Created: When an order is placed on your website.
- Order Created - Per Product: When the specified product(s) are purchased from the store. For example, the automation will only be triggered if a baking course is purchased.
And many more.
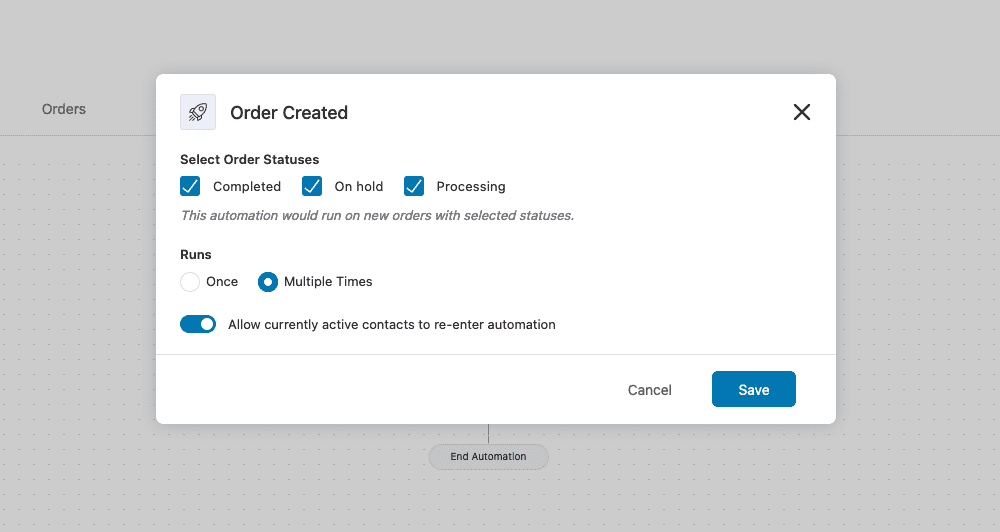
Choose the option of Order Created from the options provided.
Select the order status by checking the boxes to trigger the automation.
If you click on completed, the automation will only run if the payment is secured and the order is delivered.
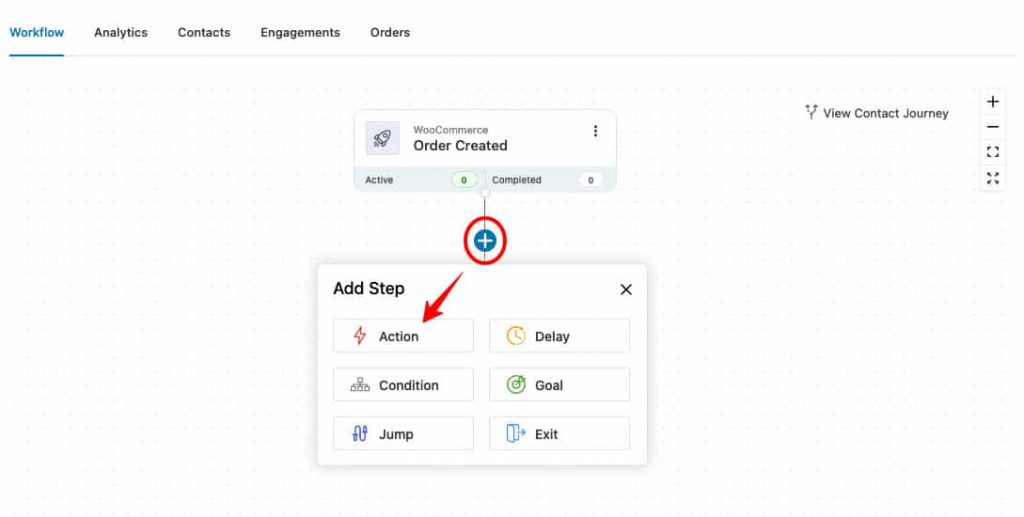
Step #3: Add Action
Click on + to add the next step to the automation.
Then choose the Action option from the choices provided.
The Condition allows you to define conditions under which particular automation runs.
For example - "IF the order total is over $150, THEN add the 'VIP' tag to the contact".
There are a number of other rules that you can choose from, like:
- Order Total: To match this condition you can define if the order total need to be equal to, greater than, or less than a defined value.
- First Order: On a customer's first order you can trigger a welcome email automation along with the product delivery.
- Payment Gateway: You can offer special discount codes to the customers that pay using your choice of gateway.
- Purchased Product Category: You can have an educational drip video sequence automated for electronic products.
And so on.
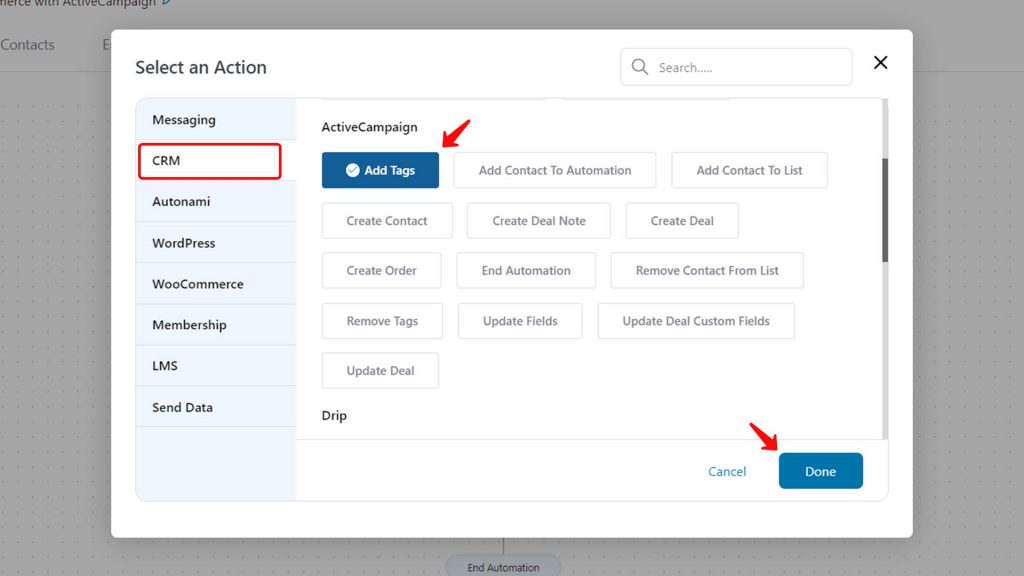
From the action menu, you can choose to add tags, add contacts to a list, create or update deals, and more in ActiveCampaign under CRM.
From the options, choose the Add tags option under ActiveCampaign.
Explain a few actions under ActiveCampaign in Bullets.
Step #4: Name the Tag
Name the tag you want to add to the new contact. In this case, we will name it “Buyer”.
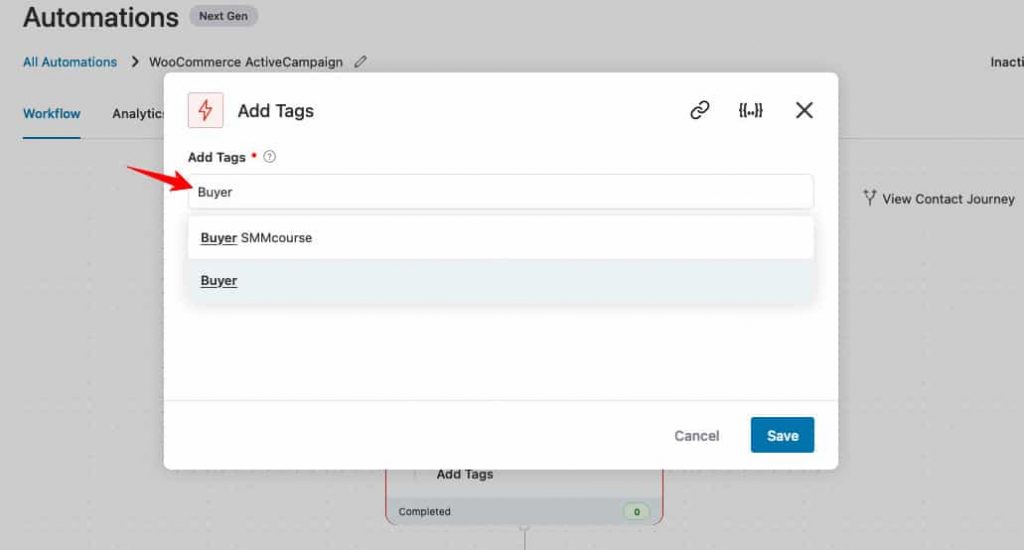
And this is how each new customer that buys from you will be given a tag.
Automate Welcome Emails with ActiveCampaign
As we discussed in the beginning, a welcome email sets the foundation for the relationship that the user might share with you.
Let’s see how you can set up a welcome email automation for new buyers:
Step #1: Create an Automation
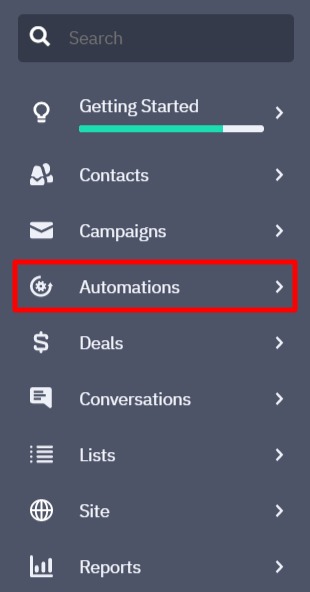
In ActiveCampaign, click on Automations from the sidebar.
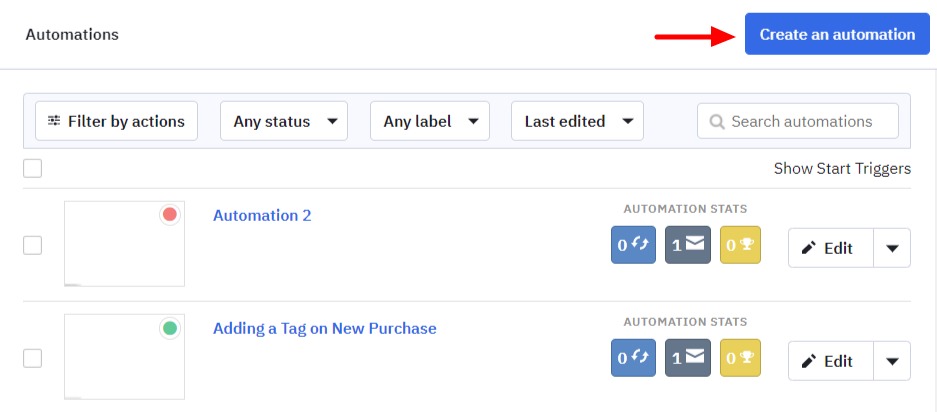
Click on Create an Automation to begin.
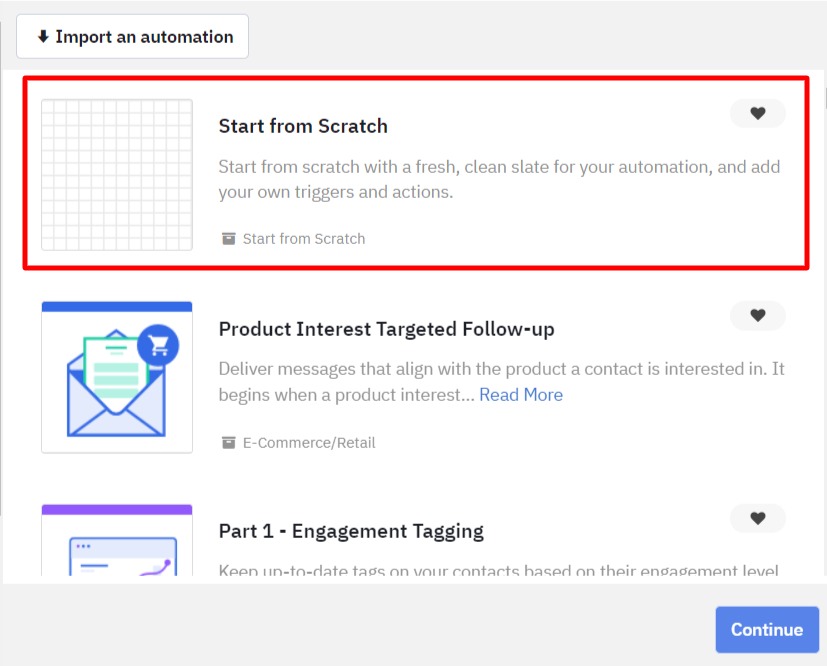
And from the automation templates provided, choose the Start from Scratch option and continue.
Step #2 Choose the Trigger
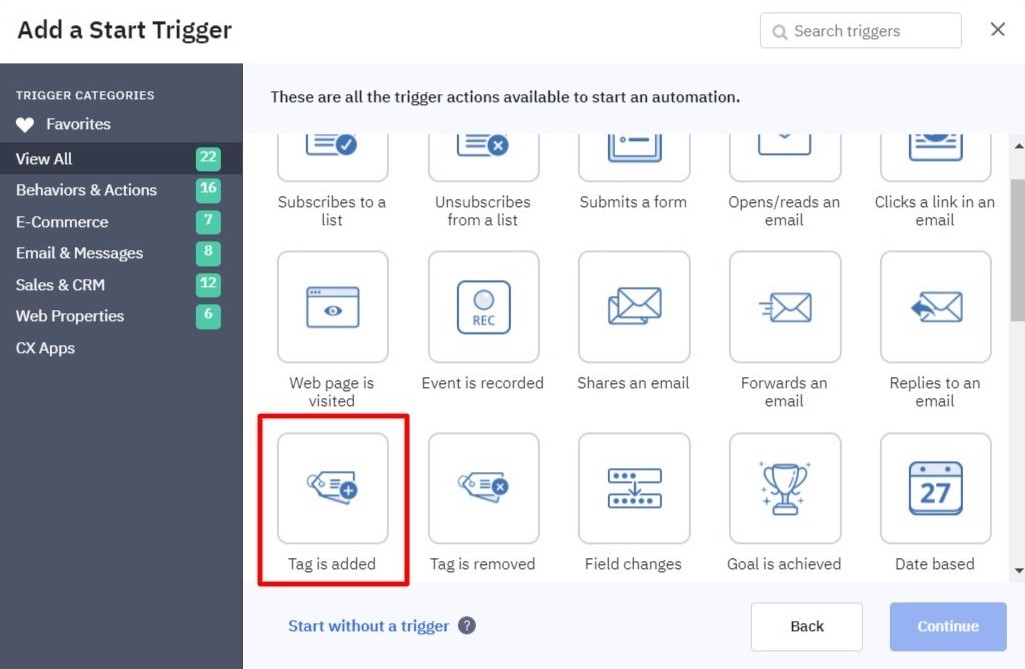
As the new window opens, choose a trigger from the list shown.
From the triggers mentioned, choose the option “Tag is Added.”
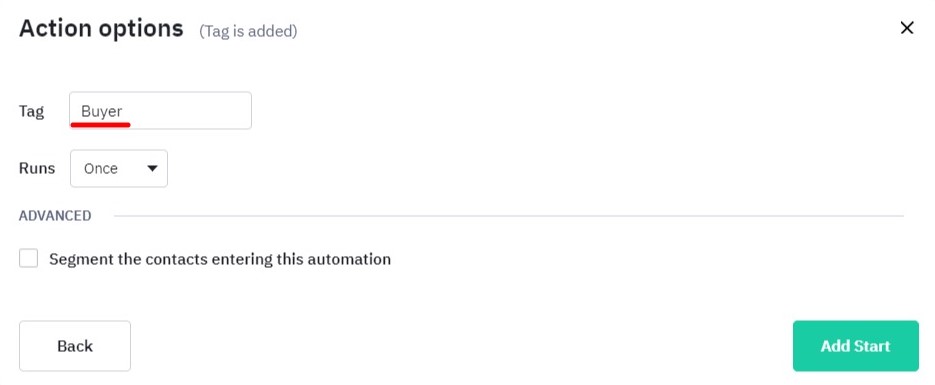
Then define the name of the Tag as Buyer, and click on Add Start.
Step #3: Set the Wait Period
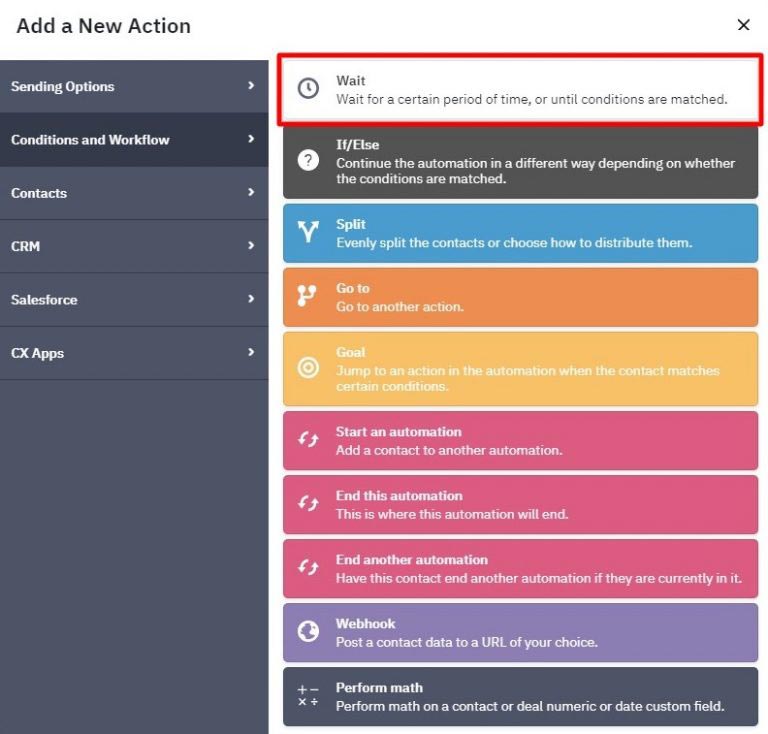
Next, it’ll prompt you to select an action that would follow the trigger.
Click on the Conditions and Workflow tab from the left panel of options, and from the choices mentioned, select Wait.
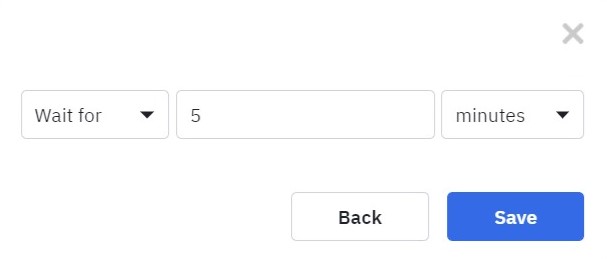
Then define how you want the automation to wait before running. We choose to wait for some time.
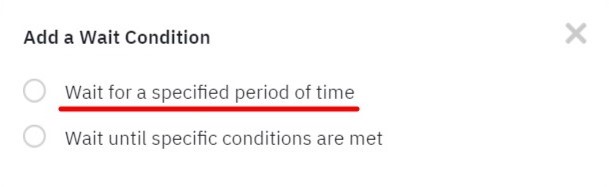
Define the duration of delay between the tagging and the welcome email, and save.
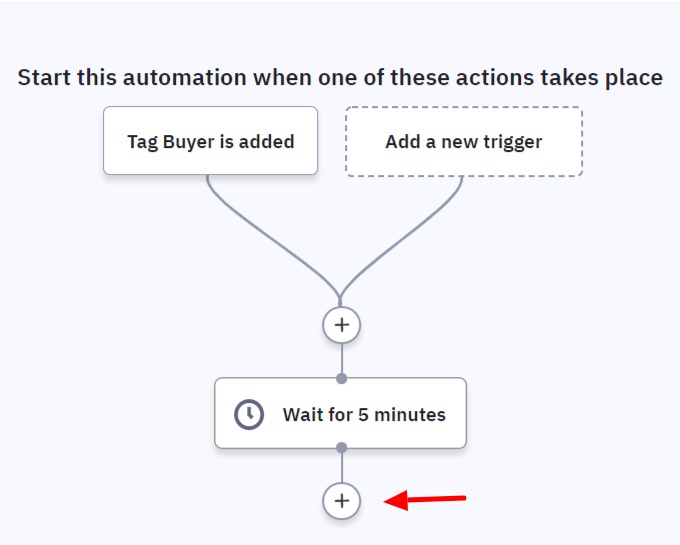
Step #4: Set Up the Following Action
Click on the + symbol to add the following action to the automation.
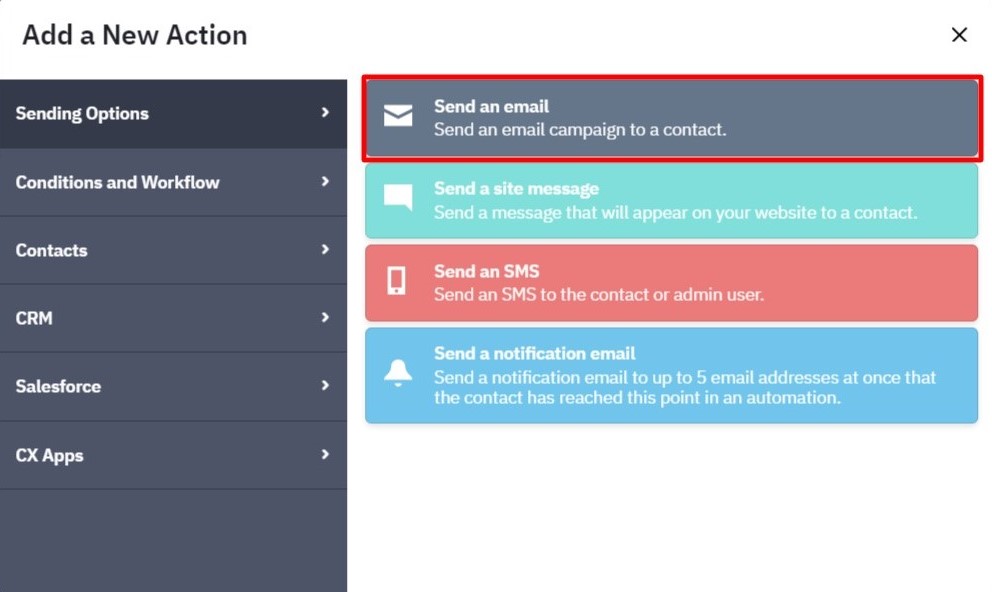
Select the option of Send an email from sending options.
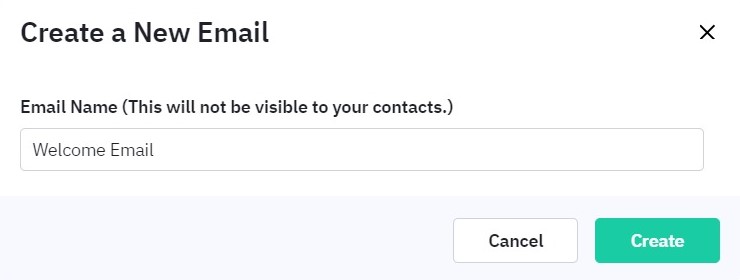
It will prompt you to create a new email if you don’t already have one drafted.
Name the email copy for your convenience, and hit create.
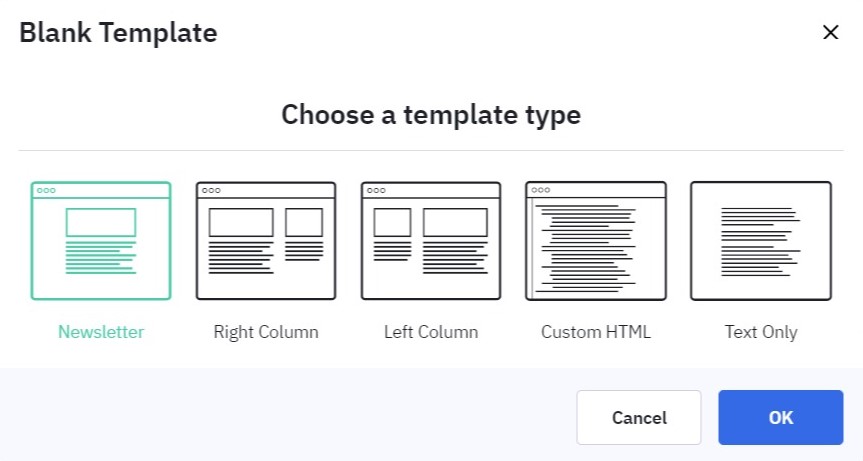
Select a template you wish to choose for your Welcome email. Here we are going to create an email from scratch.
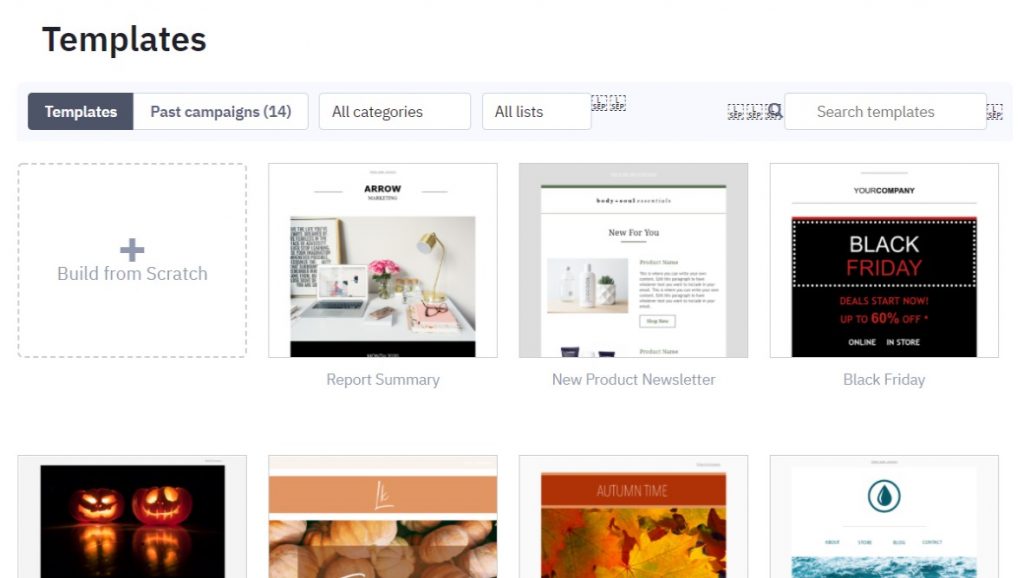
Now, a few more email templates are presented for you to choose from. Select the one that best fits your message.
We have chosen the Newsletter template here.
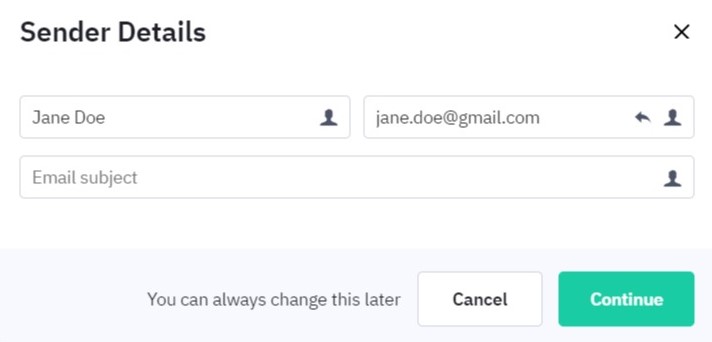
Update the sender details. Also, add the welcome email subject line here.
Step #5: Change the Email Copy
Change the copy of the email to make the email more attractive.
This is the copy that you can use for your welcome email:
Hello and Welcome!
Thank you for your purchase!! We are so happy that you decided to be a part of our clan.
Here at BeeHive, we promise to provide you with the best of the best and make your skin glow from within.
We believe in natural remedies, which is why all our products use 100% natural ingredients that are locally sourced to support our community.
Keep supporting the locals while maintaining a radiant skin!
Explore more of our products here.
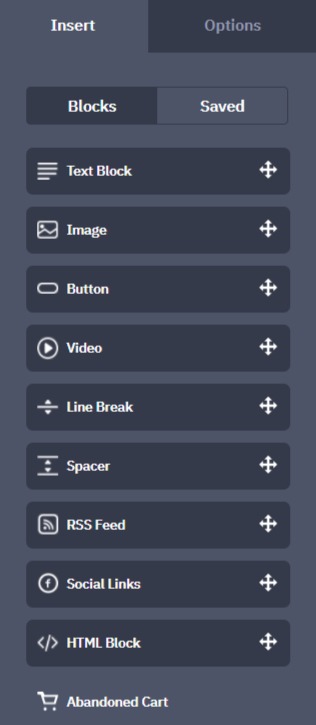
You can change the image, typography, margins, etc., to personalize your audience's emails.
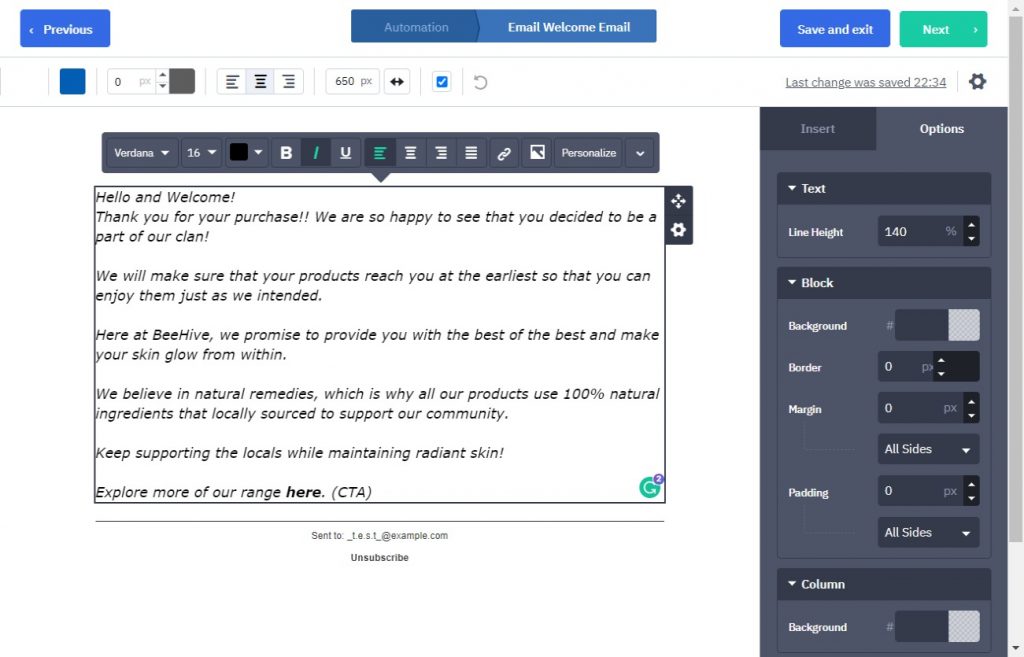
You can even drag and drop more images, buttons, text boxes, and videos among other things, to design a page that is on-brand.
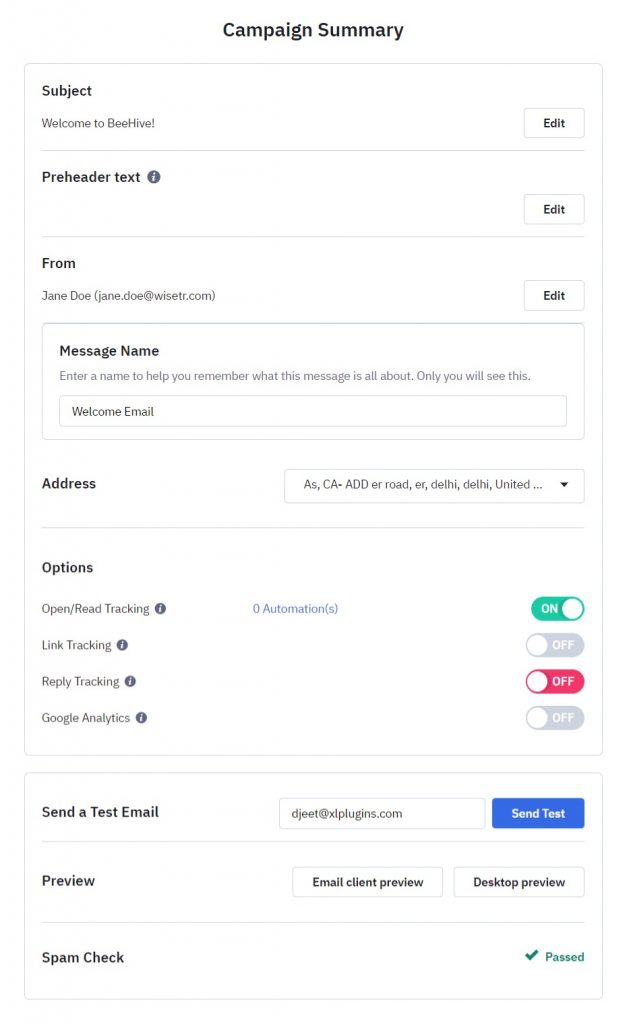
Click Next and review the final campaign settings before finishing setting up the automation.
Just click on the Active button to activate the automation and bring it to life.
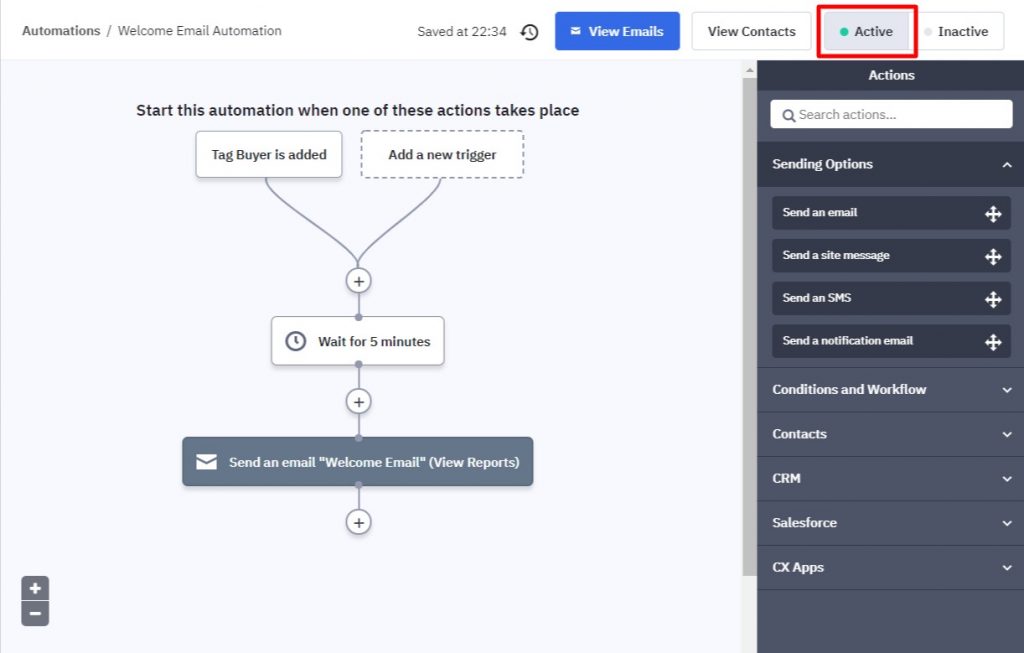
And you're done! You've got your welcome email automation all set and ready to roll!
Test Your Automation
Once you've designed your automation, you can even test them before publishing it out to the masses. The automation will run exactly the same for you as it would for the users.
Make a test purchase in WooCommerce and your automation will be scheduled to run after the previously defined wait period.
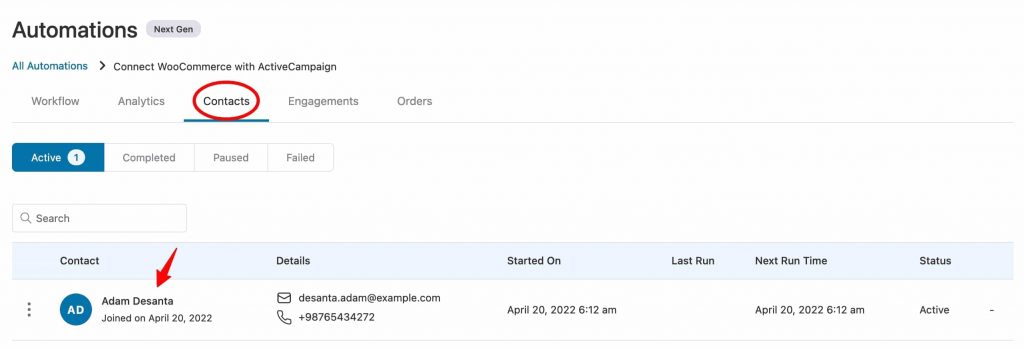
You can check the scheduled automation and the time period after which they'd run in the Contacts tab under Automations.
In here, you can see all your active contacts, previously carried out automation, and their status.
Once you receive the email after the defined wait period, you know that the automation is running right, and will work well with your contacts too.
Now sit back and let FunnelKit Automations and ActiveCampaign take care of your customers.
All Set with WooCommerce and ActiveCampaign!
Now with your first automation in place, you are all set to not only generate more leads but also keep track of all the users that enter your space.
We learned how to bridge the gap between WooCommerce and ActiveCampaign using FunnelKit Automations so that you get to manage your contacts with ease.
Not only that, but we also learned how to set up an automation that allows you to send emails to your leads and customers on autopilot without any action required from your end.
But that's not all you can do. You can add contacts to a list of buyers of a specific product, update custom fields, add them to an automation, and so much more.
All these features make FunnelKit Automations X ActiveCampaign a much superior integration as compared to AtiveCampaign's Deep Data Integration.
So what are you waiting for?
Get FunnelKit Automations and use it to connect WooCommerce with ActiveCampaign today!
Editorial Team
April 1, 2026WooCommerce Google Sheets integration lets you automatically send your store's order, product, and customer data to a Google Sheets spreadsheet. Instead of exporting CSV files manually every time you need...

Editorial Team
March 26, 2026Do you want to send WooCommerce subscription emails to keep your customers informed and engaged with timely follow-ups? Every subscription business lives or dies by its emails. Those automated messages...
Editorial Team
March 24, 2026Customizing pre-designed WooCommerce email templates is one of the most effective ways to create visually appealing, brand-consistent emails for your customers. Every WooCommerce order triggers a chain of emails, such...


