Afterpay/Clearpay is a buy-now-pay-later payment method available through Square that lets customers split purchases into installments.
Customers typically pay the first installment at checkout and complete the remaining payments over time in interest-free installments. Merchants receive the full payment upfront. It is known as Clearpay in the United Kingdom.
In this guide, we’ll walk you through how to set up Afterpay/Clearpay payments in WooCommerce using Square.
Configuration
Step 1: Go to the Afterpay/Clearpay section under Square
Navigate to WooCommerce ⇨ Settings ⇨ Square and click on the Afterpay/Clearpay tab.
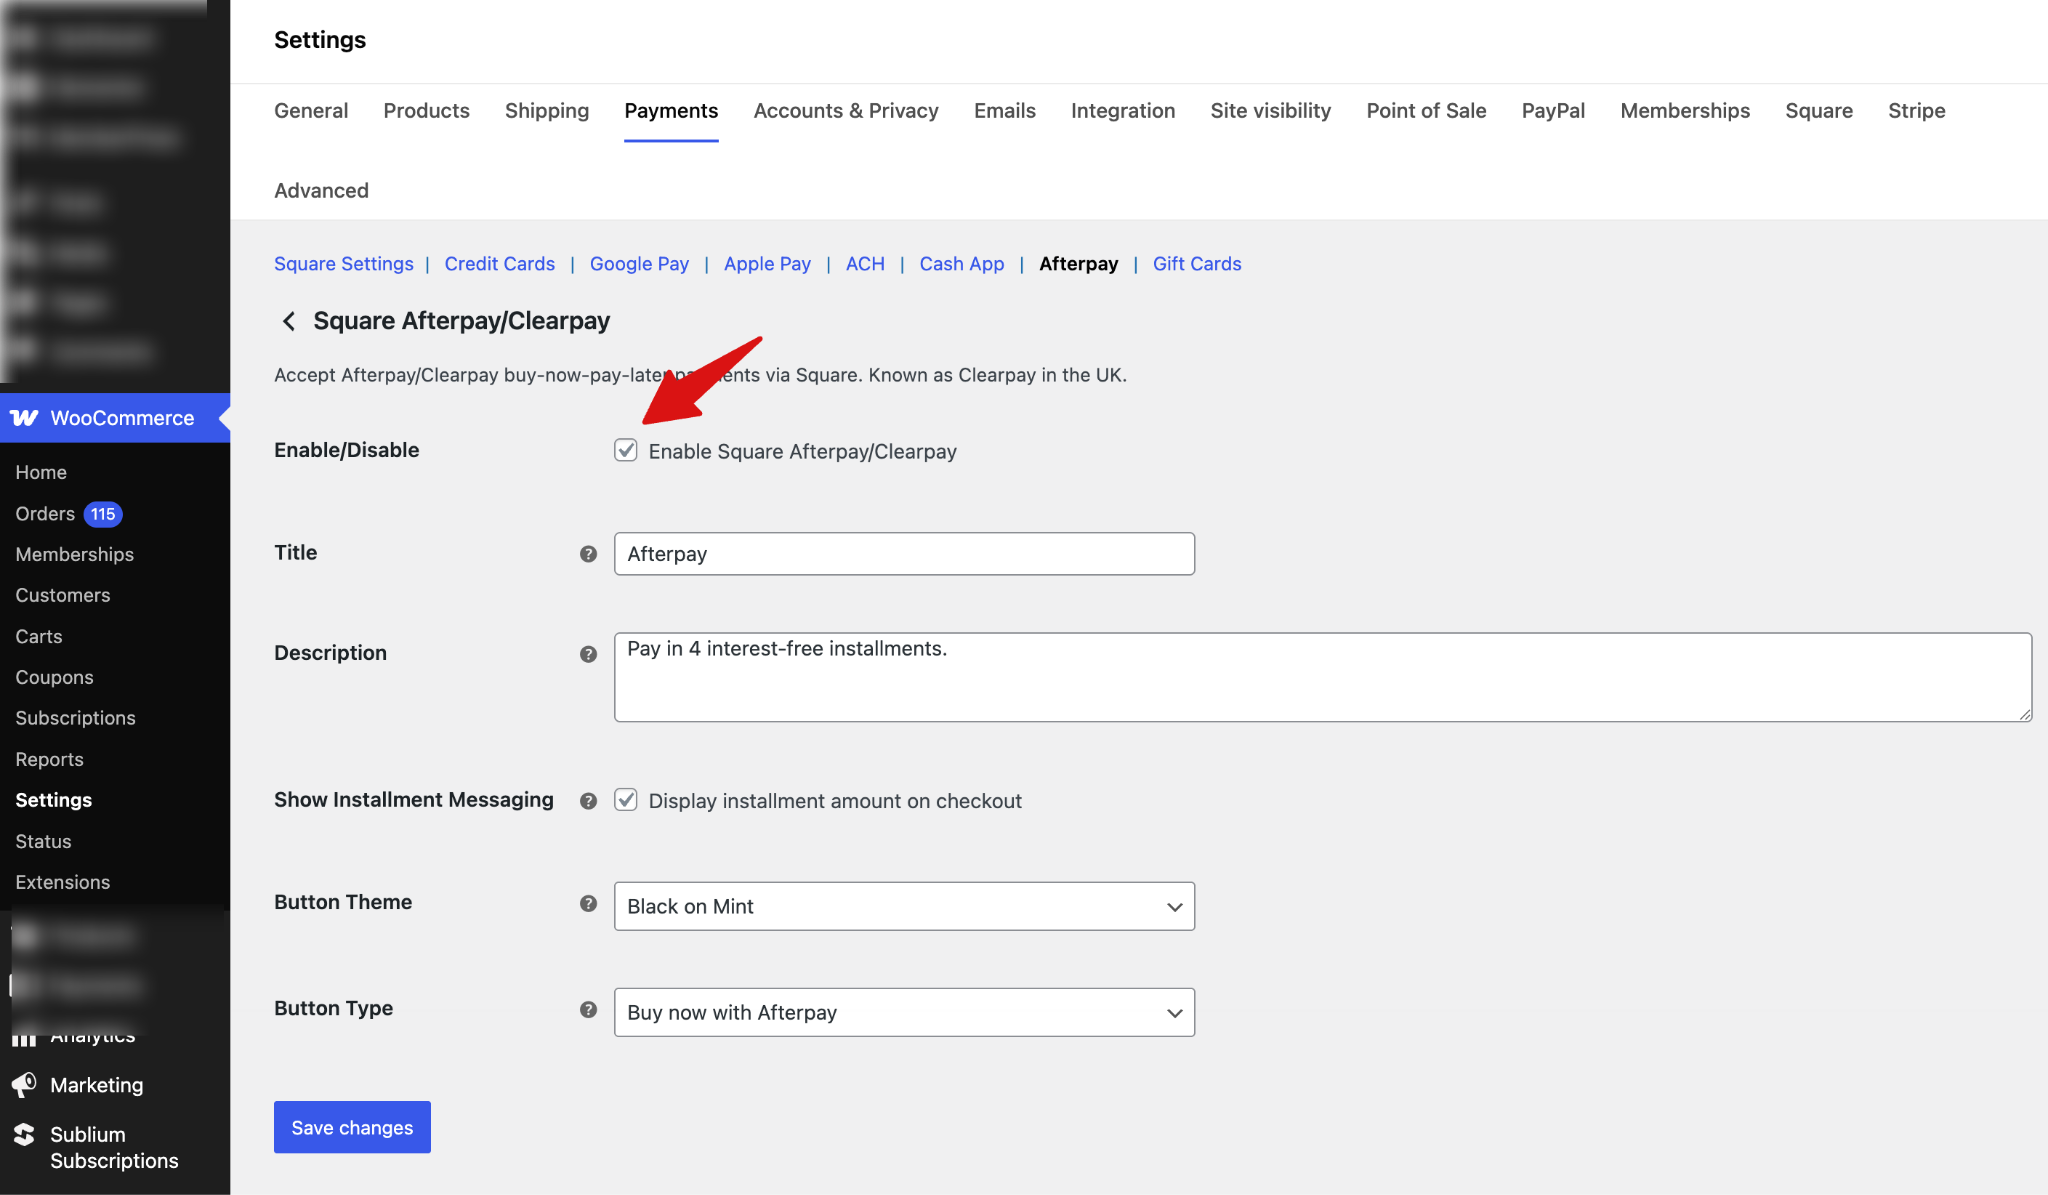
Step 2: Configure the Afterpay/Clearpay options
Next, configure all the Afterpay/Clearpay settings:
- Enable/Disable: Enable this option to allow customers to pay using Afterpay/Clearpay at checkout.
- Title: This controls the payment method title displayed to customers during checkout. Default: Afterpay/Clearpay
- Description: This controls the description shown to customers at checkout. Default: Buy now, pay later with Afterpay/Clearpay.
- Show Installment Messaging: Enable this to display the installment amount directly on the checkout page.
- Button Theme: Choose the visual style of the Afterpay/Clearpay button. Options are
- Black on Mint
- White on Black
- Black on White
- Mint on Black
- Button Type: Choose the button label that appears at checkout: Options are
- Buy now with Afterpay
- Checkout with Afterpay
- Pay now with Afterpay
- Place order with Afterpay
Make sure to hit "Save Changes."
Testing
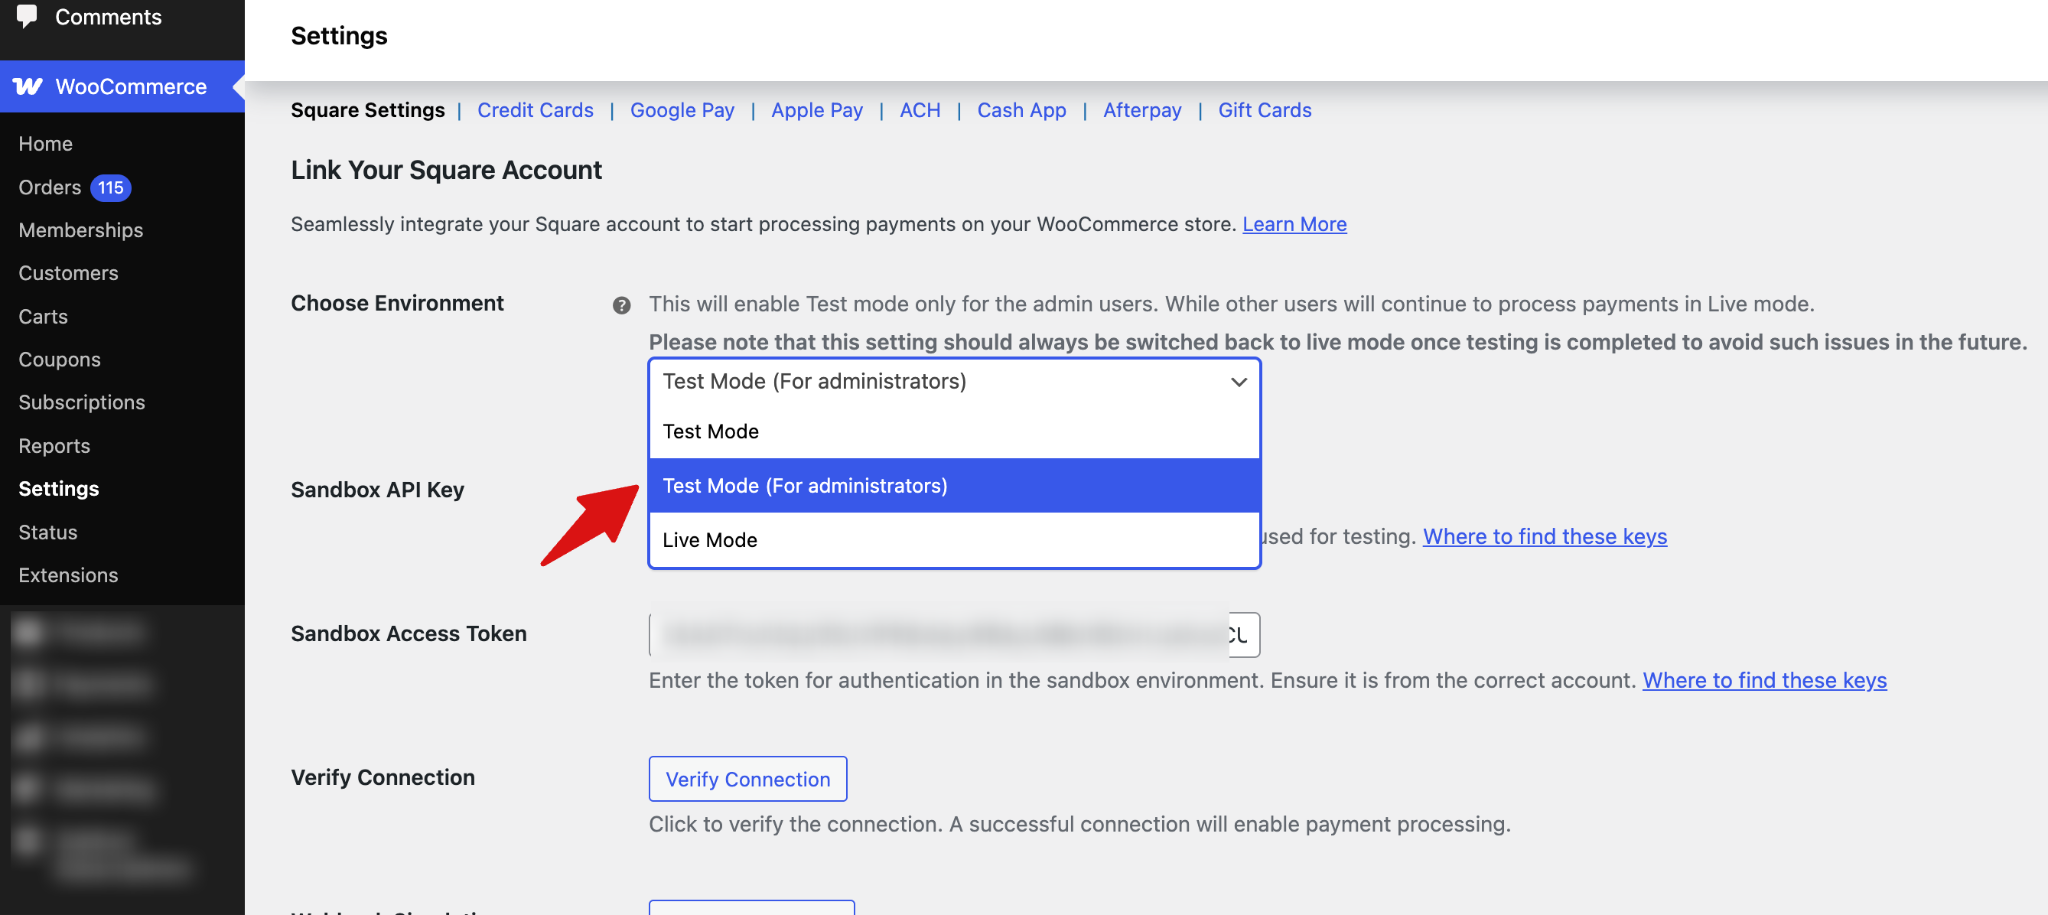
Ensure you’ve enabled test mode. With FunnelKit Square Gateway for WooCommerce, you can enable administrator-only mode so that payment processing is restricted to admin users during testing.
This does not affect the customer experience. Customers continue to see and use the live checkout as normal, while only admins are able to test transactions in a controlled environment.
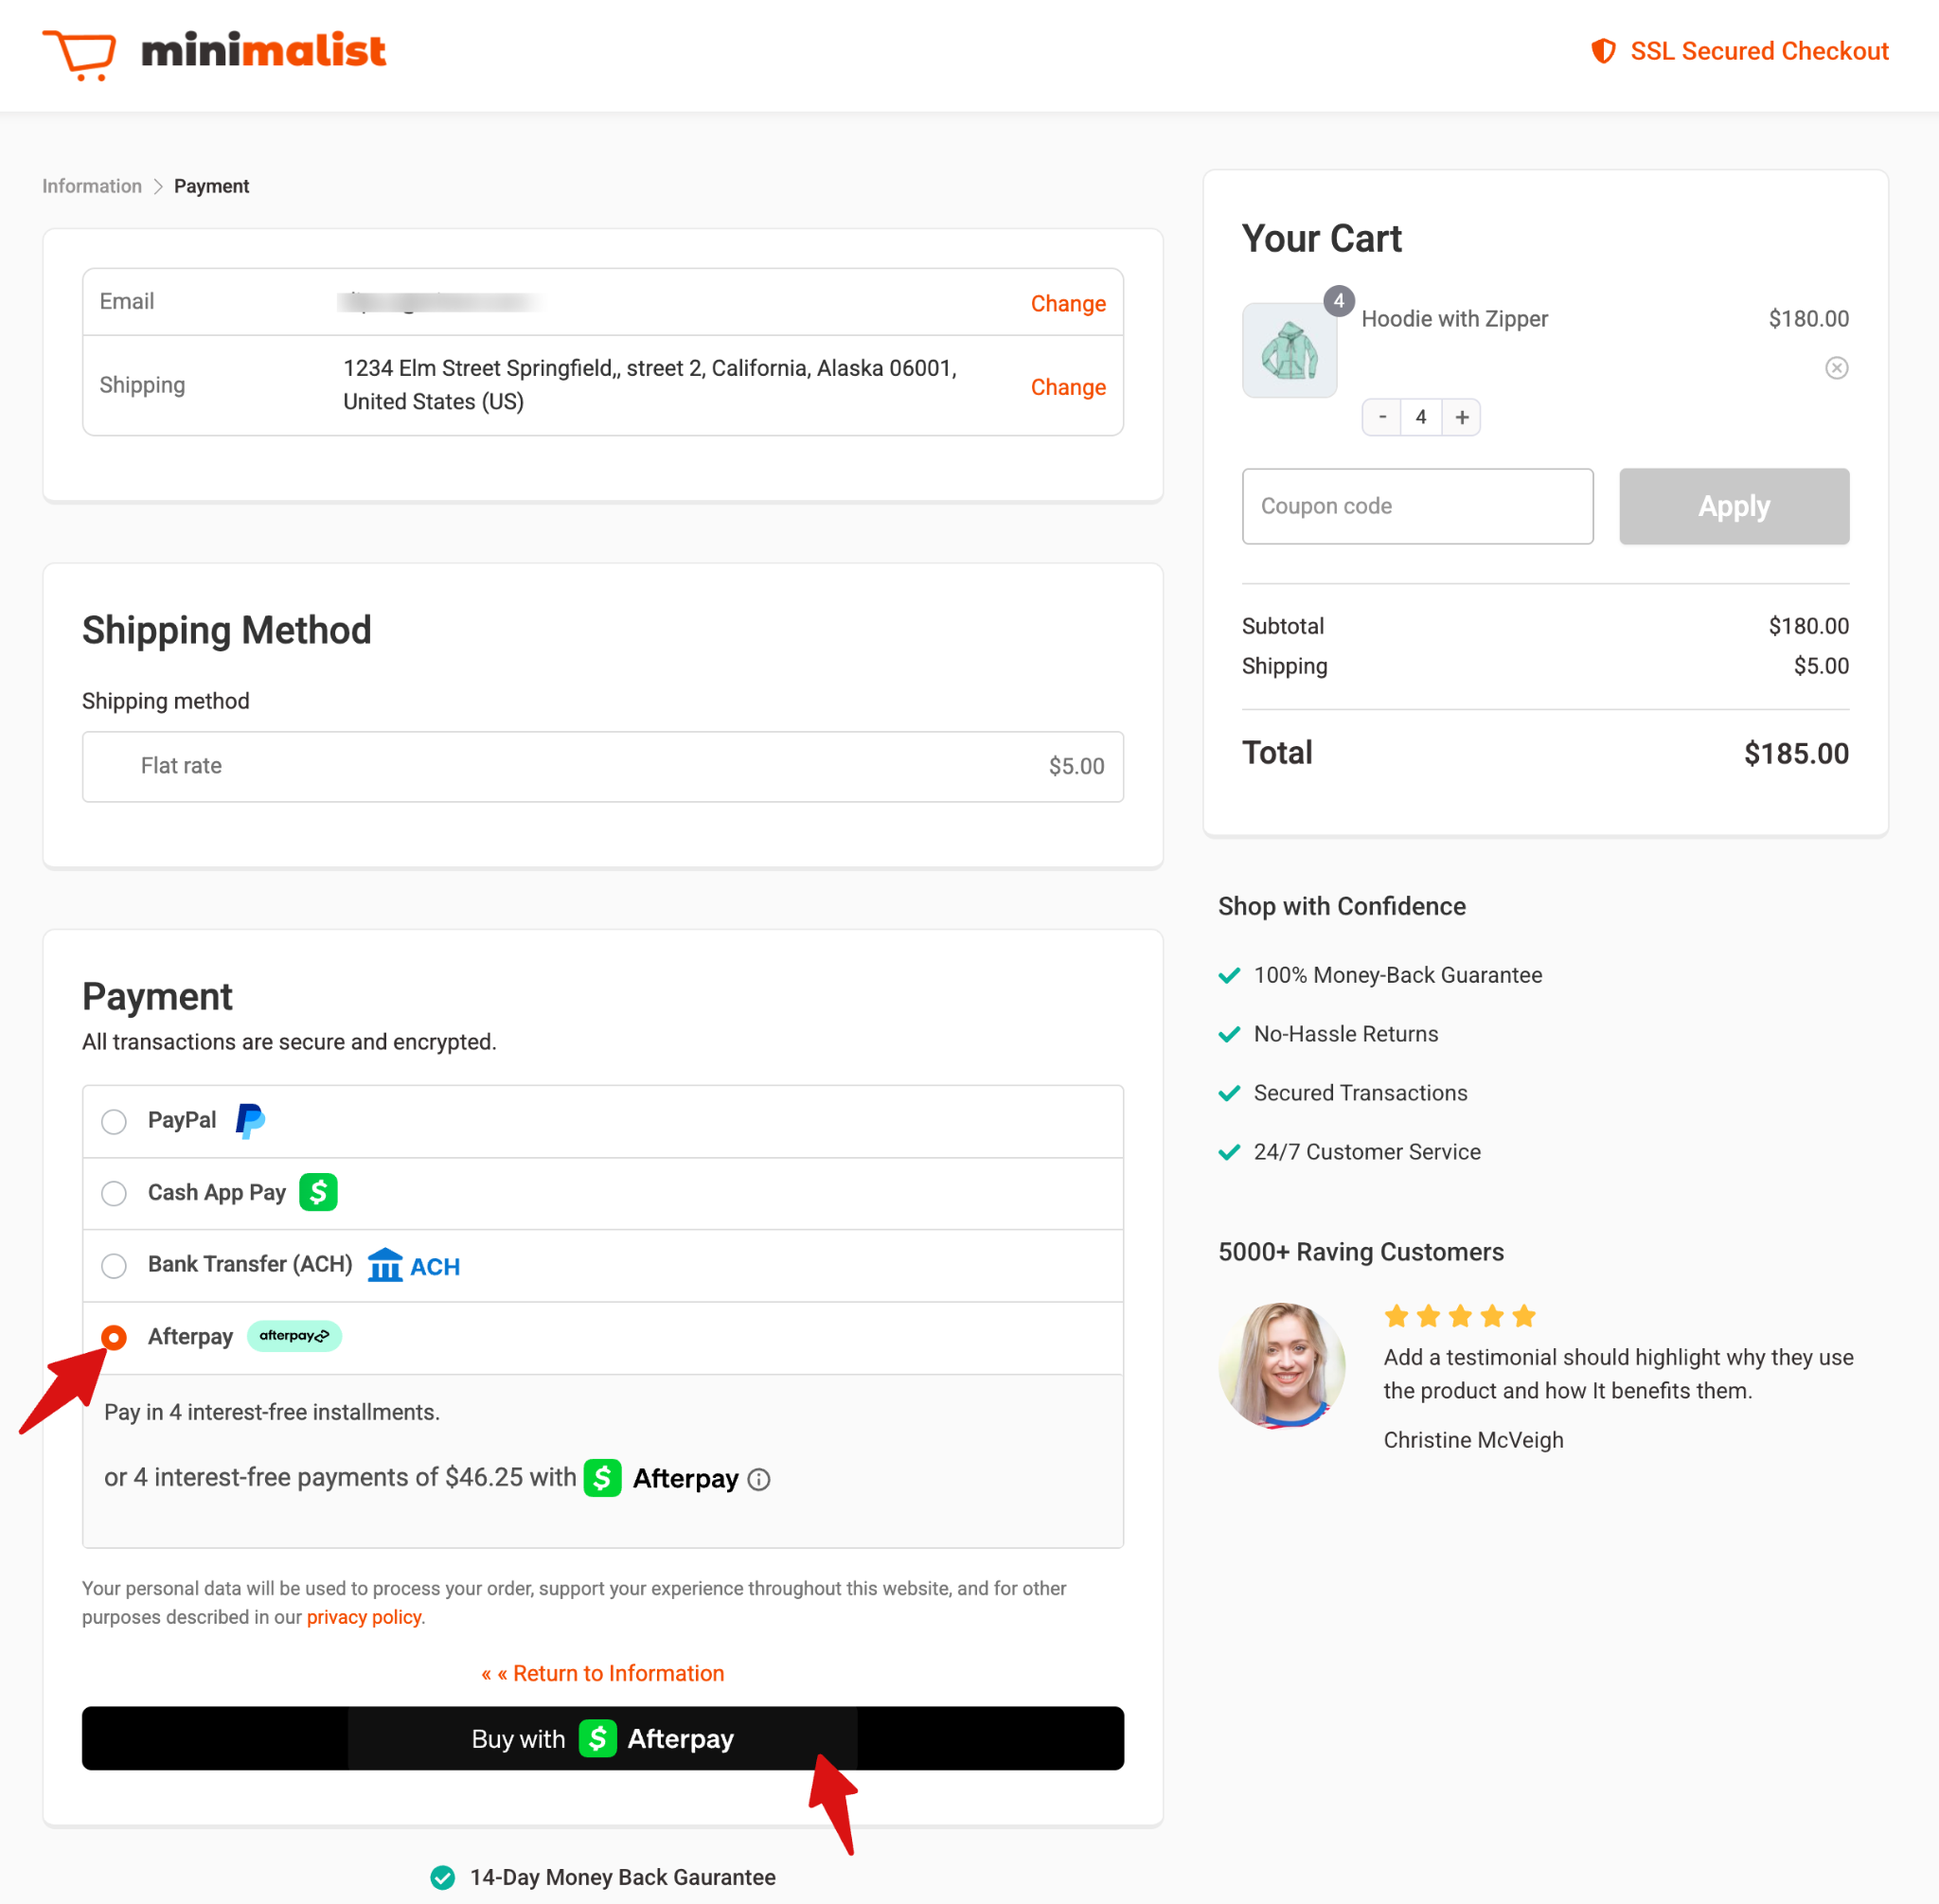
Now, place a test order to check if the payment option is working fine.
Next, place a test order to check if the payment option is working properly. While checking out, select "Afterpay/Clearpay."
After a successful test order, monitor the transaction logs and Square's transaction history for test transactions. Switch from Sandbox to Live Mode by changing the Environment in Square Settings.
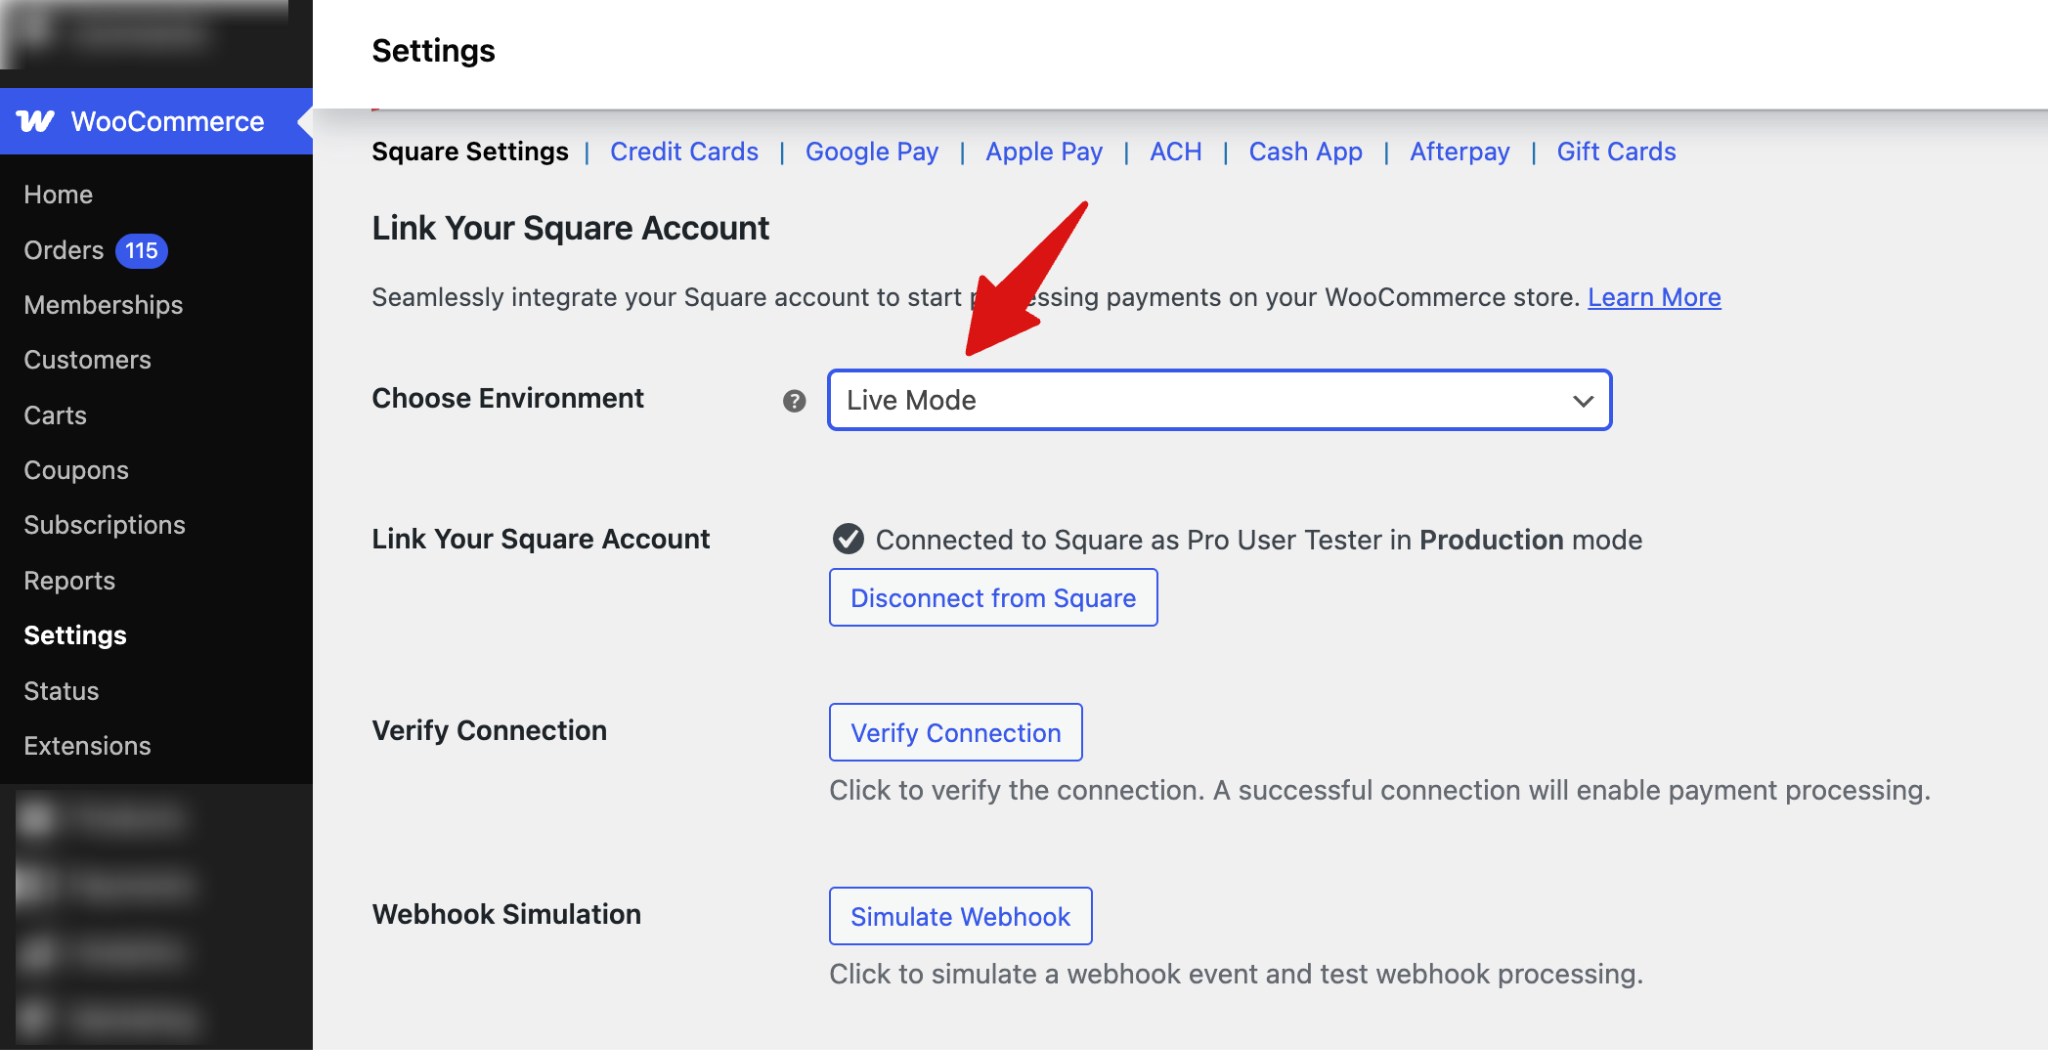
Save the changes when done.
This is how you can set up and test Afterpay/Clearpay payments through the Square WooCommerce gateway.


