To install the Stripe Gateway for WooCommerce plugin on your WordPress, follow the instructions mentioned below.
First of all, download the Stripe Payment Gateway for WooCommerce for free here.
Step 1: Go to Plugins on your dashboard
Go to Plugins from the WordPress dashboard.
Then, click on Add New.
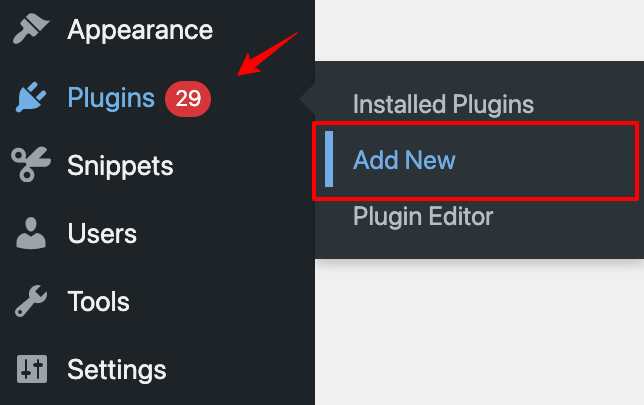
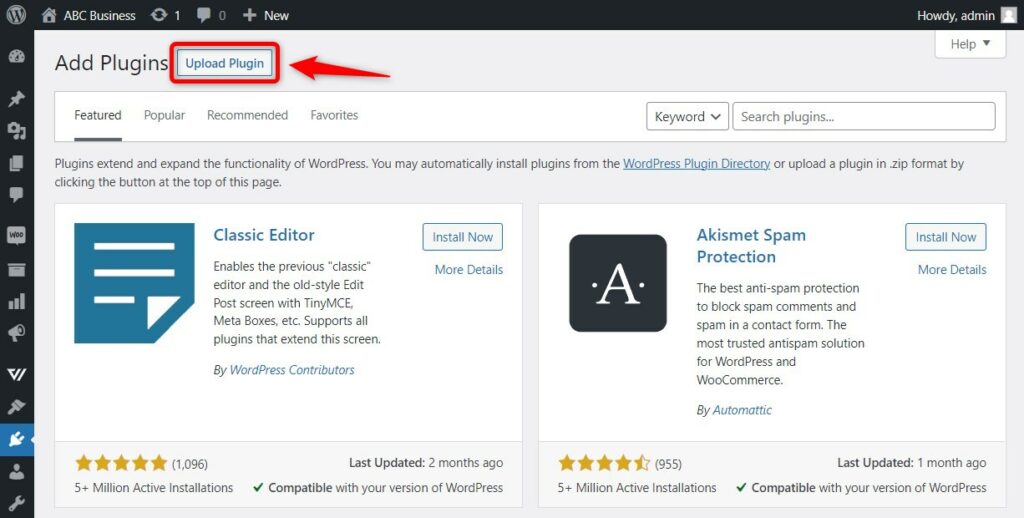
Then, hit the Upload Plugin button.
Step 2: Install Stripe Gateway for WooCommerce
Upload the plugin zip file there and click on Install Now.
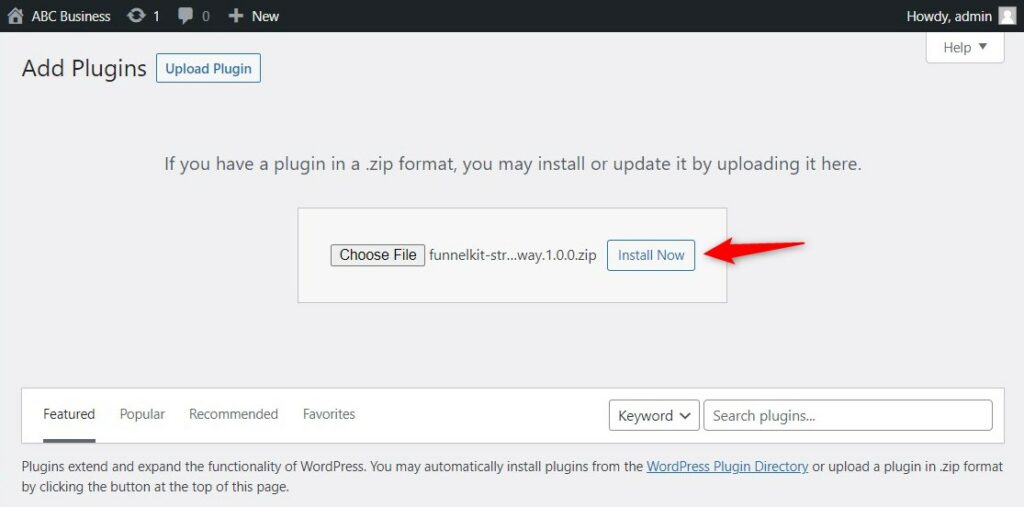
The plugin will begin to install.
Step 3: Activate Stripe Gateway for WooCommerce
Once the plugin is installed, click on Activate.
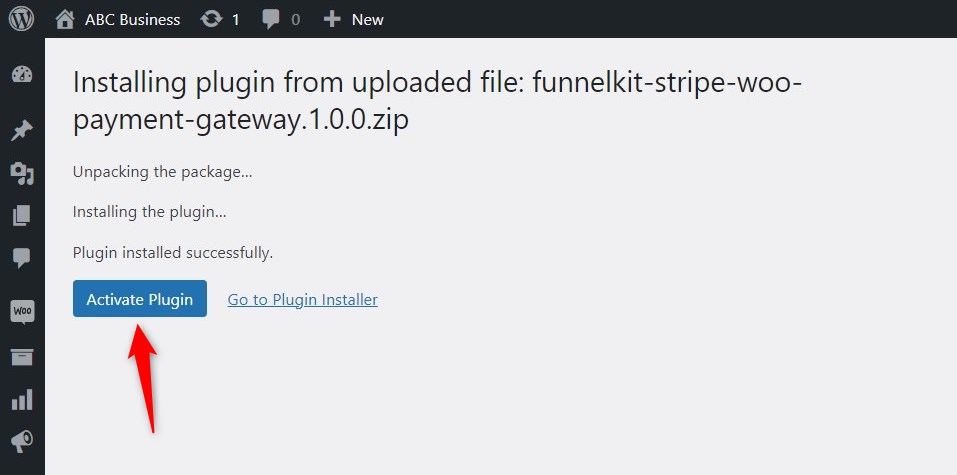
Stripe Gateway for WooCommerce will get activated on your website.
Follow the next documentation to complete the setup and onboarding process.


