FunnelKit gives you a wide variety of templates to choose from. But you may not always want to use one of our templates.
So, you also have the option to build a page from scratch and design it from the ground up using the page builder tool you like.
FunnelKit deeply communicates with famous page builders such as Elementor, Divi, Gutenberg, Oxygen, and more.
So, instead of using one of the available pre-designed templates, you can create your own custom pages.
Here's how you can build your Optin Confirmation page from scratch.
Step 1: Create a New Sales Funnel
Click on 'Create New Funnel' to create a new sales funnel.
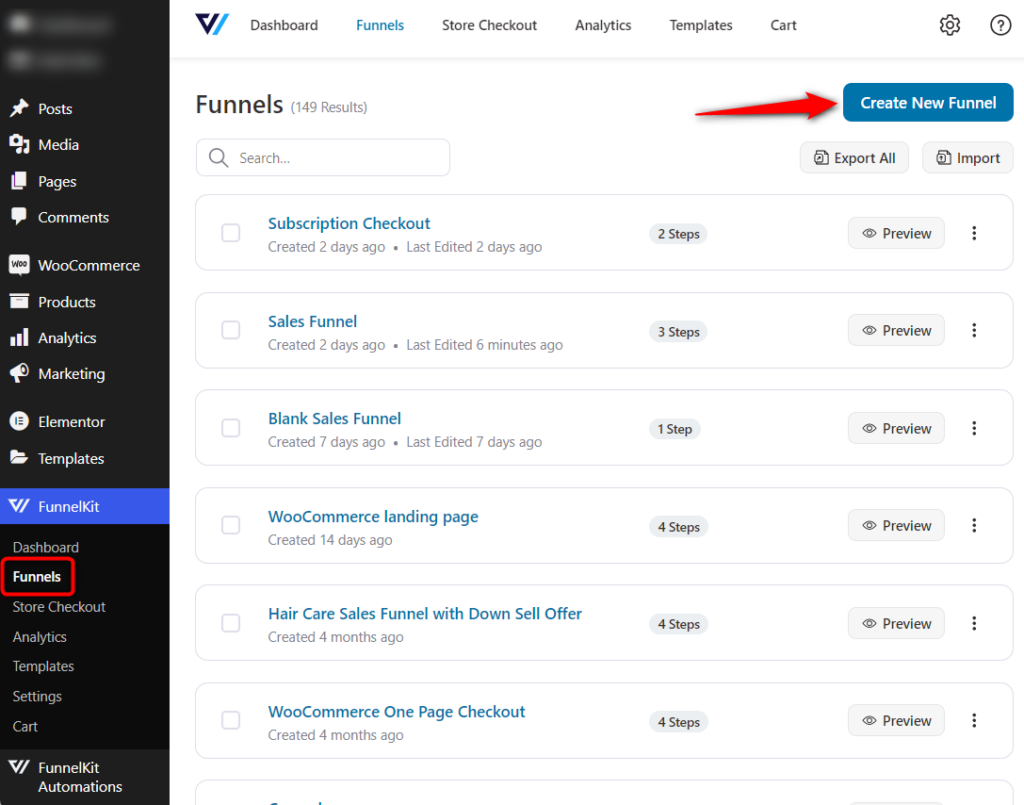
It'll take you to the templates page.
Select Lead Generation Funnel and click on Start from scratch.
Enter the name of your funnel and select the pages you want to add.
Clicking on Done will import a blank funnel.
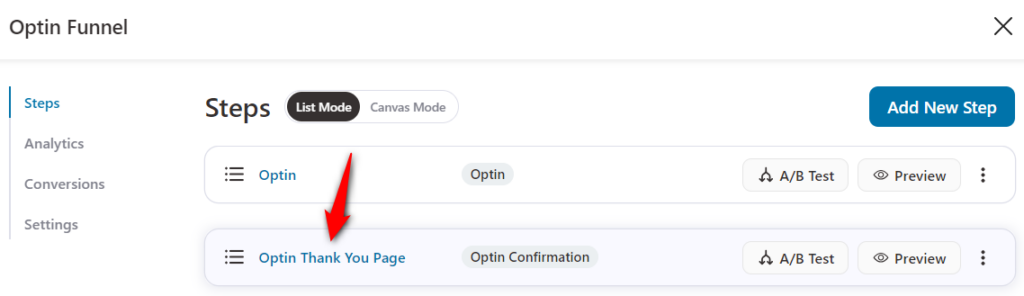
Step 2: Edit the Optin Confirmation Page
Click on the Optin Thank You page to start editing it.
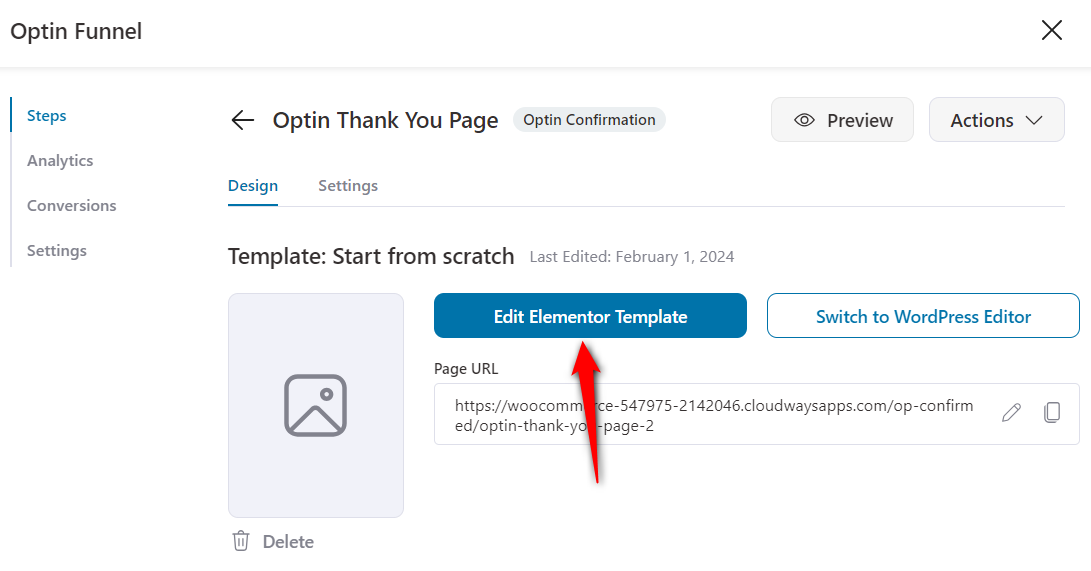
Click the Edit Template button to open up a new funnel page in Elementor.
This is how your blank canvas would look:
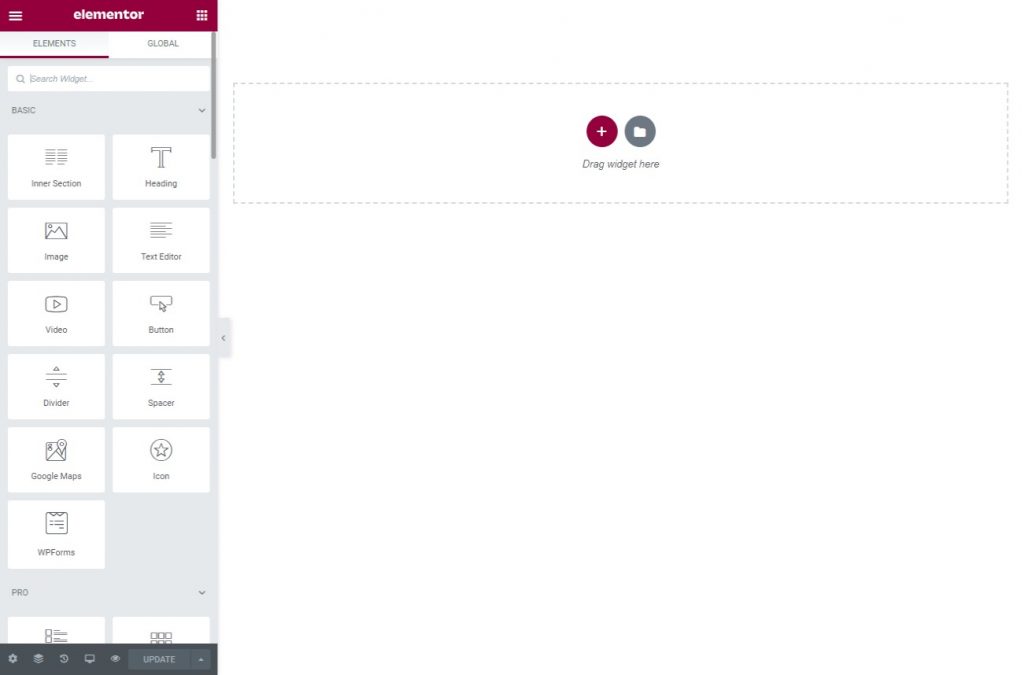
You can create a custom page here by dragging and dropping the multiple widgets provided to you.

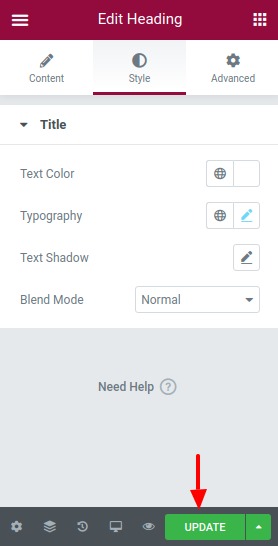
Step 3: Save the changes
Once you're done creating the page, click on the green Update button to save the changes.
This is how you can create a custom funnel Optin Thank You page from scratch!


