An opt-in page helps you collect email addresses from your customers in exchange for a freebie or a lead magnet.
FunnelKit (formerly WooFunnels) lets you create impressive opt-in pages using popular builder tools like Elementor, Divi, Gutenberg, Oxygen, and others.
If you import an Opt-in funnel, you begin with an Opt-in page and an Opt-in Thank you page, but you can always add the two pages separately.
Let's learn how to add just an Opt-in page separately to a funnel.
Step 1: Create Your Funnel
Add a new funnel by clicking on Create New Funnel.
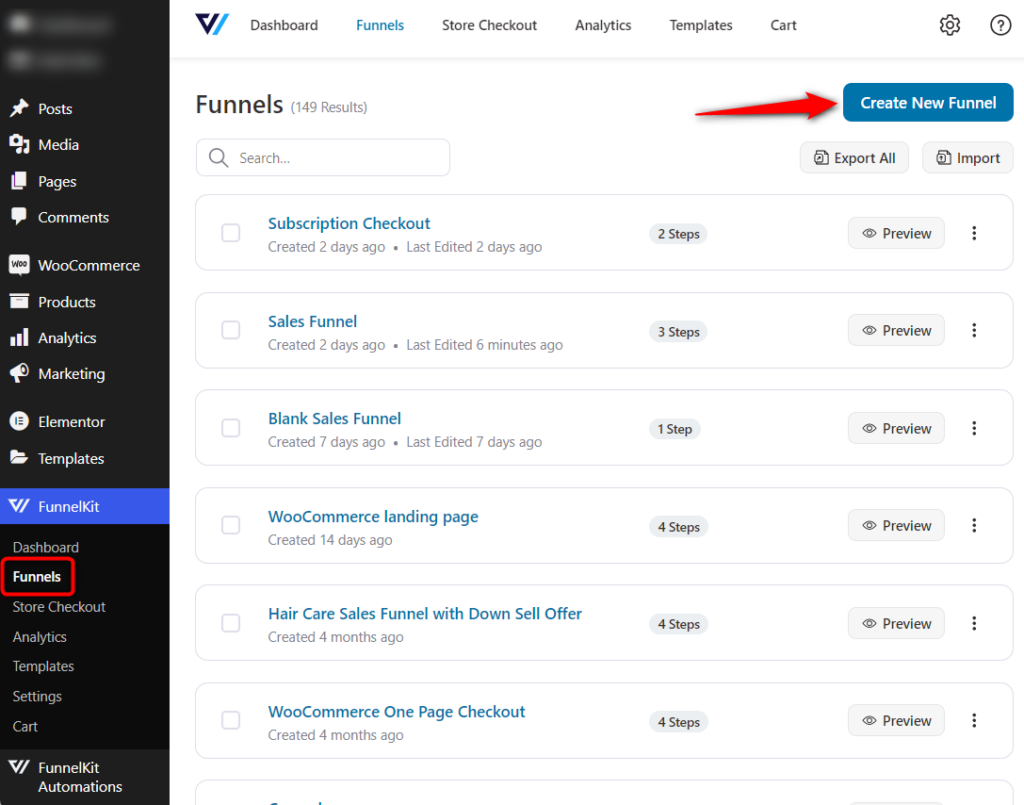
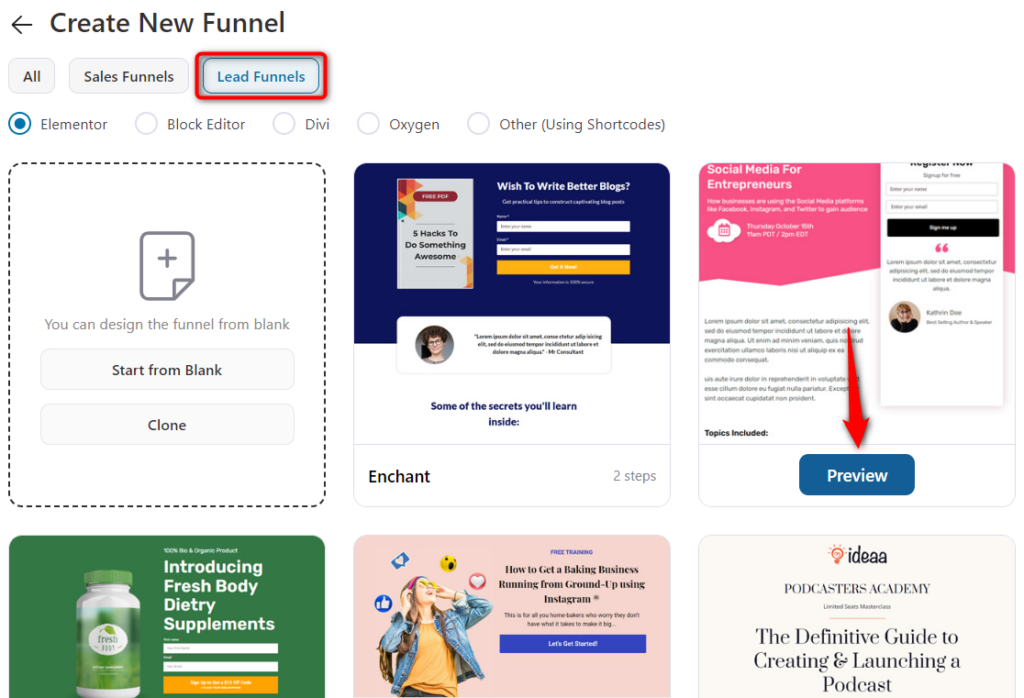
You'll be directed to the templates screen.
Choose Lead Funnels and hit 'Preview' to the template you want to import. Or you can design your opt-in page from scratch.
Select the page builder and optin template you wish to create your page.
FunnelKit (formerly WooFunnels) deeply integrates with Gutenberg, Elementor, Divi, Oxygen, and other custom page builders to help you create impressive opt-in pages the way you want.
Select the type of opt-in form you want to create: Inline and Popup.
- Inline: The sign-up form is embedded on the page
- Pop-up: The sign-up form is embedded on the pop-up that opens with the click of a button
Then, hit Import This Funnel and enter the name of your sales funnel.
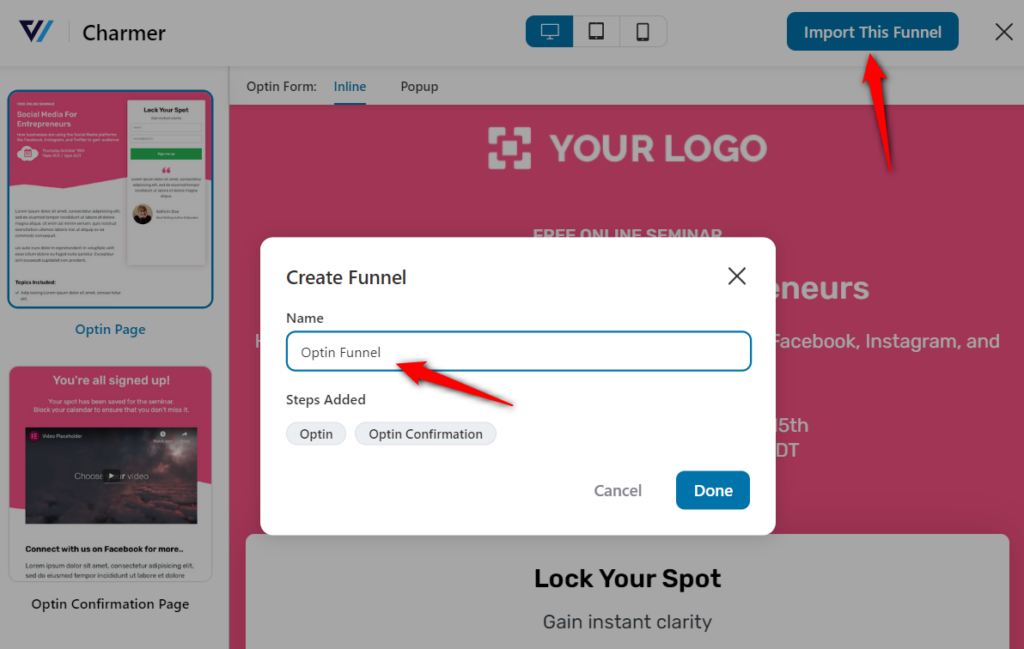
Clicking on Done will import this opt-in funnel to your funnel workspace with the Opt-in and Opt-in confirmation page.
Step 2: Customize the Opt-in page template
Click on the Optin page to customize it.
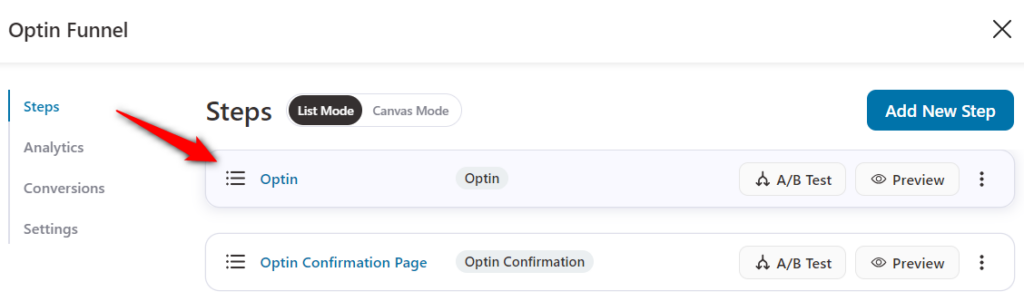
It'll direct to the Design tab.
From there, click on the Edit Elementor Template button to customize your opt-in page.
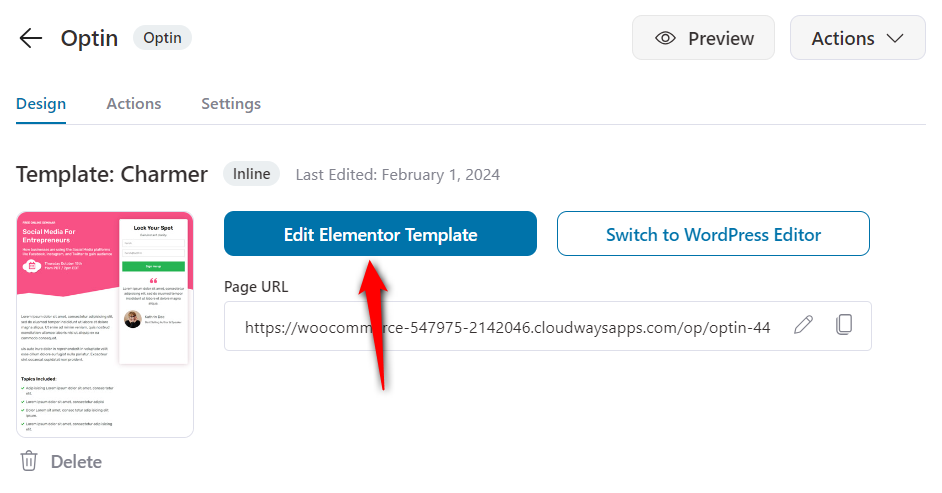
The template will then open in Elementor, allowing you to customize it and make it look the way you want.

You can customize the page and the form using all the widgets and editing options provided on the screen.
You can change the text copy, images, and even the button displayed on the page.
There editing settings available for the popup that comes up when you click on the CTA button.
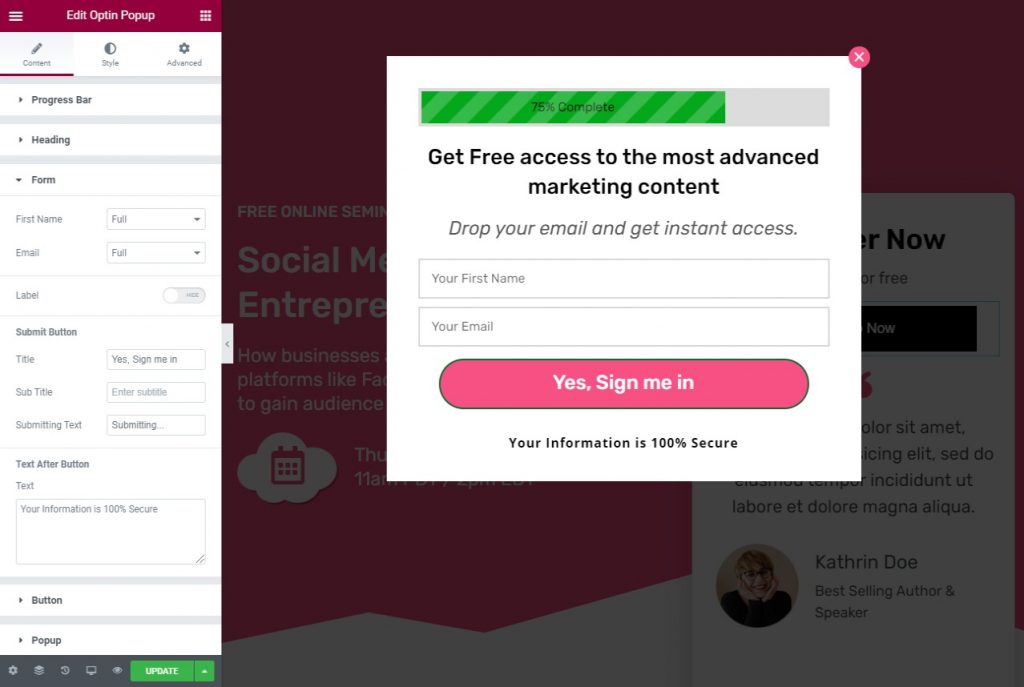
You can customize the progress bar displayed on the top of the pop-up, the heading, the Opt-in form, and the CTA button here.
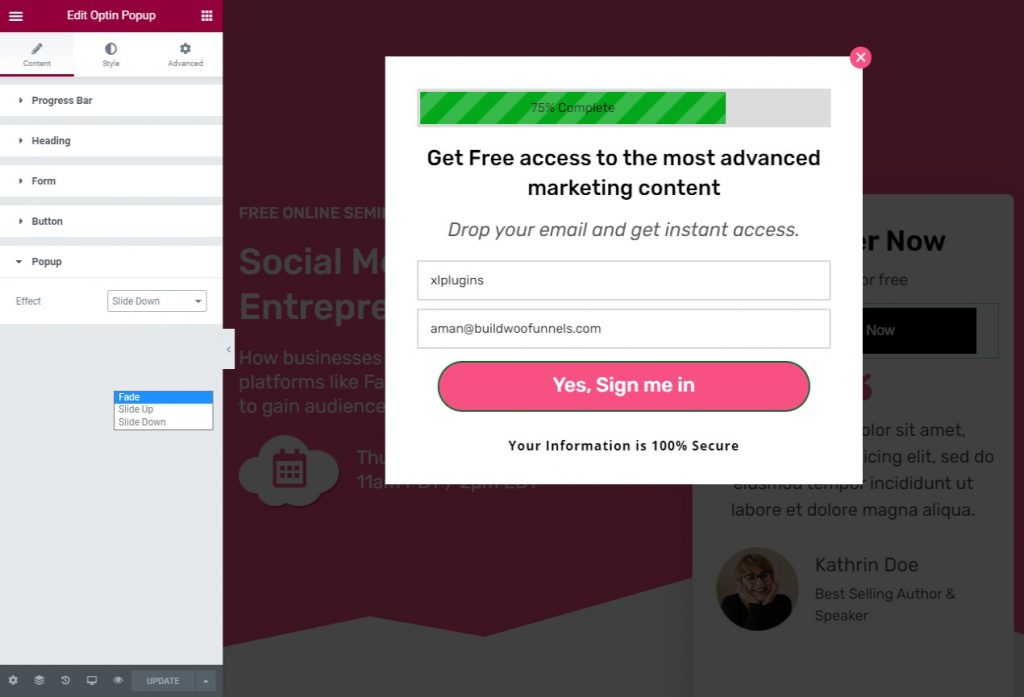
Not only this, you can also choose the effect with which the form would pop up on the screen.
In addition to all this, FunnelKit also has two specially designed widgets at your disposal. These are - Optin Form and Optin Popup.
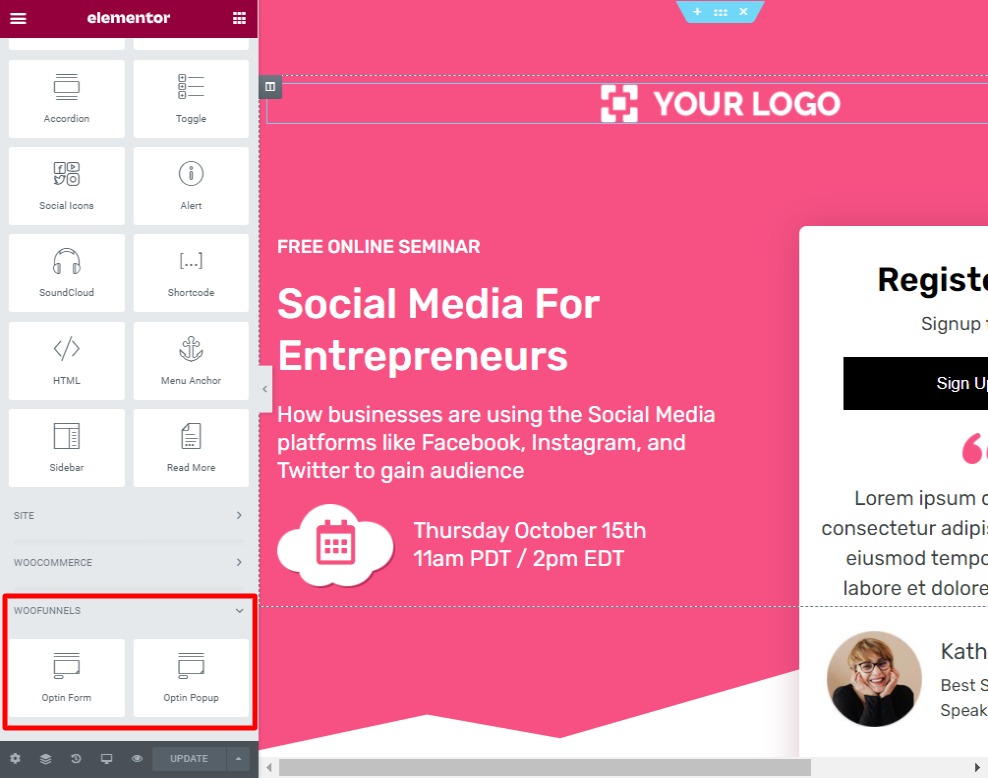
While the Optin Popup Form will only show a signup CTA button on the page, the Optin Form will have the form fields displayed on the Optin page itself.
Just drag & drop the Optin Form widget or any of the other widgets available to the workspace to customize the page and make it on-brand for your business.
Once you're done and happy with how the page looks, click on the green Update button to save the changes made.
There you go! You're all set.


