You can use the Opt-in page settings section to add validation messages, custom redirect links, scripts, and more.
There are major four settings that you can configure within your Opt-in page.
Validation
The validation message allows the user to see if they have left a required field blank. They can go back and fill these fields before pressing the submit button again.
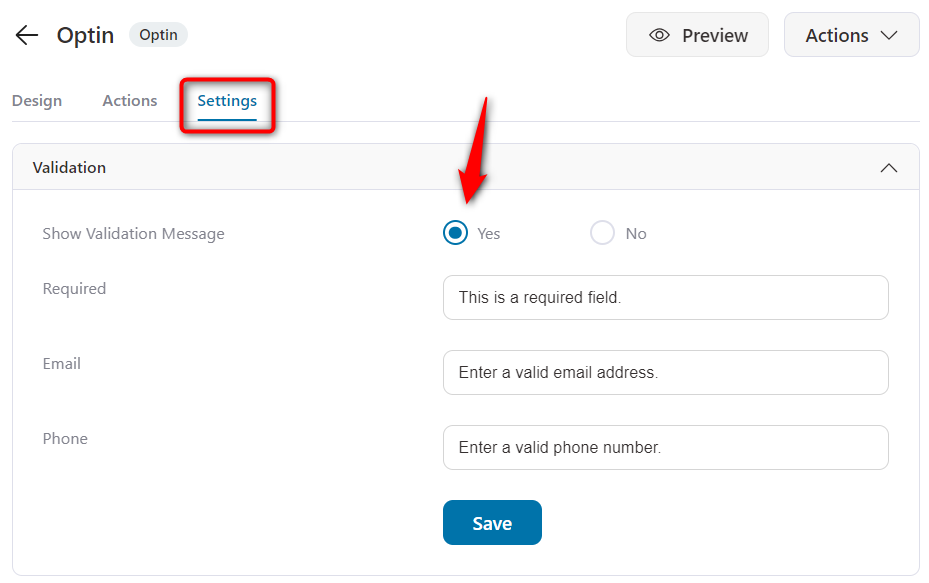
When you click "Yes", you enable the validation messages to be displayed.
These messages can be edited from here in the settings if you want to.
Custom Redirection
If your Opt-in page is time-bound, and the set time has expired, you can choose to redirect users to a different page when they hit the page's link.
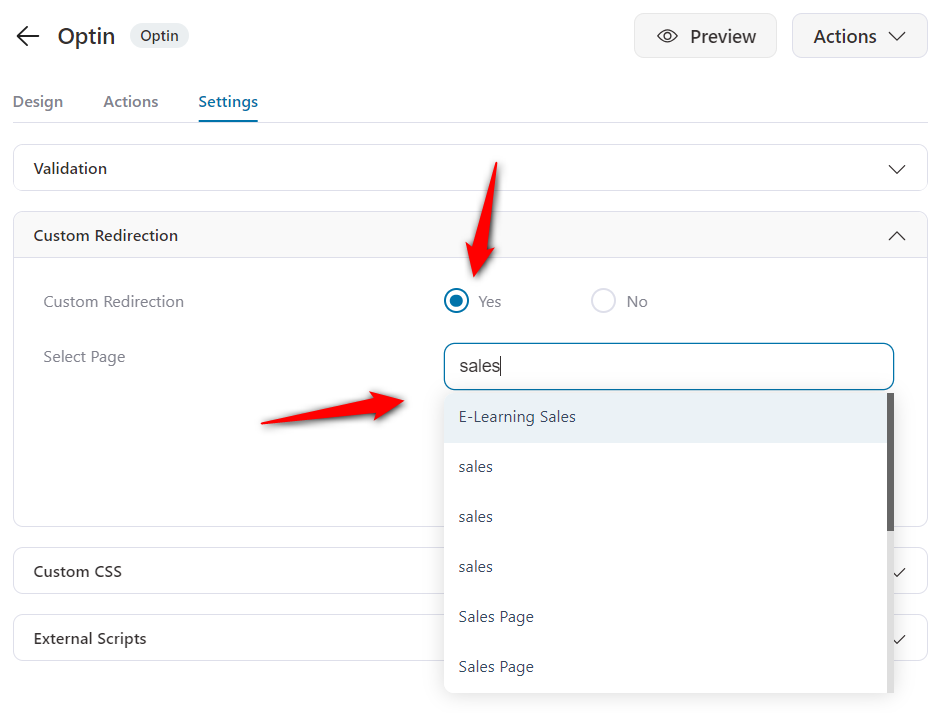
You can enter the first few letters of the page to find it in the list and select it for redirection.
You can redirect the users to a page (outside of the funnel) where they can sign-up to a waitlist for that event. It could say something like this - "Sorry! Time's Up! Sign-up here to stay updated on when the doors to this event open again".
Important: The page you wish to redirect to needs to be added to your WordPress Pages.
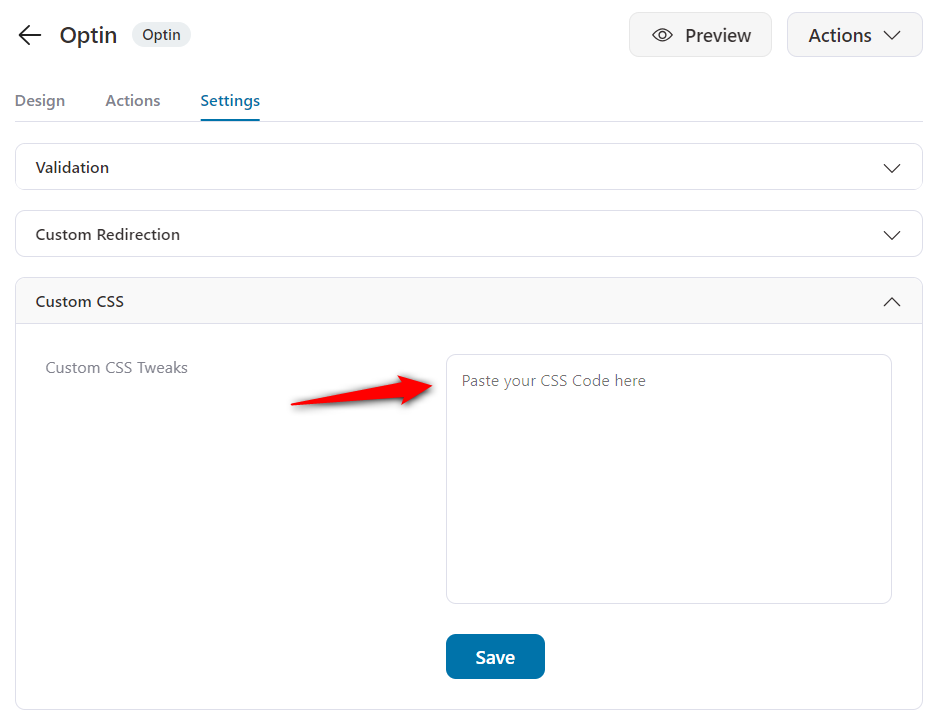
Custom CSS
You can even add custom CSS tweaks or styling codes to your page to modify the looks of the page to your liking.
External Scripts
You can insert JS scripts in this section to your tweak and customize your optin page on your website.

These are all the specific page settings you can configure on your Opt-in page.


