


This document explains how to enable and configure Amazon Pay as an express checkout option, including its display locations, card payment integration, and button position.
Customers can pay securely using the payment and shipping details saved in their Amazon account.
The following settings let you control where Amazon Pay appears and how it works alongside card payments.
How To Enable And Configure Amazon Pay
Step 1: Enable Amazon Pay
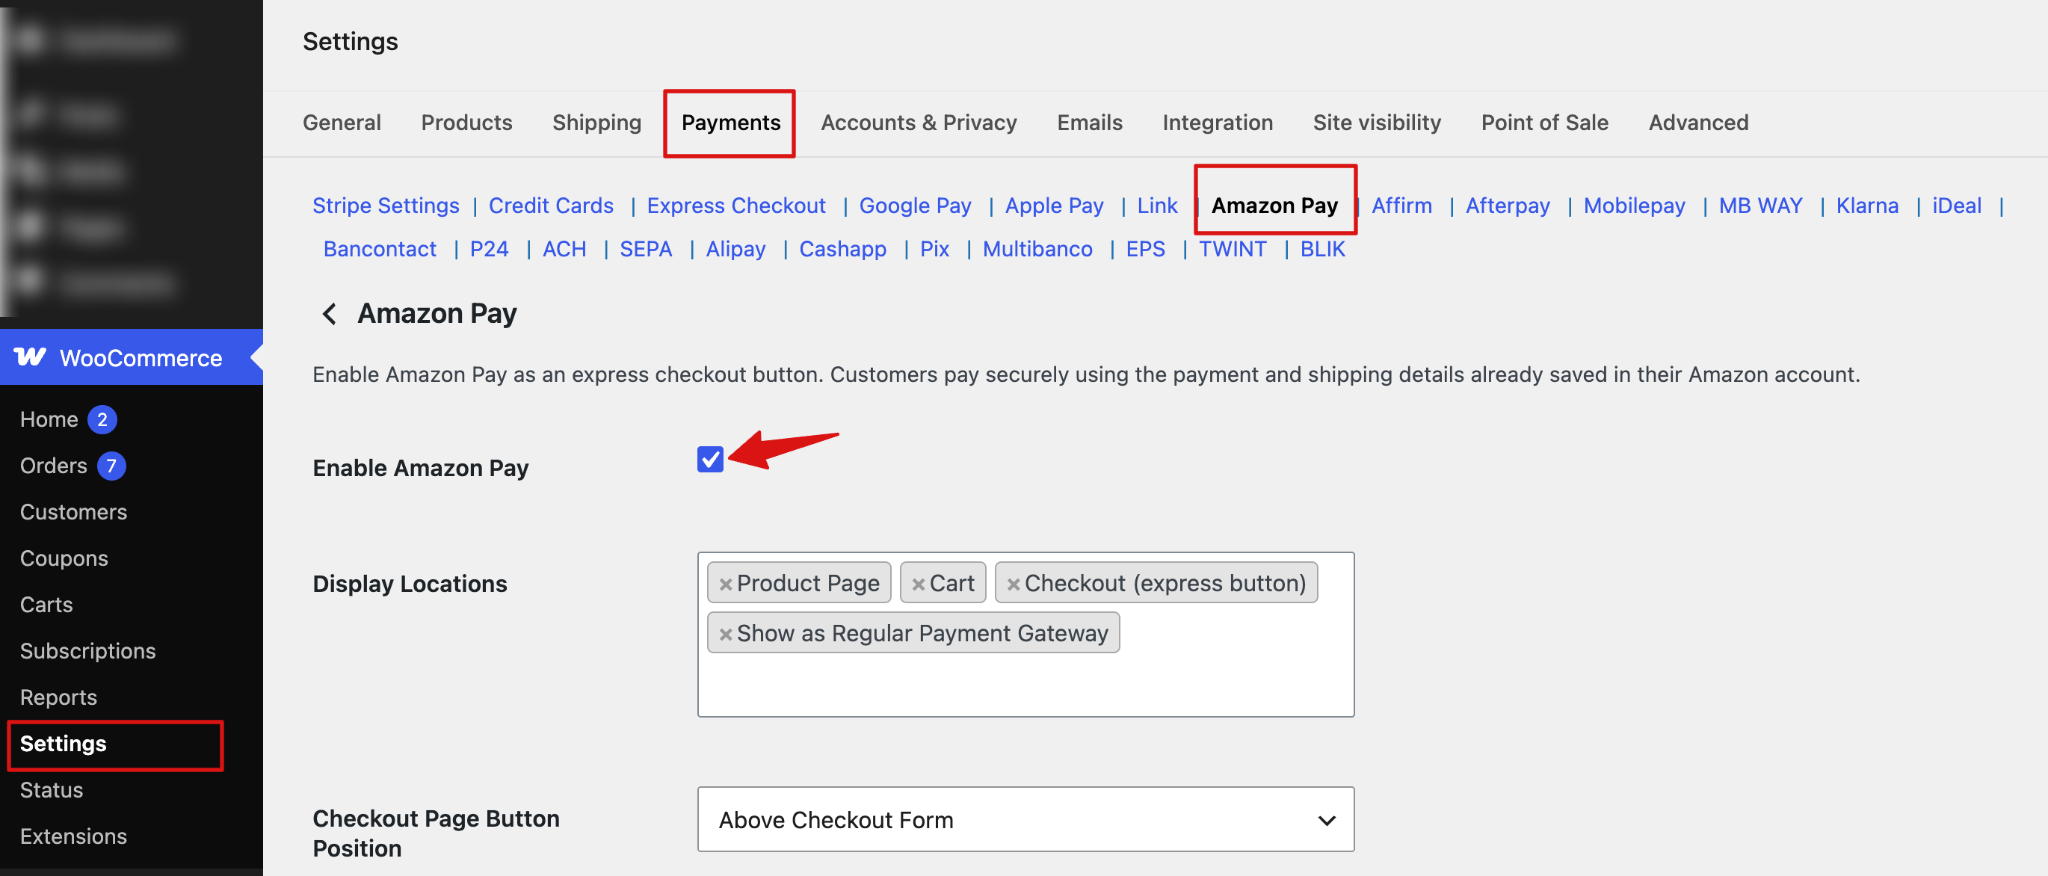
To enable and configure Amazon Pay, navigate to WooCommerce ⇒ Settings ⇒ Payments and select the Amazon Pay tab. Next, check the “Enable Amazon Pay” box to enable Amazon Pay on your WooCommerce store.
Step 2: Set up display locations and positions
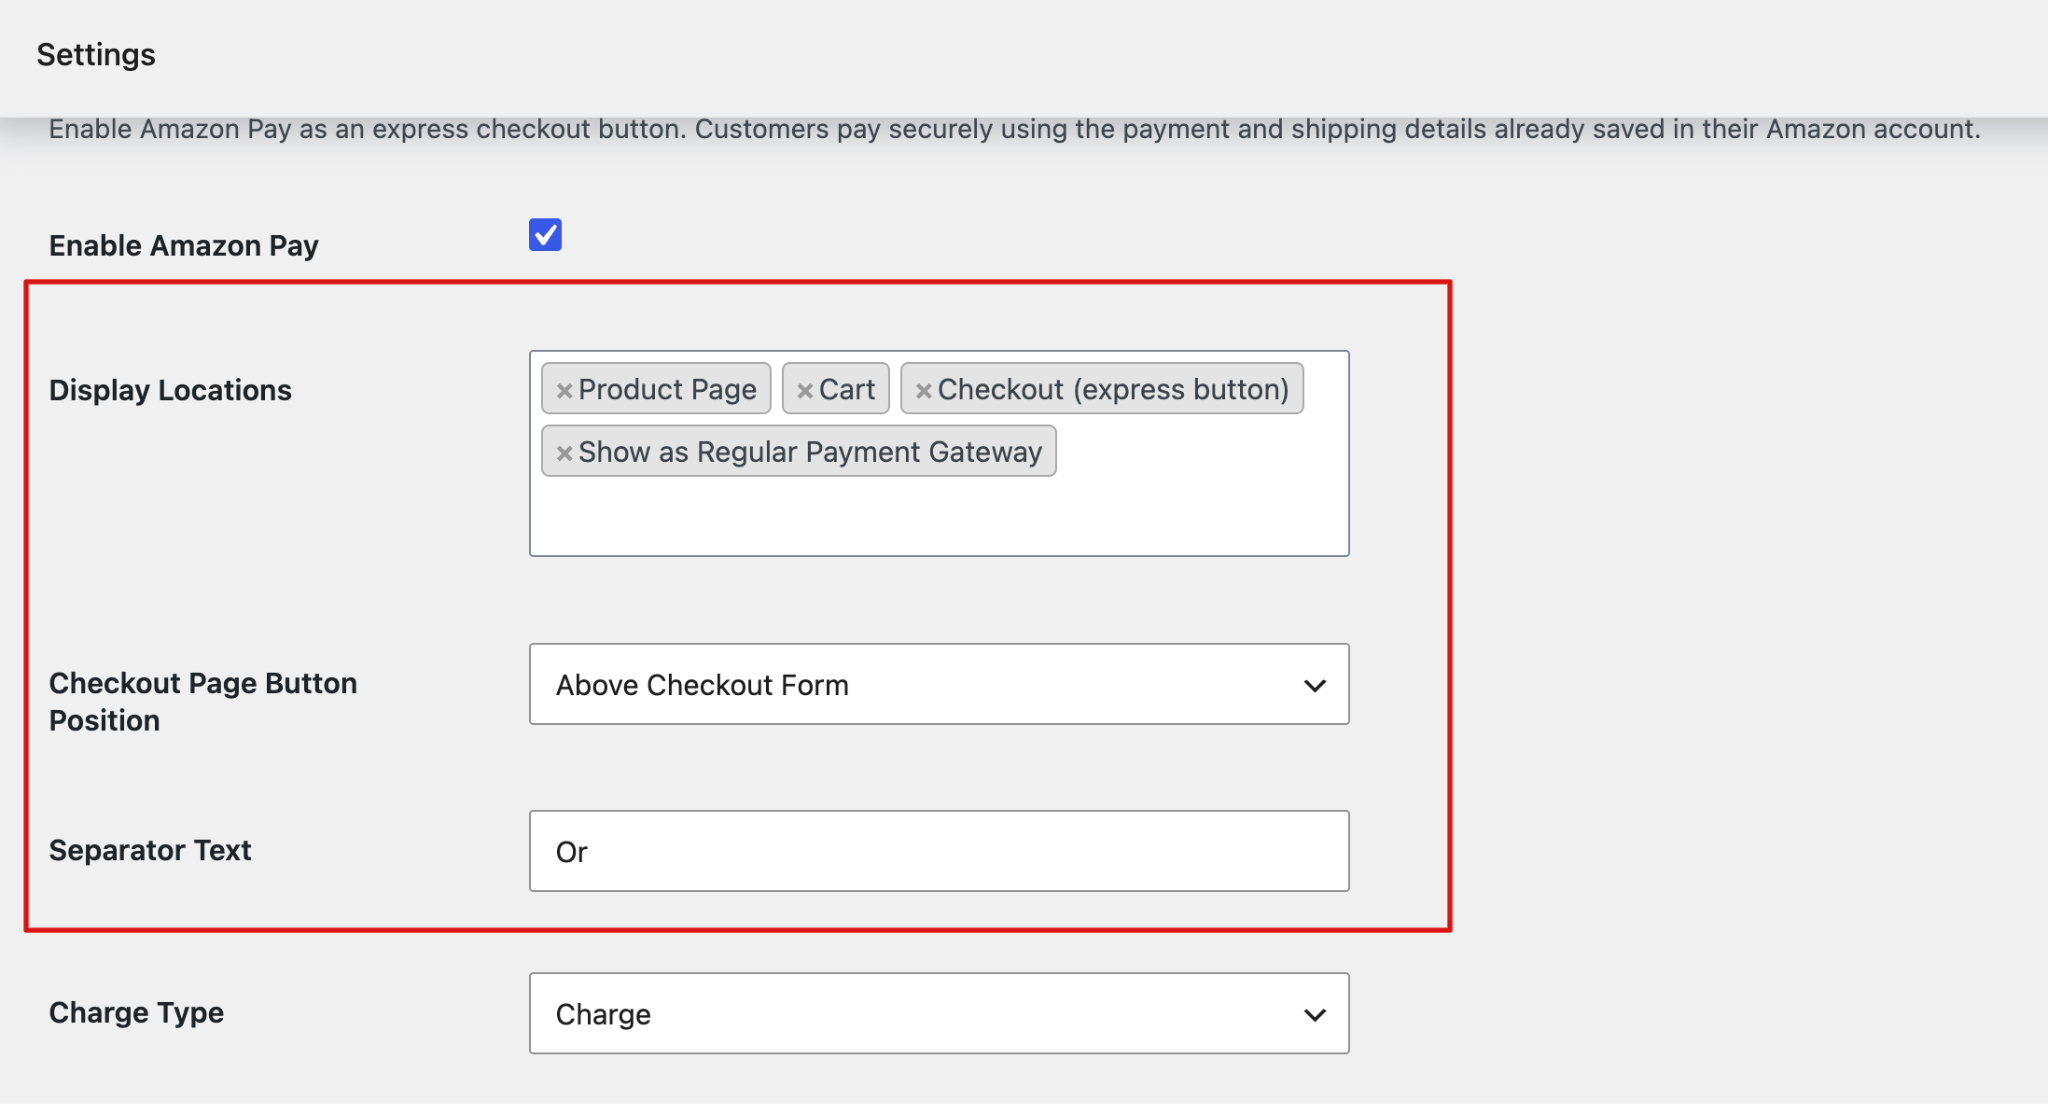
- Display Locations: Choose where to display the Amazon Pay button: Product Page, Cart, Checkout (Express Button), or Show as Regular Payment Gateway.
- Checkout Page Button Position: Choose where the Amazon Pay button appears on the checkout page: Above Checkout Form or Above Billing Details.
- Separator Text: Enter the text to display as a separator around the Amazon Pay button.
Step 3: Set up charge type
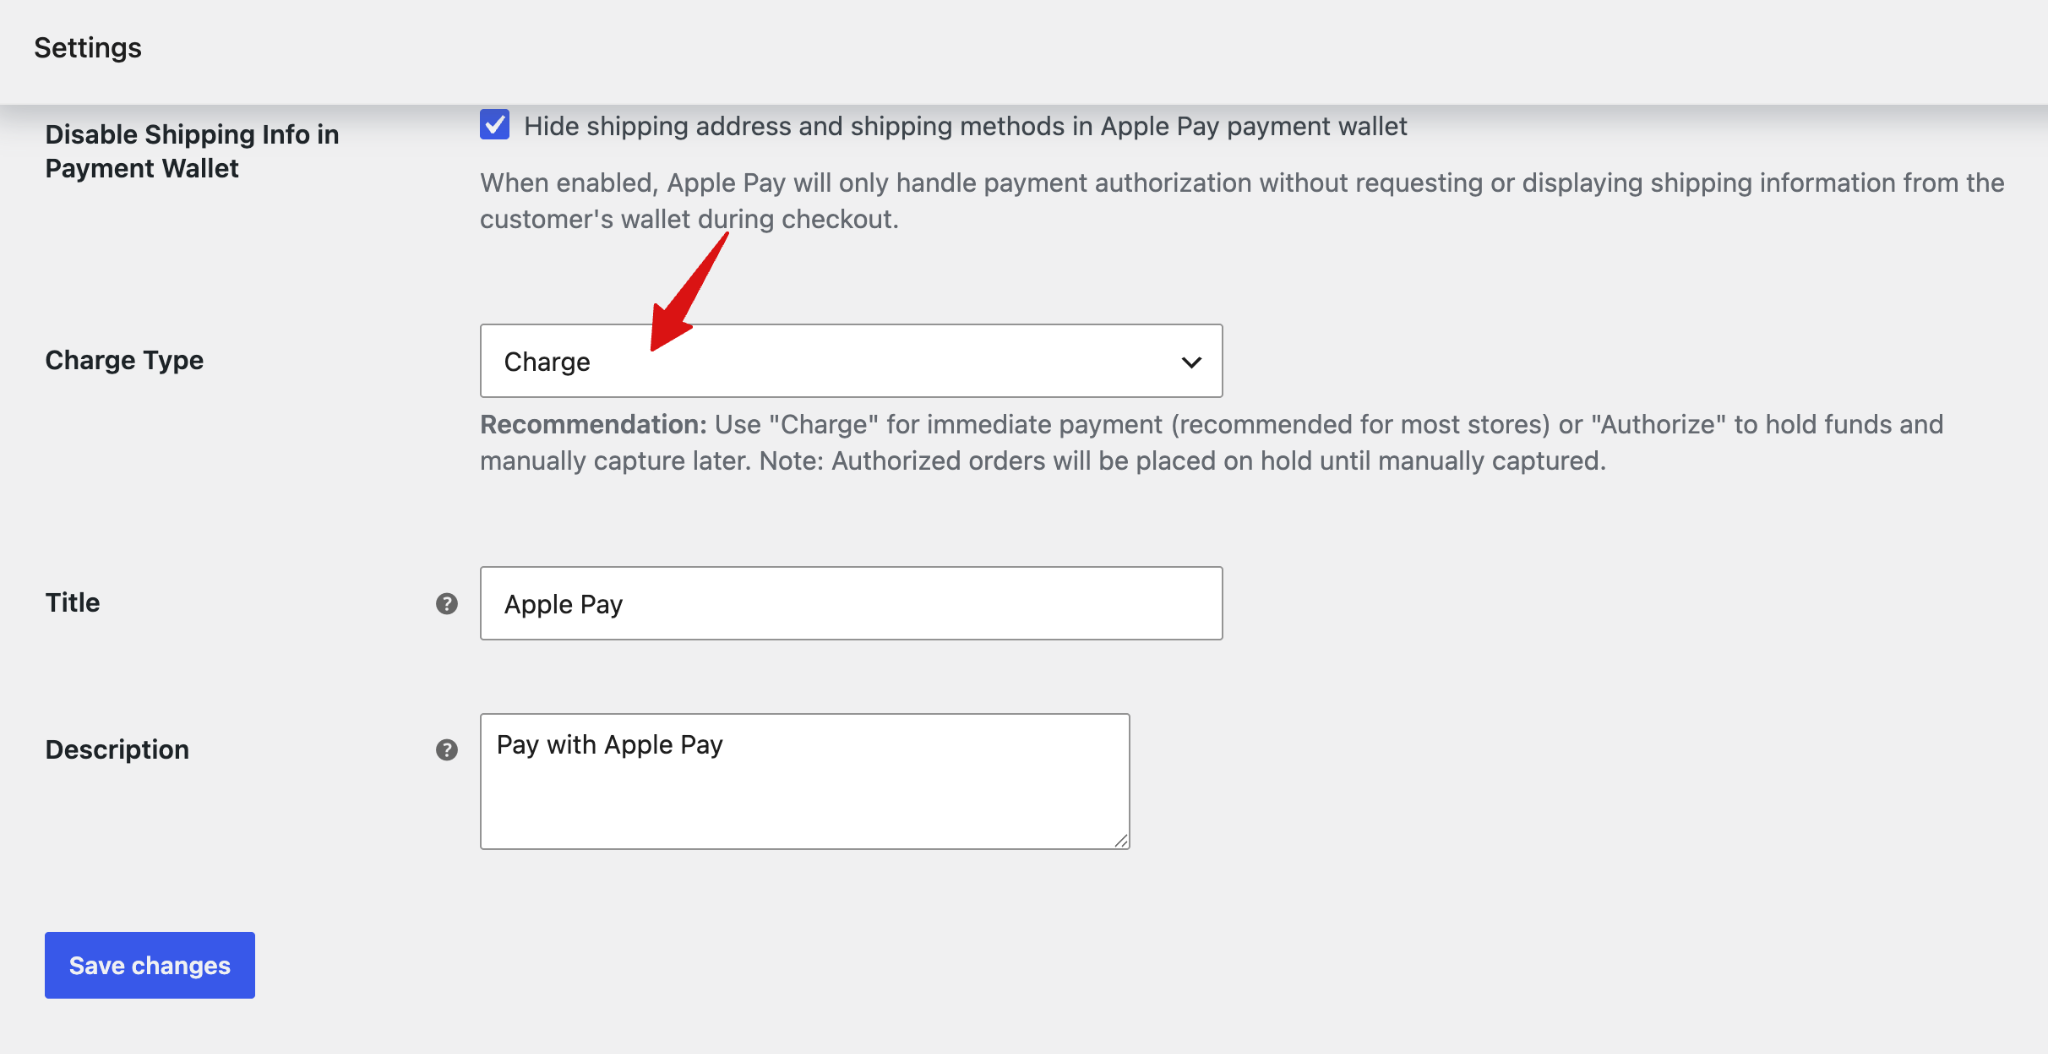
Choose how payments are processed. Two options are available: Charge and Authorize.
Step 4: Set up title and description
- Title: Enter the title displayed for Amazon Pay when it is shown as a regular payment gateway.
- Description: Enter the description displayed for Amazon Pay when it is shown as a regular payment gateway.
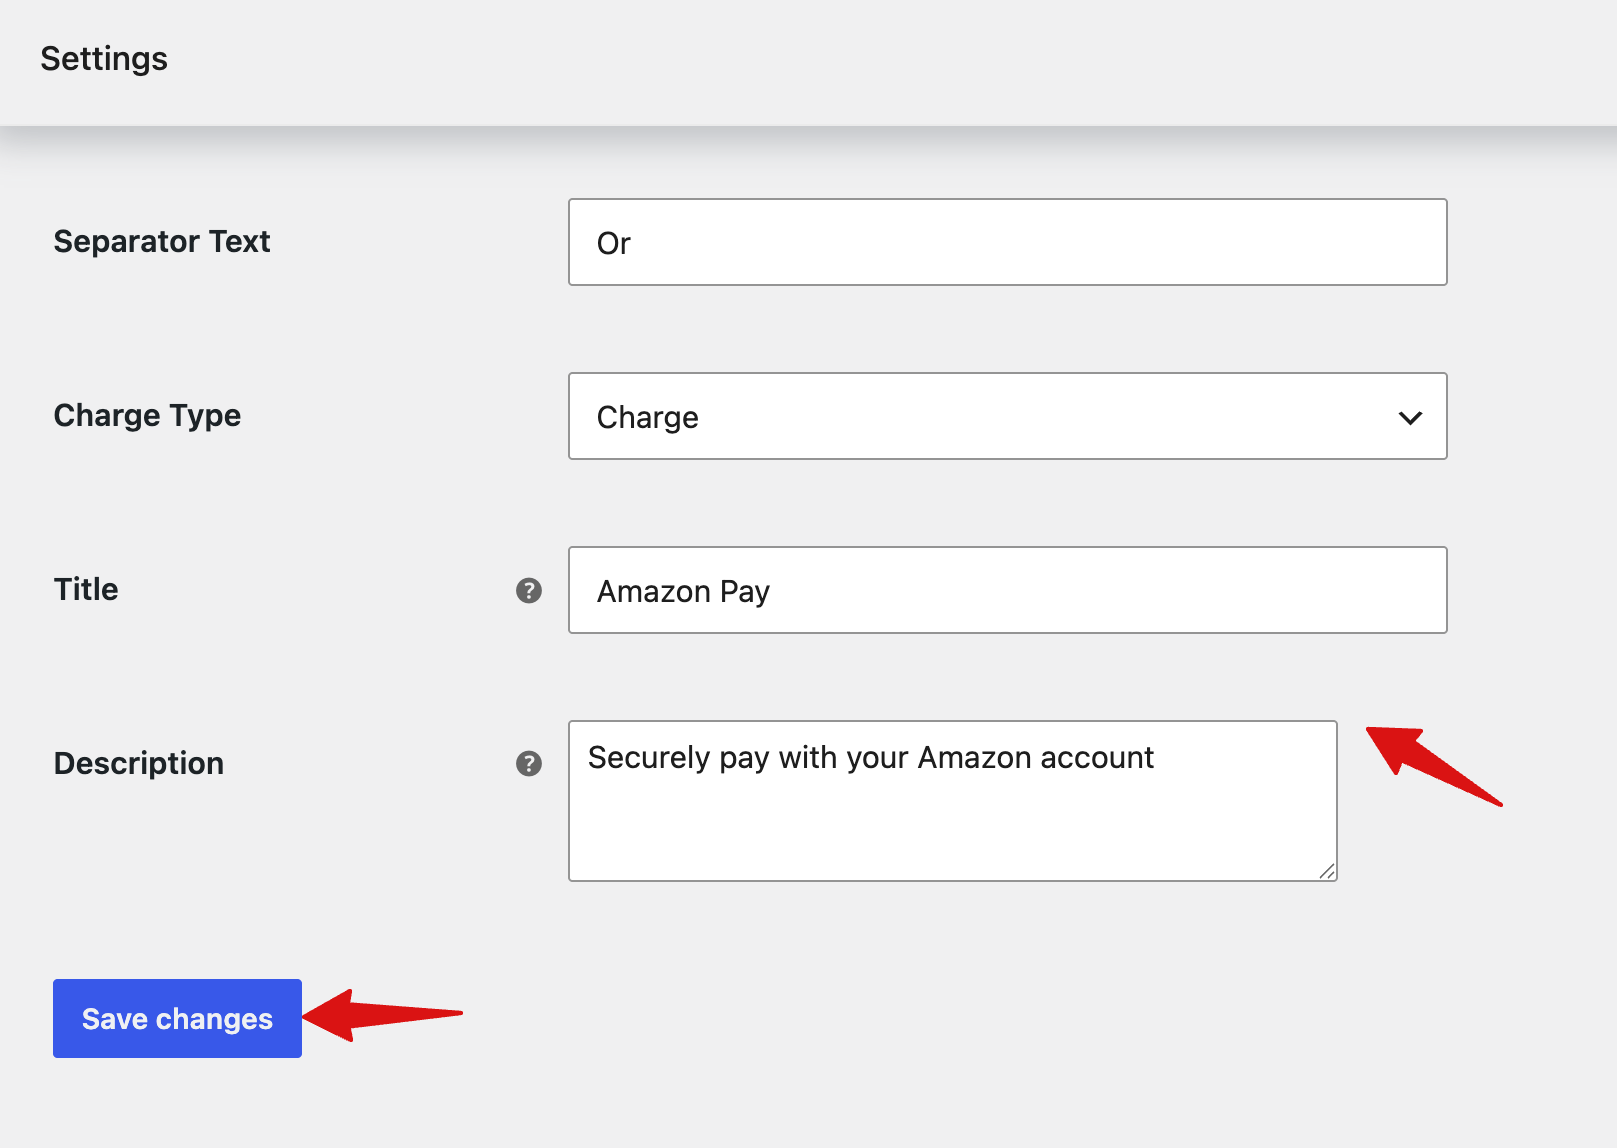
Finally, make sure to hit “Save Changes” to save the settings.
Testing Amazon Pay
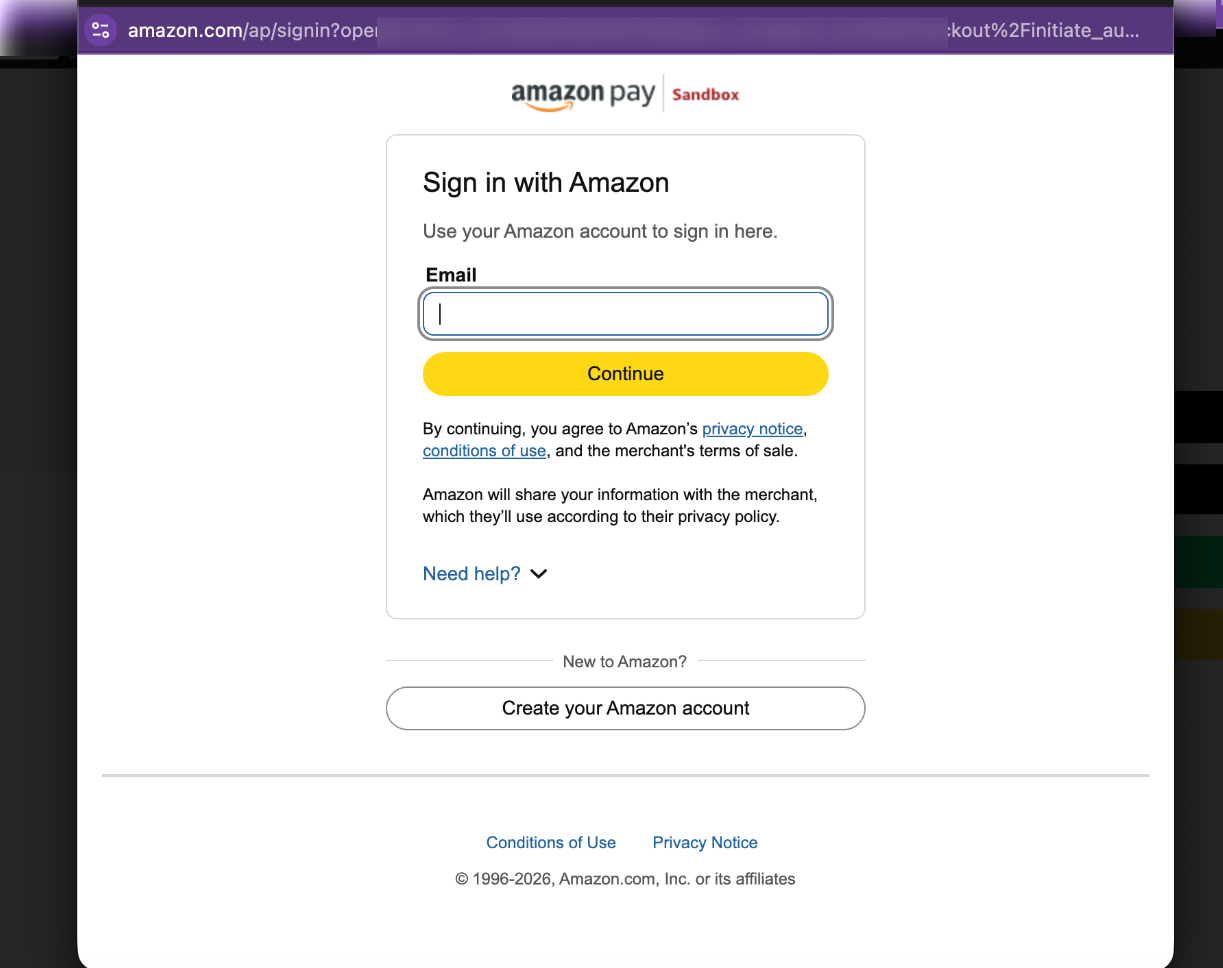
Now, to test the process, go to a product page where you can find the Amazon Pay option.
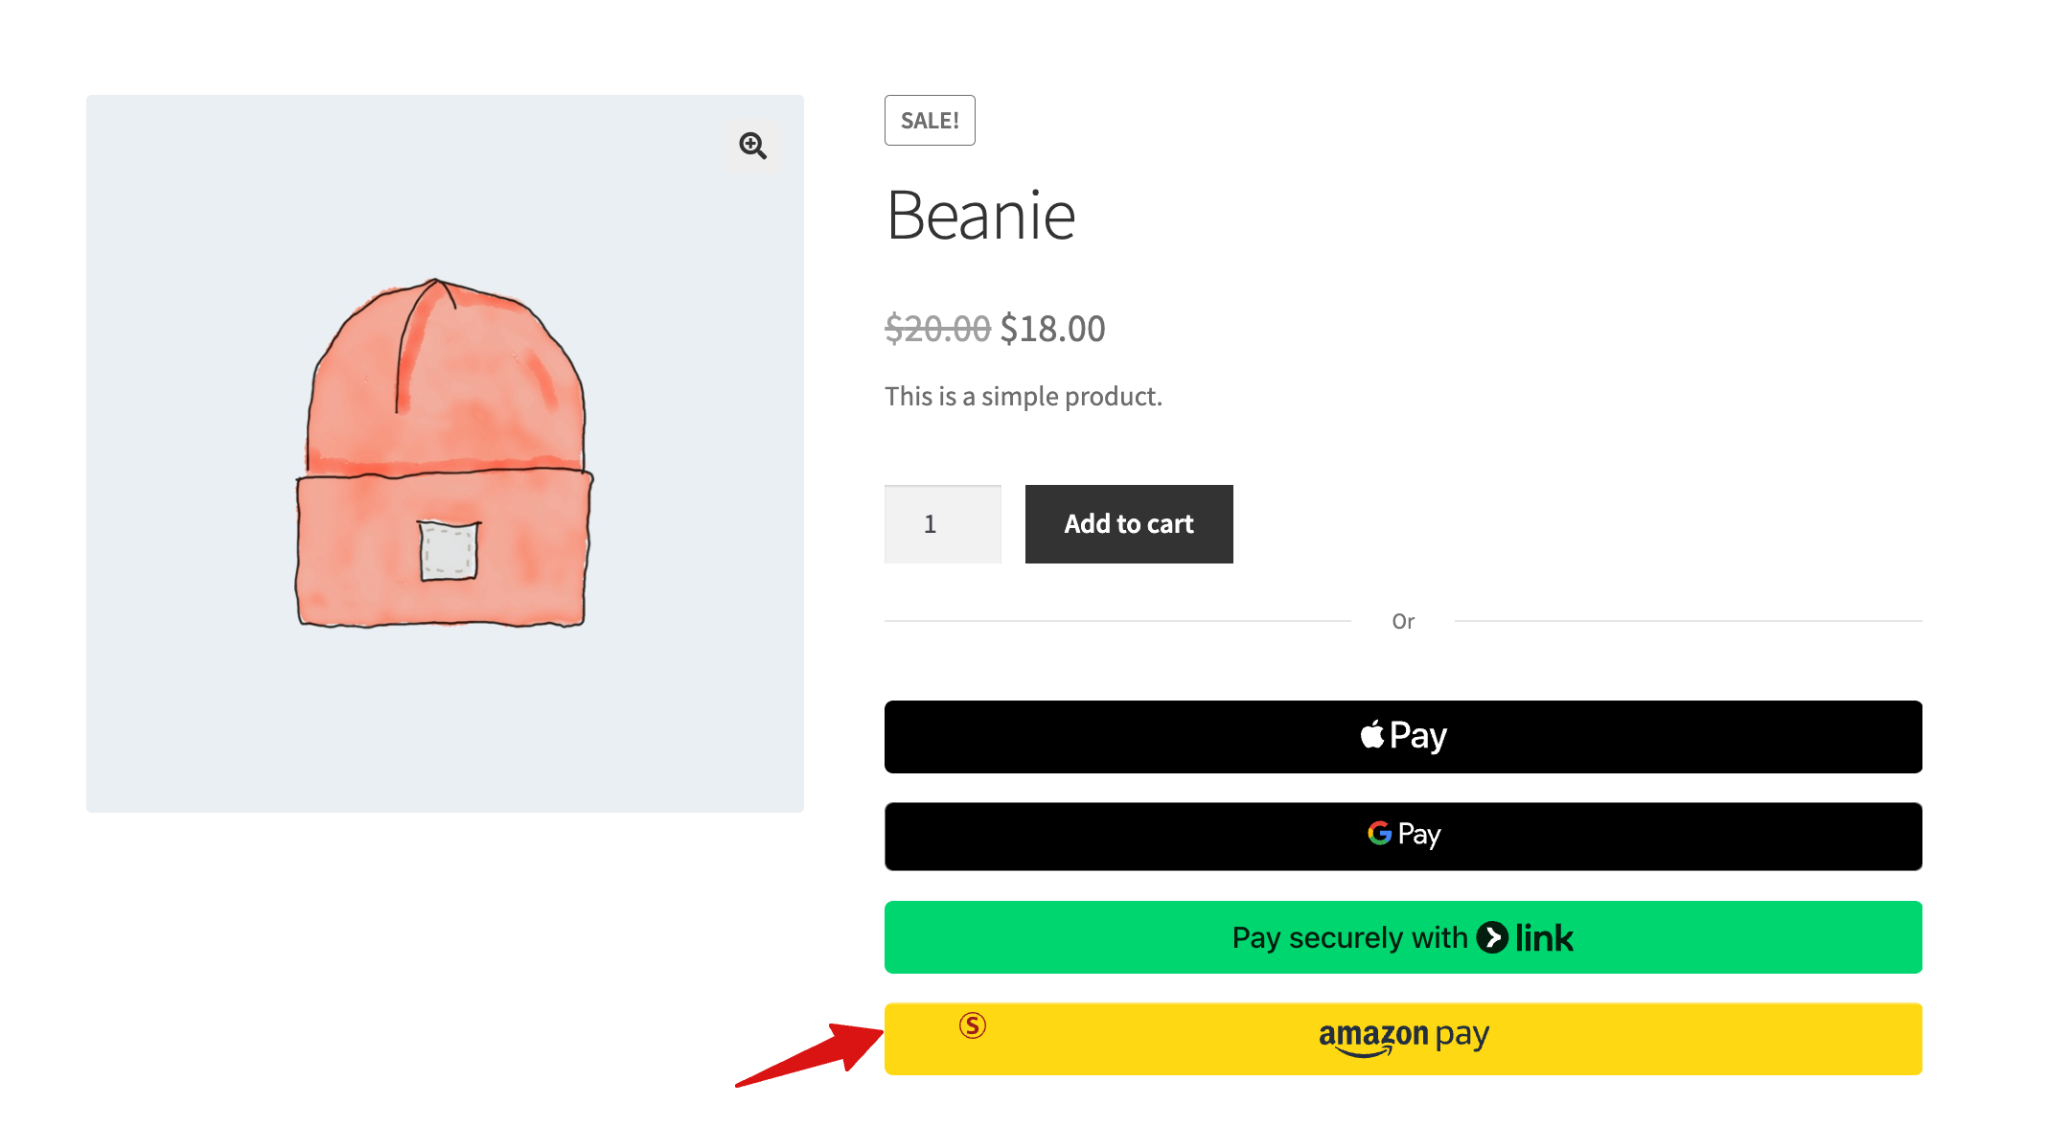
Customers can directly buy from the product page using Amazon Pay.
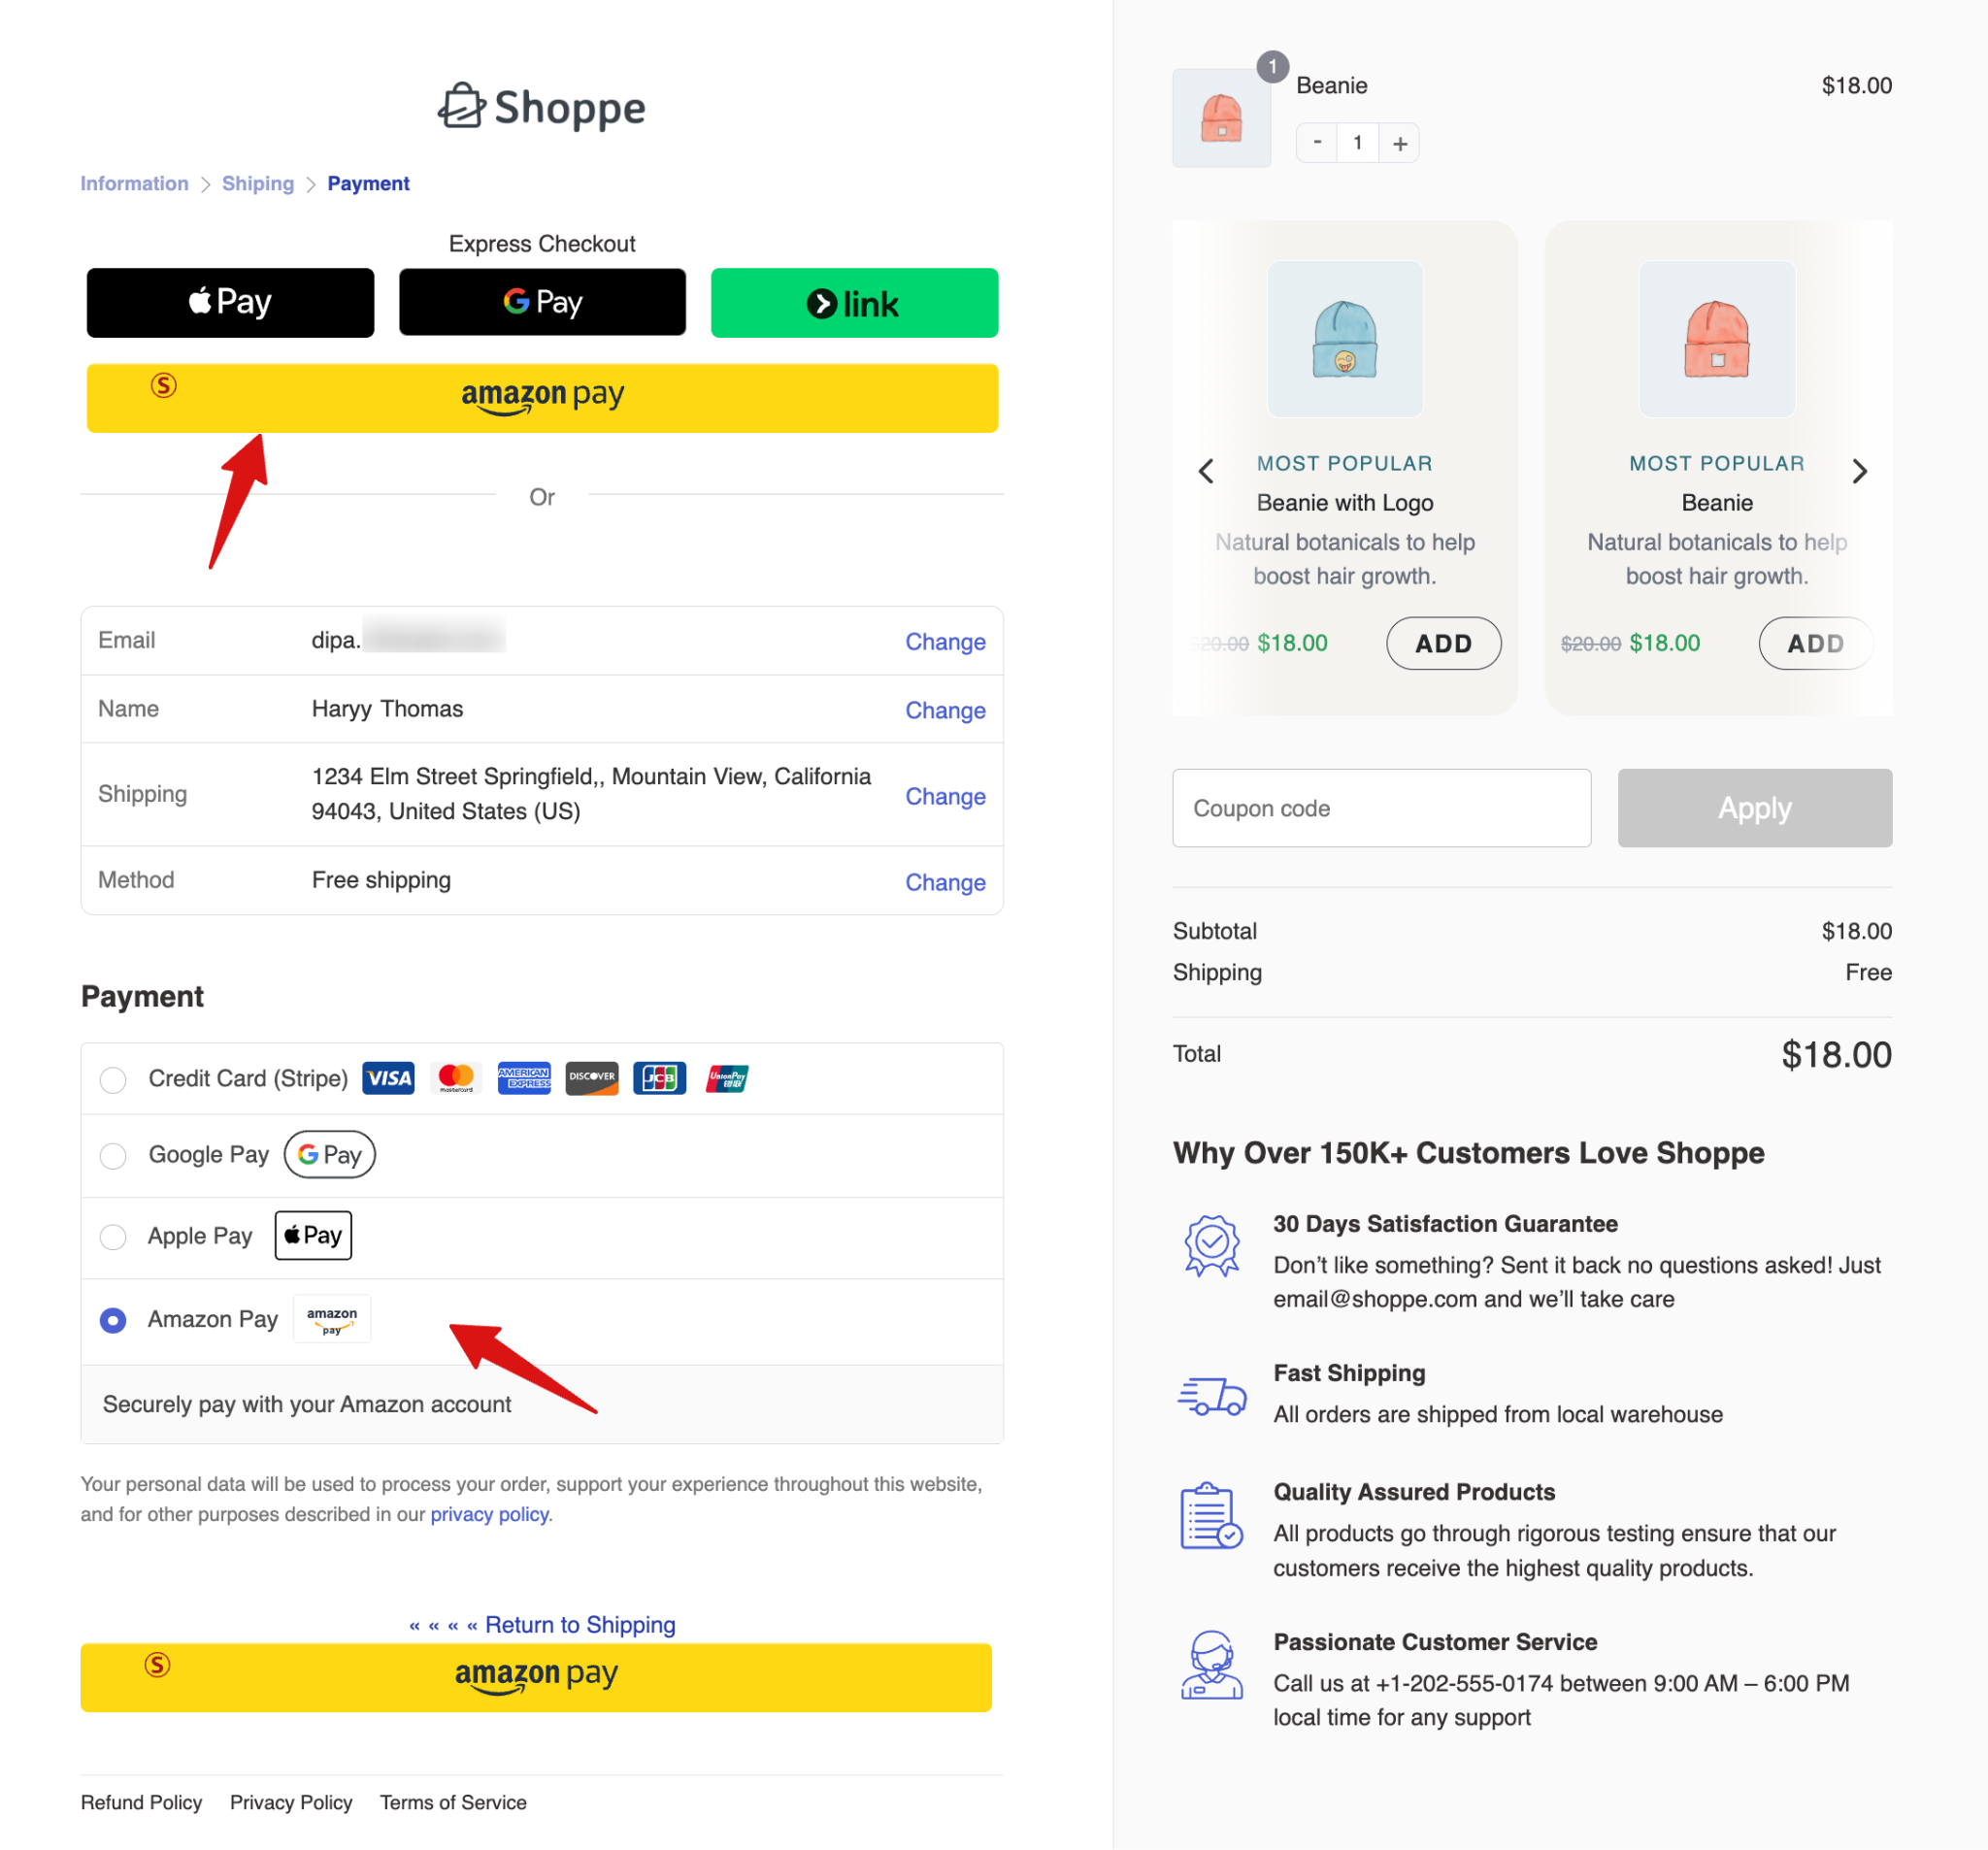
Similarly, you can find the Amazon Pay option as express checkout and inline payment on the checkout page.
Make sure to test payment methods in test mode, and once done, switch to live mode.


