


This document explains how to enable and configure Link by Stripe, including its display locations, card payment integration, and button position.
The following settings let you control where Link by Stripe appears and how it works with card payments.
How To Enable And Configure Link by Stripe
Step 1: Enable Link by Stripe
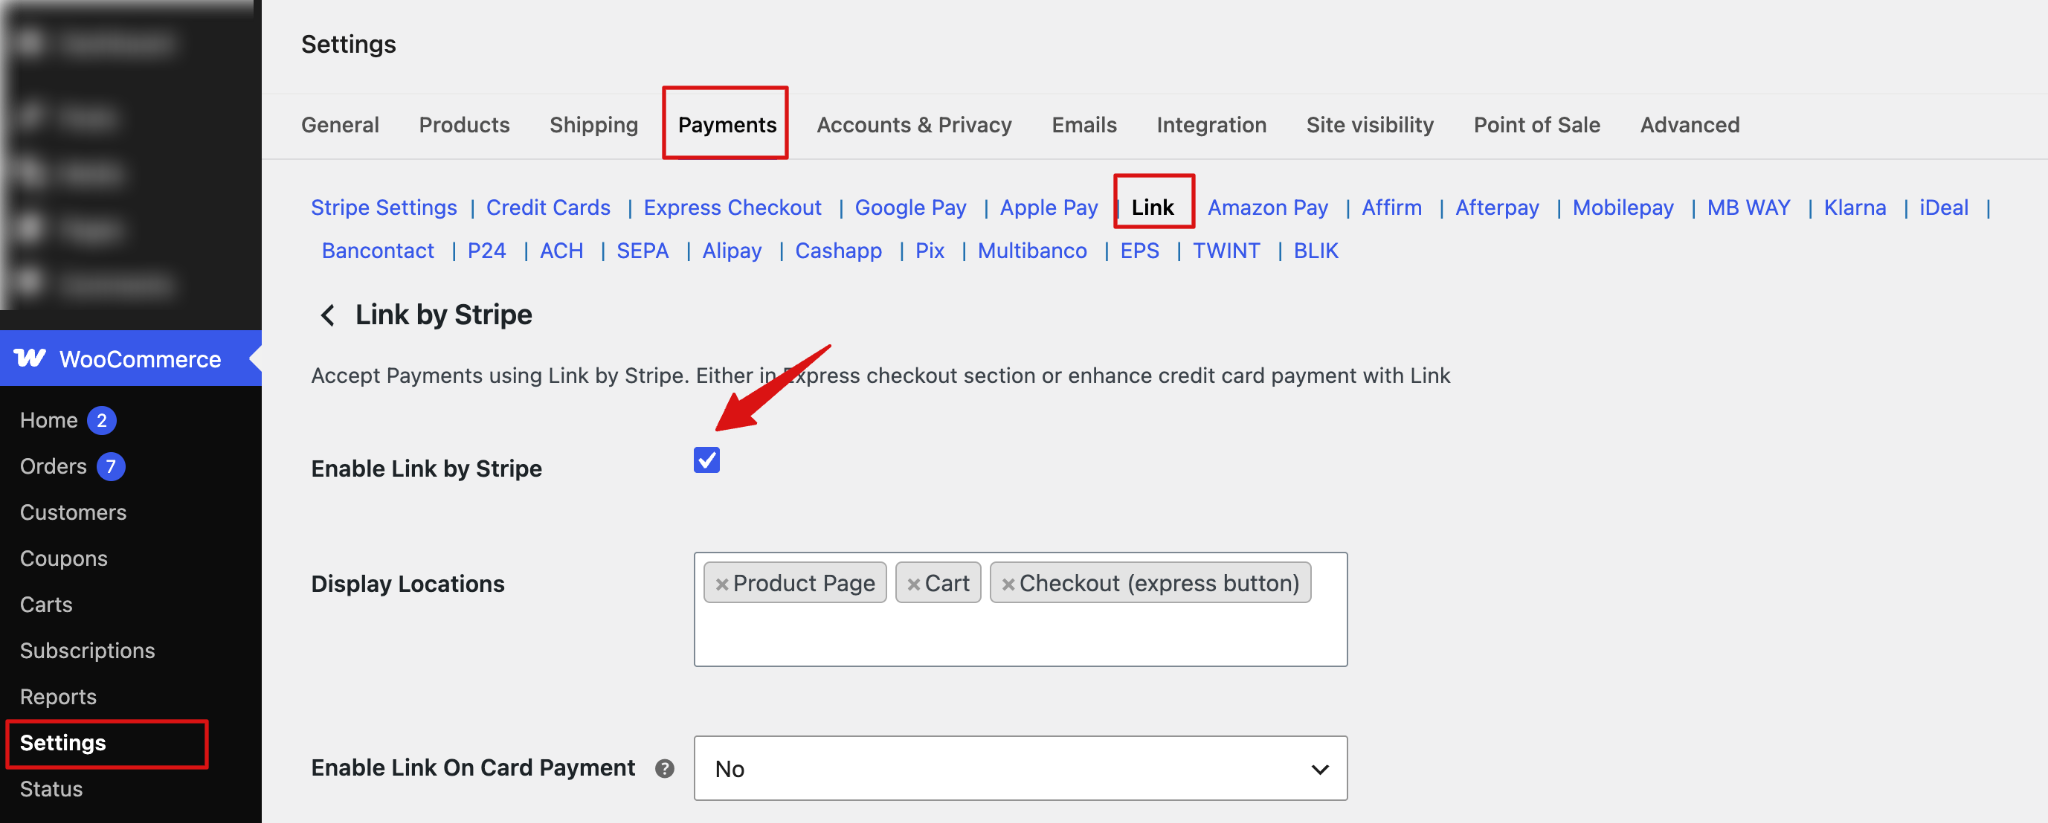
To enable and configure Link by Stripe, navigate to WooCommerce ⇒ Settings ⇒ Payments and select the Link by Stripe tab. Next, check the “Enable Link by Stripe” box to enable Link by Stripe on your WooCommerce store.
Step 2: Set up display locations
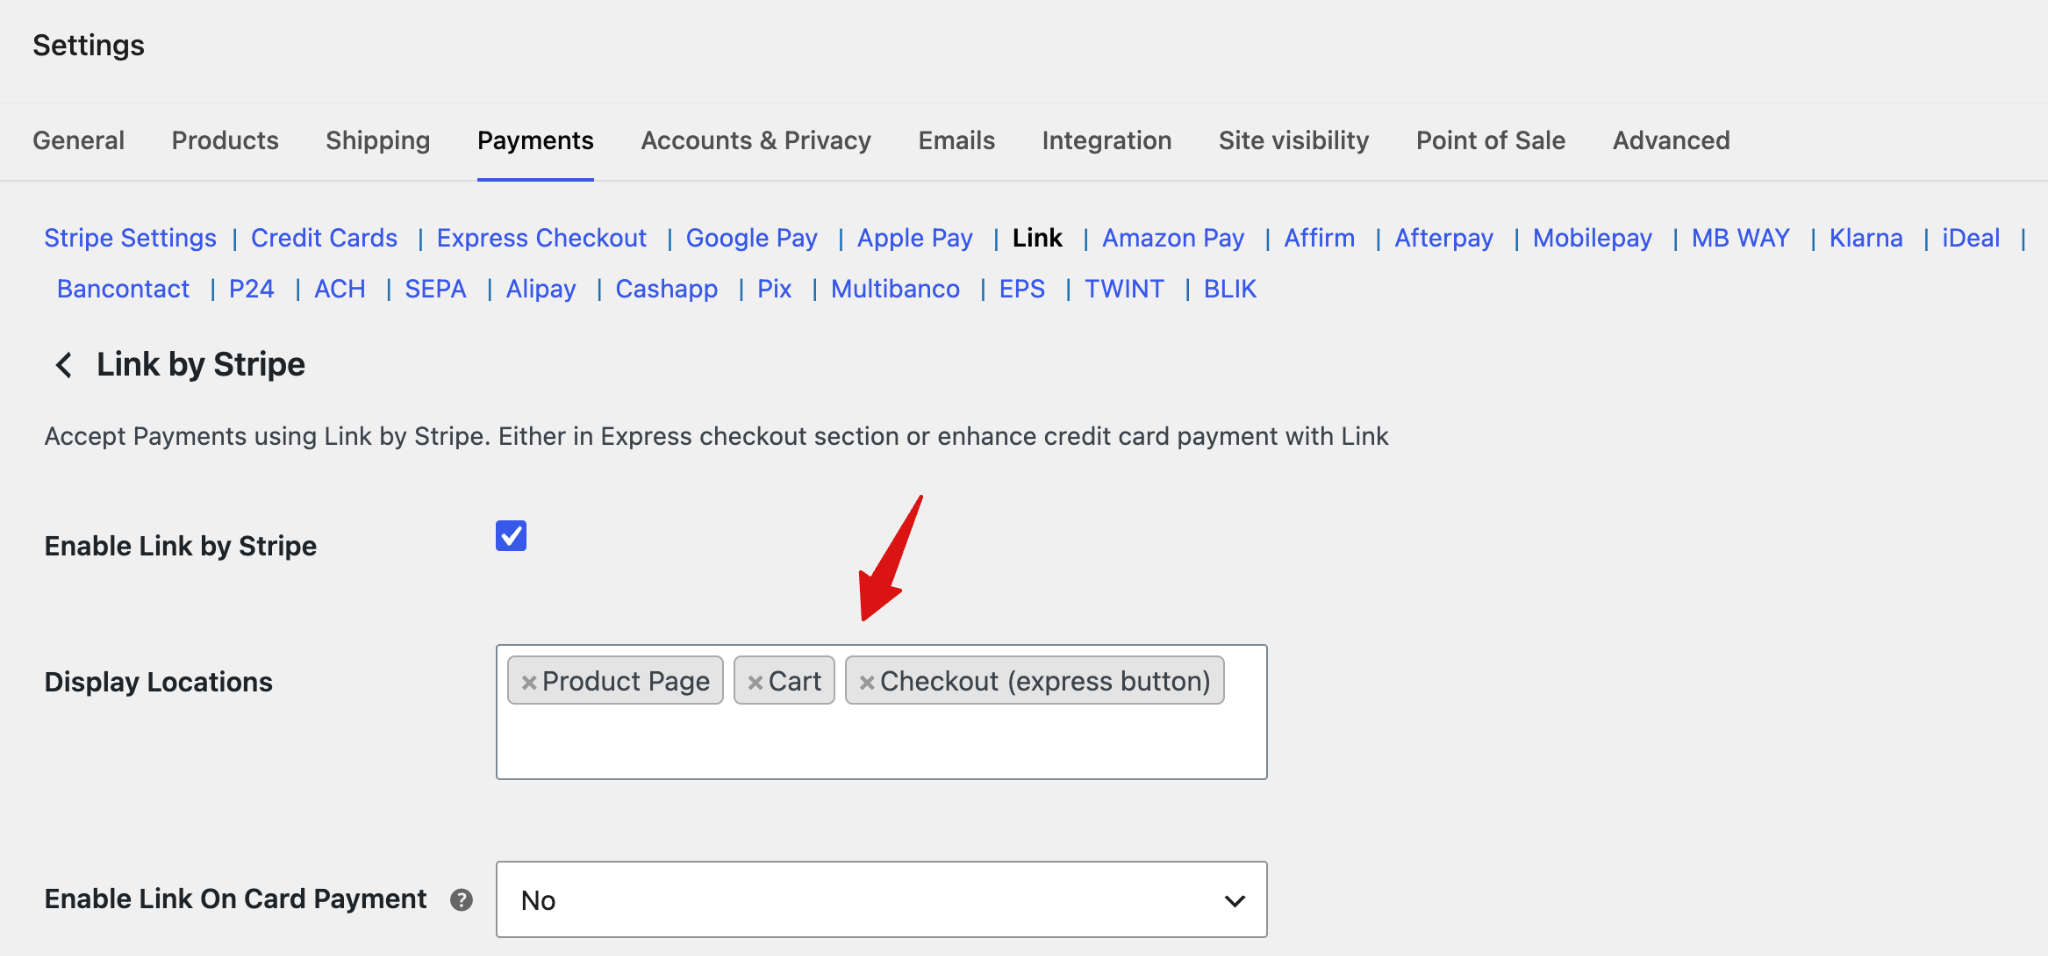
Choose where to display Link by Stripe: Product Page, Cart, and Checkout (Express Button).
Step 3: Enable Link on Card Payment
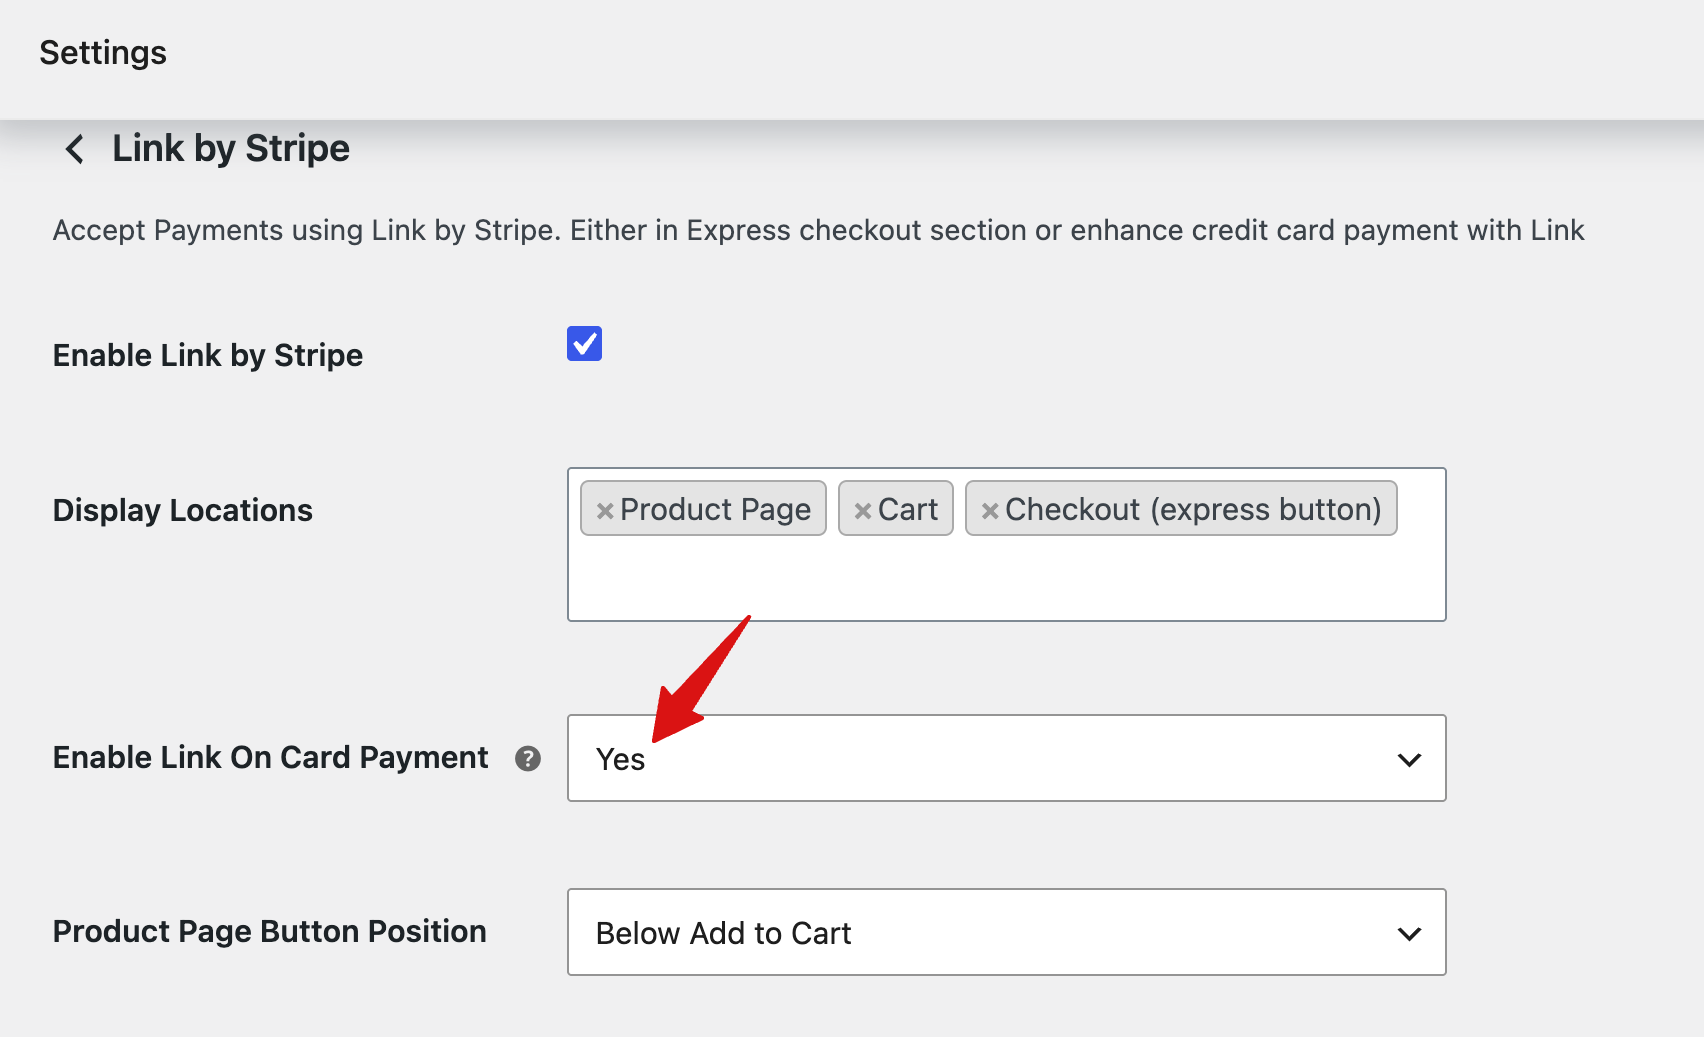
Choose whether to enable Link on card payments. Enabling this will show Stripe Link in the card payment form at checkout.
Step 4: Set up button and other options
- Product Page Button Position: Choose the position of the Link by Stripe button on the product page: Above Add to Cart, Below Add to Cart, or Inline Button.
- Separator Text: Enter the text to display as a separator around the Link by Stripe button.
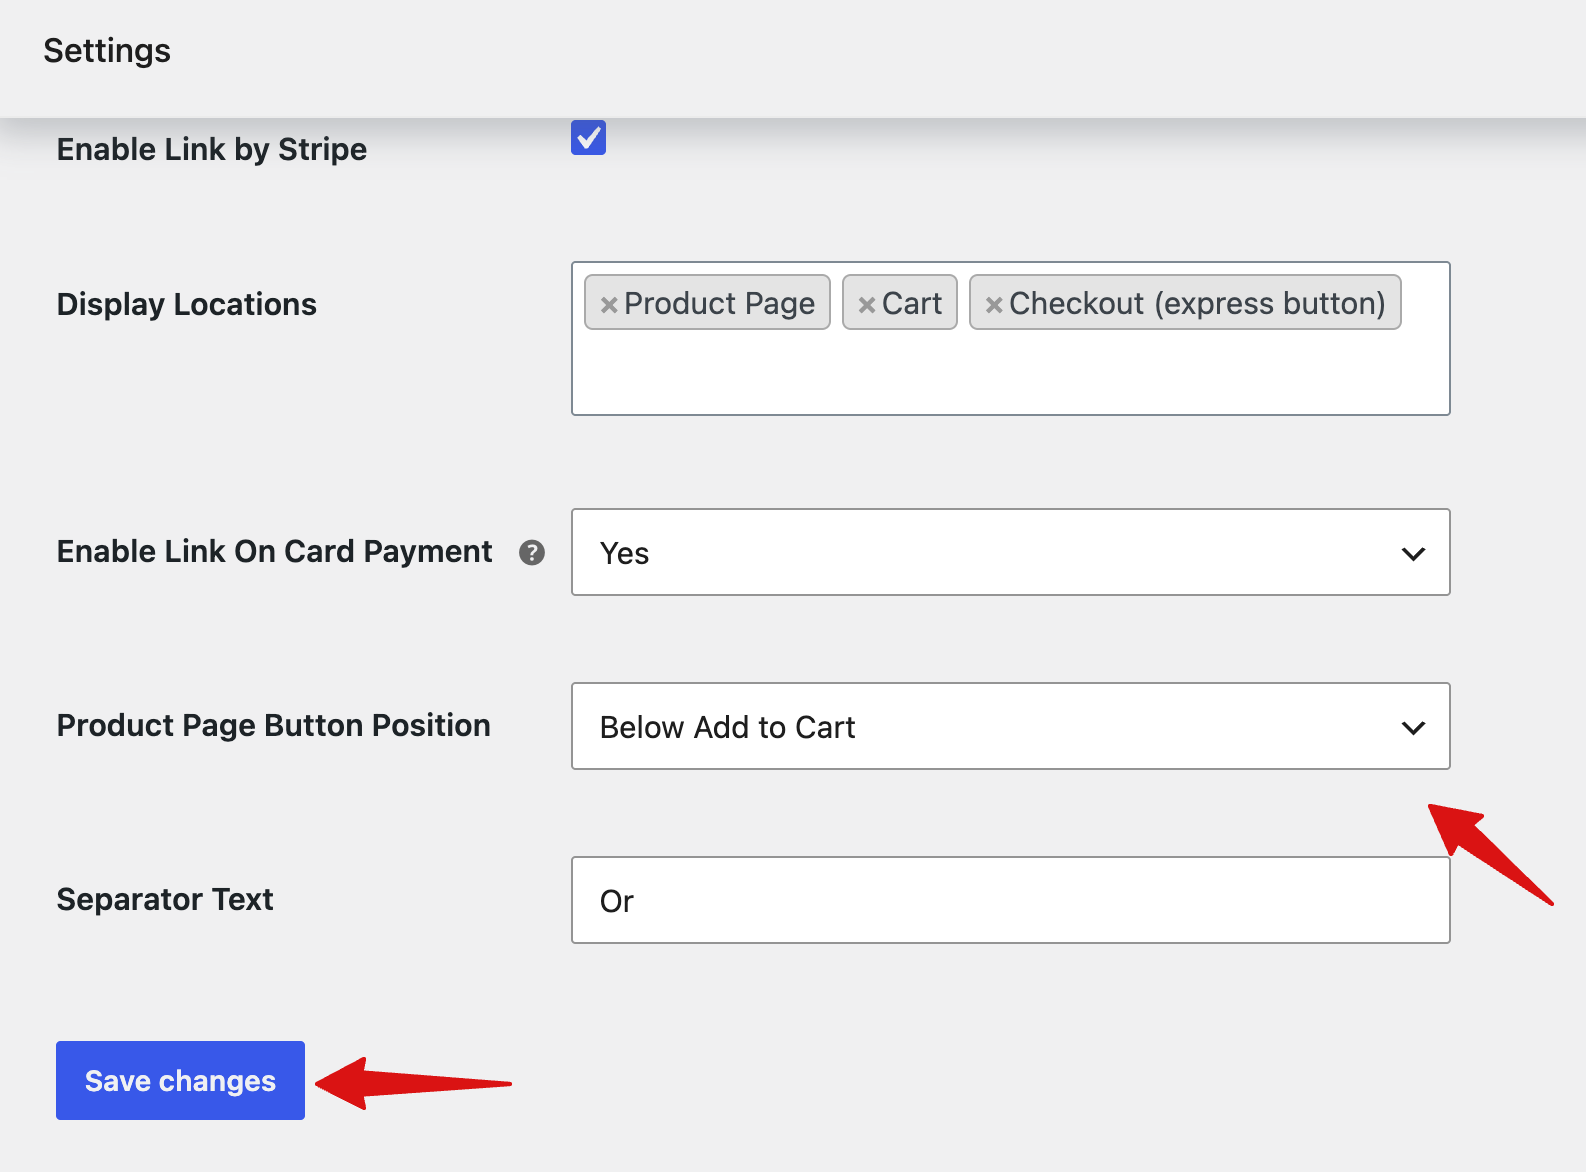
Click Save changes to save the Link by Stripe settings.
Testing Link by Stripe
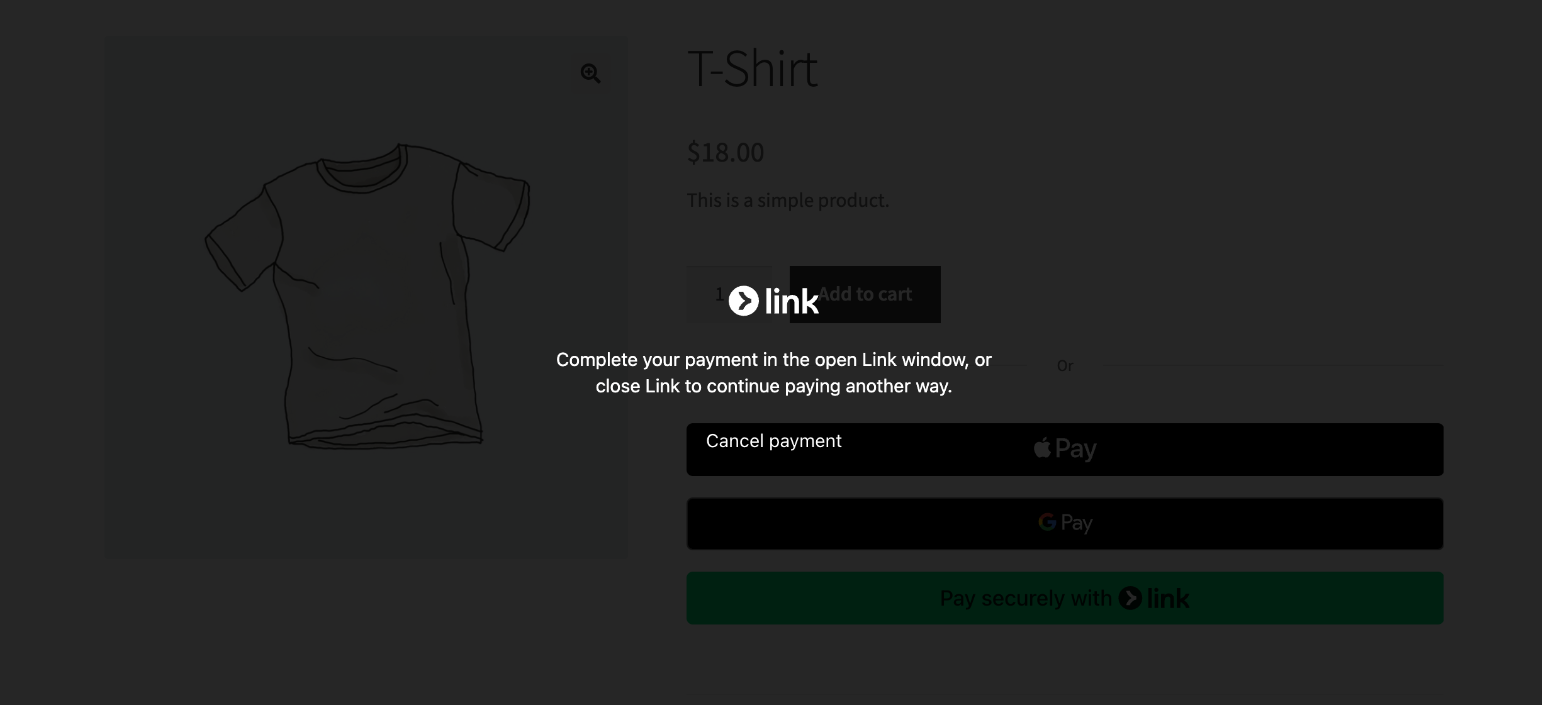
Now, to test the process, go to a product page where you can find the Link by Stripe option.
Customers can directly buy from the product page using Link by Stripe.
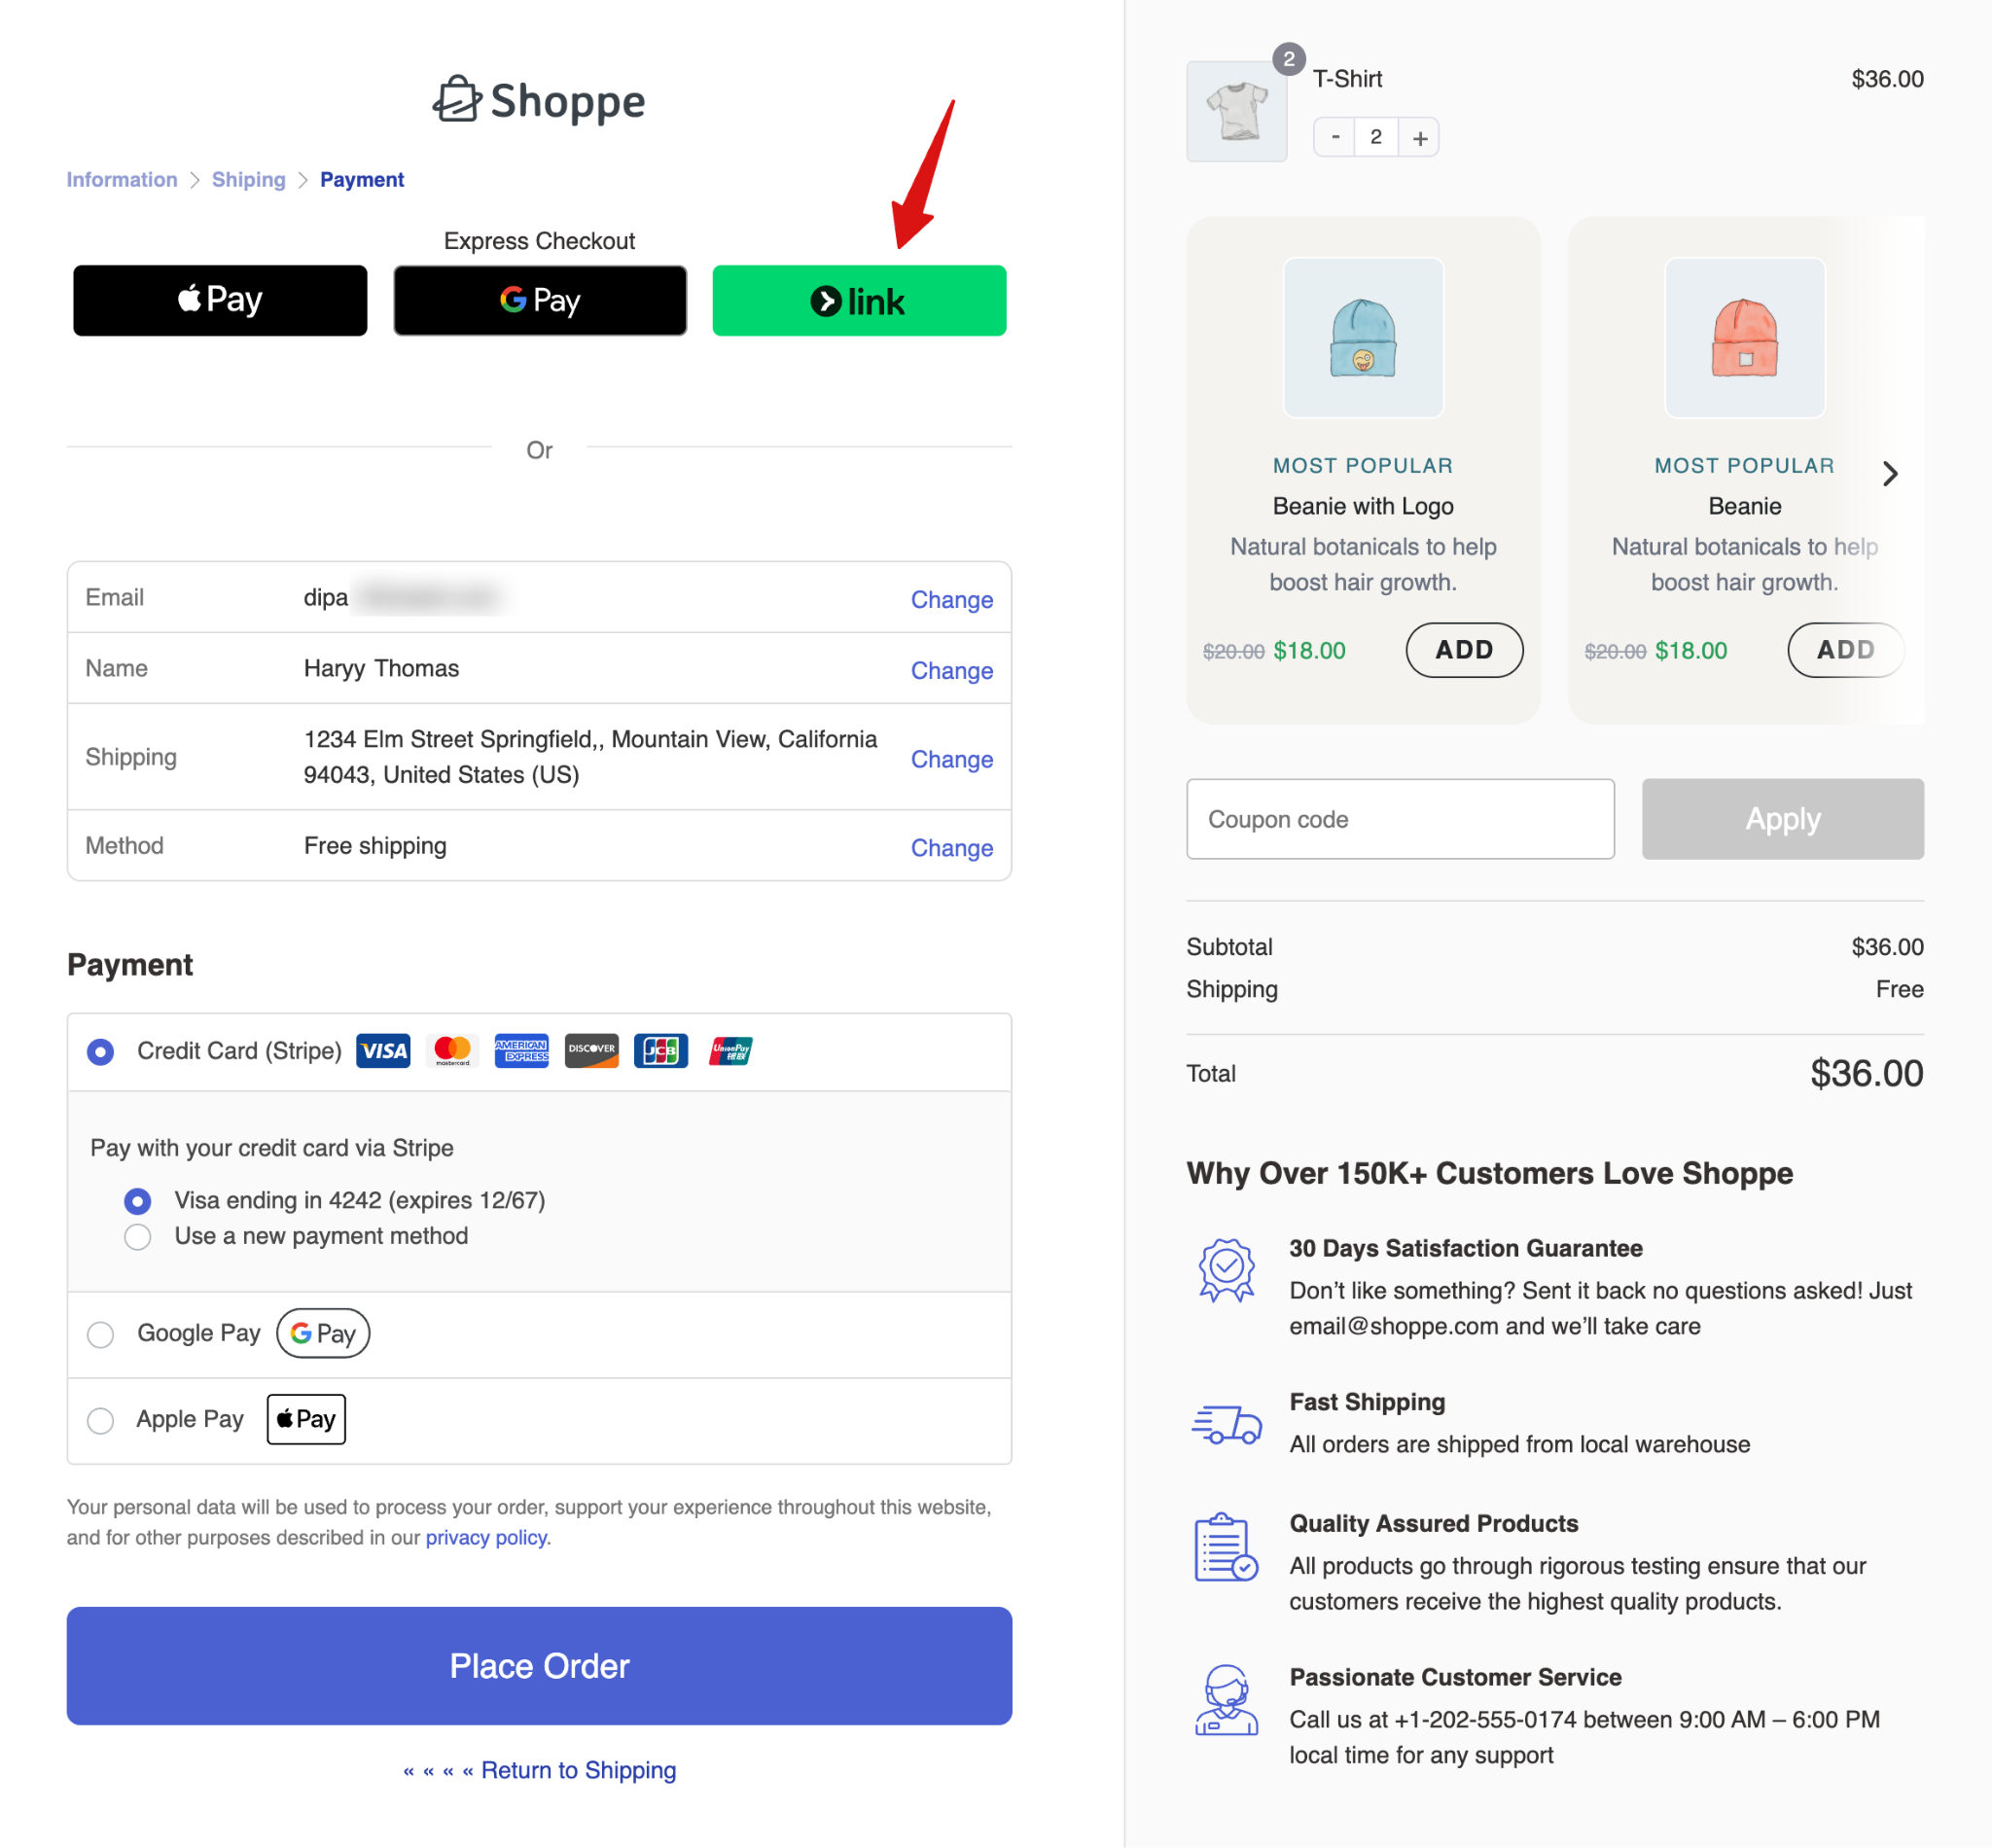
Similarly, you can find the Link by Stripe option under Express Checkout on the checkout page.
Make sure to test payment methods in test mode, and once done, switch to live mode.


