In case you have a pre-designed page that wishes to add to the funnel and not continue using our offered template, you can do it.
Let's see how we can do it:
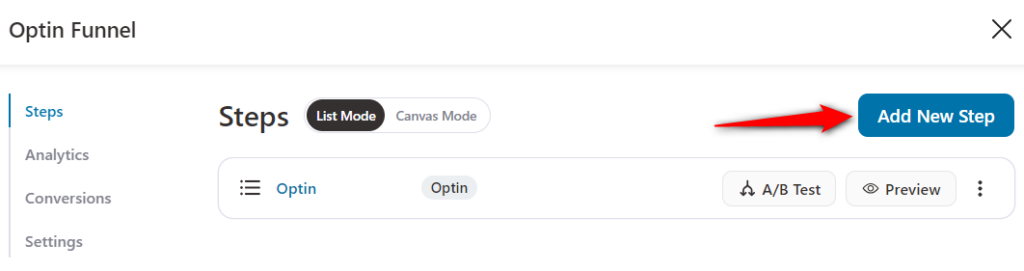
Step 1: Add a New Step
Click on the Add New Step button to add the Optin Confirmation page to your funnel.
Step 2: Build from Scratch
You'll be shown a list of templates to choose from.
FunnelKit (formerly WooFunnels) deeply integrates with famous page builders like Elementor, Divi, Gutenberg, Oxygen, and more.
Choose Start from Blank and name your Opt-in confirmation page.
Click on Add when done.
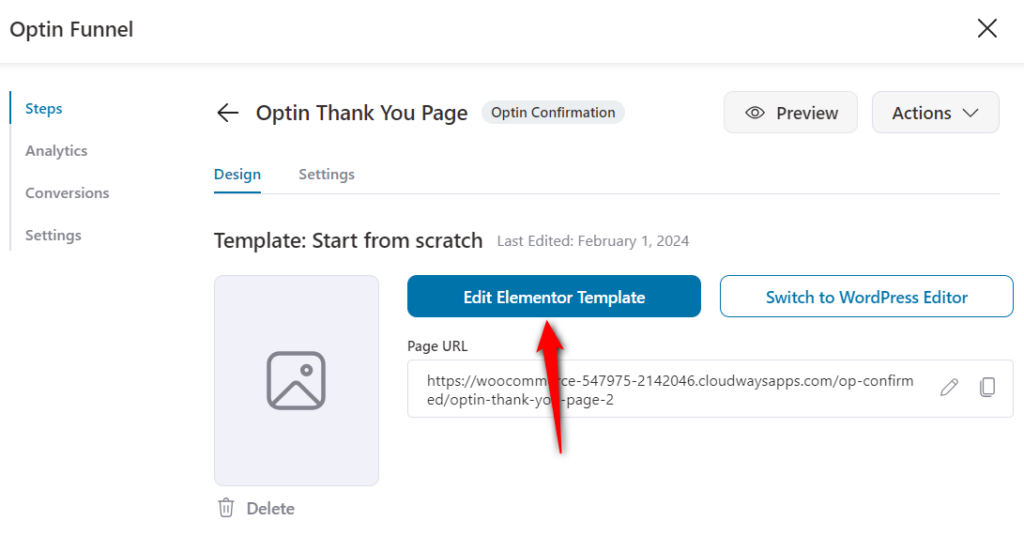
Step 3: Begin Editing
Click on the Edit Template button to open the Elementor blank page for you to work on.
Step 4: Open the Folder
On the page, you will see an icon of the folder. Click on it to open the importing options.

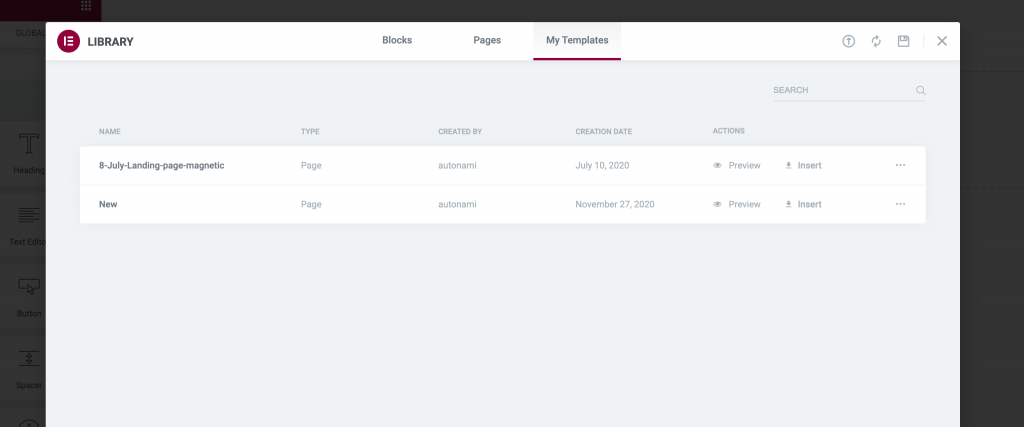
Step 5: My Templates
Once the screen opens, click on the My Templates tab from the top.
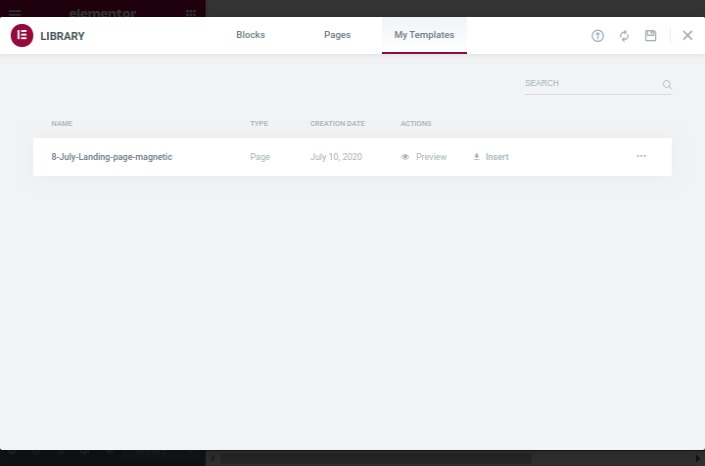
Here you'd find a list of all the templates you already have added to your folder. If you don't have the template you want, you can import one right now.
Step 6: Import a Template
Click on the import icon on the top of the page, to add the template you want to the funnel.
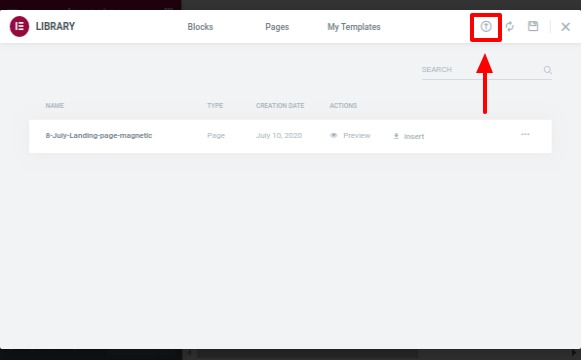
Important: Before you add any template, make sure that the JSON file is saved locally on the system you're working from.
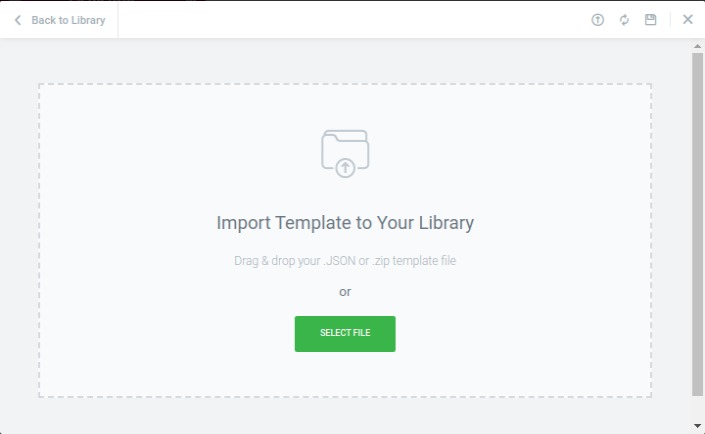
Step 7: Select the File
You can drag-drop, or select the file you wish to import to the funnel.
Step 8: Insert the Template
After you've imported the template to the My Template list, click on insert to open it on the Elementor page editor.
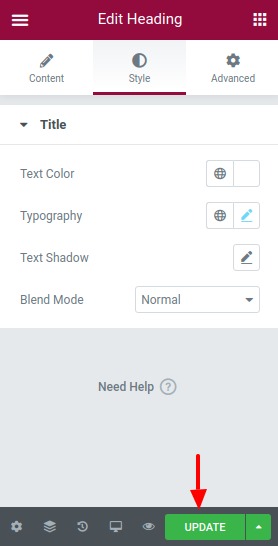
And that's it, you're done!

Now customize your page and click on Update to save any of the changes made.
Congratulations! You just imported your own template to the funnel.


