With FunnelKit Funnel Builder, you're not limited to just the default buttons like "Get It Now" or "Sign Up" to open the opt-in pop-up.
Below is an example of the default opt-in pop-up that comes with FunnelKit Funnel Builder, featuring the standard CTA button (e.g., "Get It Now" or "Sign Up"). This button, when clicked, triggers the popup to appear.

While these buttons are included by default on the opt-in page, you can also use any custom image as a call-to-action (CTA) to trigger the pop-up.
This gives you the flexibility to design engaging, image-based CTAs that align with your funnel’s branding and layout.
In this documentation, we'll walk you through the steps to make any image clickable and launch the opt-in pop-up effortlessly.
How to Add a Custom Image as a CTA to Open The Opt-in Pop-up
After you create an optin funnel, follow these steps:
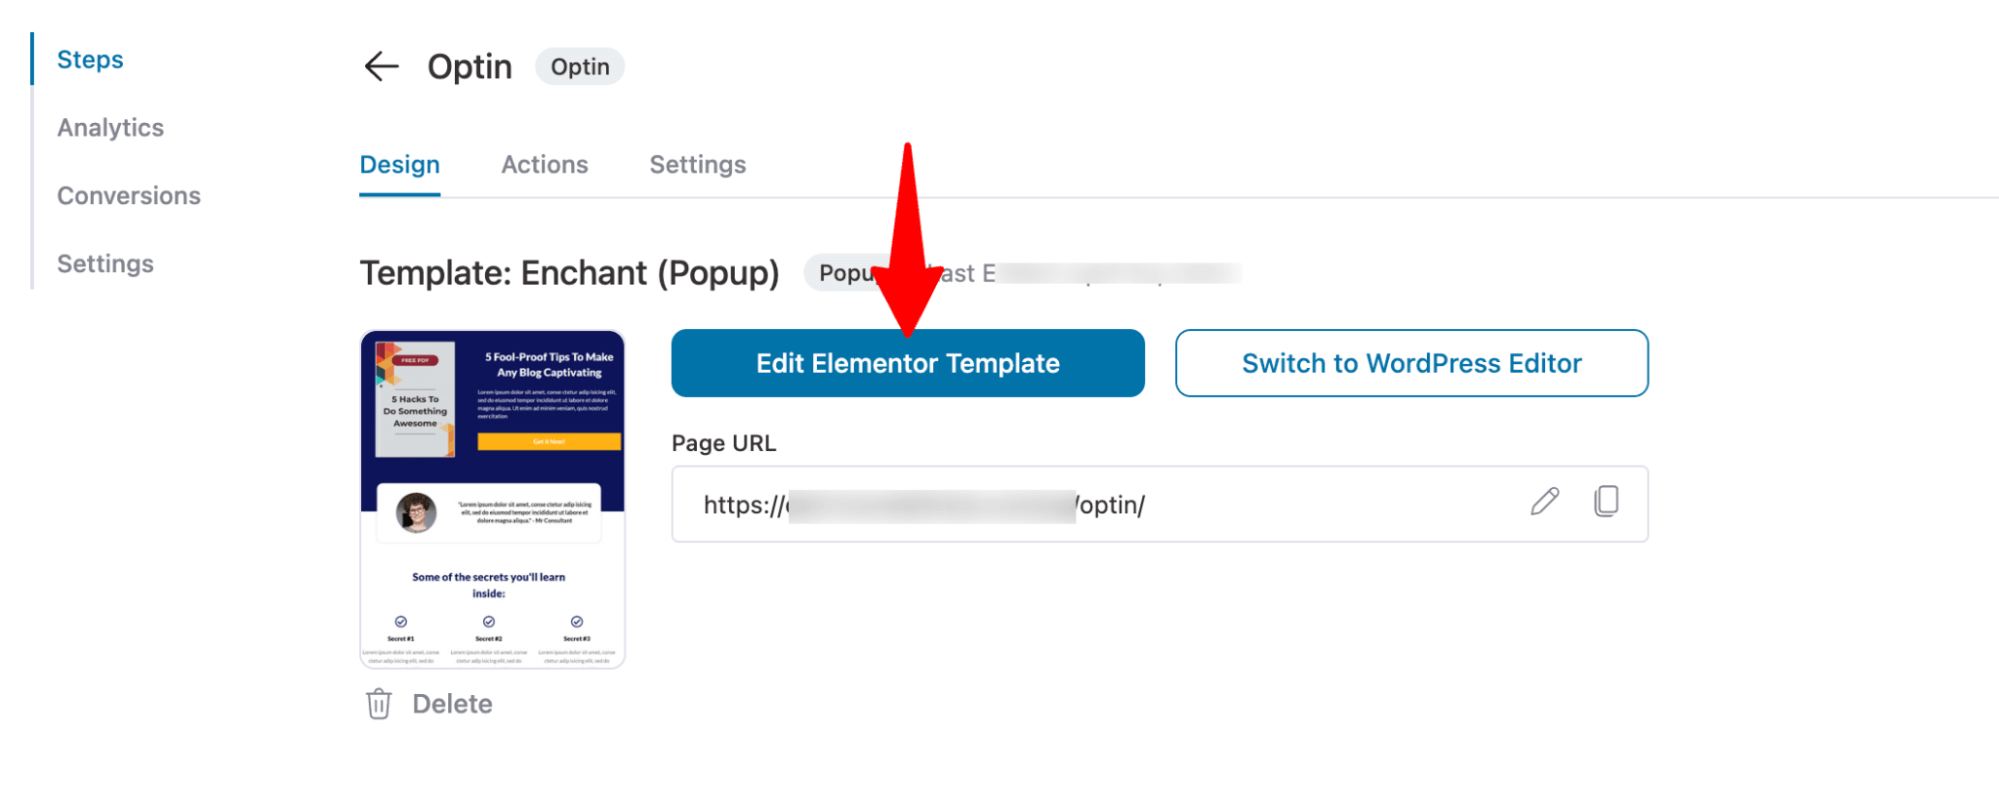
Step 1: Edit the optin template
First, navigate to the Opt-in funnel and select the Opt-in page. Next, click on the Edit Template option to make changes to the template.
Step 2: Make an image a clickable CTA
Click on the image you want to use as a CTA that will trigger the opt-in pop-up form.
And on the left side, Image settings, make sure to choose the Link as “Custom URL” and on the link tab add this value “?wfop-popup=yes”

Once done, hit Publish to Save.
Step 3: Test the image CTA on the optin form
Now, test the Opt-in page by clicking on the image you set as a CTA to ensure it opens the opt-in pop-up form.

That's it! This is how easily you can add multiple CTAs (using images) to the opt-in page, which will open the pop-up form.


