Would you like to start selling quantity discounts, build-your-own boxes, free gifts, and upsells right on your WooCommerce product pages? All you need is a WooCommerce store and Funnel Builder. The paid features also need Funnel Builder Pro and a Bundles Addon license key.
This guide walks you through getting Bundles running in Funnel Builder and activating your Bundles Addon license.

Before you get started, make sure WooCommerce is installed and activated on your WordPress site.
Checking Funnel Builder Is Active
To get started, we'll check that Funnel Builder is active, because Bundles is built into it. There's nothing separate to install or switch on for Bundles itself.
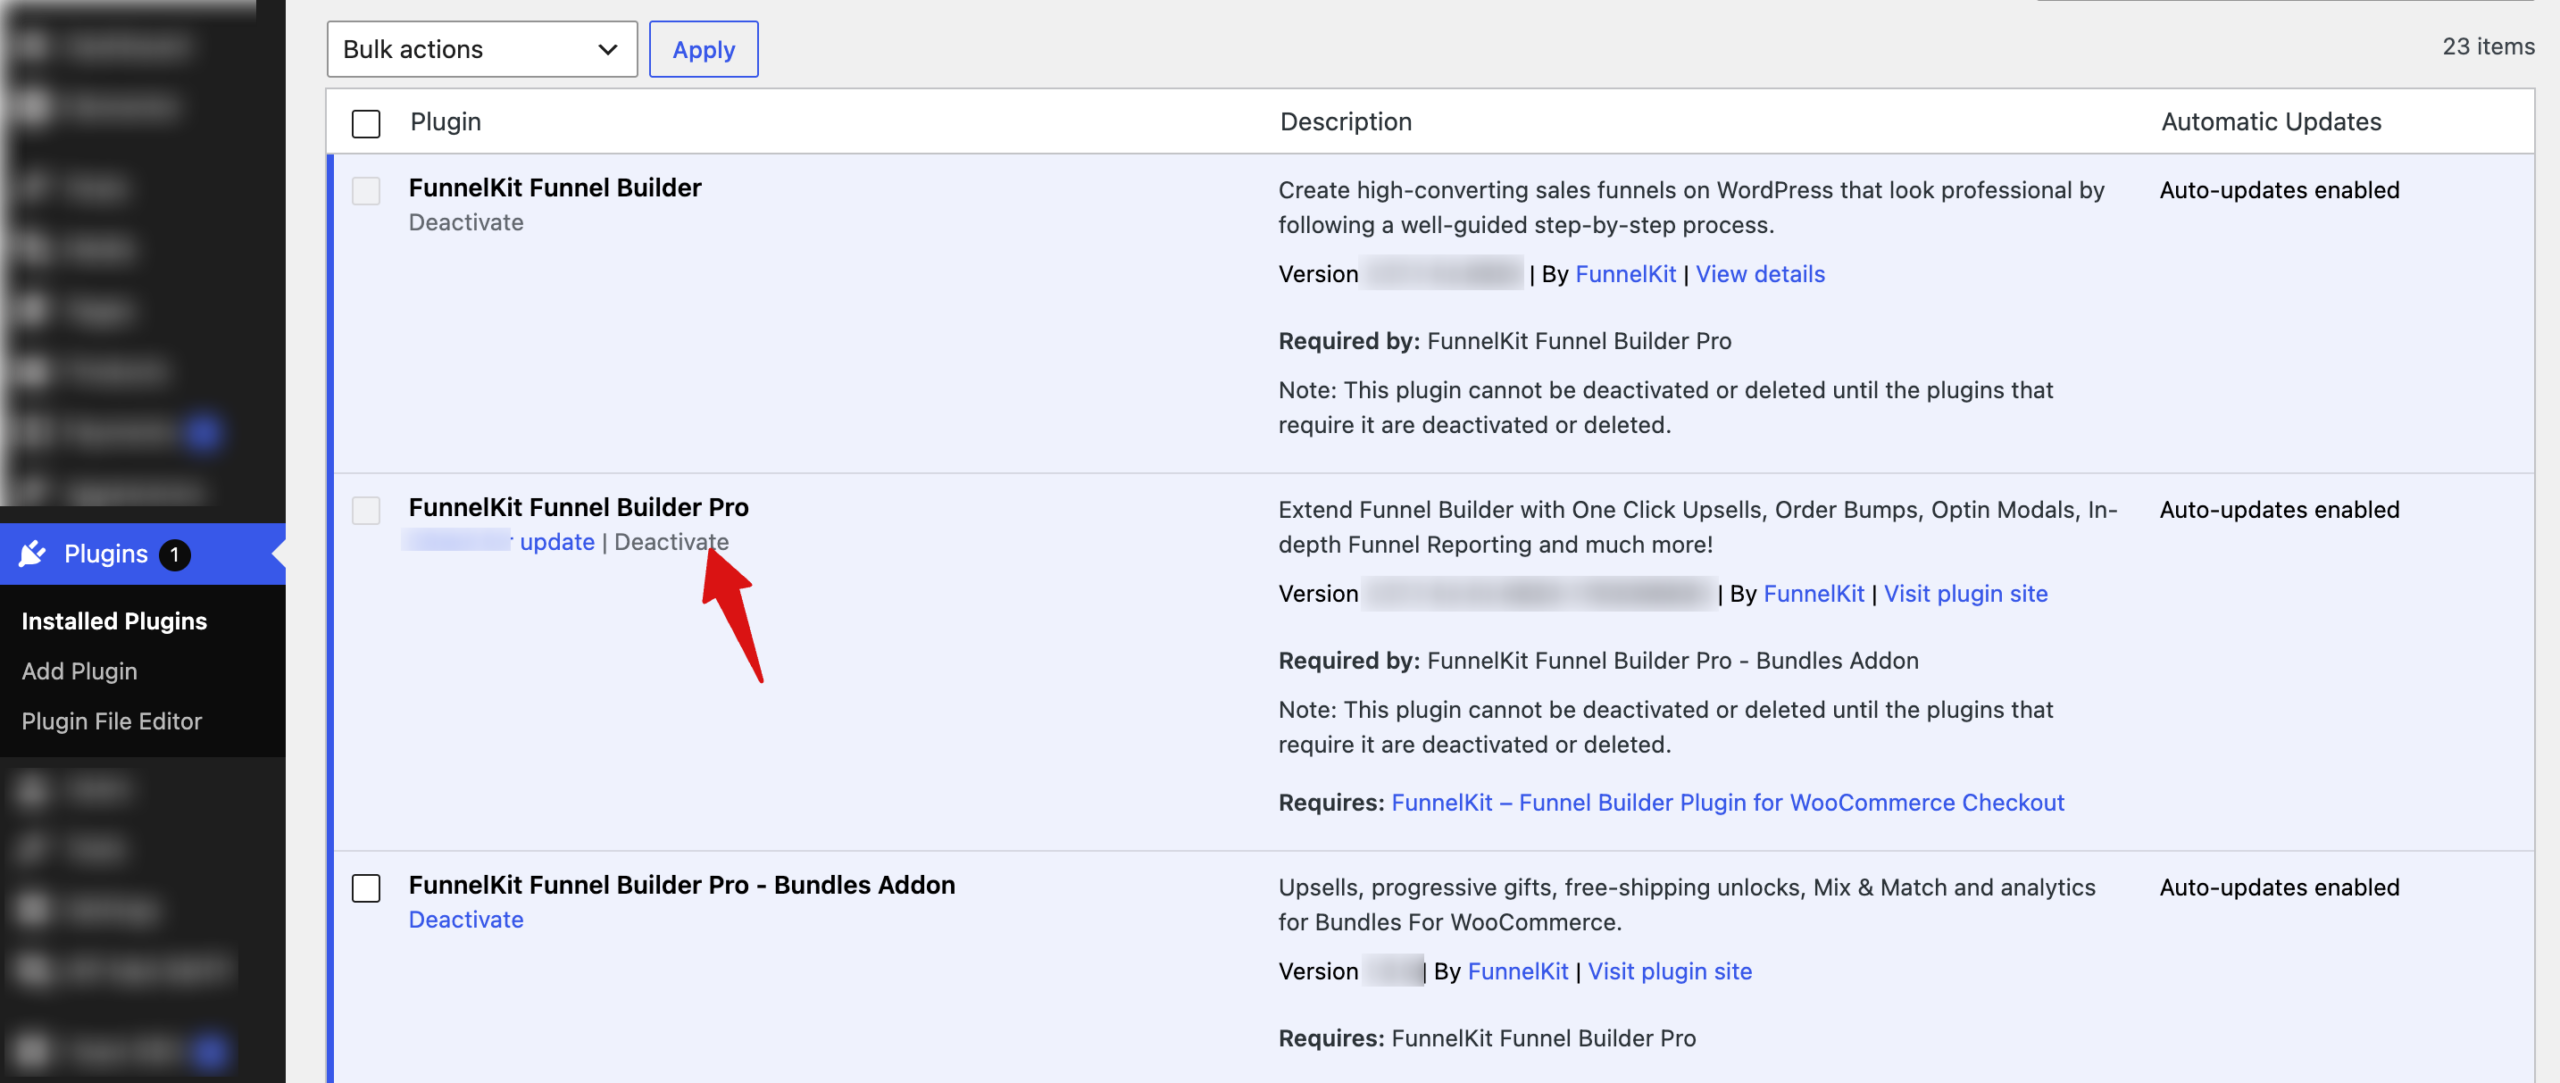
On your Plugins page, Funnel Builder is listed as FunnelKit Funnel Builder. If it isn't there yet, add it the same way as any other plugin.
For a refresher on adding a plugin, see the WordPress guide to managing plugins.
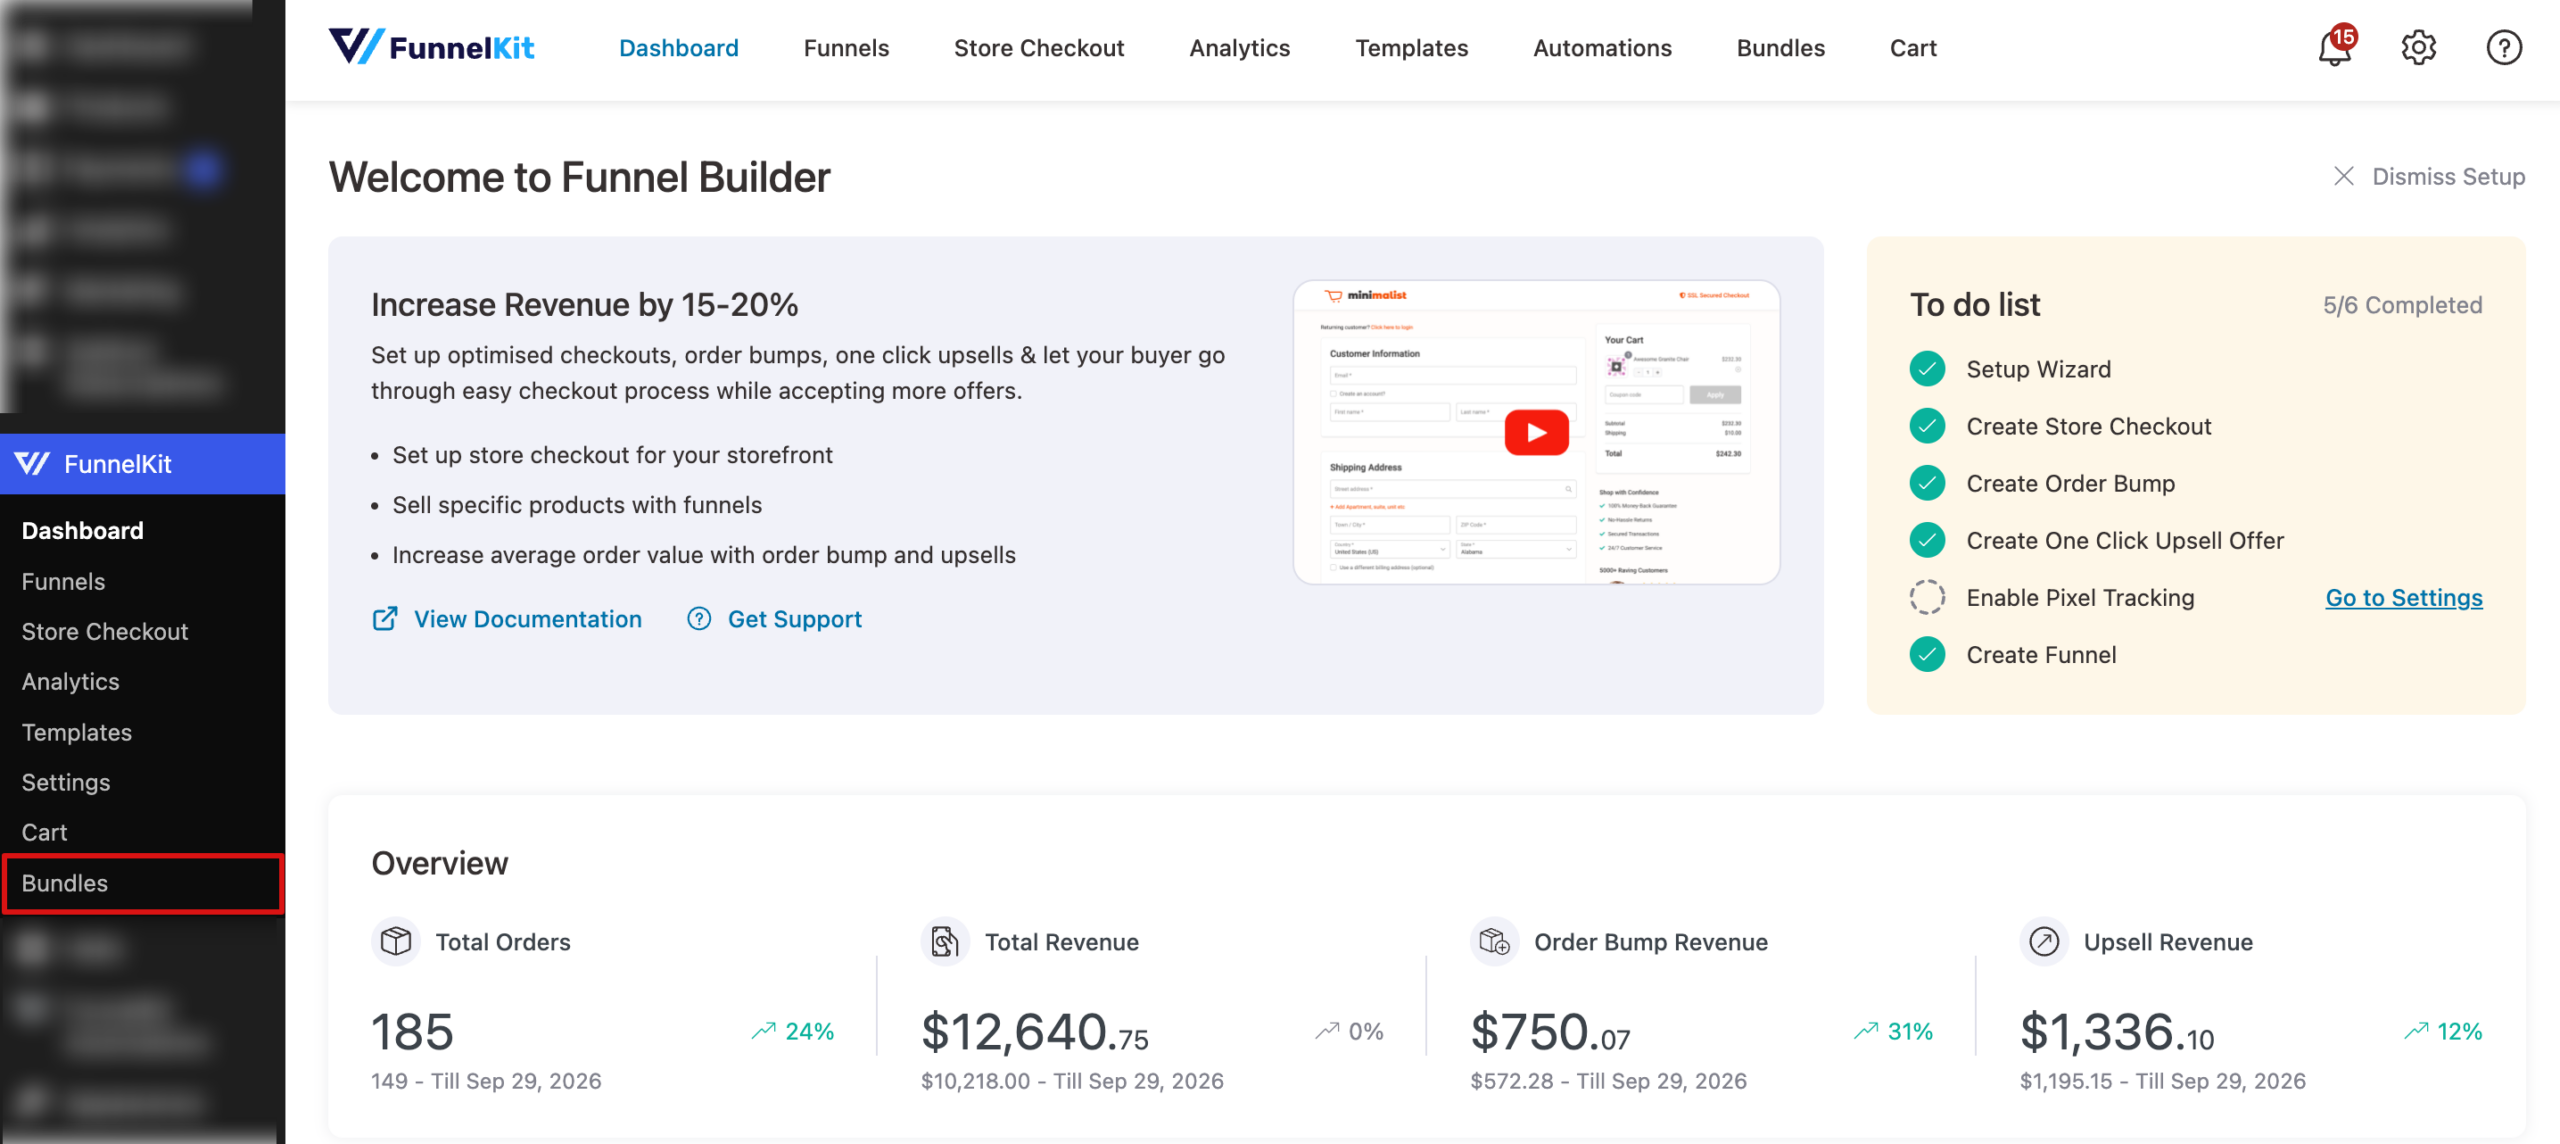
As soon as Funnel Builder is active, Bundles loads with it. From your WordPress admin sidebar, go to FunnelKit » Bundles to open the Bundles list. Fixed Bundle and Frequently Bought Together offers are ready to use here.
With Bundles running, the next step is adding the paid Bundles Addon.
Installing the Bundles Addon
The Bundles Addon is a paid plugin that adds Quantity Breaks, Mix and Match boxes, upsells, and progressive gifts. It also adds free-shipping unlocks, offer images, role targeting, category placement, saved design presets, and analytics.
On your Plugins page, the add-on is listed as FunnelKit Funnel Builder Pro - Bundles Addon. Its ZIP file is in your FunnelKit account.
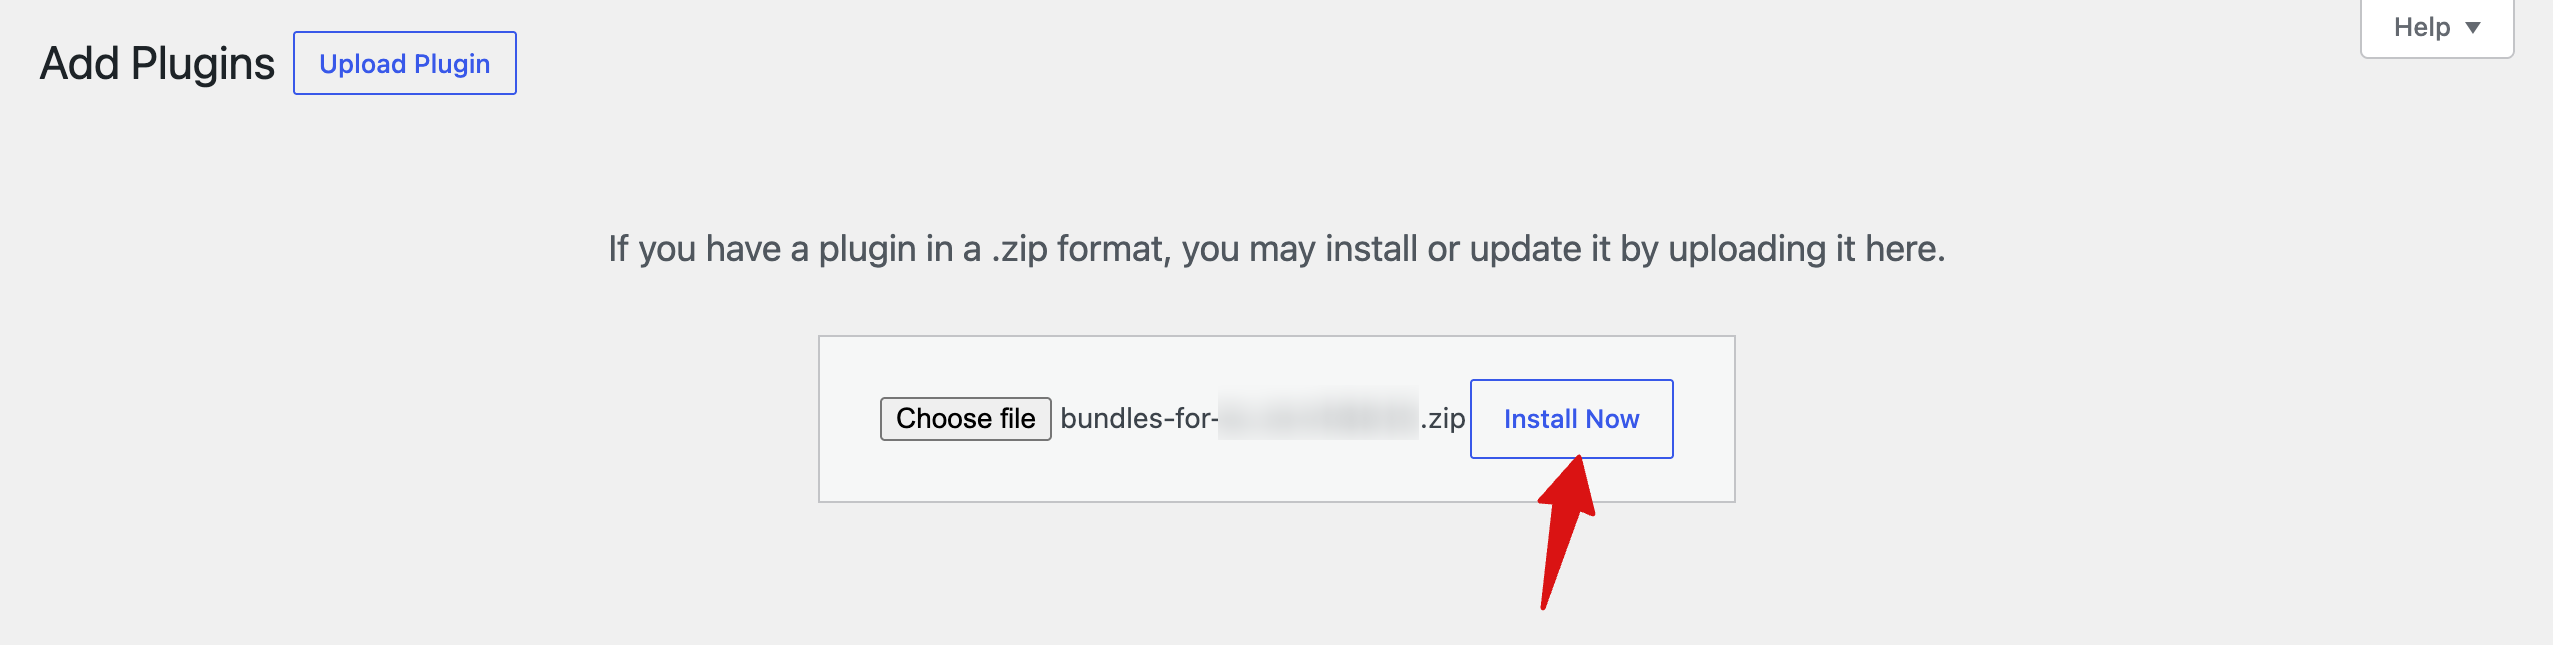
From your WordPress admin sidebar, go to Plugins » Add New Plugin. At the top of the screen, click Upload Plugin.
Next, upload the Bundles Addon ZIP file. When the upload finishes, activate the plugin.
Once the addon is active, the last step is activating its license.
Activating Your License
Your license turns on every paid feature. Until it's active, Quantity Breaks and Mix and Match bundles don't appear to shoppers. The paid sections of the bundle editor also show a Licence Inactive label.
From your WordPress admin sidebar, go to FunnelKit » Settings. The General settings open first. In the License section, find the FunnelKit Bundles For WooCommerce row.
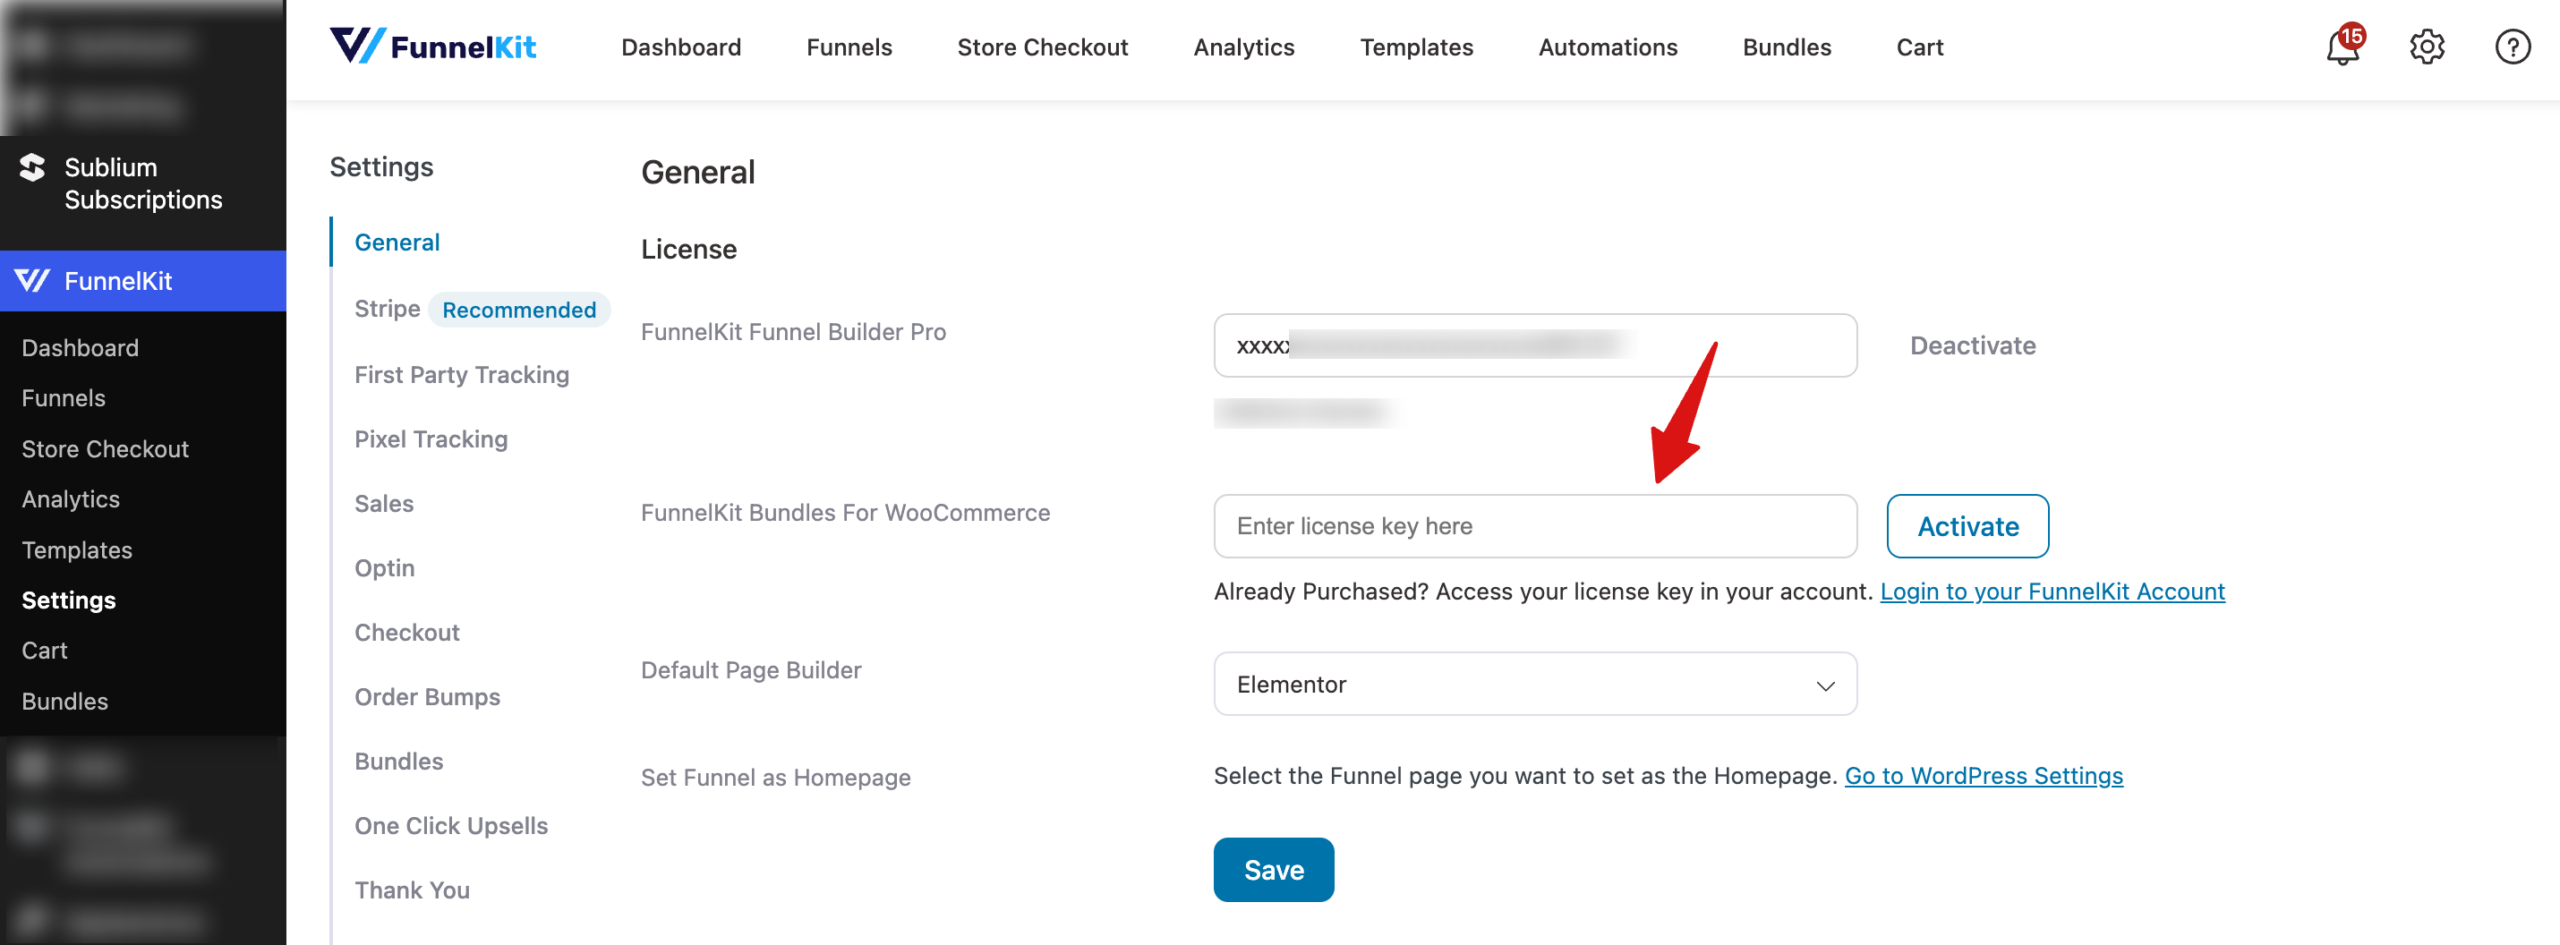
Until a key is active, the row shows an empty key field with an Activate button. Below it, the Login to your FunnelKit Account link takes you to your account, where you'll find your key.
Next, paste your key into the key field on the FunnelKit Bundles For WooCommerce row. Then click Activate.
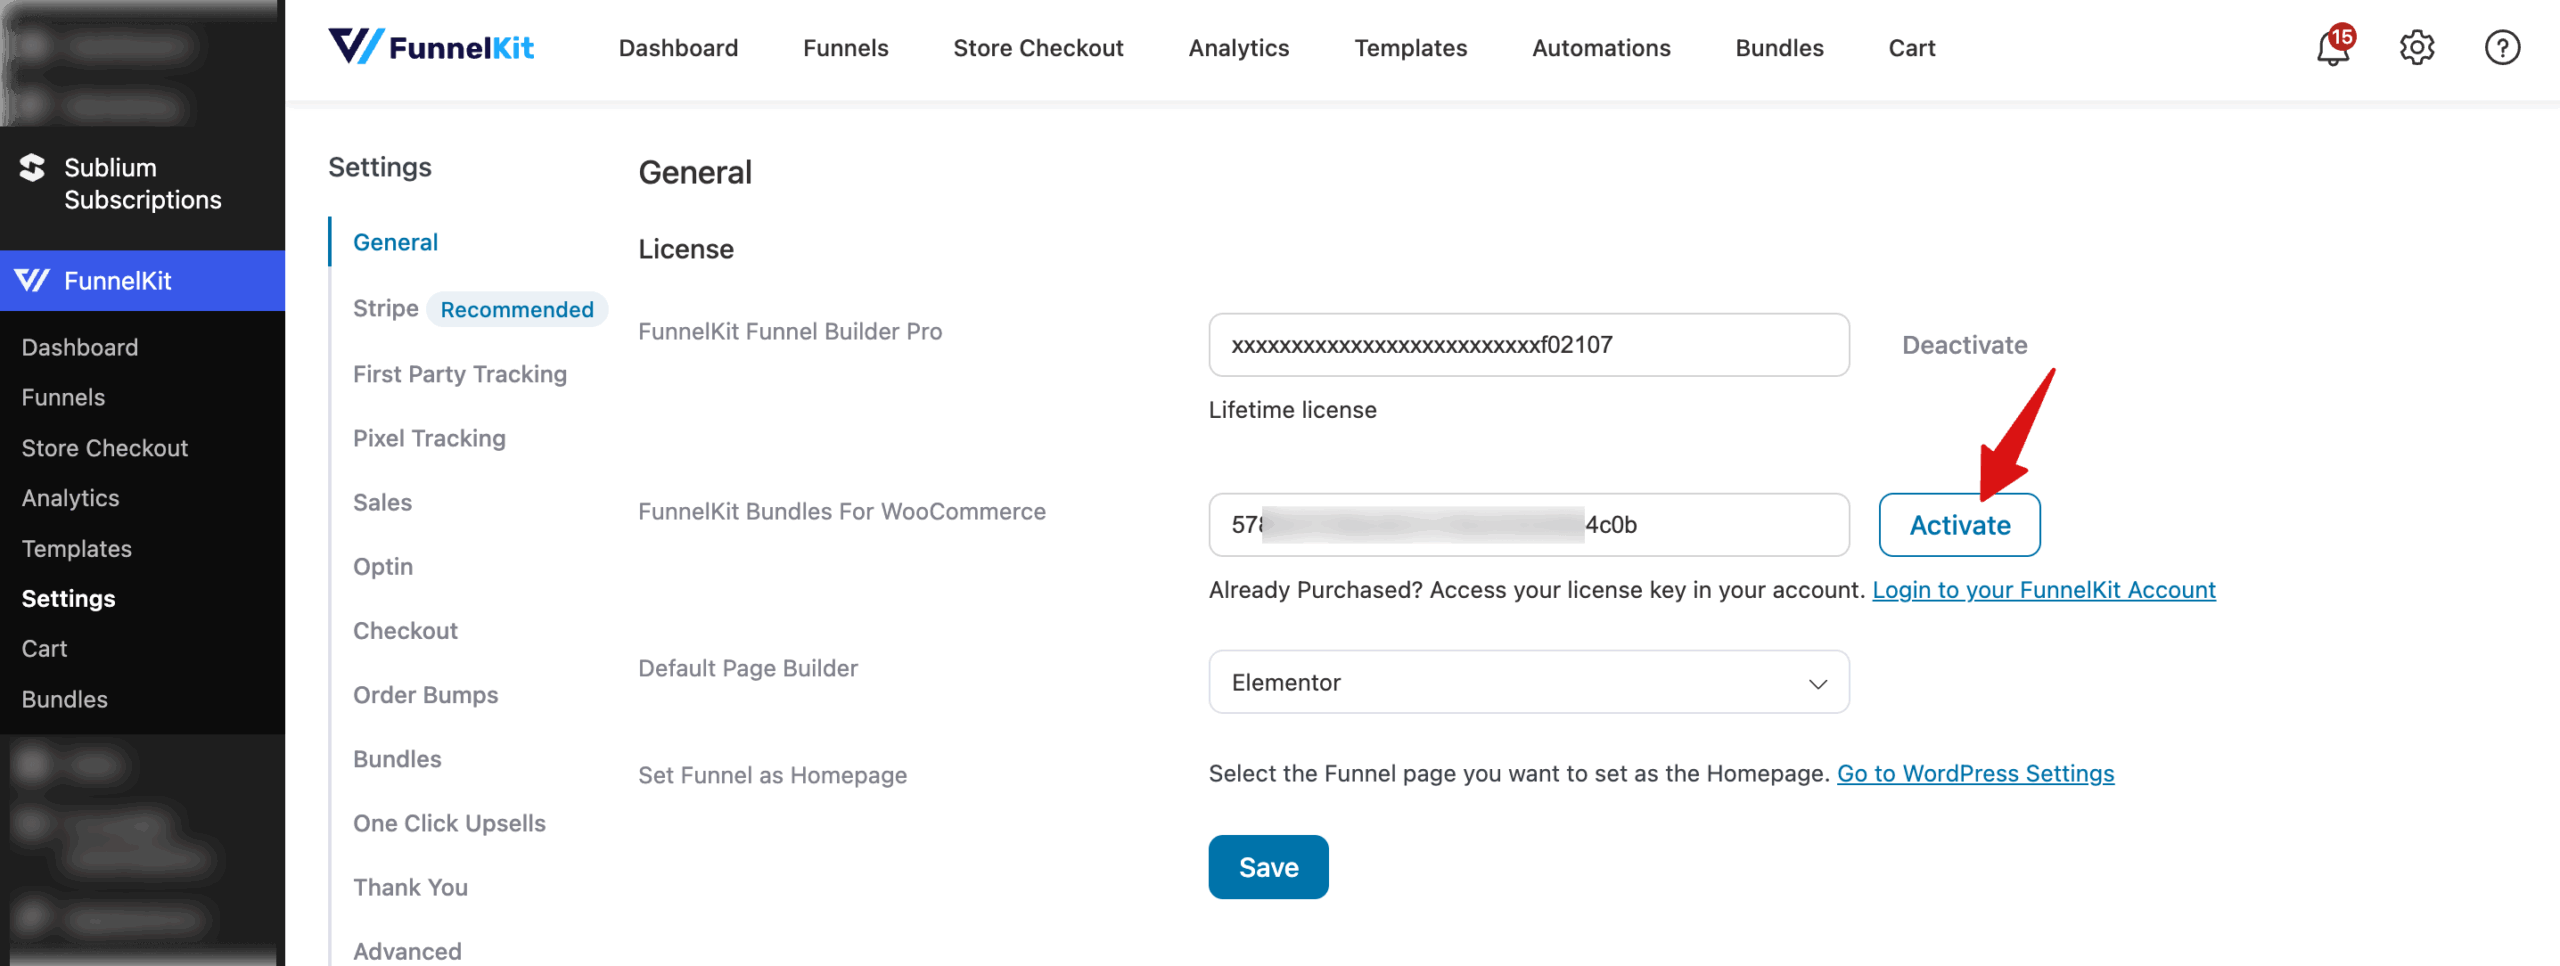
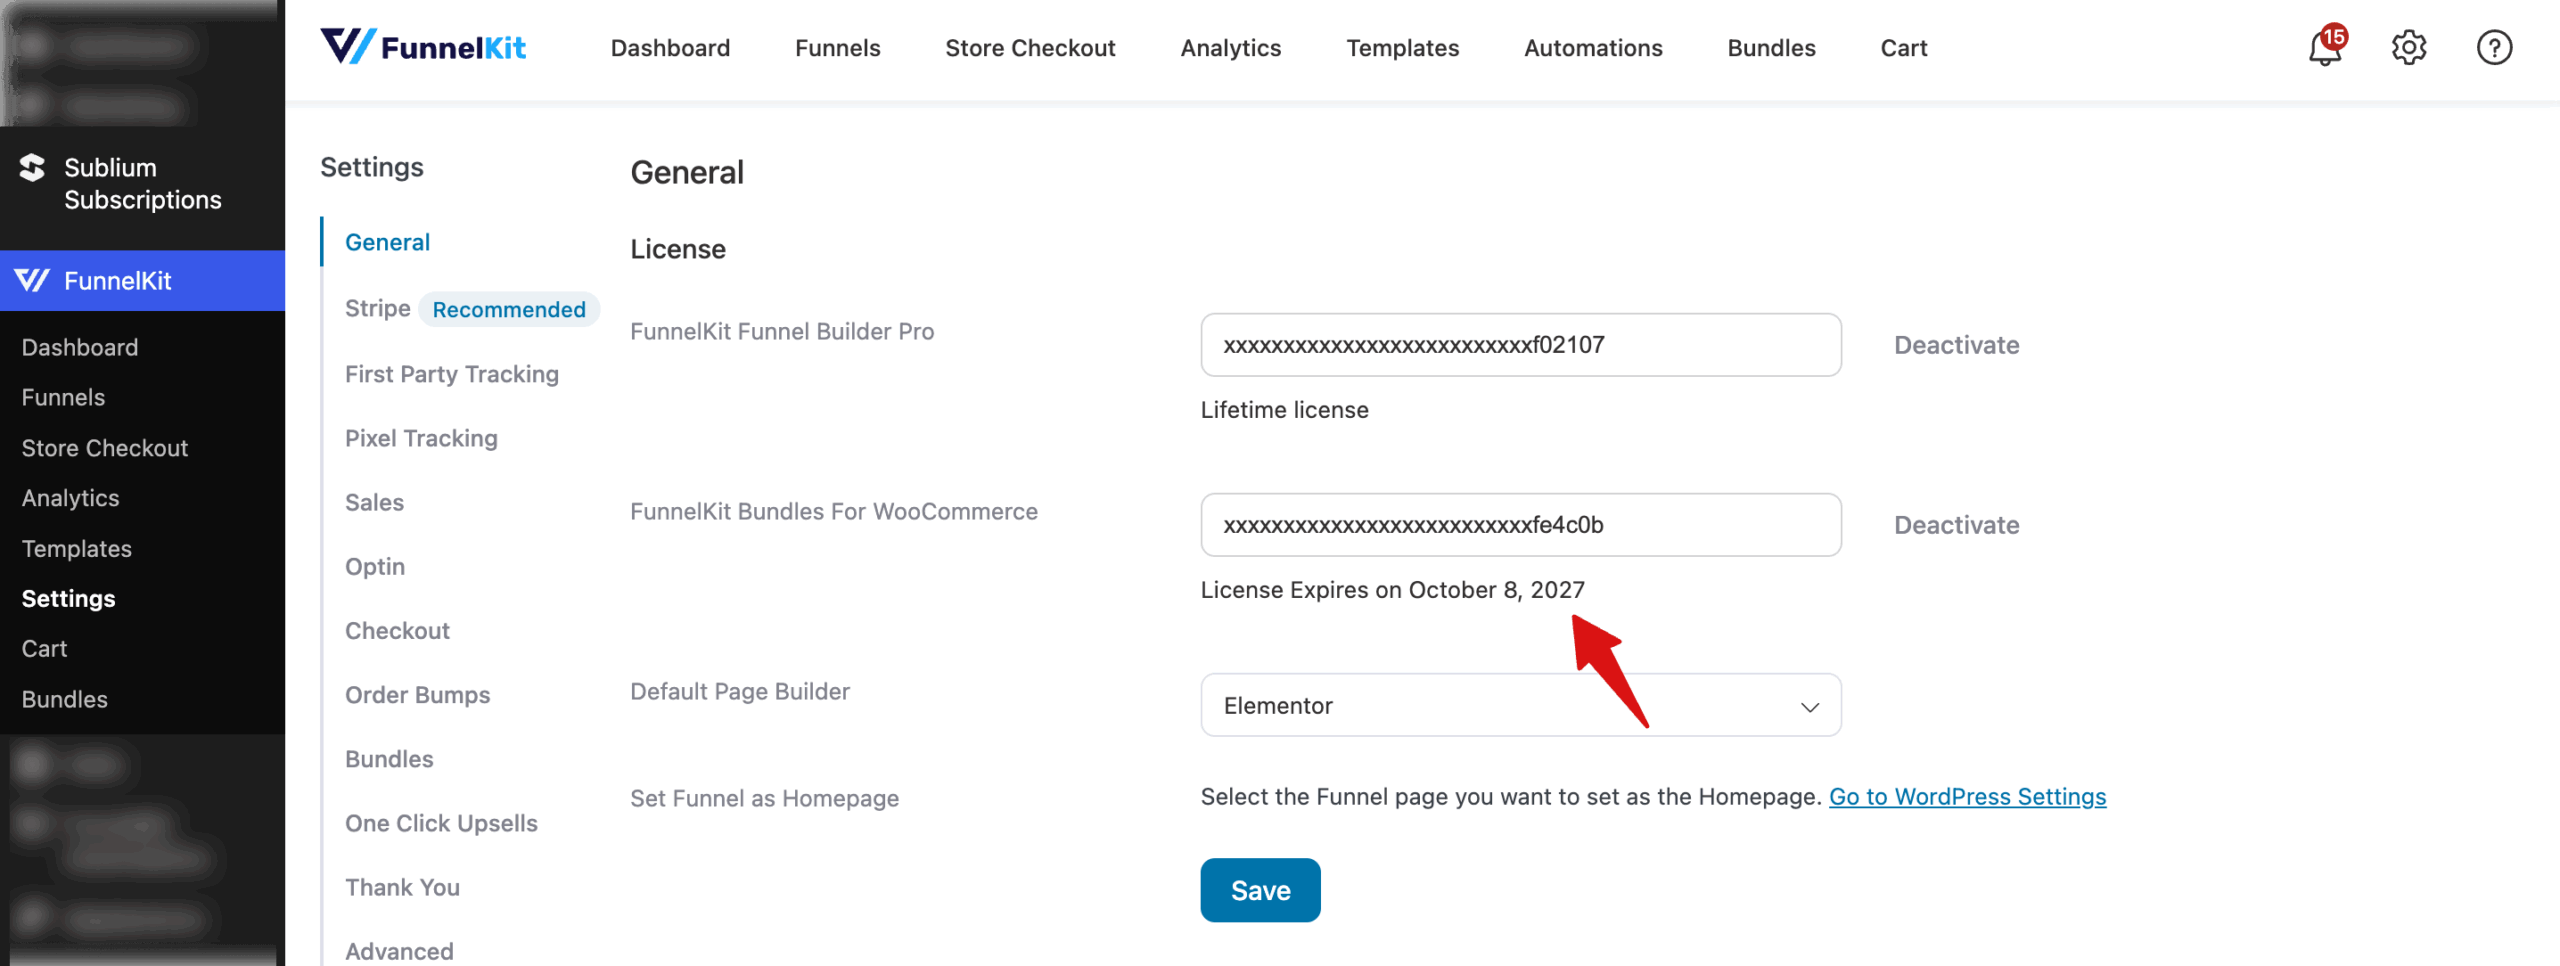
When the license is active, the row shows License Expires on and your expiration date, or Lifetime license. Your key is partly hidden, and the button changes to Deactivate.
The Licence tab shows an active license with its expiration date and the Deactivate button.
That's it! You now know how to set up Bundles in Funnel Builder and activate your Bundles Addon license. Next, you're ready to start creating your first bundle.
FAQ
Below, we've answered some of the most common questions about setting up Bundles and the Bundles Addon license.
Do I need a separate Bundles plugin?
No. Bundles comes with Funnel Builder. If your site already runs the standalone Bundles For WooCommerce plugin, that plugin keeps running. Funnel Builder leaves its built-in copy switched off, so you never get two copies at once.
What happens to my bundles if I deactivate the Bundles Addon?
Nothing is deleted. Bundles keeps every bundle's configuration, including the paid options, so reactivating the addon restores everything. While the addon is off, only Fixed Bundle and Frequently Bought Together bundles show on your store.
Does the Bundles Addon connect to outside services?
The Bundles Addon only contacts the FunnelKit license server to activate your license, check its status, and deliver updates.