Would you like to keep your bundles organized as your store grows? In this guide, we'll walk you through the Bundles list, where you can search, reorder, duplicate, export, and update bundles in bulk. All you need is Funnel Builder installed and activated.

Before you get started, make sure Funnel Builder is installed and activated on your WordPress site. If you need help, see our guide on installing the plugin and activating your license.
Reading the Bundles List
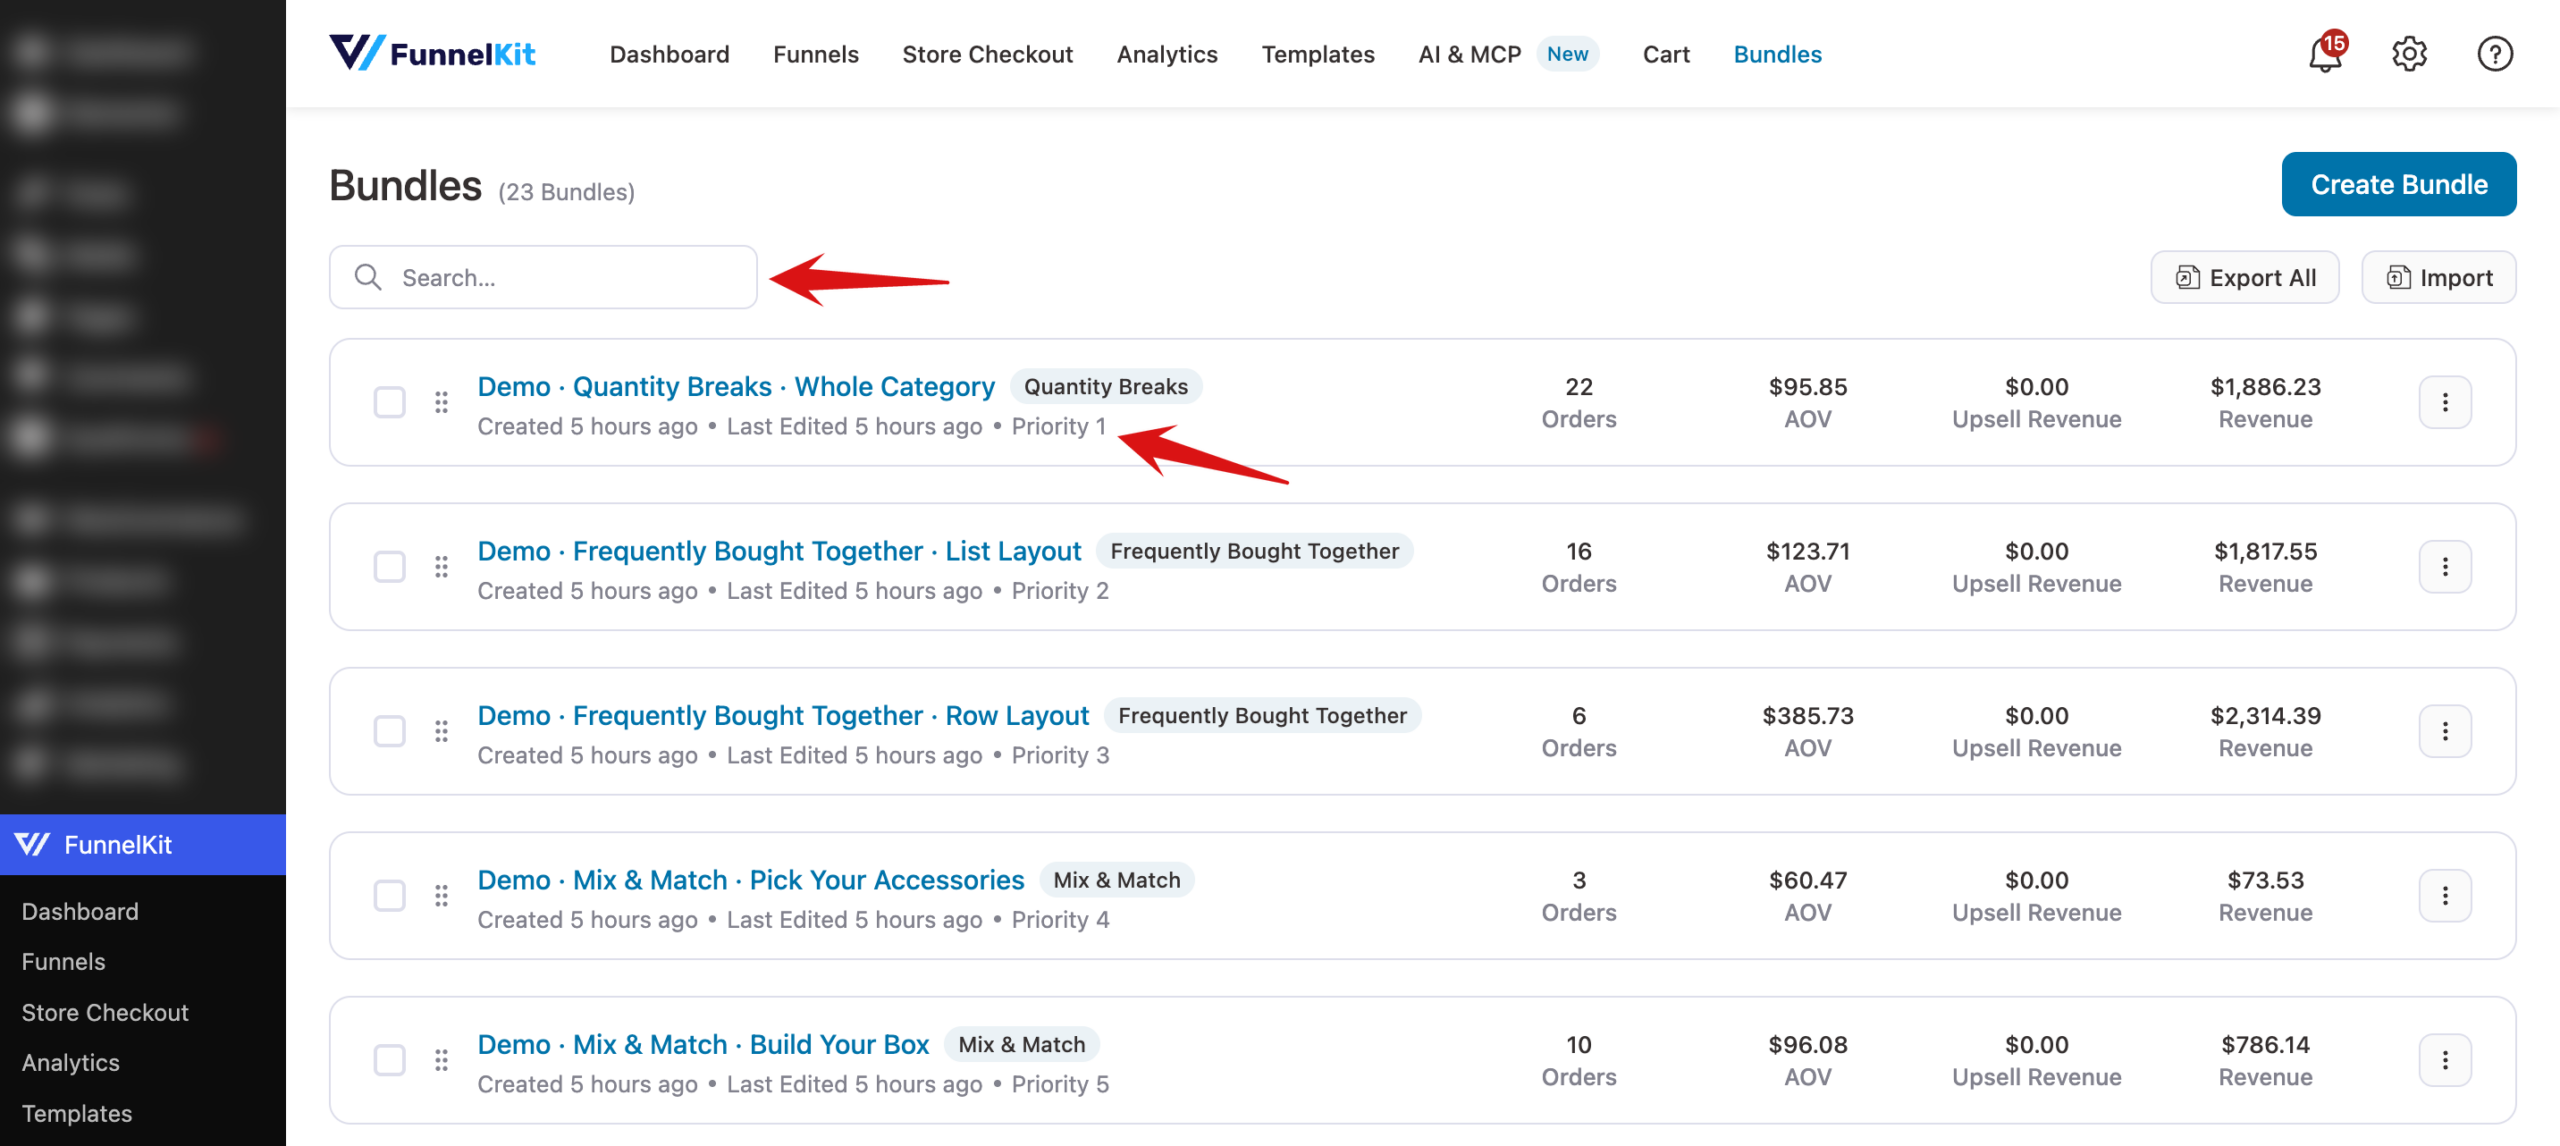
Go to FunnelKit » Bundles to see every bundle on your store. Each row shows the bundle's name, its type, a Draft label if it isn't live (with the Bundles Addon, scheduled bundles also show Scheduled or Expired), when it was created and last edited, and its priority. With the paid addon active, each row also shows its Orders, AOV, Upsell Revenue, and Revenue.
To find a bundle quickly, type its name into the search box at the top.
Setting Bundle Priority
A product page shows only one bundle. When more than one active bundle targets the same product, the bundle highest in the list wins. To change the order, hover over a row and drag it by the handle on the left. The Priority number on each row updates to match.
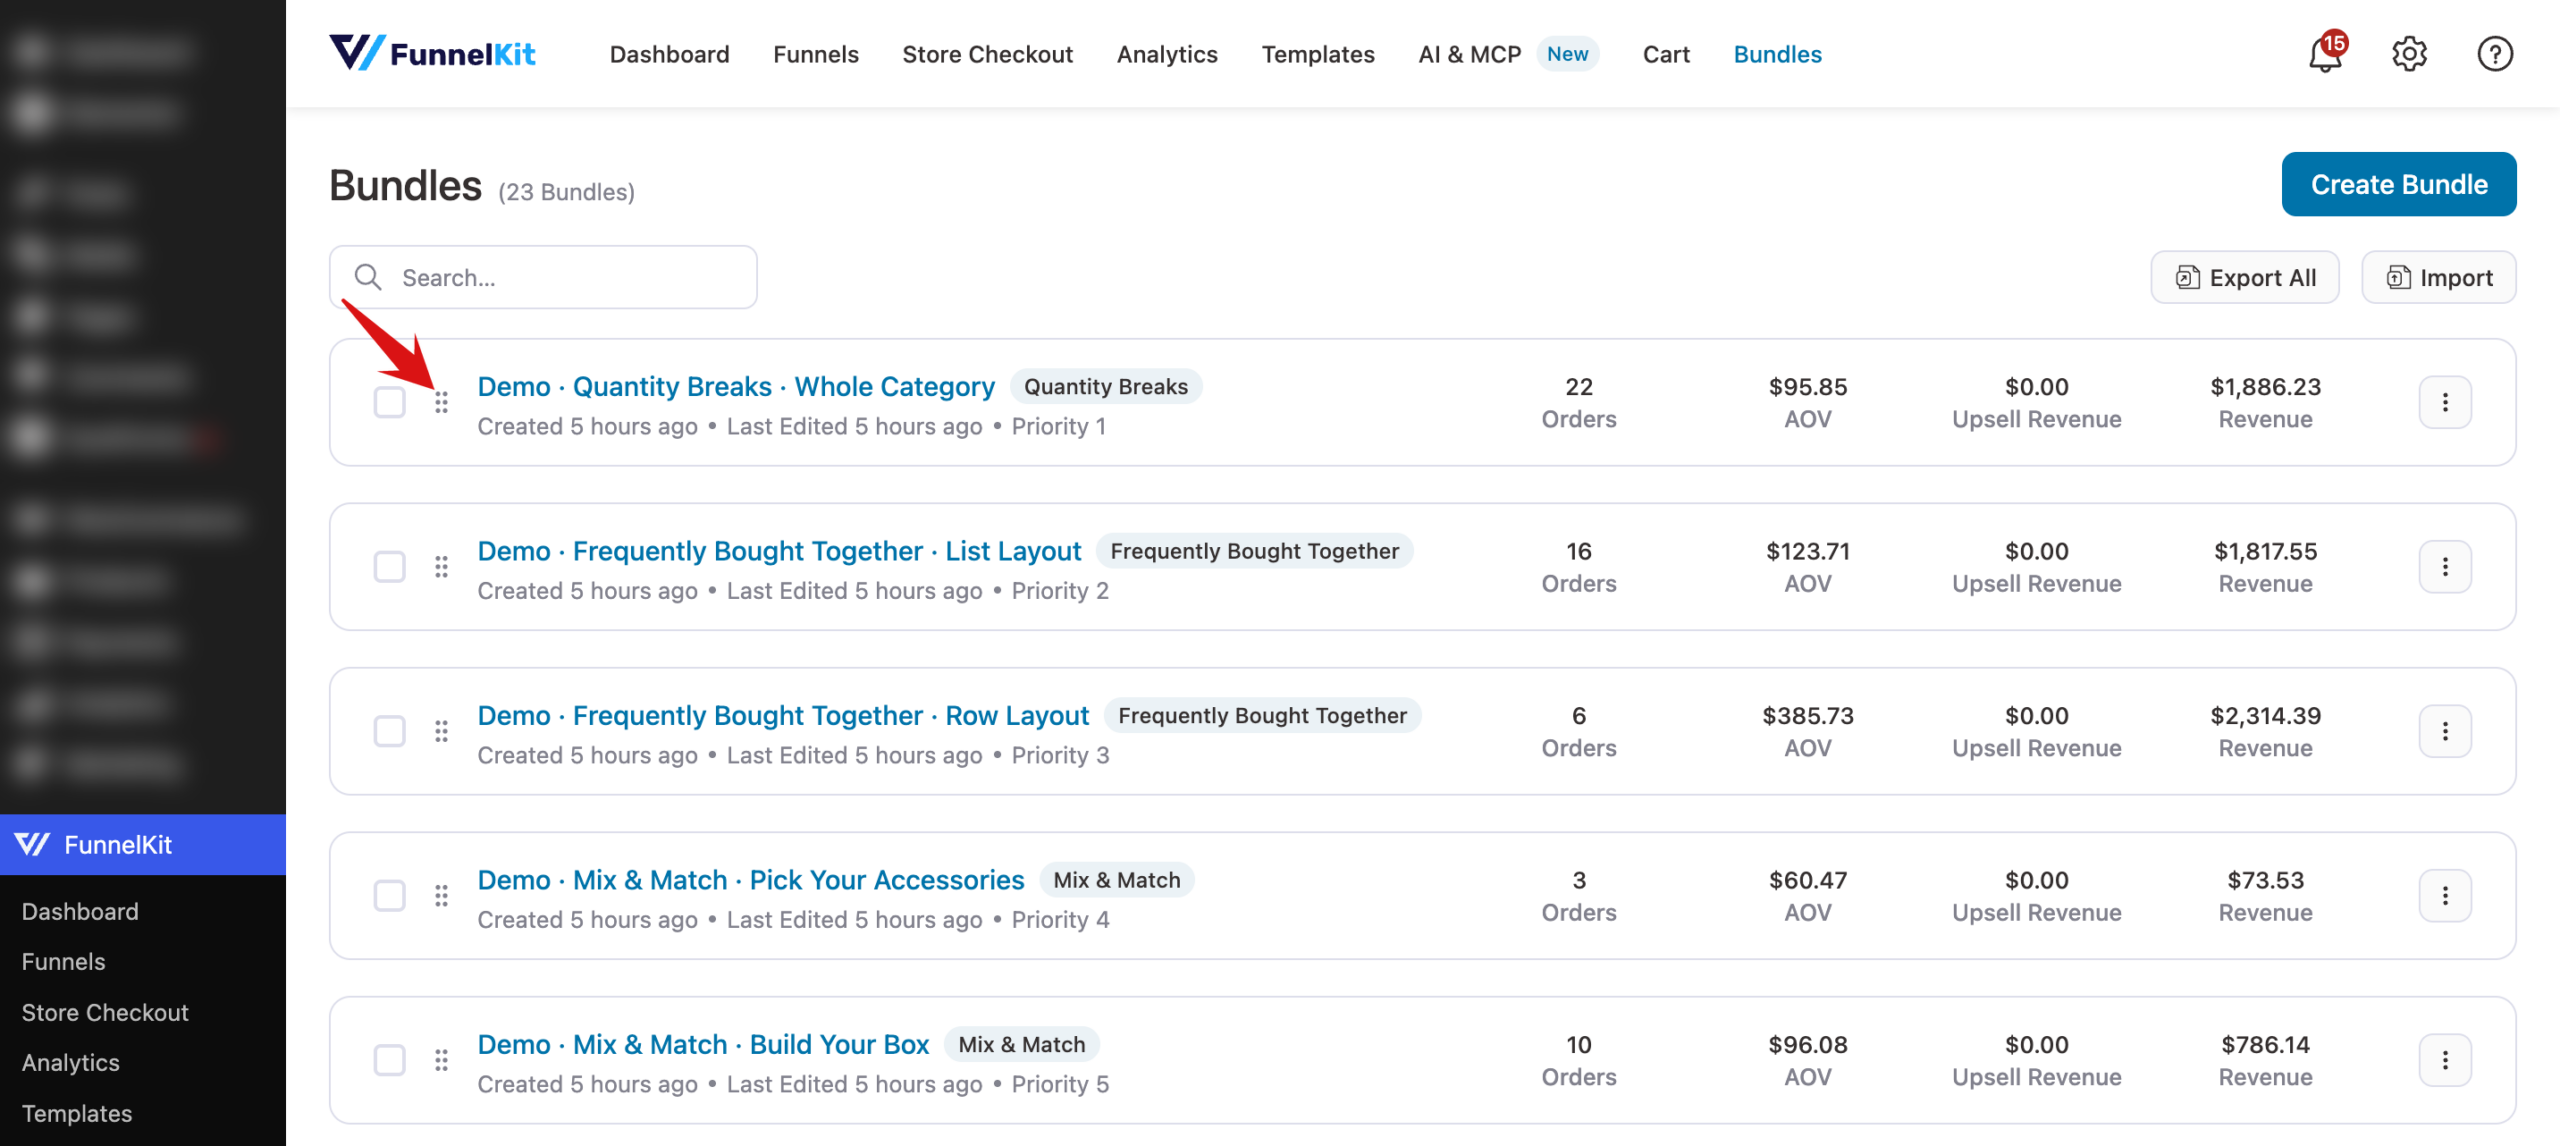
New bundles are added to the top of the list, so they take priority until you move them.
Using Row Actions
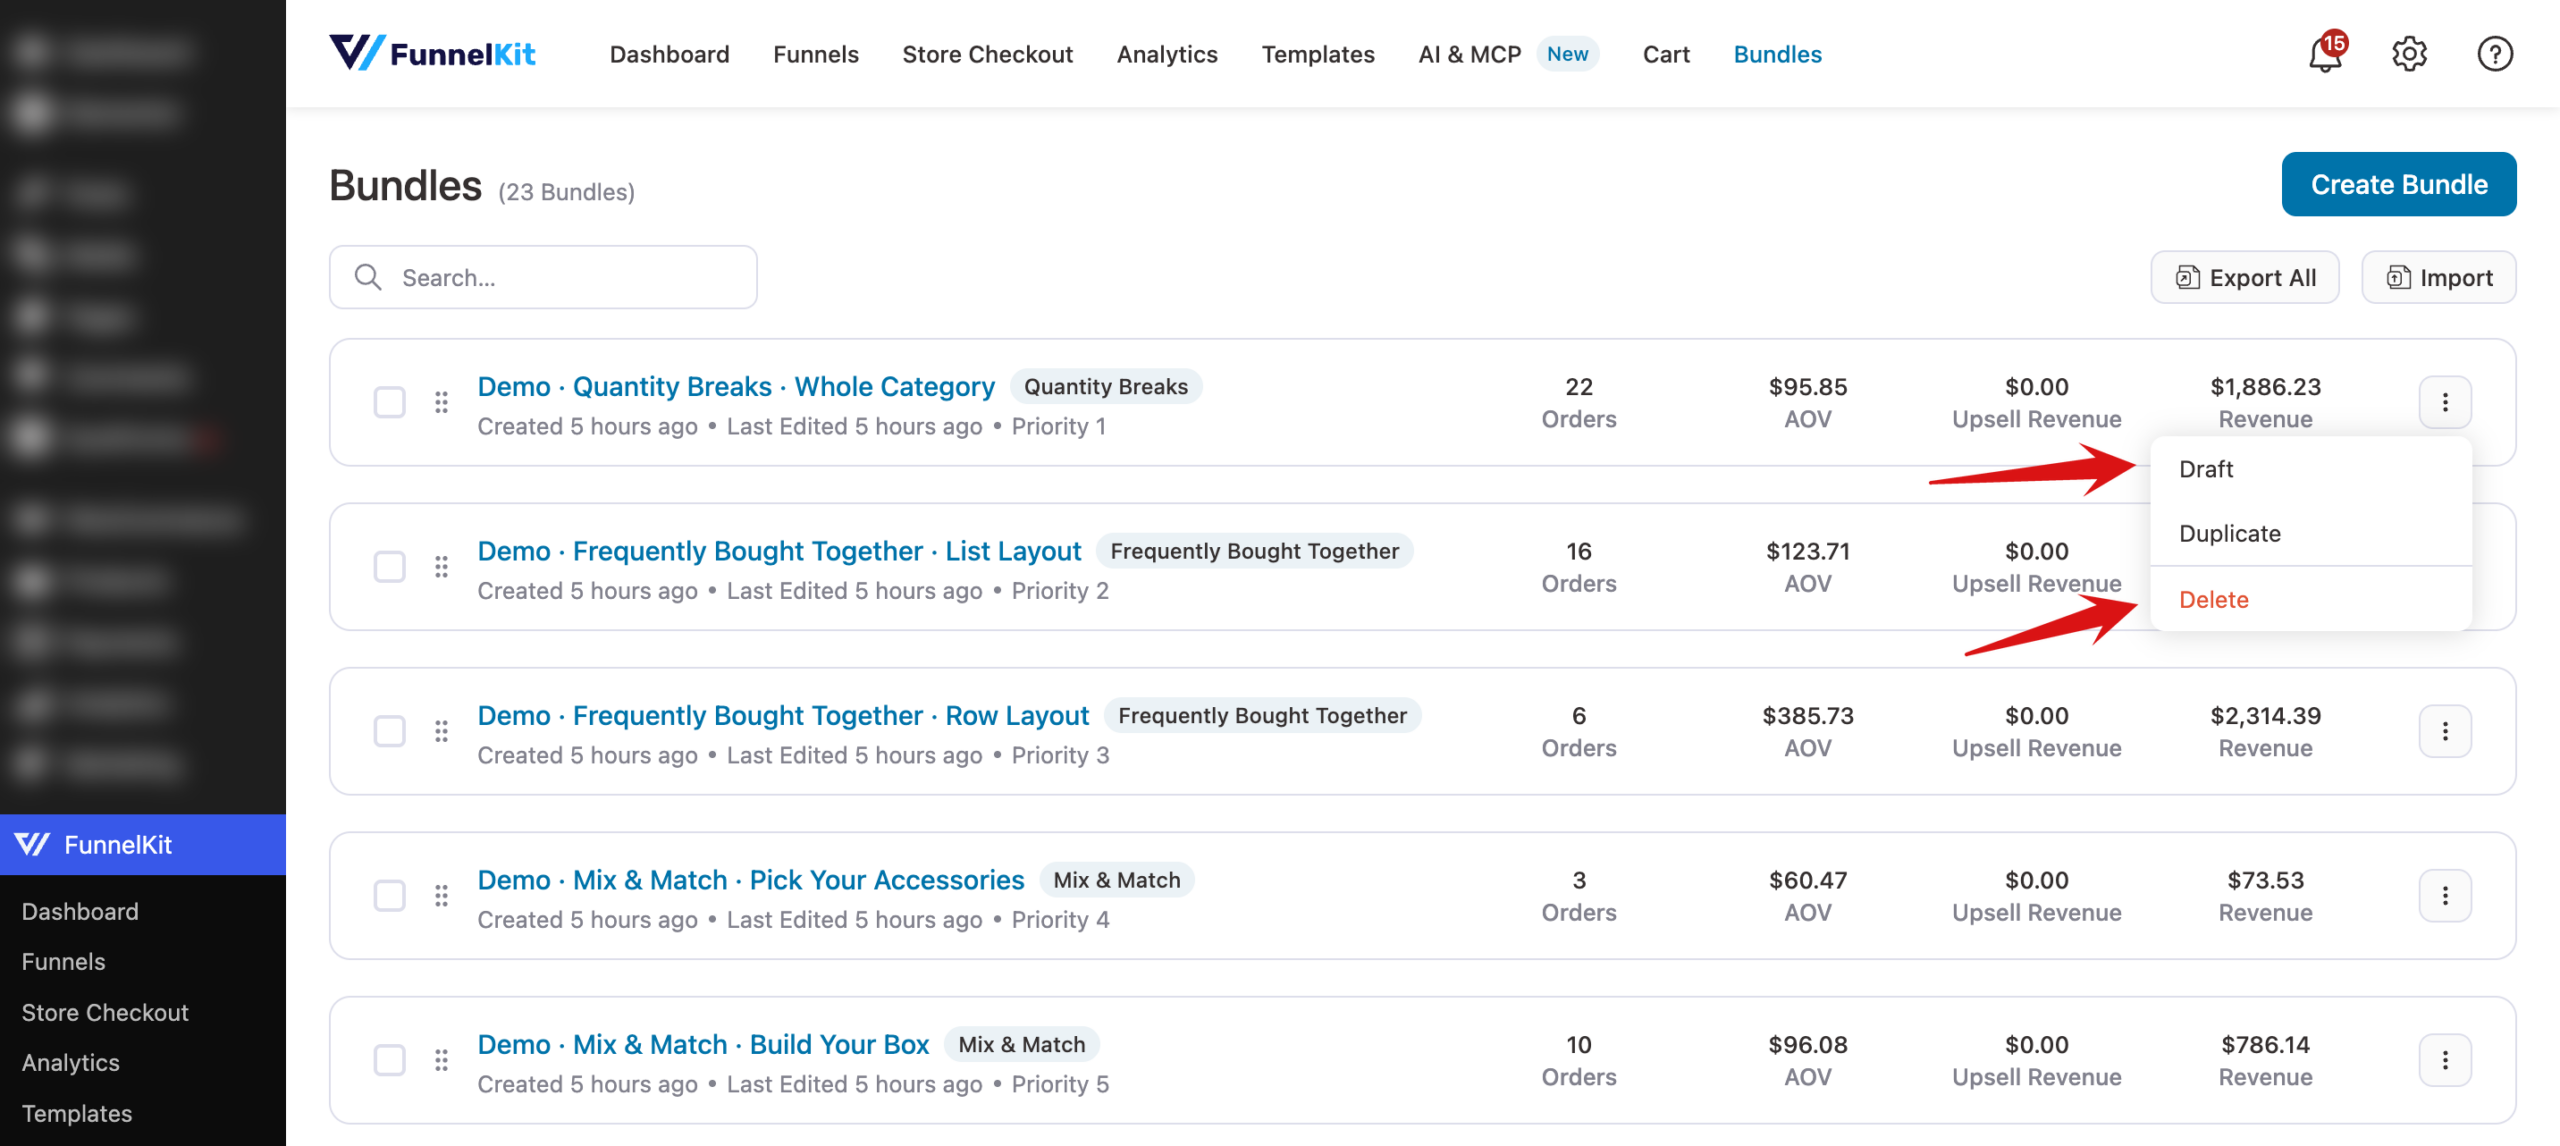
Click the three-dot menu at the end of a row to see its actions:
- Draft or Activate: switches the bundle between live and draft without opening it. You'll be asked to confirm.
- Duplicate: makes a copy of the bundle, handy for building a similar offer. This needs the Bundles Addon with an active license.
- Delete: removes the bundle. The confirmation has Download this bundle before deletion. ticked by default, so you keep a backup file.
When you choose Delete, a confirmation window opens. Leave Download this bundle before deletion. ticked to keep a backup, then click Delete to remove the bundle, or Cancel to keep it.

To edit a bundle, click its name.
Updating Bundles in Bulk
Tick the checkbox on one or more rows to show the bulk actions bar. From there you can:
- Clear All to clear your selection.
- Export the selected bundles to a file.
- Assign Product to add a product to every selected bundle.
- Activate or Draft the selected bundles. Each button appears only when it would change at least one selected bundle.
- Delete the selected bundles.

Importing and Exporting Bundles
You can move bundles between stores, or keep a backup, with the Export All and Import buttons to the right of the search box.

Click Export All, then Export in the confirmation window, to download a JSON file with the full configuration of every bundle, including its products, offers, upsells, gifts, and design. To export only some bundles, tick them and click Export in the bulk actions bar.

To bring bundles in, click Import. In the Import Bundles window, drag an export file onto the upload area or click it to browse for the file. Imported bundles always arrive as drafts, so you can review them before they go live.

That's it! You know how to organize, prioritize, and move your bundles.
Next, see how your bundles are performing in bundle analytics.
FAQ
Why is an imported bundle not showing on my store?
Every imported bundle starts as a draft. Open it, check its products, and set its status to Active.