Would you like each offer in your bundle to show its own picture, like a single jar for one unit and a stack of jars for six? In this guide, we'll walk you through setting custom images for each offer. All you need is the Bundles Addon with an active license.

Before you get started, make sure you've created a bundle with at least one offer. If you haven't yet, see our guide on creating your first bundle.
How to Set Custom Images for Each Offer Using FunnelKit Bundles
Here are the steps to follow below:
Step 1: Turn On Product Images
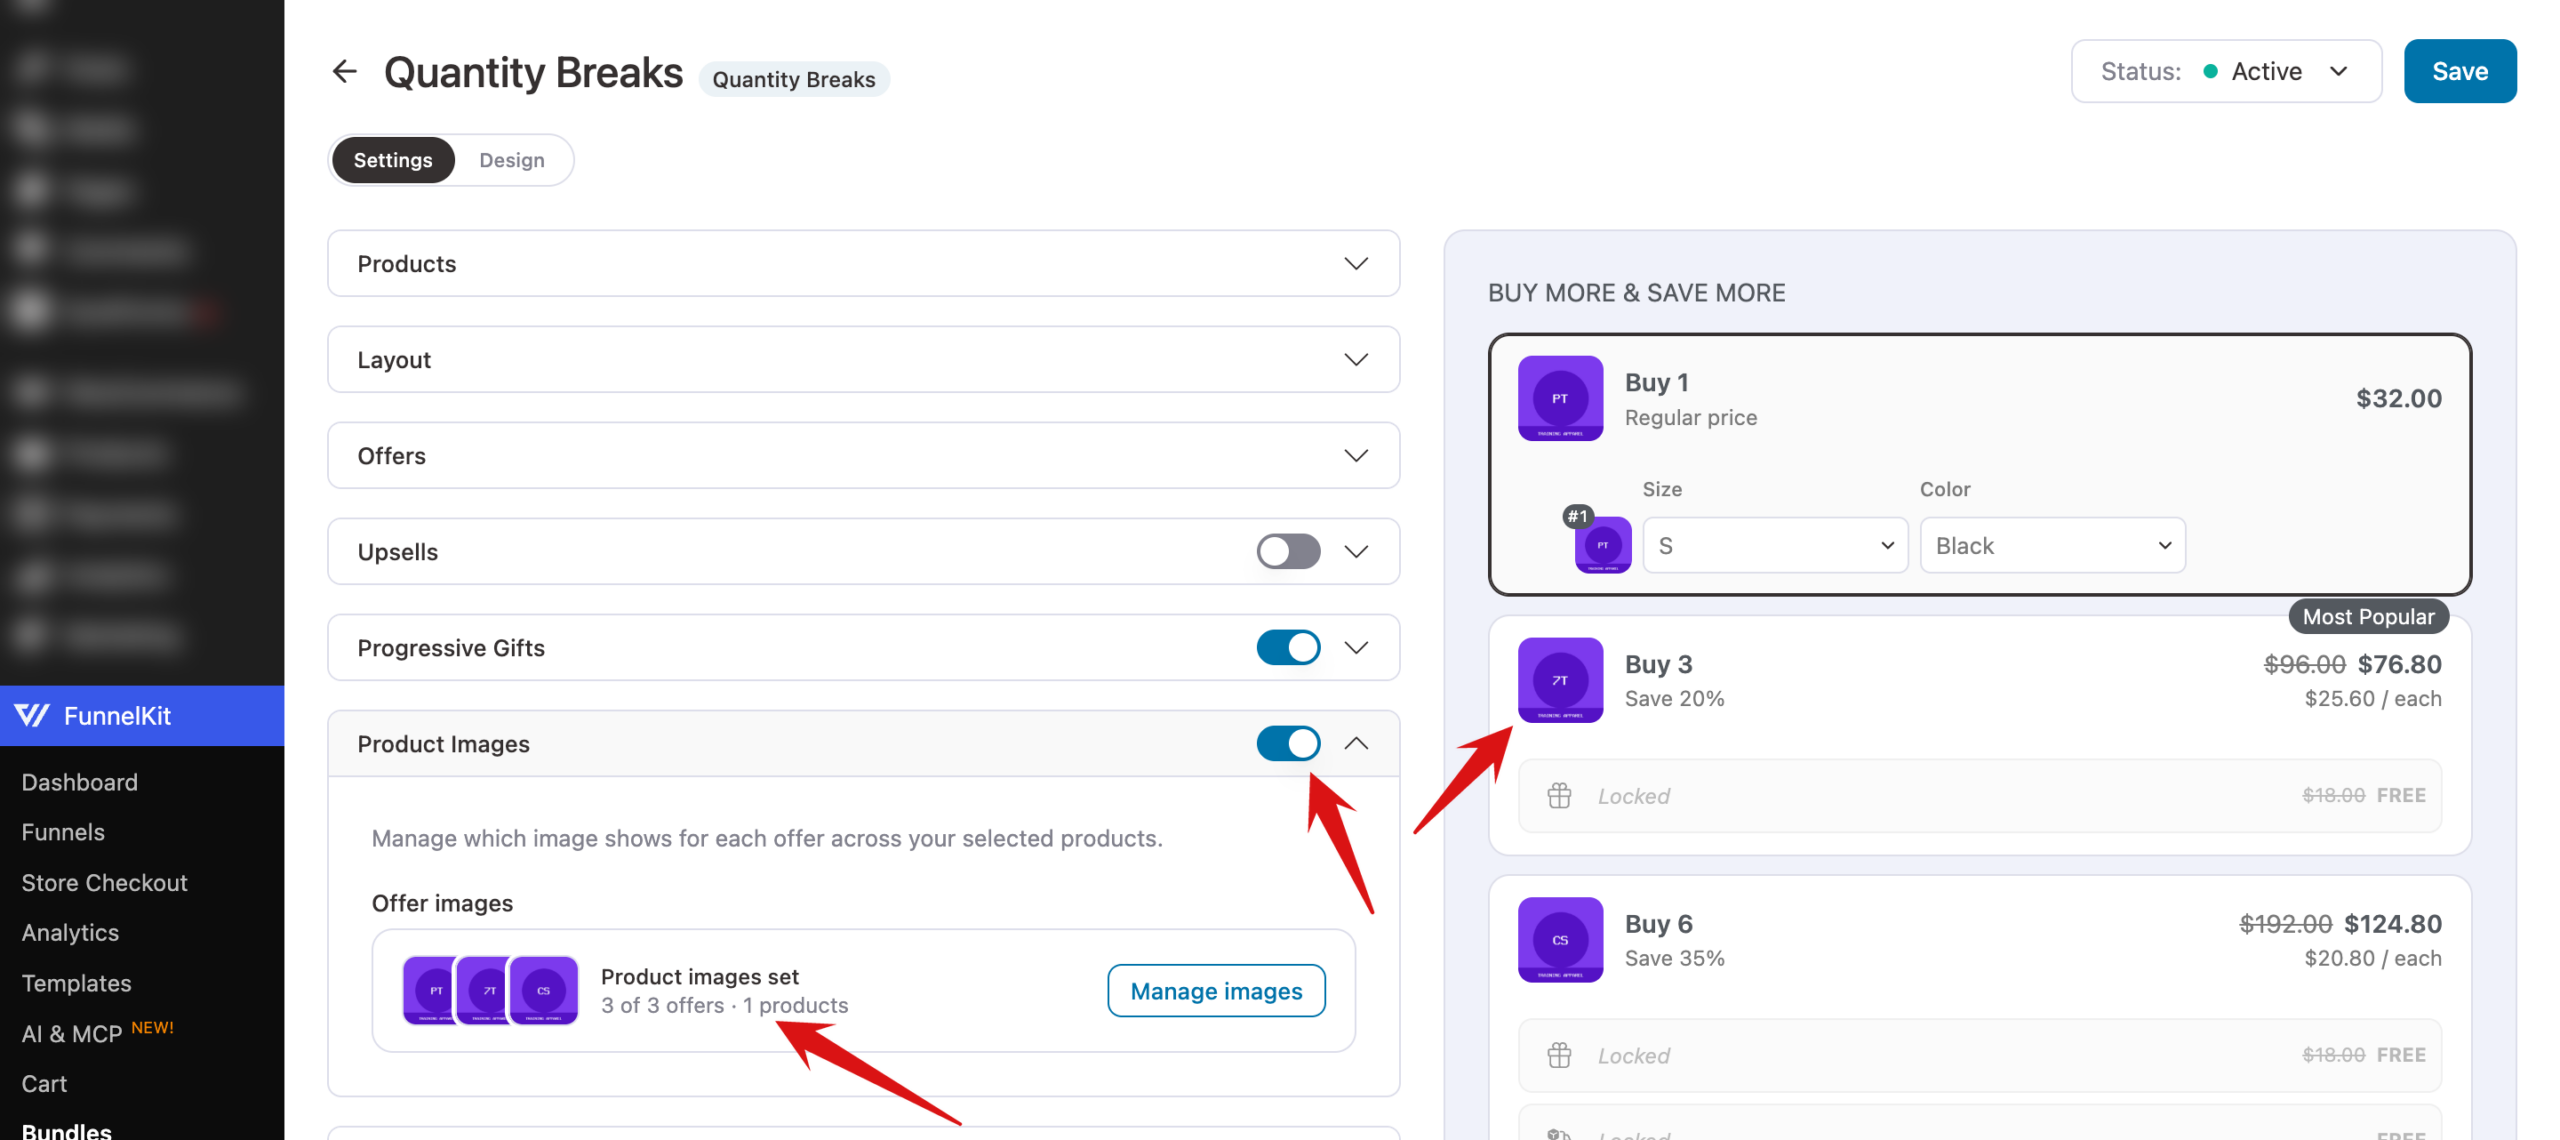
Open your bundle in the editor, expand the Product Images section, and turn on the switch next to the header. The section shows how many offers have an image set and how many products the bundle covers. Click Manage images to choose the pictures.
Step 2: Choose an Image for Each Offer
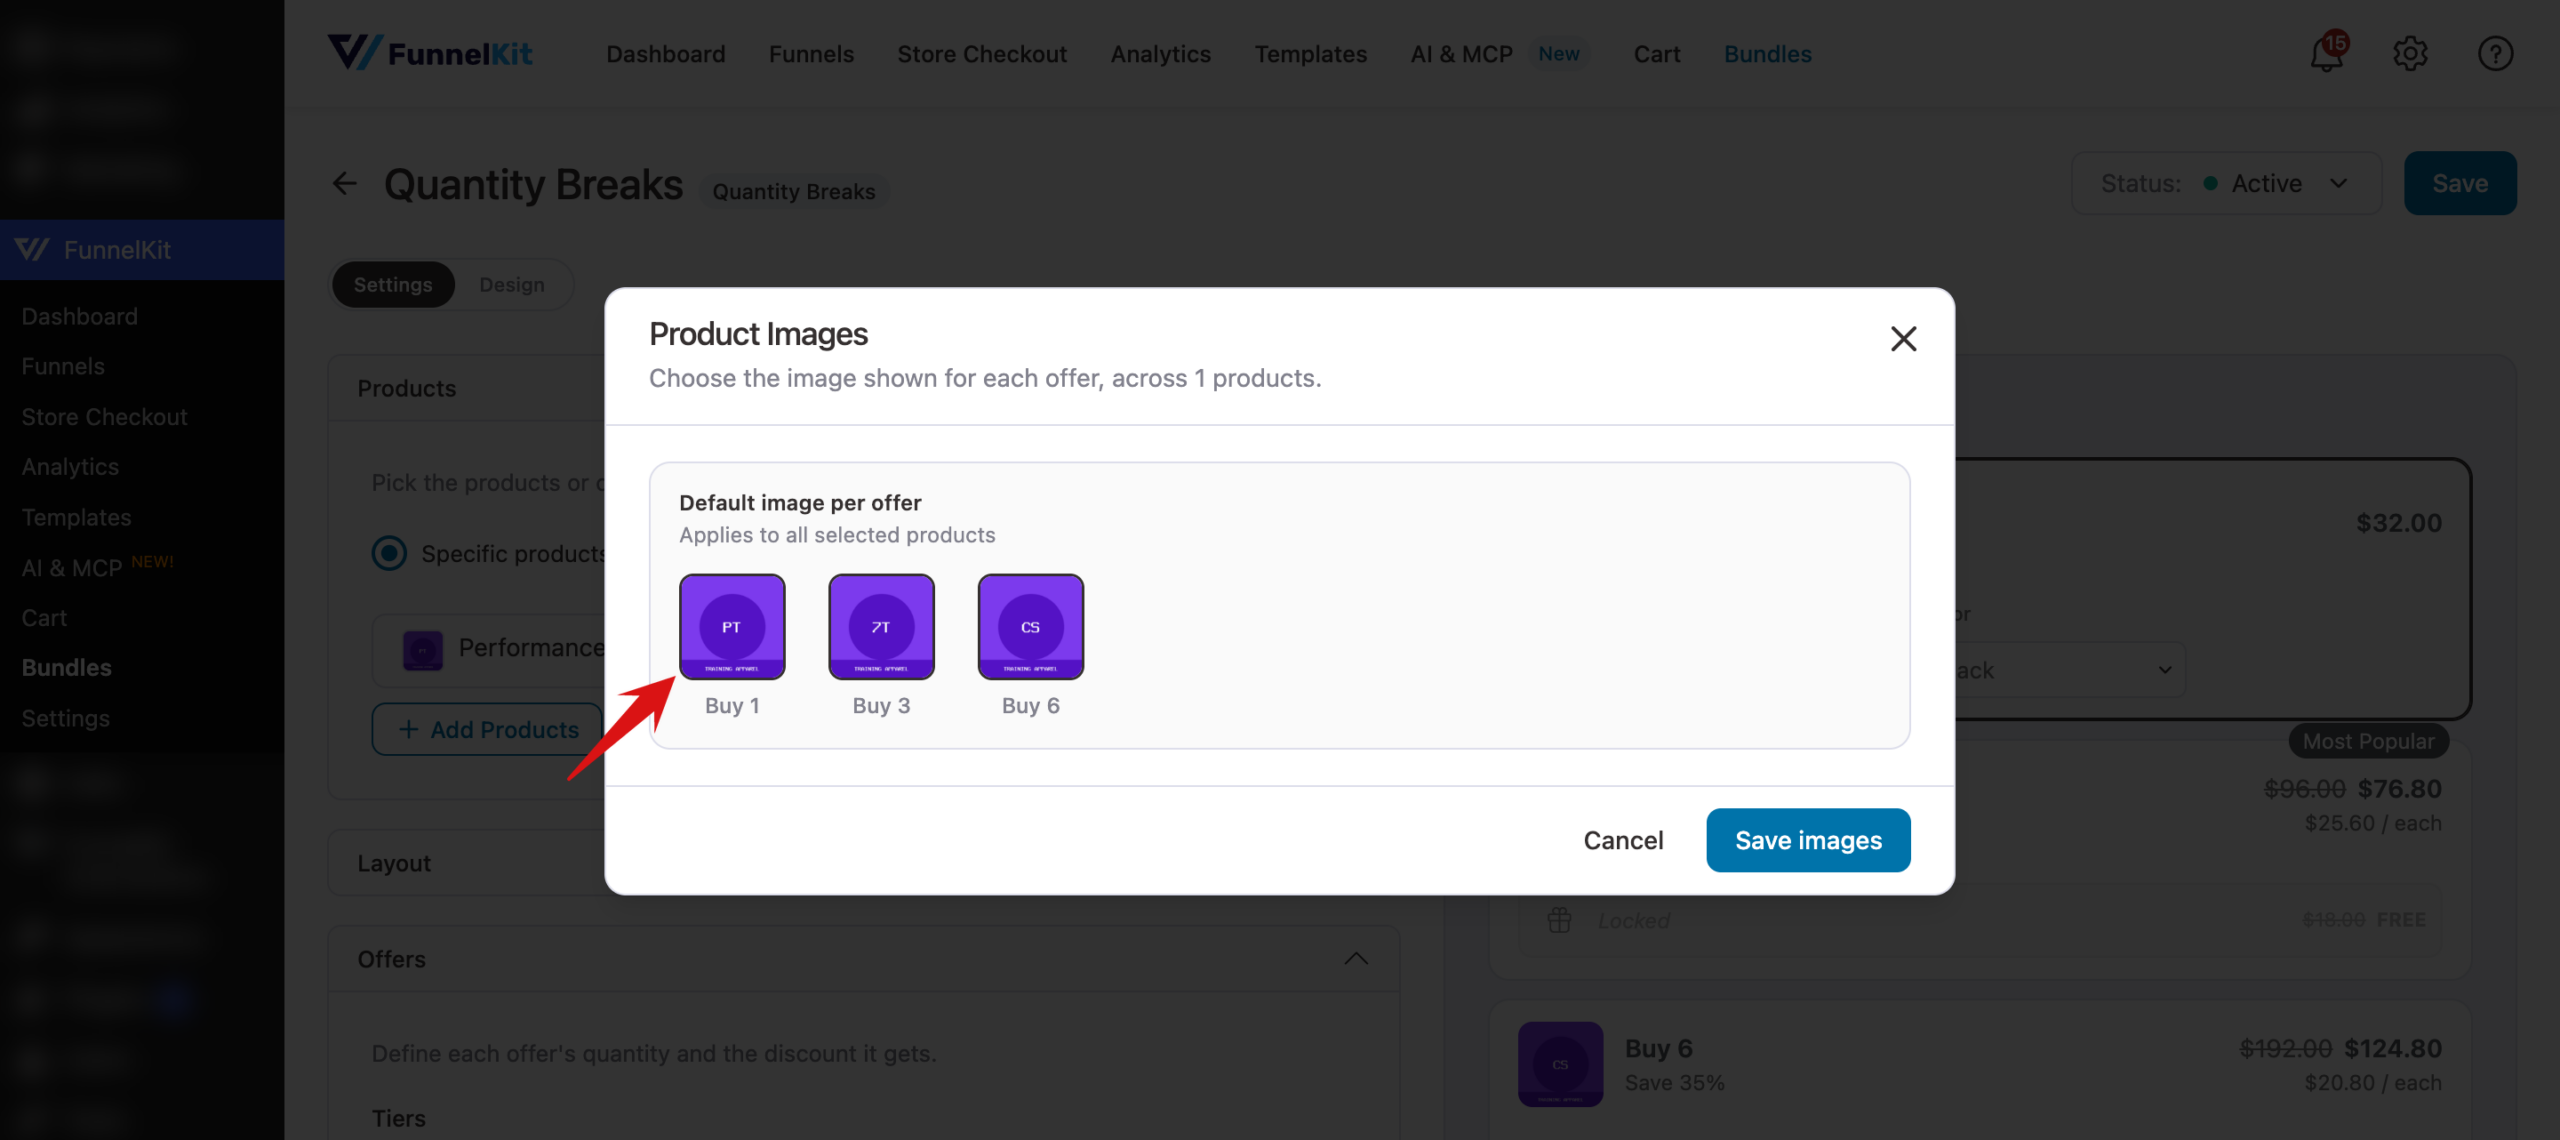
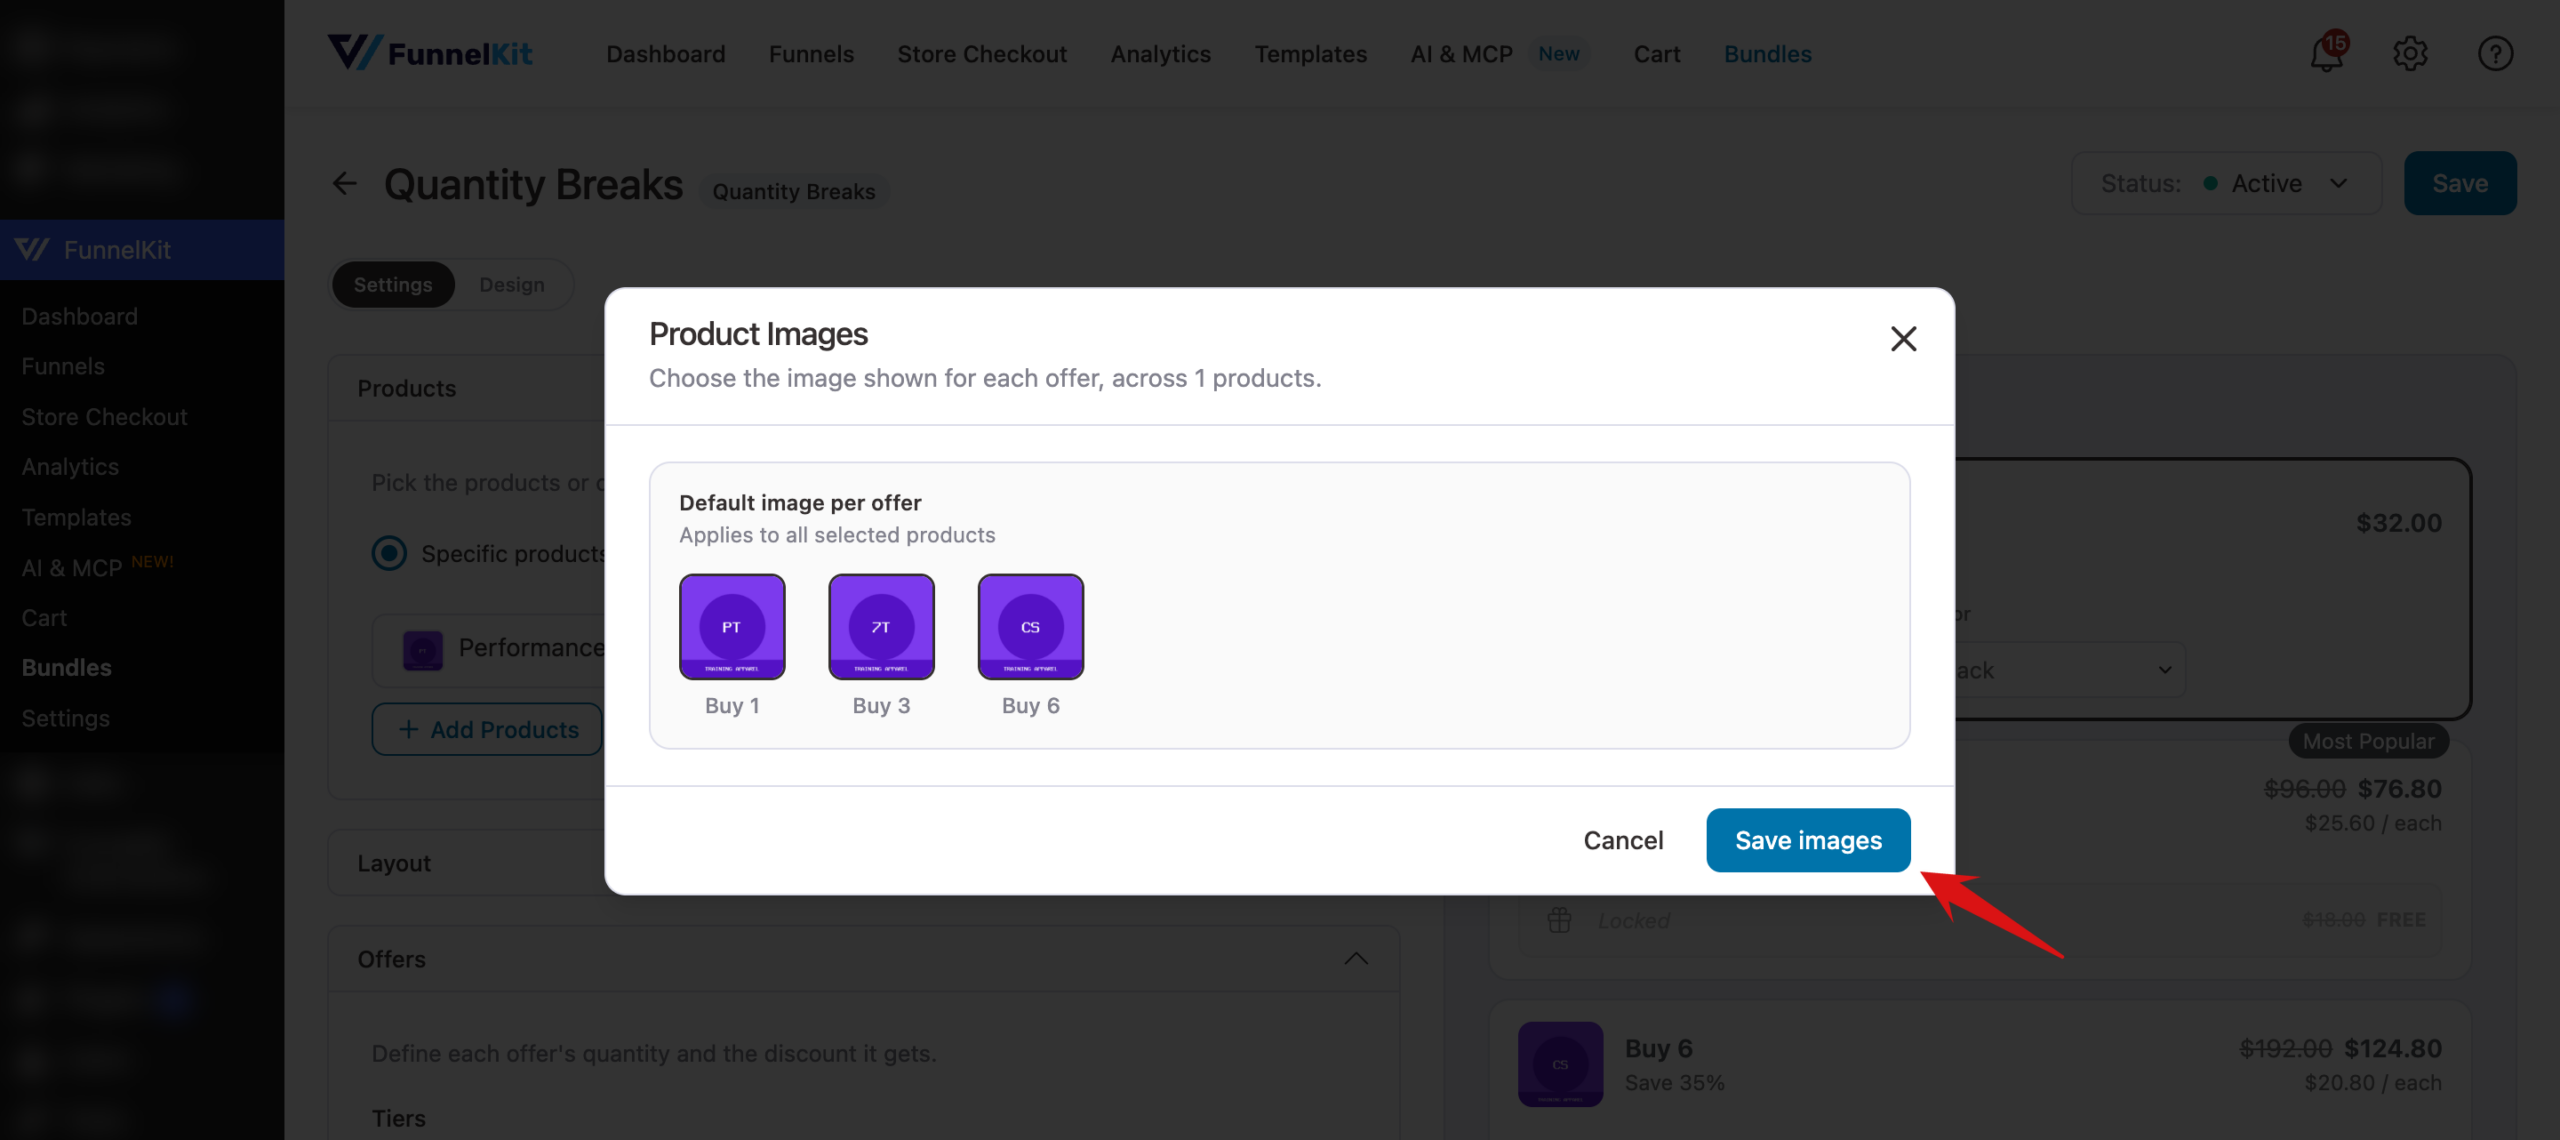
The Product Images window lists every offer under Default image per offer. Click an offer's image box to choose a picture from your Media Library. These defaults apply to every product the bundle appears on.
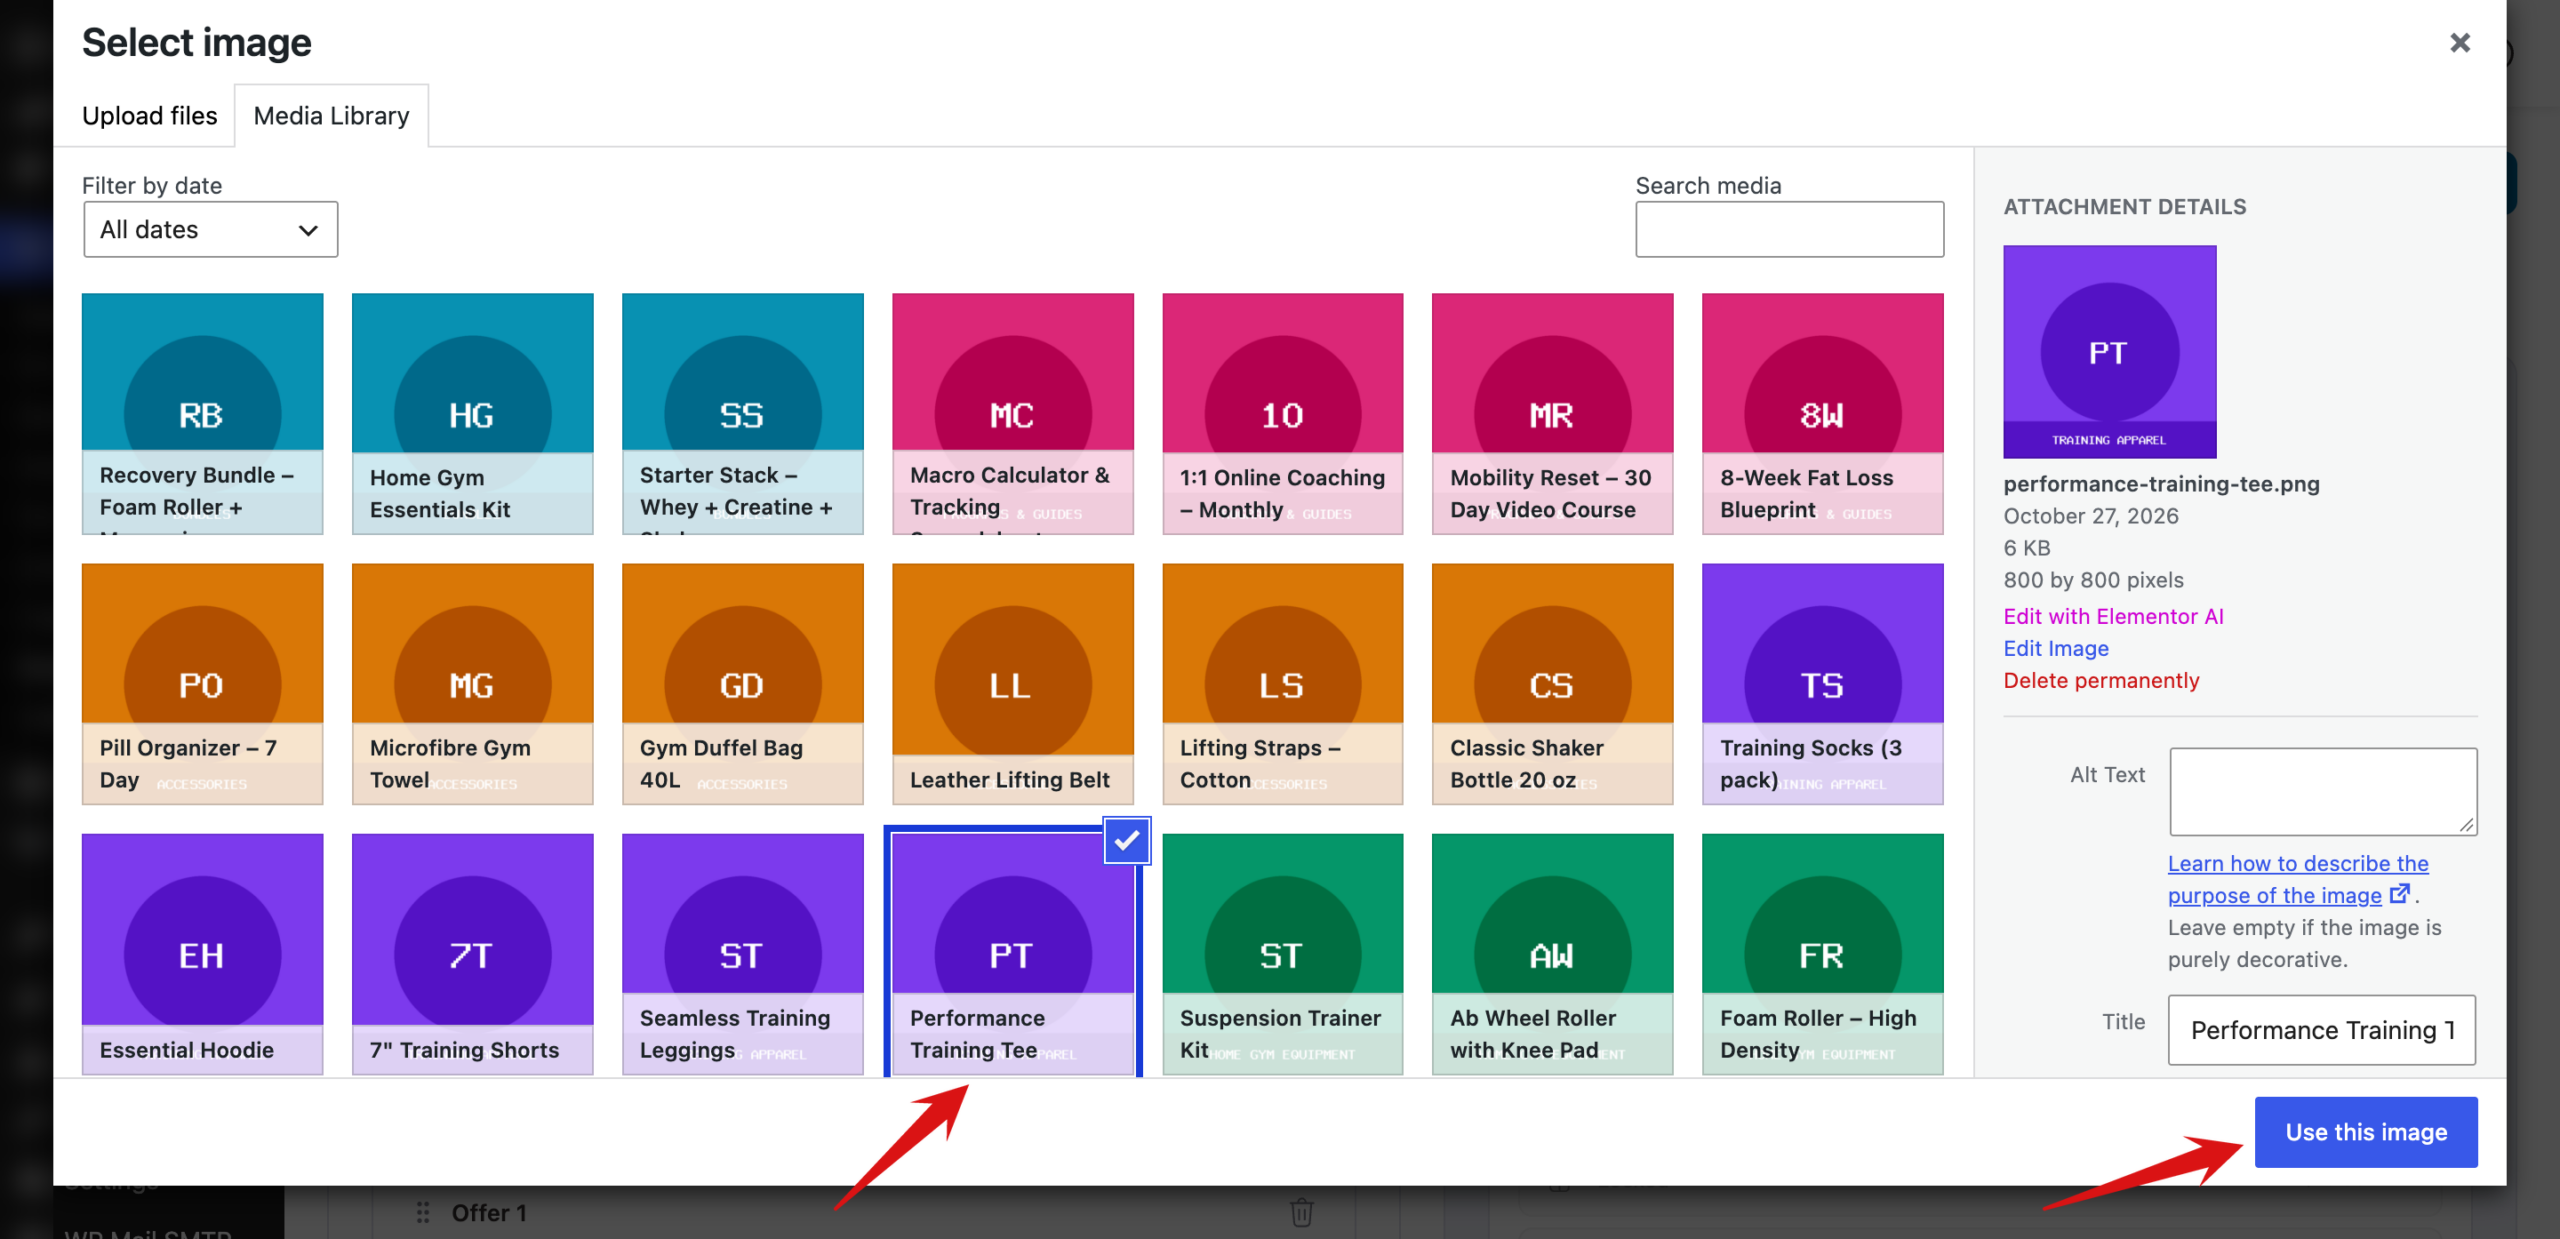
In the Select image window, click the picture you want, or upload a new one from the Upload files tab. Then click Use this image. Repeat this for each offer.
If the bundle appears on three or more products, the window also shows an Override specific products list where you can set per-product overrides. An override replaces the default image for that offer on that one product, which is handy when each product has its own packaging.
Step 3: Save Your Images
When you're done, click Save images.
Then click Save in the top-right corner of the editor.
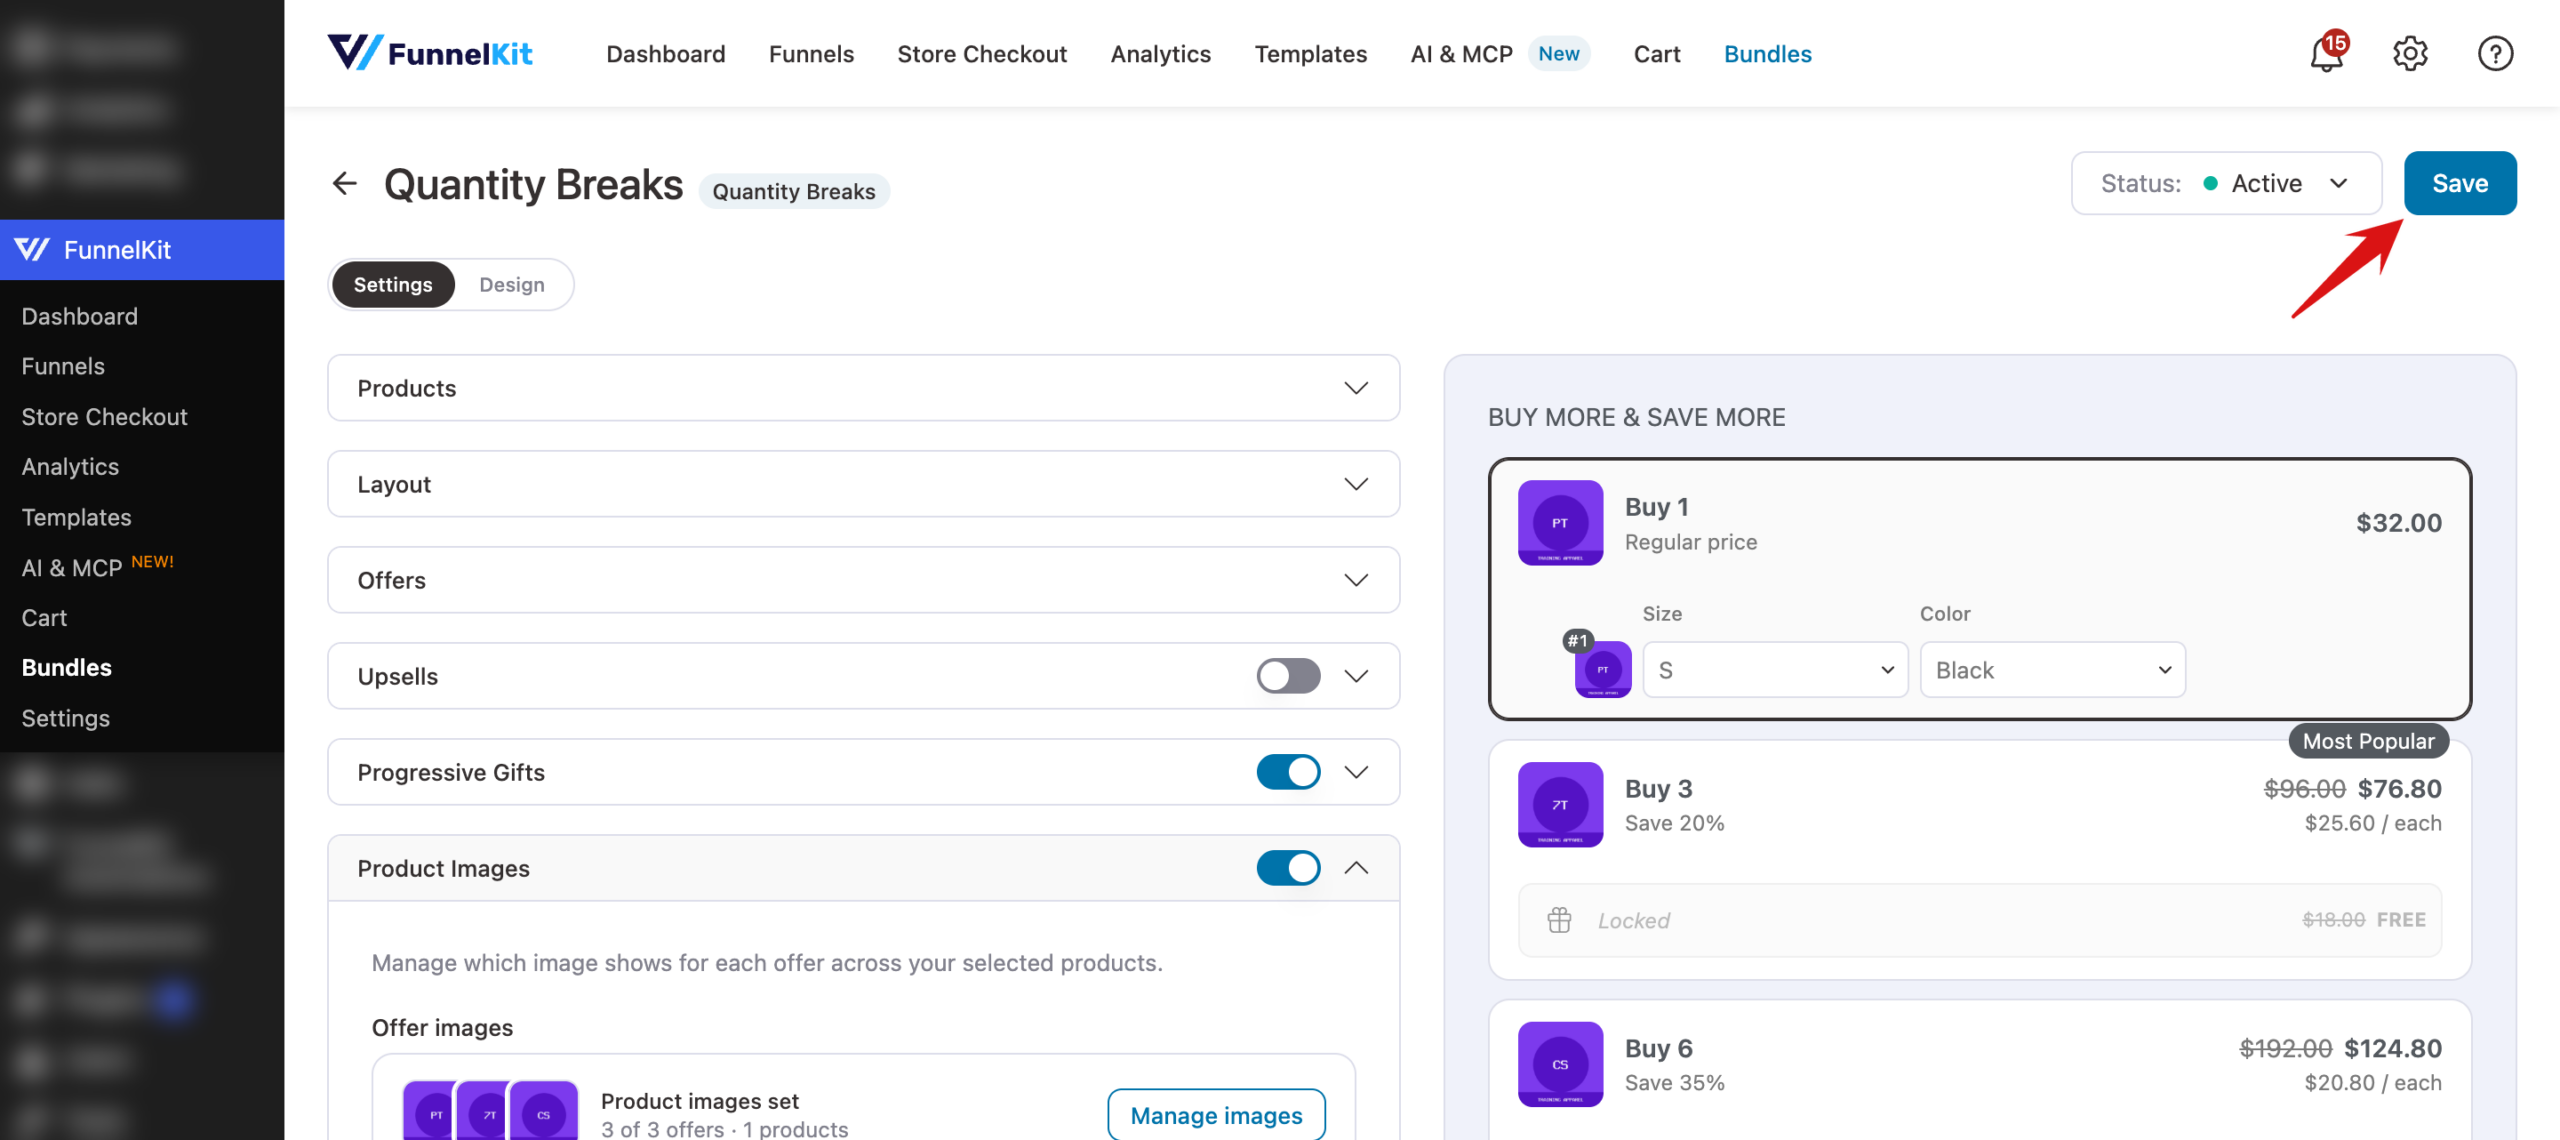
That's it! Each offer in your bundle now shows its own image.
Next, you might want to adjust the image corner radius and other styles on the Design tab.