When you're selling a variable product, your prospects should be able to pick a variant of their choice.
Additionally, they should also be able to see their selected variant.
So here's how you can set that up variable products in your order bumps:
Step 1: Add an order bump
Add the order bump below the checkout page.
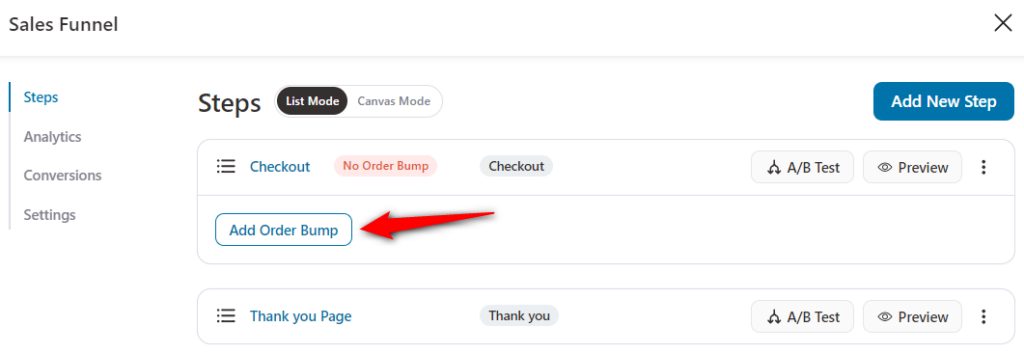
Name your order bump offer.
Step 2: Add a product to the order bump
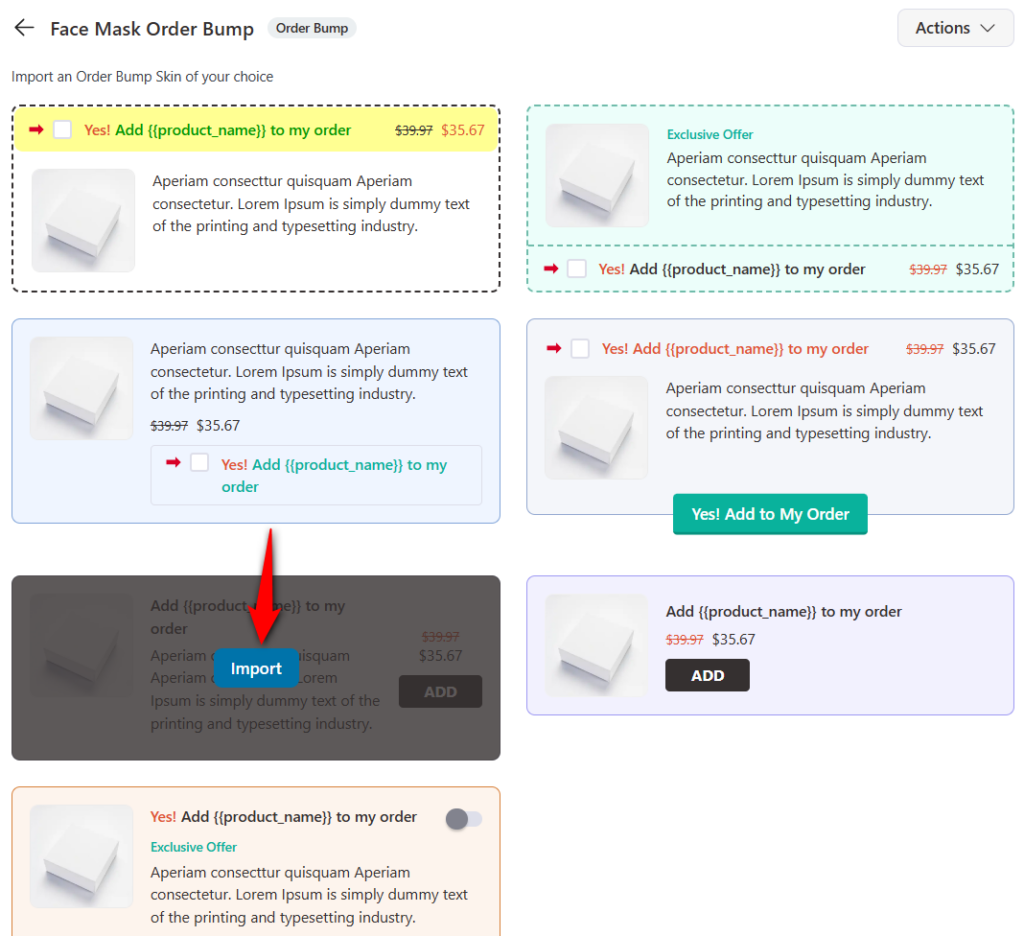
Selected your order bump skin.
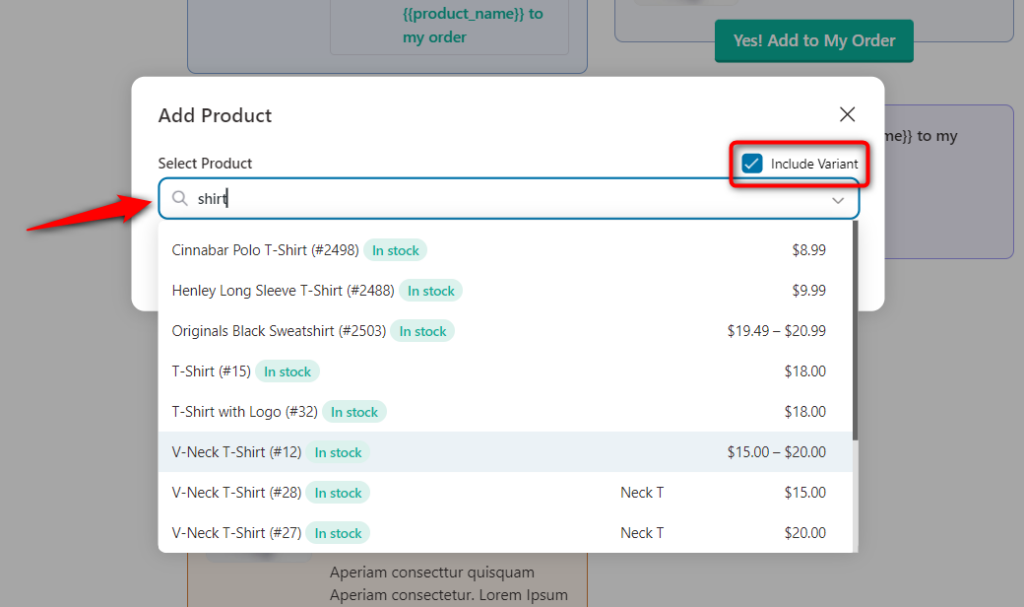
Next, type in the initial characters of the variable product and select the right option from the drop-down.
You'll see the product gets added to your Products tab.
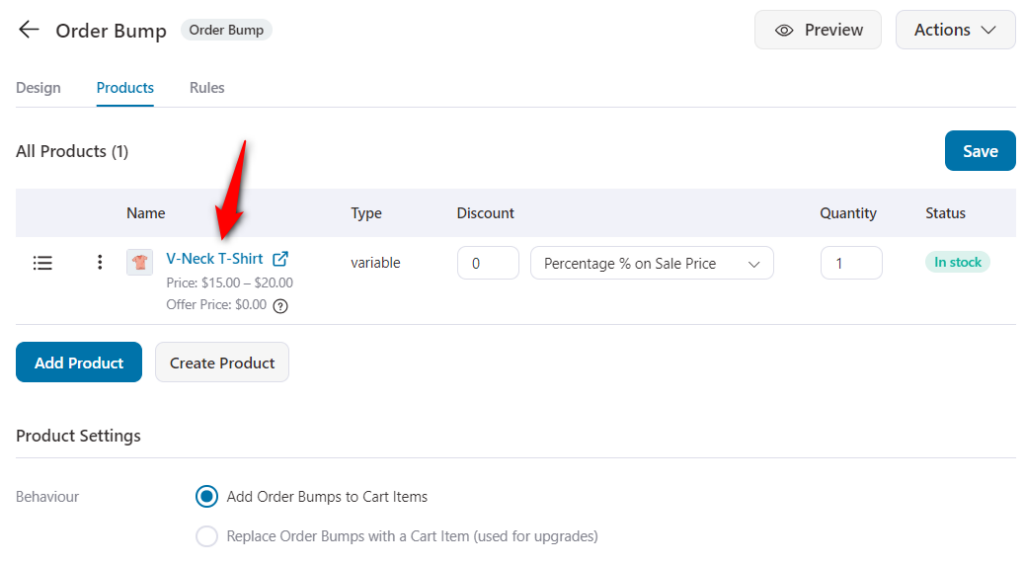
Once done, hit the 'Save' button.
Step 3: Go to the 'Design' tab and configure the variable product
When you go into the 'Design' tab, you'll see three sub-tabs - Skin, Content, and Style.
In this case, we'll consider the 'Content' tab.
Under this tab, you get to specify the title of your bump offer and the description as well.
The first thing you'll notice is the 'Choose an Option' button that shows automatically in the description.
Take a look:
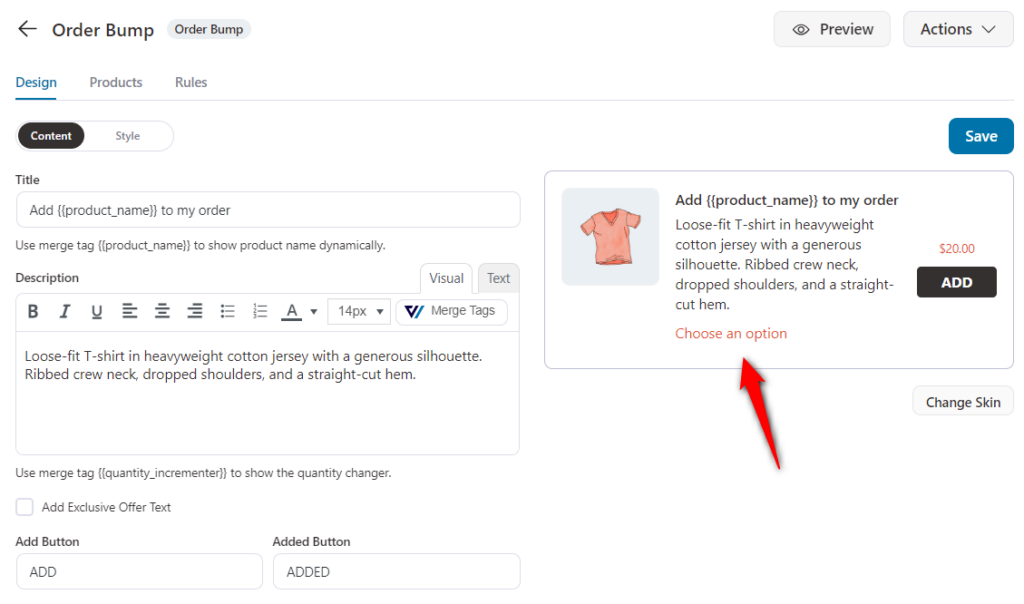
If this is not added, you can add the merge tag - {{product_short_description}} in the description. For more information, you can read this documentation.
Additionally, you can use the merge tag {{variation_attribute_html}} to show your prospects the variant of the product they've selected.
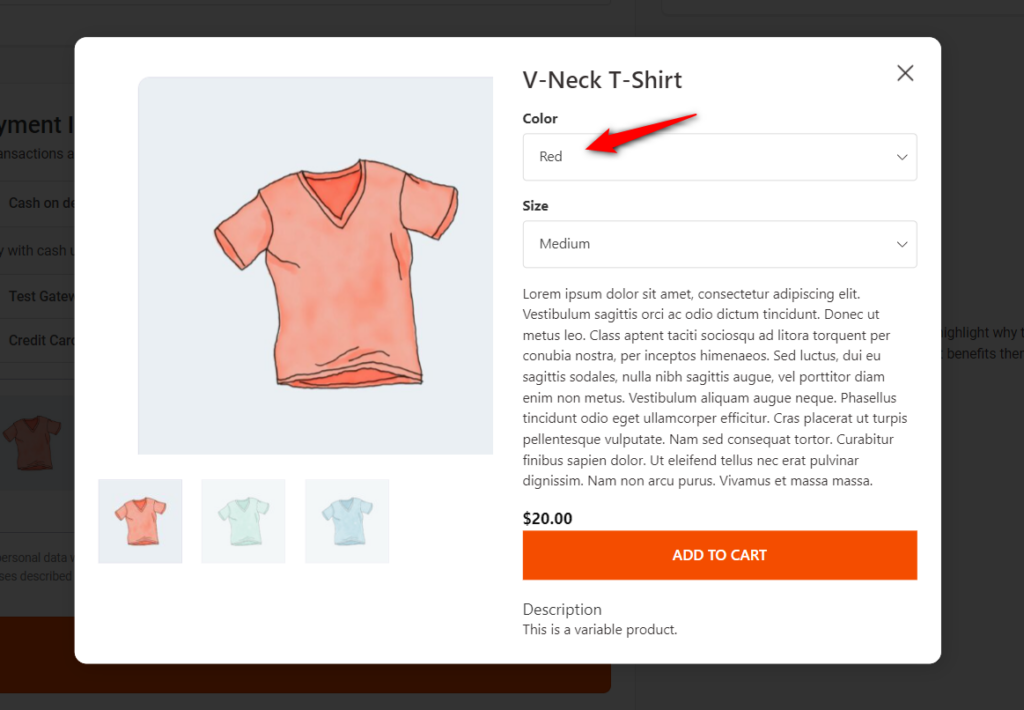
When prospects click on this button, a pop-up will open up. From here, they can pick a variant of the product to add to their order.
Once done, hit the 'Save' button at the bottom.
Step 4: Test out your order bump
Go to the checkout page where you've set up this order bump.
The order bump will show up like this:
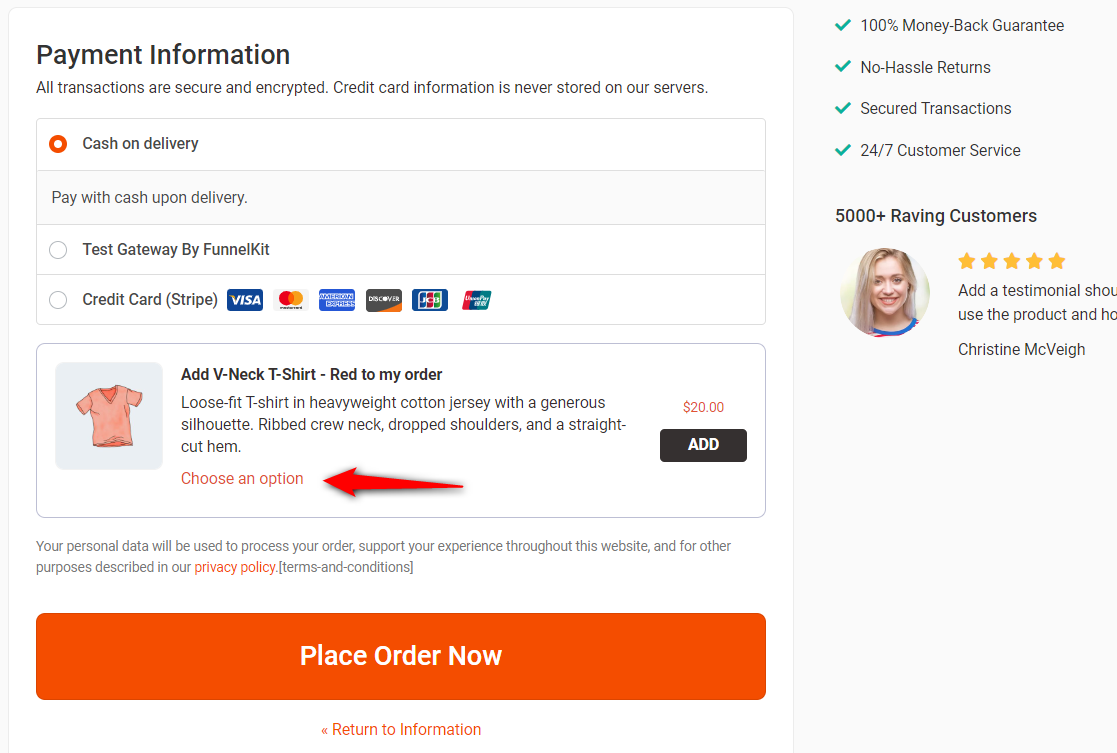
Click on the 'Choose an option' button and test it out.
Select any other variation:
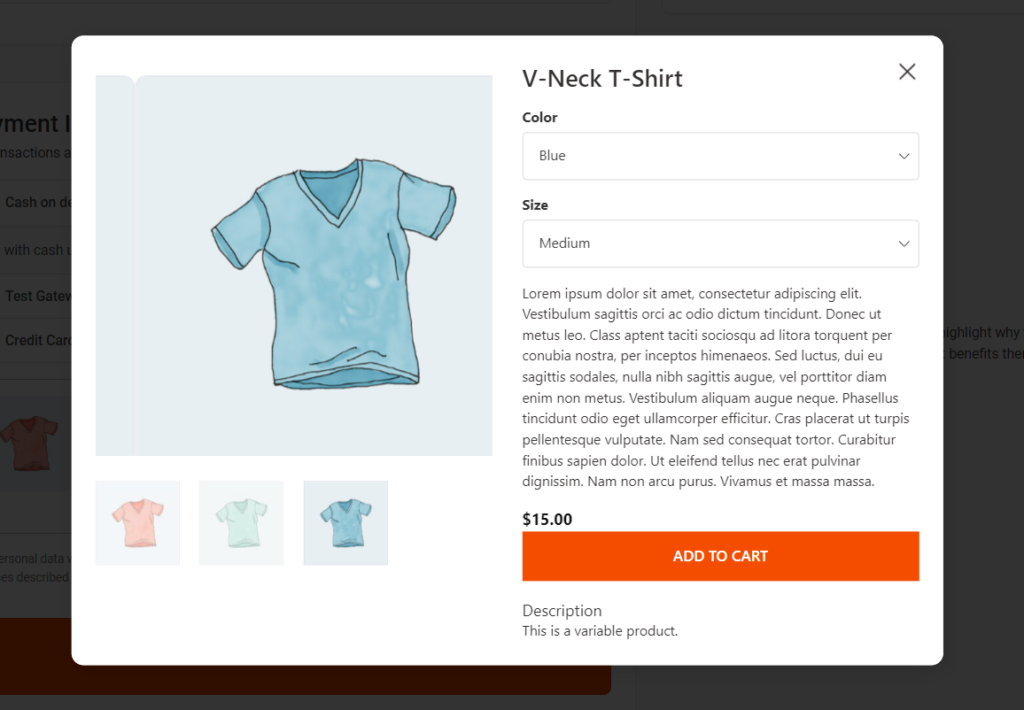
There you go!
Once you've tested it out, you're ready to go live with your order bump.


