
Looking for the best WooCommerce email customizer to turn plain order emails into polished, on-brand messages?
The WooCommerce email customizer you choose determines whether your transactional/marketing emails reinforce your store's brand or look like they came from elsewhere.
Those emails matter more than most owners think.
Transactional emails, such as order confirmations, earn roughly 8x more opens and clicks than promotional emails (Source: Experian), which makes them a prime branding space you are probably wasting.
In this guide, we tested 7 WooCommerce email customizer plugins (free and paid) and mapped 2 ways to customize emails without a plugin at all.
We installed each tool on a live WooCommerce 10.7 store, compared editors, verified pricing from official sources, and noted the real limitations users report, so you can pick the right fit fast.
Watch this video to learn about email customization in WooCommerce:
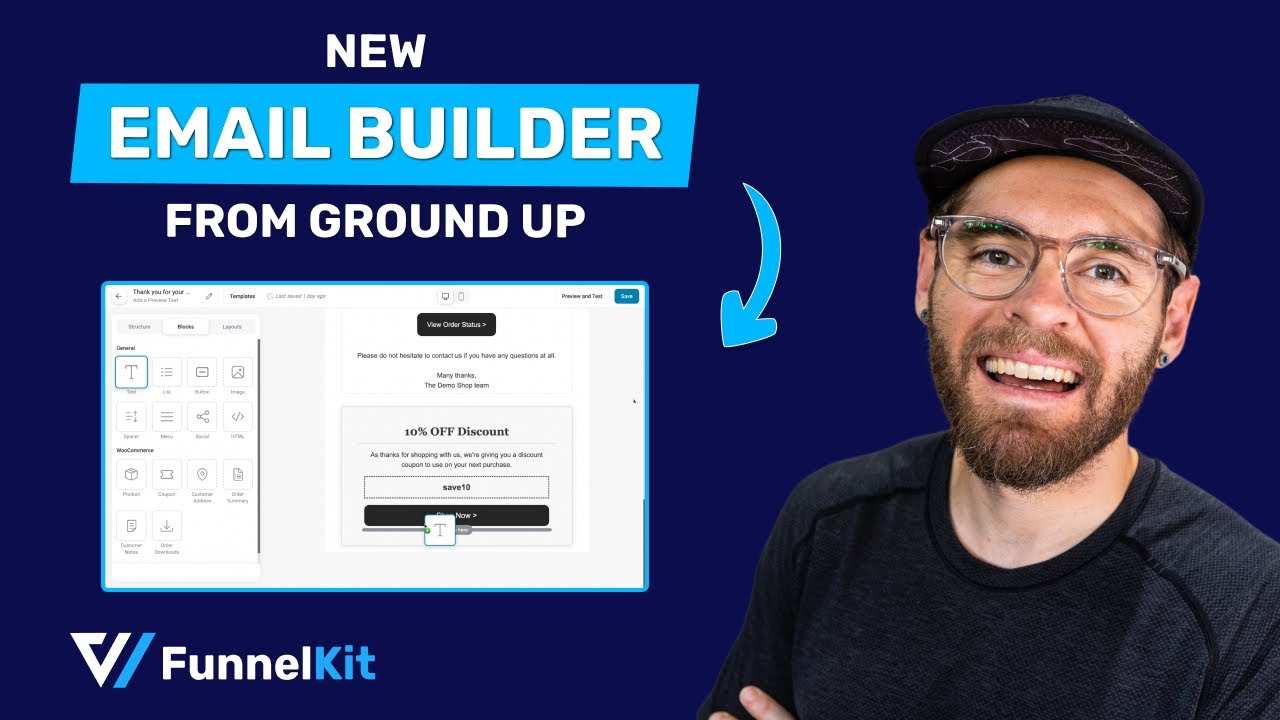
Table of Contents
What Is a WooCommerce Email Customizer?
A WooCommerce email customizer is a plugin or visual editor that lets you redesign the transactional emails WooCommerce sends to customers and admins, such as order confirmations, shipping updates, refunds, invoices, and new account emails, without editing template files.
Most modern customizers use a visual or drag-and-drop editor, allowing you to change layout, colors, logos, and content blocks while keeping your changes safe during WooCommerce updates.
Best WooCommerce Email Customizer Plugins
The WooCommerce ecosystem hosts thousands of stores customizing emails, and the customizer plugin you pick determines whether your store sends emails that drive repeat sales or look like they came from someone else's store.
| Plugin | Best For | Editor Type | Free Version | Starting Price |
|---|---|---|---|---|
| FunnelKit Automations | Email customization plus marketing automation in one | Drag-and-drop visual builder | ✅ Yes | $99.50/year |
| Kadence Email Designer | Free branding via WordPress Customizer | Native WordPress Customizer | ✅ Yes | From $99/year |
| YayMail | Dedicated transactional email design | Drag-and-drop builder | ✅ Yes | $99/year |
| Email Customizer by ThemeHigh | Affordable basic email customization | Drag-and-drop builder | ✅ Yes | From $39/year |
| Decorator Email Customizer | Completely free template editor | Visual customizer | ✅ Yes | Free |
| YITH Email Templates | Customization with different blocks | Drag-and-drop builder | ❌ No | $89.99/year |
| VillaTheme Email Customizer | Email template customization | Drag-and-drop builder | ✅ Yes | $32 |
In short, FunnelKit Automations is a beginner-friendly, value-for-money tool if you also want to send marketing emails alongside transactional ones. ThemeHigh's Email Customizer hit the best balance of ease and price, and Decorator is the best free option for most stores.
👉 How We Tested These Plugins
We installed each plugin on a live WooCommerce store and evaluated it based on what actually matters when branding order emails.
Here are the key areas we tested for each WooCommerce email customizer plugin:
- Ease of use: We prioritized plugins with drag-and-drop, intuitive interfaces, and real-time previews.
- Email types covered: Transactional emails, marketing automation emails (like abandoned cart recovery or post-purchase follow-ups), broadcasts or newsletters, plus any third-party plugin emails.
- WooCommerce blocks: Support for order details, customer data, product blocks, and coupons.
- Customization depth: Available blocks, dynamic content, and conditional display logic.
- Template library: Variety of built-in email templates, modern designs that are easy to customize on brand.
- Pricing transparency: Verified from official pricing pages and repositories of each plugin.
Let's get into the detailed reviews of the best WooCommerce email customizer plugins available.
1. FunnelKit Automations
FunnelKit Automations is a WordPress marketing automation and CRM platform with a built-in visual email builder.
Rather than only restyling default WooCommerce emails, it lets you design transactional emails, build automated sequences, and send broadcast campaigns, all from one dashboard inside WordPress.
The visual builder uses drag-and-drop blocks, including WooCommerce-specific blocks like order summary, products, cart items, and coupons.
You get pre-designed email templates for both transactional and marketing emails, personalization merge tags, conditional content, and a live preview with test-send so you can check how an email renders before it goes out.

Here are the key features:
- Pre-designed email templates: Customize and send beautiful emails using both transactional and marketing templates available inside FunnelKit Automations.
- Easy drag-and-drop editor: Build professional emails by adding and customizing content blocks with colors, images, fonts, and borders. Includes WooCommerce blocks like order summary, products, cart items, coupons, and more.
- Automated recipes: Import and tweak pre-built automation recipes in a single click to save time and achieve your specific use cases.
- Dynamic coupon codes: Generate personalized, limited-time coupon codes to encourage users to shop in your store.
- Personalized merge tags: Add dynamic data such as customer names, form submissions, order values, and more to make emails more relevant.
- In-depth analytics: Track not only open and click rates but also orders, revenue, and engagement trends by day or hour.
Pros:
- WooCommerce blocks (order summary, products, coupons) populate dynamically inside the email editor, which simpler customizers do not offer
- Drag-and-drop builder is intuitive and completely beginner-friendly
- Conditional content and merge tags allow different content for different customers within a single template
- Revenue and order tracking per email connects the email design directly to store sales
Cons:
- The visual builder and templates are a Pro feature, and the free plan only offers email customization with the text editor
- The standalone FunnelKit Automations plan is not available for agencies (comes bundled with the Funnel Builder)
Price: FunnelKit Automations offers a free version on the WordPress repository. However, to unlock advanced features, you must upgrade to its premium version, which starts at $99.50 a year.
Reviews: 5 out of 5 (out of a total of 340 reviews) with 20,000+ active installations on WordPress.org. 4.8 out of 5 (150+ reviews) on TrustPilot.
Our Verdict
The builder is the most flexible of the group, and the WooCommerce blocks dropped order data in cleanly during testing. It took us only a few minutes to start designing a branded order confirmation email.
The trade-off is that the interface asks more of you than a single-purpose customizer since it's a well-suited CRM.
2. Kadence WooCommerce Email Designer
The Kadence Email Designer plugin from LiquidWeb is a tool in their bundle kit that lets you professionally customize default WooCommerce emails.
It lets you easily customize the default transactional WooCommerce email templates. You can edit the design of your emails with the native WordPress customizer.
Features of Kadence WooCommerce Email Designer:
- Easy-to-use interface: A standard WordPress customizer interface that allows you to customize different WooCommerce transactional emails.
- Stock customization options: With various customization options, you can edit the design and style of different elements used in your email.
- Email templates: This plugin has 11 WooCommerce email templates that can be used and customized. Plus, it has 3 starter templates to customize your email design.
Pros:
- Uses the native WordPress Customizer, so there is almost no learning curve
- Covers the full set of default WooCommerce transactional emails
- Customizations can be made with prebuilt layouts and a live preview
Cons:
- It restyles within a fixed template; you cannot freely restructure the layout or add custom blocks the way a true drag-and-drop builder allows
- Works only with default WooCommerce emails; third-party plugins or custom emails do not appear by default
- No conditional logic, automation, or broadcasting
Price: Kadence WooCommerce Email Designer has a free version. It starts at $99/year, and for $499/year, you get complete access to its templates, themes, and more.
Reviews: 4.5 out of 5 (142 reviews), with 100,000+ active installations on WordPress.org.
Our Verdict
For owners who want fast, quite basic brand styling without adding another interface, Kadence is the path of least resistance.
The limitation is structural because it restyles within the existing template rather than letting you freely restructure layouts or drop in arbitrary blocks, so it suits recoloring more than redesigning.
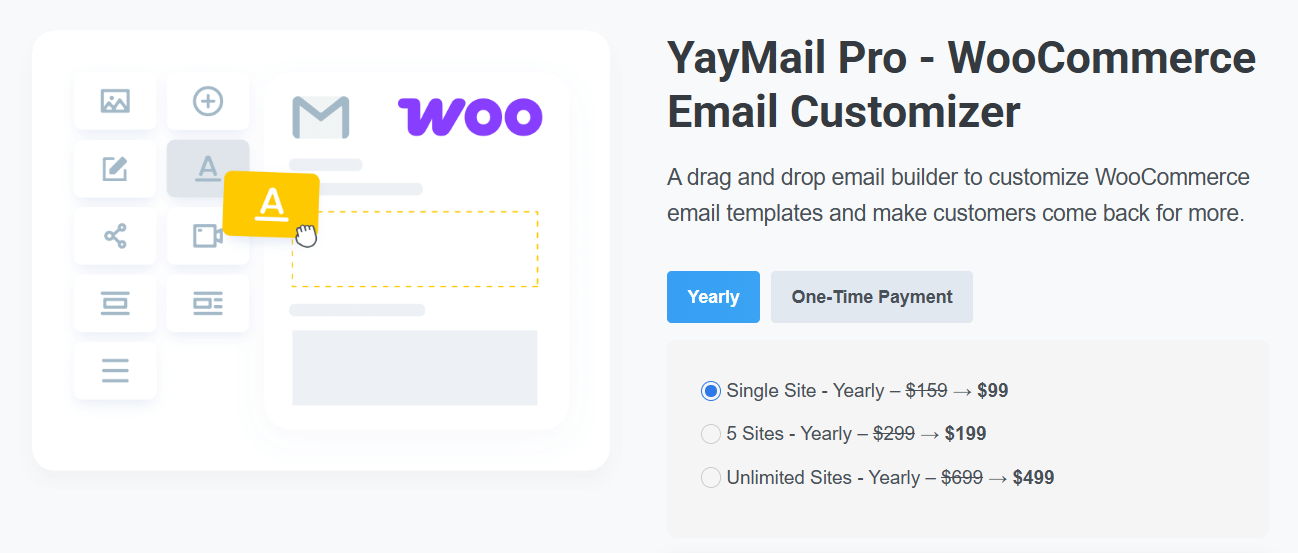
3. YayMail - WooCommerce Email Customizer
YayMail is a dedicated WooCommerce email customizer focused purely on transactional email design.
Its drag-and-drop editor works much like Gutenberg, with elements on the left and a live email preview on the right, and it covers the 12 standard built-in WooCommerce transactional email types.
YayMail Pro adds conditional logic, custom CSS, shortcodes and placeholders, and broad compatibility with third-party WooCommerce extensions through its premium addons.
That makes it a strong choice if you run plugins like Shipment Tracking, Order Status Manager, or Checkout Field Editor and want their data inside your emails.
Key features:
- Easy-to-use interface: It uses an interface similar to Gutenberg and Elementor, with the customizer on the left sidebar and the email sample preview on the right.
- Email builder elements: It comes with 20+ design elements, such as images, buttons, text, social icons, videos, HTML, titles, etc., to help you create attractive emails.
- Customize default WooCommerce emails: This includes fully customizing 11 WooCommerce email templates, such as new orders, order processing, new accounts, orders on hold, and more.
Pros:
- Editor is purpose-built for WooCommerce transactional emails, with a familiar Gutenberg-like flow
- Conditional logic lets one template serve different content to different orders
- Broad third-party plugin compatibility via premium addons (Shipment Tracking, Order Status Manager, and more)
Cons:
- Advanced templates for third-party plugin emails require separate premium addons beyond the base Pro license
- Some users report slower support response times during busy periods
- It only designs emails; there is no automation, broadcasting, or abandoned cart capability
Pricing: Free version available. YayMail Pro starts at $99/year for a single site and includes a 30-day refund policy.
Reviews: 4.8 out of 5 (289 reviews) with 50,000+ active installations on WordPress.org.
Our Verdict
YayMail felt like the most purpose-built editor for pure transactional design. The Gutenberg-style interface is familiar and quick.
The catch is the add-on model. Full support for non-standard or third-party plugin emails often requires buying premium add-ons on top of the base Pro license, so costs can add up for complex stores.
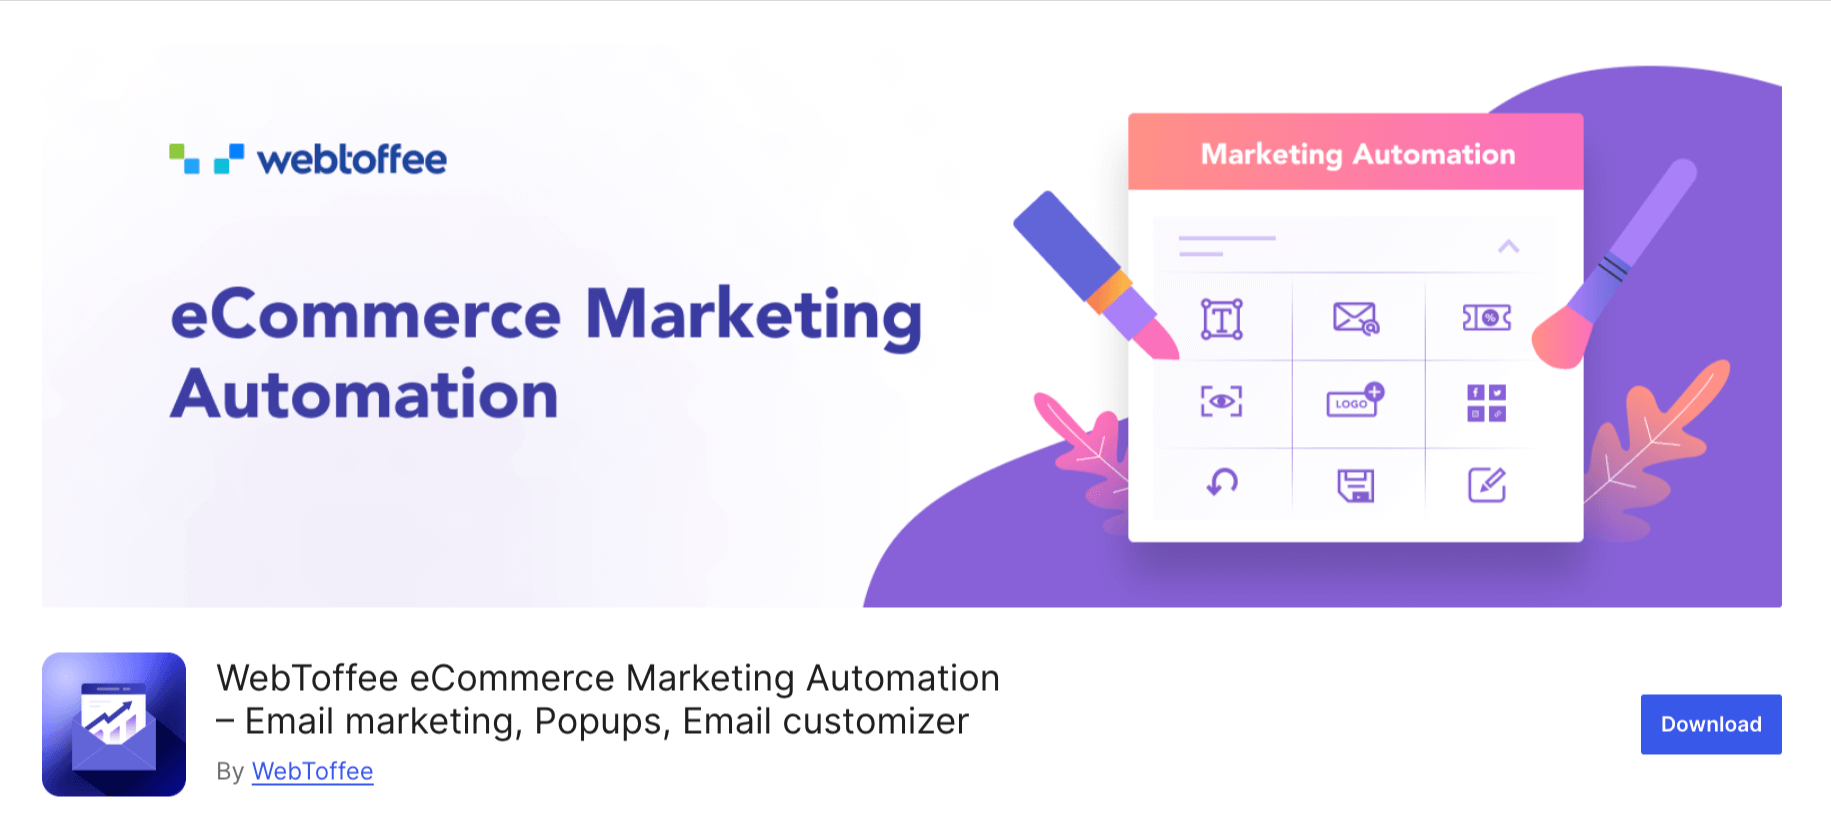
4. Decorator WooCommerce Email Customizer
Decorator, now part of WebToffee's eCommerce marketing automation suite is a WooCommerce email customizer for basic styling.
You can customize emails in WooCommerce by personalizing your email design with pre-built templates.
Here are the key features:
- Pre-built email templates: Multiple pre-designed templates that can be used to personalize and transform your WooCommerce default emails.
- Visual controls: Sliders and color pickers for backgrounds, containers, headers, footers, and text.
- All order emails: Style every default WooCommerce email by choosing an email type and editing it on the go.
Pros:
- Free, with prebuilt templates for all default WooCommerce order emails
- Simple slider and color-picker controls are approachable for beginners
- Covers headers, footers, containers, and text styling in one place
- Good fit for new stores, building a brand on a budget
Cons:
- Provides styling rather than full drag-and-drop layout control
- Fewer design elements than builders like FunnelKit Automations and YayMail
- The customizer is bundled into a broader marketing-automation product, which adds features unrelated to pure email design
Pricing plan: This is a free WooCommerce email customizer plugin available in the WordPress repository.
Reviews: 4.8 out of 5 (54 reviews) with 10,000+ active installations on WordPress.org.
Our Verdict
Decorator is a fine free starting point for branding emails for a new store. It handles colors and spacing across the default emails without fuss.
The limitation is the depth of styling rather than full layout building, and since the email customizer now sits within a broader marketing-automation product, it can feel heavier than a focused, single-purpose tool.
5. Email Customizer for WooCommerce by ThemeHigh
This WooCommerce email plugin by ThemeHigh offers drag-and-drop email design at the lowest price point on this list.
It ships with 11 prebuilt templates and 20+ elements, and it supports WooCommerce hooks, allowing you to include order details, customer information, and billing or shipping data in your templates.
It is a sensible middle ground for stores that want more layout freedom than a Customizer-based tool offers but do not need the larger integration ecosystems or automation features of pricier options.

Key features:
- Ready-made email templates: 11 pre-built email templates you can adjust to your brand.
- 20+ elements: Text, images, social icons, plus WooCommerce elements like header, billing, shipping, and order details.
- WooCommerce hooks: Add hook-based content to templates for more control.
- Test emails: Preview and test-send emails before going live.
Pros:
- Lowest paid entry point ($39/year) for a drag-and-drop WooCommerce email builder
- Includes prebuilt templates plus WooCommerce elements like order and customer details
- Supports WooCommerce hooks for additional template control
Cons:
- Third-party plugin email support is limited compared with YayMail’s addon ecosystem
- No marketing automation, broadcasting, or abandoned cart features
- Fewer design elements and integrations than other builders in this list
Pricing plan: Free version available. Pro starts at $39/year for a single site.
Reviews: 4.3 out of 5 (43 reviews) with 9,000+ active installations on WordPress.org.
Our Verdict
For the price, ThemeHigh covers the essentials well, and the drag-and-drop builder is approachable.
It carries the lowest WordPress.org rating of the group, and the gap shows in scope. Its third-party plugin email support is more limited than YayMail's, so heavily extended stores may outgrow it.
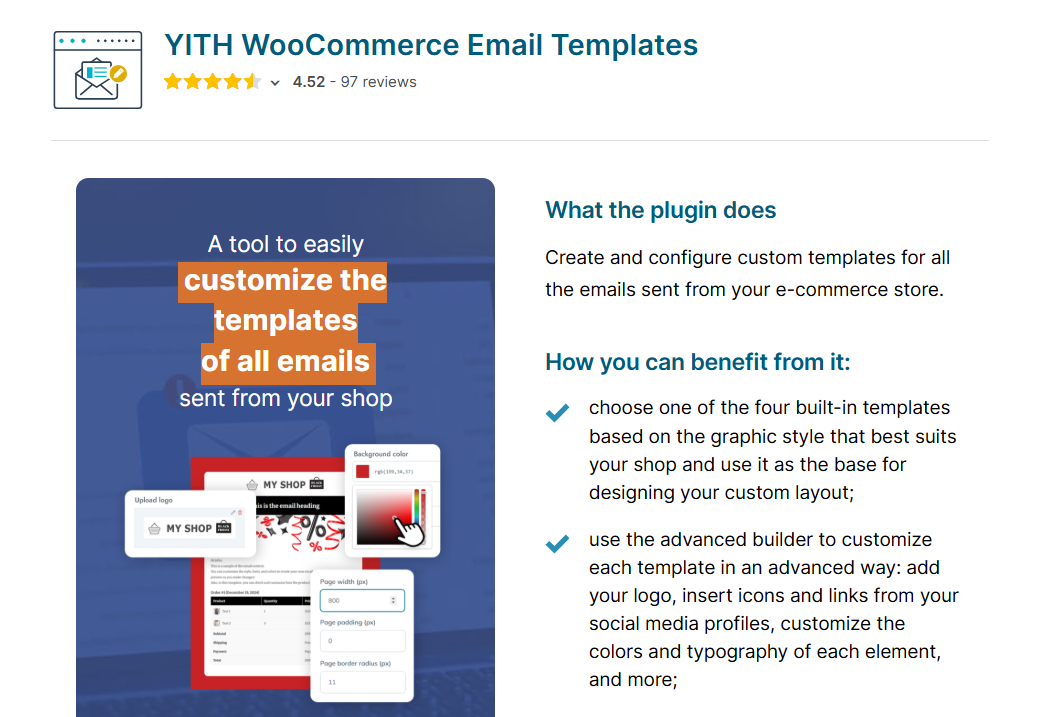
6. YITH WooCommerce Email Templates
YITH WooCommerce Email Templates is a premium plugin for styling the standard WooCommerce emails sent to your shoppers, from new account and welcome messages to order confirmations.
Unlike most tools in this list, it is not a live drag-and-drop builder. Instead, you configure colors, typography, social network icons, and custom footer content in an options panel, then check the result in a live preview populated with sample order data.
It ships with 4 ready-made layouts and lets you create multiple templates, assign them by email type or user role, and inline the CSS for more consistent rendering across email clients.
The focus here is brand-consistent global styling rather than per-email custom layout design, which makes it a fit for small stores that mainly need their emails to match their colors, fonts, and footer.
Key features:
- Global styling controls: Adjust colors, typography, social icons, and custom footer text or logo across your WooCommerce and WordPress emails.
- 4 ready-made layouts: Start from preset layouts and create unlimited templates from a settings panel.
- Template assignment: Schedule and assign different templates by email type or user role.
- Inline CSS with live preview: Inline styling improves rendering, and a live preview uses real sample order data before you send.
Pros:
- Covers colors, typography, social icons, and footer branding for consistent styling across WooCommerce and core WordPress emails
- Includes 4 preset layouts plus the ability to create and store multiple templates
- Template scheduling and assignment by email type or user role adds flexibility that most basic stylers lack
- Inline CSS and a sample-data live preview help catch rendering issues before sending
Cons:
- No live drag-and-drop editor; you change settings and rely on the preview, which is slower for iterative design
- Premium only, with no free version on WordPress.org, though a demo is available on the YITH site
- Layout flexibility is bound to the provided templates and options; you cannot freely build custom block layouts like a drag-and-drop builder
Pricing: Premium only, starting at $89.99/year for a single site.
Reviews: 4.5 out of 5 (97 reviews) on their own site.
Our Verdict
For stores that want fast, brand-consistent styling and do not need to rebuild layouts block by block, YITH is straightforward and reliable.
With no live drag-and-drop editor, you make a change, then use the preview to check it, which slows iteration compared with the visual builders here.
It is also premium-only, so there is no free tier to try first, though YITH offers a demo on its site.
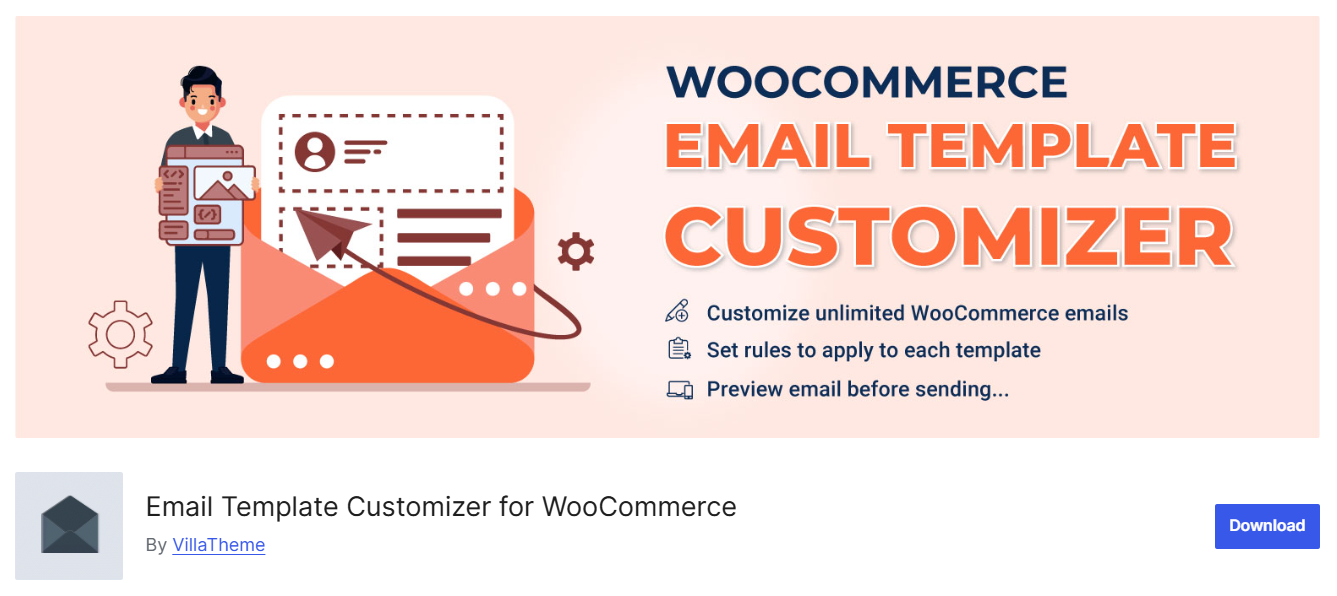
7. WooCommerce Email Template Customizer
WooCommerce Email Template Customizer by VillaTheme is a drag-and-drop builder for designing every WooCommerce email, from new order and processing through to on-hold, completed, new account, and password reset.
You assemble emails from basic elements (text, buttons, images, menu bar, contact, spacer) and WooCommerce elements (order details, totals, billing and shipping, products, coupons) with no code.
Its real standout is rule-based, targeted sending.
Beyond styling one global template, you can assign different templates based on billing country, product, category, payment method, etc., all managed by a priority system, and create per-language templates through WPML, Polylang, or TranslatePress.
Here are the key features:
- Drag-and-drop builder with WooCommerce blocks: Add and rearrange text, buttons, and images alongside order details, totals, billing and shipping, products, and coupons.
- Conditional email rules: Send different templates based on billing country, product, category, payment method, or order value, with rules ordered by priority.
- Multilingual and RTL support: Build per-language templates with WPML, Polylang, or TranslatePress, and design in right-to-left languages like Arabic.
- Template management: Create unlimited templates, file attachments, desktop and mobile previews, test sends, and import and export between sites.
Pros:
- True drag-and-drop builder with WooCommerce blocks for order details, totals, billing and shipping, products, and coupons
- Assign templates by billing country, product, category, payment method, or order value, with a priority system that most customizers lack
- Strong multilingual and RTL support, including per-language templates via WPML, Polylang, and TranslatePress
- Unlimited templates, file attachments, test sends, device previews, and template import and export between sites
Cons:
- Templates do not replace the default WooCommerce emails until they are correctly enabled; many users have reported that the store still sends original emails after designing a template
- Complex multi-column layouts have historically required Outlook-specific fixes, so rendering in Outlook (classic) should be tested before launch
- Small customer base and review count, so it is less proven at scale than the most established options here
Pricing: Free version available on WordPress.org. Pro is a one-time $32 on CodeCanyon.
Reviews: 4.6 out of 5 (105 reviews) with 20,000+ active installations on WordPress.org.
Feature Comparison Matrix
| Feature | FunnelKit Automations | Kadence | YayMail | ThemeHigh | Decorator | YITH | VillaTheme |
|---|---|---|---|---|---|---|---|
| Drag-and-Drop Builder | ✅ Yes | ❌ No | ✅ Yes | ✅ Yes | ⚠️ Partial | ✅ Yes | ✅ Yes |
| Free Version | ✅ Yes | ✅ Yes | ❌ No | ✅ Yes | ✅ Yes | ❌ No | ✅ Yes |
| Pre-Built Templates | ✅ Yes | ✅ Yes | ❌ No | ✅ Yes | ✅ Yes | ✅ Yes | ✅ Yes |
| Multilingual Support | ✅ Yes | ❌ No | ✅ Yes | ✅ Yes | ❌ No | ❌ No | ✅ Yes |
| Display Conditions | ✅ Yes | ❌ No | ✅ Yes | ❌ No | ❌ No | ⚠️ Partial | ✅ Yes |
| Marketing Automation | ✅ Yes | ❌ No | ❌ No | ❌ No | ❌ No | ❌ No | ❌ No |
| Abandoned Cart Emails | ✅ Yes | ❌ No | ❌ No | ❌ No | ❌ No | ❌ No | ❌ No |
| Email Broadcast Campaigns | ✅ Yes | ❌ No | ❌ No | ❌ No | ❌ No | ❌ No | ❌ No |
| Third-Party Plugin Email Support | ✅ Yes | ❌ No | ✅ Yes (via addons) | ⚠️ Limited | ❌ No | ⚠️ Limited | ✅ Yes |
Choosing the Right WooCommerce Email Customizer for Your Store
According to Checkout.com research, 56% of customers say they may never return to a store after a poor post-purchase experience, and unbranded emails contribute directly to that perception.
Match the tool to your actual goal.
Best for stores wanting everything in one plugin: FunnelKit Automations and Decorator combines transactional email customization with automations and campaigns. Choose FunnelKit Automations for smarter WooCommerce blocks and Decorator if you want just basic customizations.
Best for pure email design with conditional logic: Email customizer by YayCommerce and FunnelKit Automations offers the strongest drag-and-drop editor focused exclusively on transactional emails and conditional logic.
Best for free, simple branding: Kadence WooCommerce Email Designer if you want to match email colors to your site theme without learning a new tool.
Best for budget drag-and-drop: Email Customizer for WooCommerce by ThemeHigh delivers most of YayMail’s core features at a lower price, with limitations on advanced functionality.
Best for templates: Decorator offers pre-built template designs at no cost, ideal for new stores building their brand.
Free vs Paid: Which Do You Actually Need?
Stay free if:
- You only need a logo, brand colors, and a footer → WooCommerce built-in settings or Kadence.
- You want drag-and-drop on default emails and zero budget → YayMail Free or Decorator.
- You want automation (like abandoned cart recovery or post-purchase emails) but are just starting → FunnelKit Automations Lite (free).
Pay if:
- You need to build automations or customize transactional, marketing and newsletter emails → FunnelKit Automations Pro.
- You need third-party plugin compatibility (shipment tracking, custom order status, custom fields) → YayMail Pro.
How to Customize WooCommerce Emails Without a Plugin?
Prefer the no-plugin route? There are three native ways, from easiest to most advanced.
Method 1: Using built-in WooCommerce settings
Go to WooCommerce → Settings → Emails. From the top of that screen, you can set:
- Header image: Upload your logo (paste the image URL from your Media Library).
- Base color, background color, body background color, or body text color: Match your brand palette.
- Footer text: Add your address, social links, or a tagline.
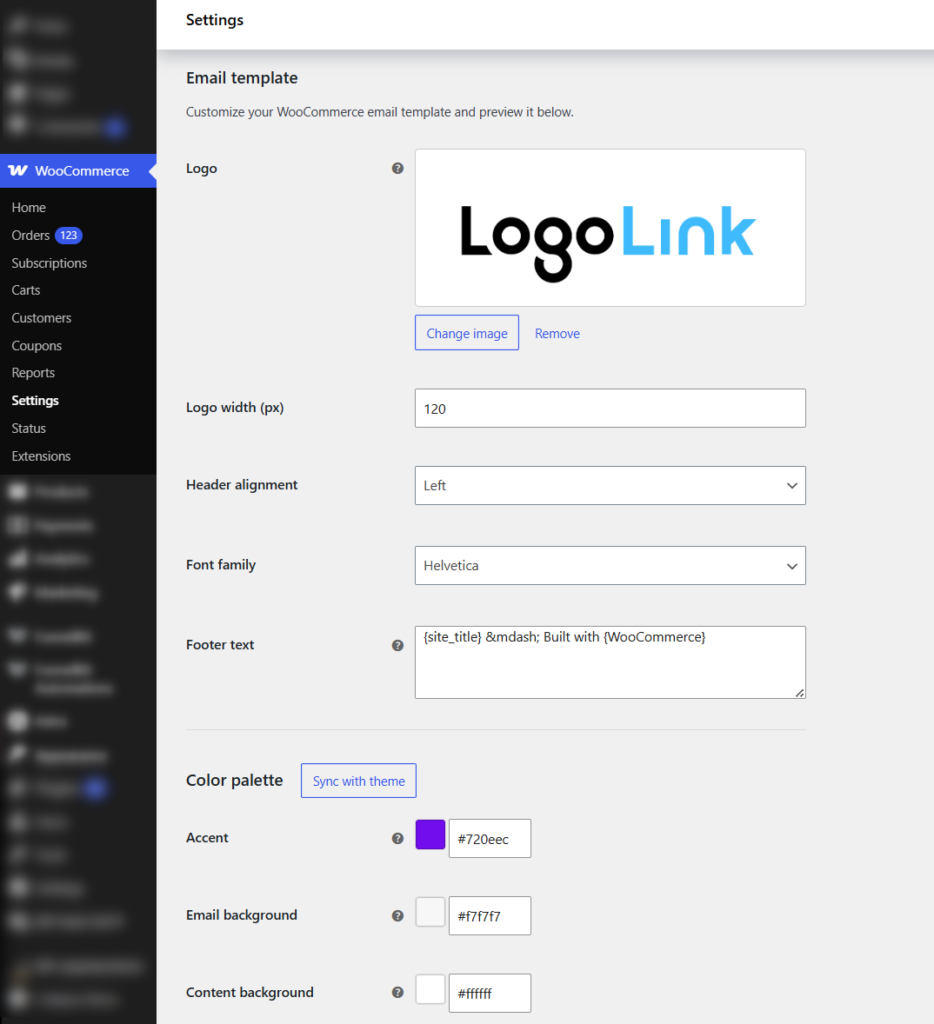
This is the fastest, safest customization and it survives WooCommerce updates. Click any individual email (e.g., “Processing order”) to edit its subject line, heading, and recipient.
Method 2: Editing template files via a child theme
For layout-level control, override WooCommerce’s email templates inside a child theme so your changes survive updates.
Copy the templates from the plugin into your child theme:
wp-content/plugins/woocommerce/templates/emails/ → wp-content/themes/your-child-theme/woocommerce/emails/Edit the copied files (for example, customer-processing-order.php or the shared email-header.php and email-footer.php) to change structure, markup, and inline styles.
Because they're table-based HTML, keep layouts in tables for inbox compatibility.
Child-theme template overrides can break when WooCommerce ships major template changes. You'll occasionally need to re-sync against the updated source files. Plugin-based customizations generally survive updates; manual overrides need maintenance.
Method 3: Using WooCommerce email hooks
For developers, WooCommerce exposes action and filter hooks (e.g., woocommerce_email_header, woocommerce_email_footer, woocommerce_email_order_details) so you can inject or modify content without copying whole templates.
This is the cleanest code-based approach for surgical changes, and it’s update-friendly when done through a small custom plugin or your child theme's functions.php.
Frequently Asked Questions (FAQs)
No, you don't need any coding skills to use the WooCommerce email customizer plugin. A simple drag-and-drop email editor helps you design beautiful emails within a few minutes.
You can test your custom WooCommerce emails by clicking on the 'Preview and Test' button inside FunnelKit Automations. You can view the full preview of your custom-designed email and send test emails to yourself or other admins to check how it displays on different screens.
The send-email issue occurs because your WooCommerce settings are not properly configured. Ensure you've properly set them up. Other times, this happens because of how WordPress sends emails with the wp_mail() function. Most WordPress hosting servers cannot use PHP mail; that is why our experts recommend using a SMTP plugin to send your emails and deliver them to your recipient's inbox.
Make sure to test-send your emails with FunnelKit Automations using the Preview and Test section. Also, we recommend enabling Text/HTML format inside your SMTP plugin before sending your emails.
Decorator and YayMail Free are the best free drag-and-drop options for default emails; Kadence WooCommerce Email Designer is the simplest free choice for logo-and-color branding.
Yes, you can add custom CSS code styles to customize default WooCommerce emails. However, adding custom CSS requires technical expertise.
If you're unfamiliar with coding or CSS, it's best to avoid making such changes directly. Mistakes in the code can break your email functionality or cause display issues. That's why experts recommend a user-friendly WooCommerce email customizer tool.
Beyond marketing emails, WooCommerce transactional emails play a critical role in shaping your customer experience.
Transactional emails like order confirmations, shipping updates, refunds, and account creation messages are often the first interaction customers have with your store, making them a powerful branding opportunity.
The problem? Default WooCommerce emails are plain and generic. They lack branding, visual appeal, and modern layouts, which makes them easy to ignore.
Customizing WooCommerce emails helps you:
- Build brand recognition with logos, colors, and consistent styling
- Improve readability with clean, mobile-friendly layouts
- Increase engagement using CTAs like Track Order or Shop Again
- Encourage repeat sales through product recommendations
- Stand out from competitors with professional, branded emails
- Personalize communication using customer and order data
By customizing WooCommerce transactional emails, you turn routine notifications into meaningful brand touchpoints that build trust, improve experience, and drive long-term customer loyalty.
Yes, you can send WooCommerce emails in multiple languages. FunnelKit Automations is compatible with multilingual plugins like WPML, Weglot, TranslatePress, and Polylang.
Once you’ve set up a language in your plugin, FunnelKit Automations automatically brings it up to customize your transactional emails:
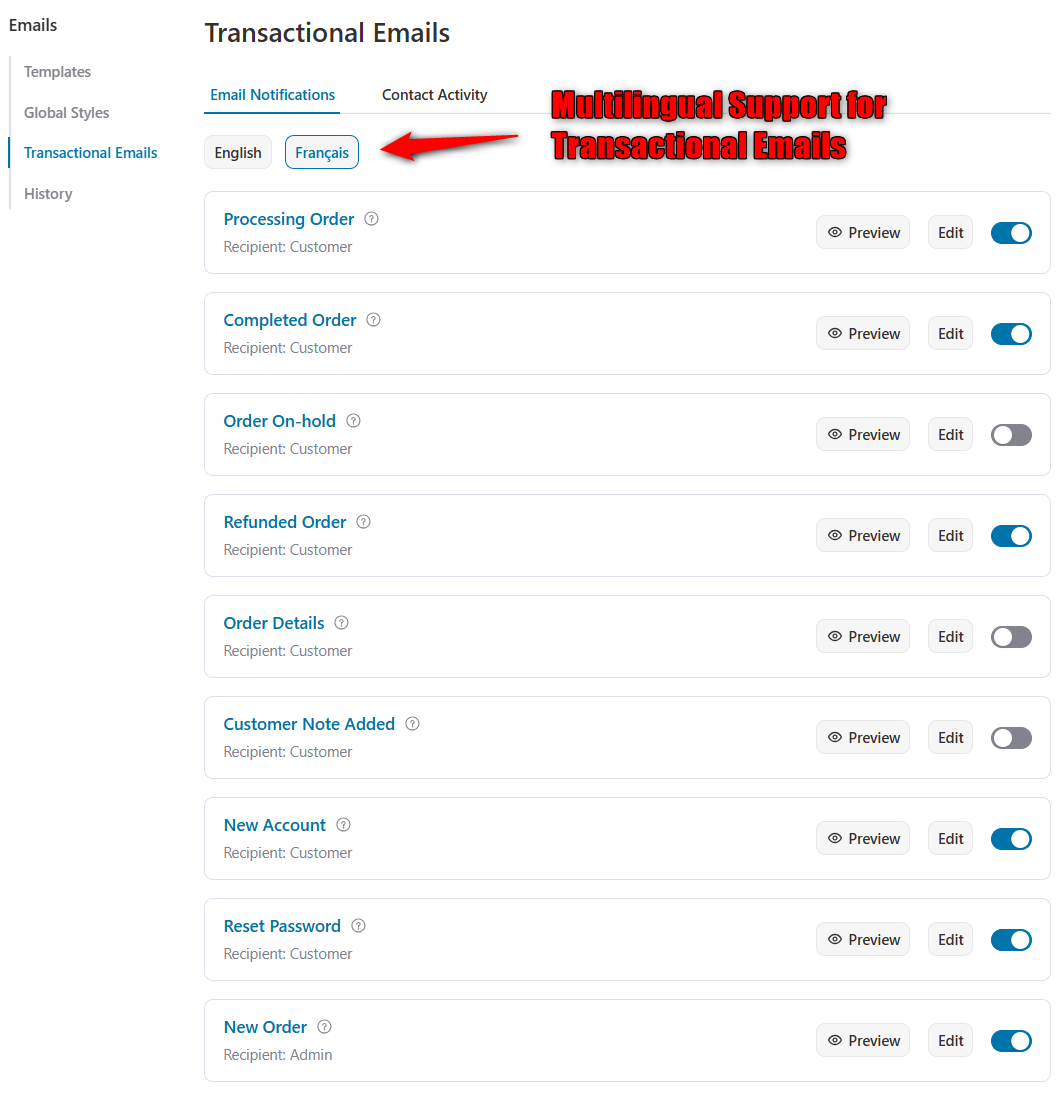
You can update your email and activate it. The system will automatically detect the user from a particular location and will send that multilingual email based on their country.
Design Attractive Emails with the WooCommerce Email Customizer
By now, you've seen the power and potential of customizing your WooCommerce emails.
Eye-catching and visually appealing emails are key to driving higher open rates, click-through rates, and customer engagement.
For most stores, the honest answer is FunnelKit Automations for the best drag-and-drop email design along with marketing automations. Kadence or the built-in settings if you just need a logo and colors, and the child-theme route if you’d rather not add a plugin at all.
With FunnelKit Automations, creating emails that captivate your audience is easier than ever.
The intuitive drag-and-drop builder, flexible visual content blocks, and responsive design options allow you to craft professional, on-brand emails effortlessly.
Take this opportunity to transform your transactional and marketing emails into memorable customer experiences.
If you’re building a real email program, not just prettier order receipts, having design and automation under one roof is the advantage.
Start free, test-send across inboxes, and upgrade only when you actually need sending or automation.
Editorial Team
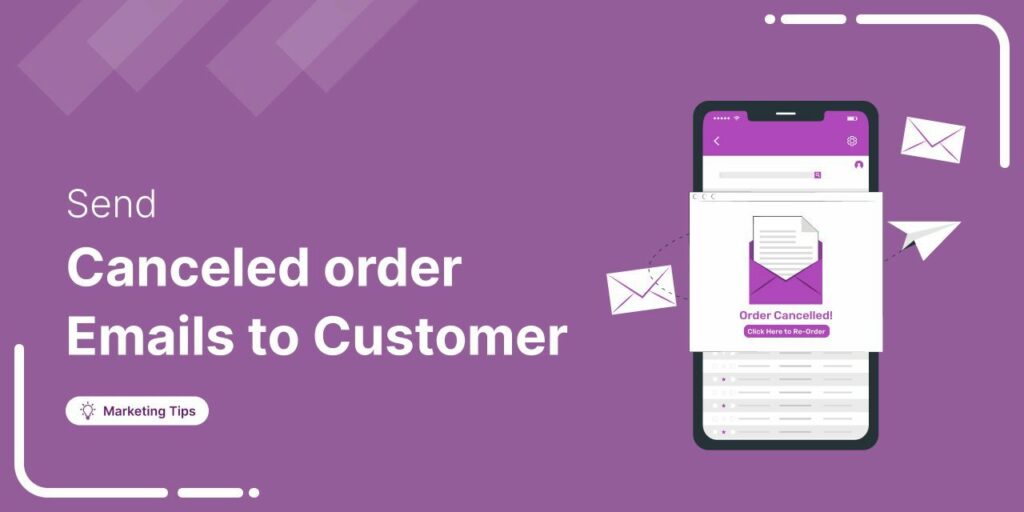
July 3, 2026Discover how a canceled order doesn't have to mean a lost customer, and how the right WooCommerce canceled order email can turn it into a second chance. WooCommerce canceled order...

Editorial Team
July 3, 2026Choosing the right WooCommerce HubSpot integration is harder than it looks because HubSpot has no first-party WooCommerce sync and every third-party option handles data differently. Pick the wrong connector and...
Editorial Team
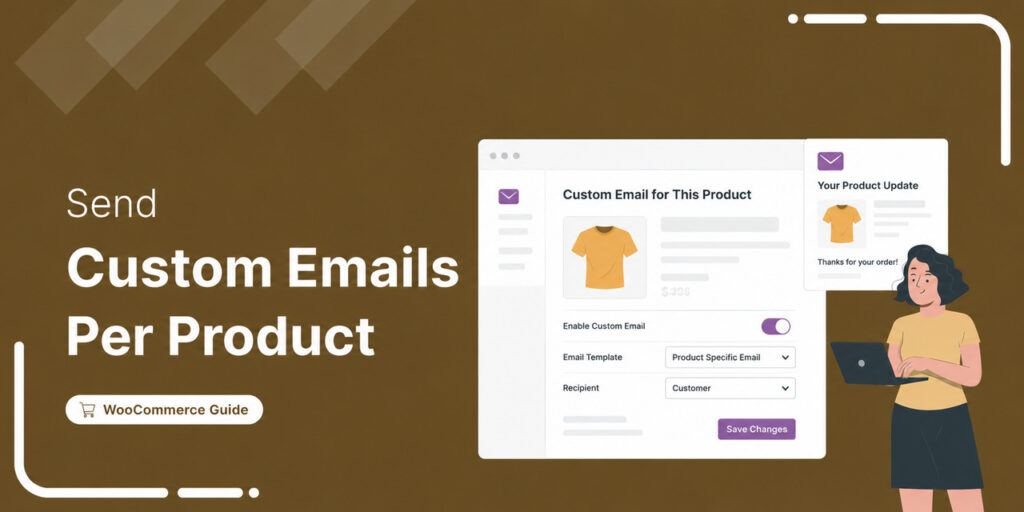
July 1, 2026WooCommerce custom emails per product let you send a different message to customers based on the exact item they buy. To send a different email depending on what someone buys...


