The new version, Google Analytics (GA) 4 is more flexible than the previous versions.
With the Universal versions, you were able to send a few standard parameters like Category, Action, Value, and Label.
But with GA 4, you can send data in a personalized format with events, custom parameters, and much more.
FunnelKit (formerly WooFunnels) perfectly integrates with Google Analytics 4 to efficiently send and track your data.
In this document, we will show you how to set up GA 4 property using FunnelKit.
For this, you have two scenarios:
- You already have a universal property installed on your website
- Or you want to create a new GA 4 property
Let’s look at how you can set up a new GA 4 property and enable event-based tracking with FunnelKit.
Setting Up Google Analytics 4 Property
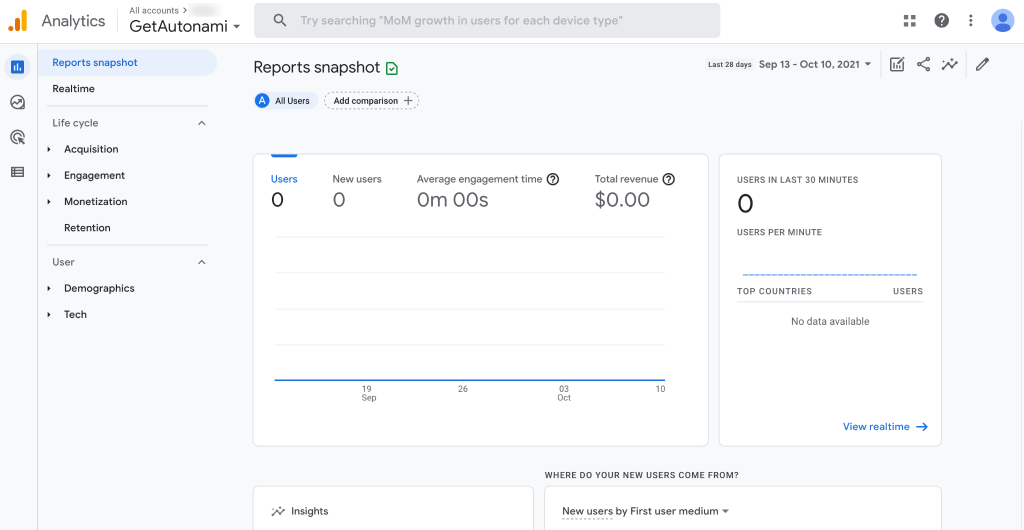
Step 1: Go to your Google Analytics account
Login to your Google Analytics account and you’ll see this screen:
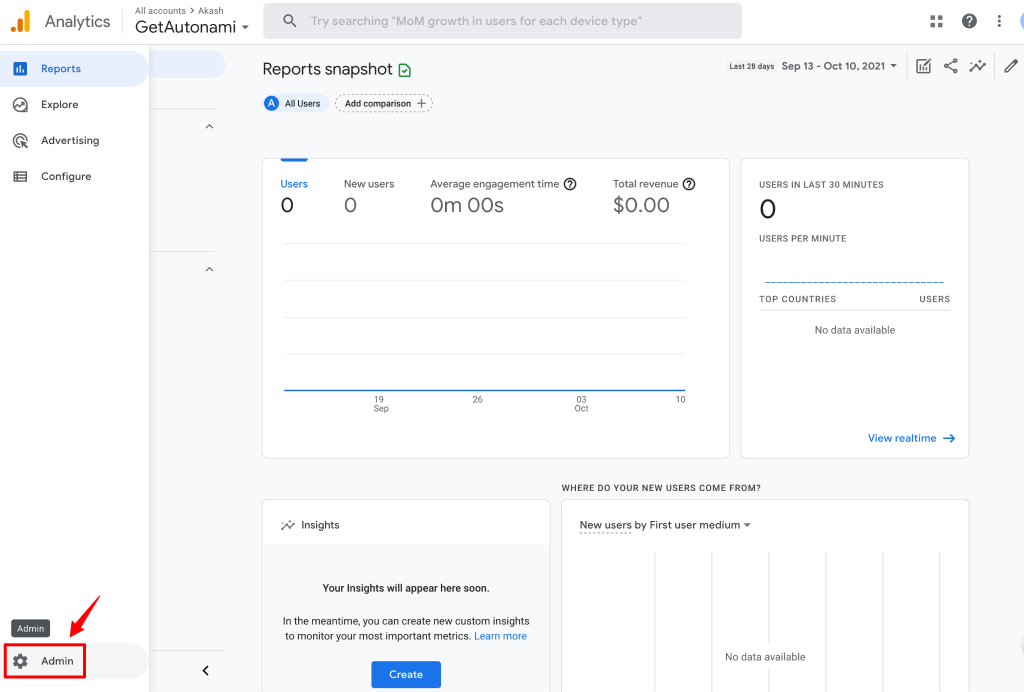
Step 2: Go to your admin dashboard
On the bottom left-hand side of your screen, click on Admin.
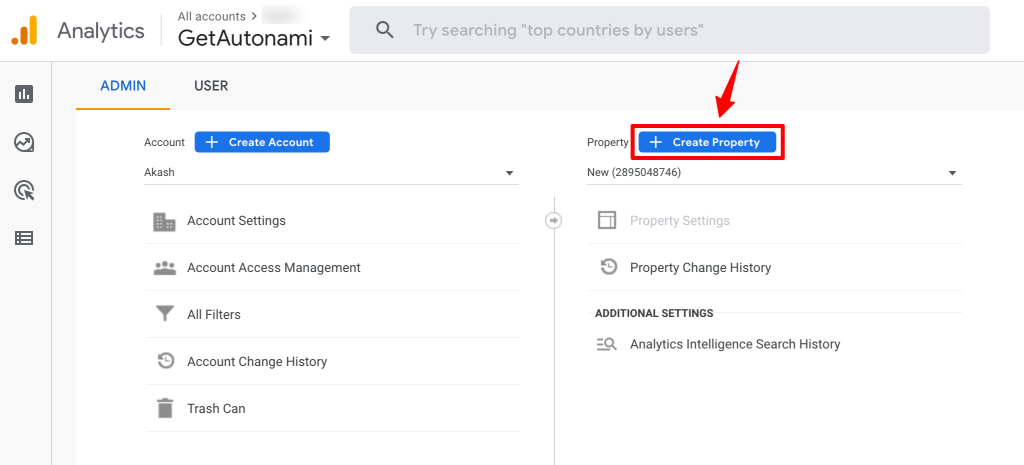
Step 3: Create a new property
Click on + Create Property.
Enter the name of your new property and configure other property-related settings.
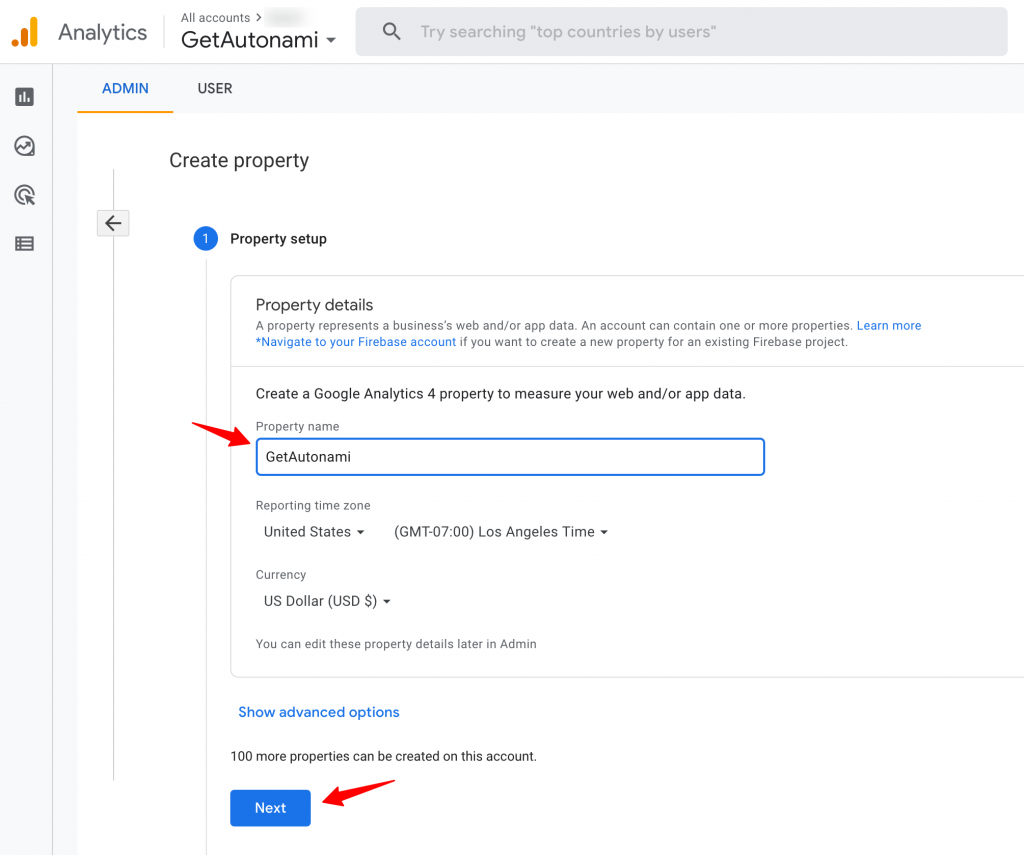
Once done, click on Next.
Enter the information about your business.
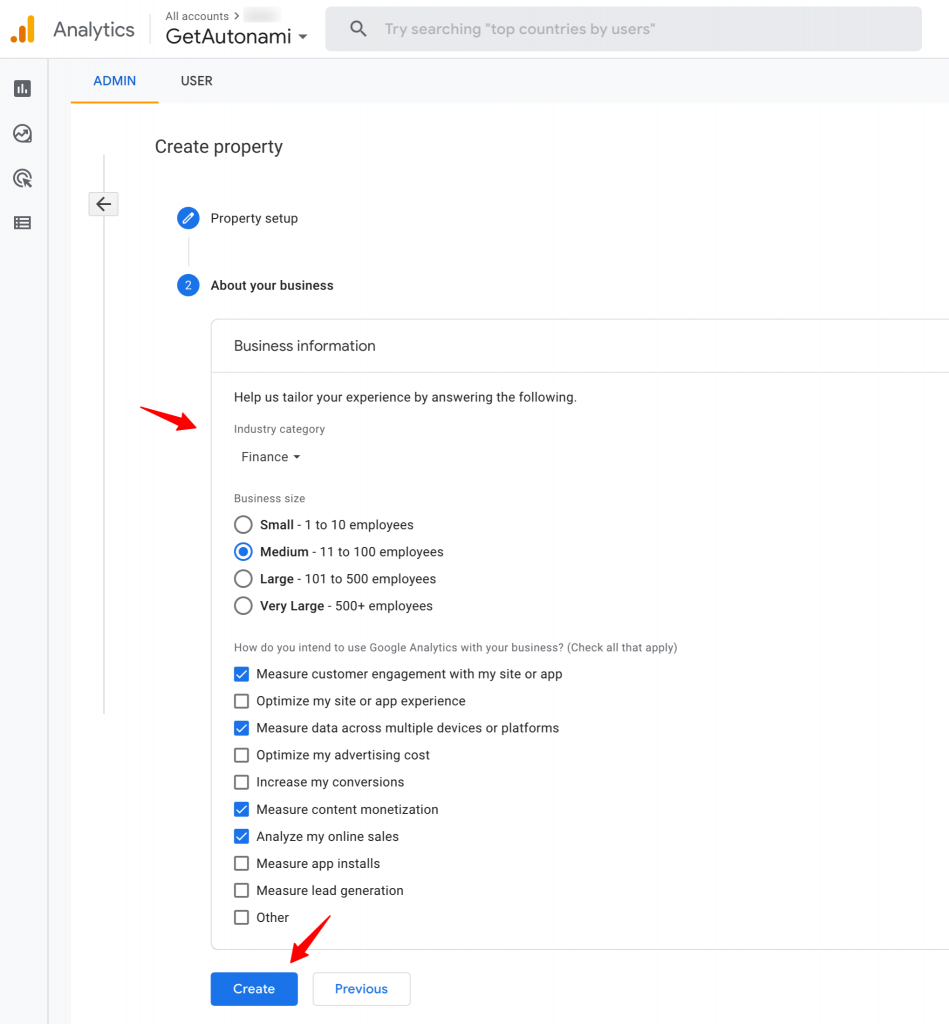
Click on the Create button when done.
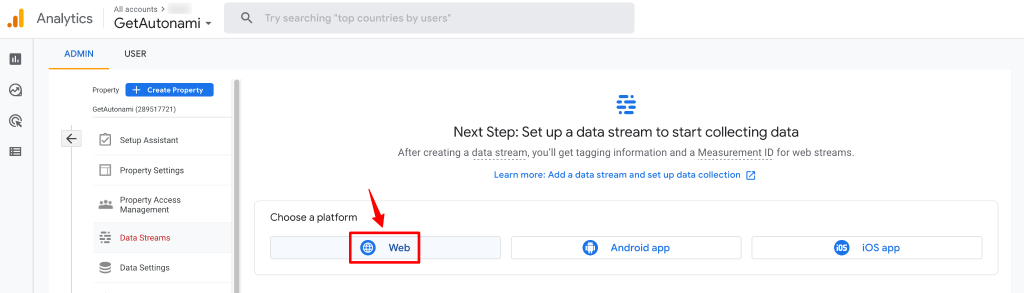
Step 4: Set up the data stream
Once your Google Analytics property is created, set up the data stream.
For this, click on Web.
Enter the URL of your website and the name of your stream.
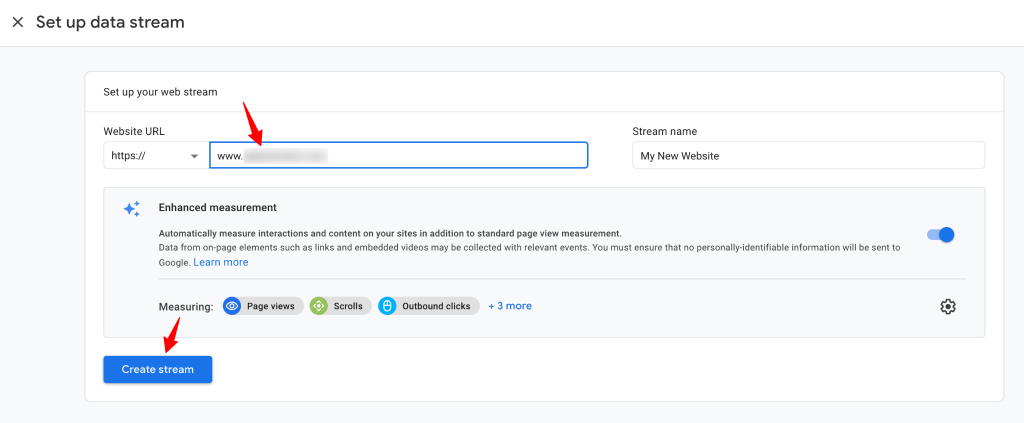
Once done, click on Create stream.
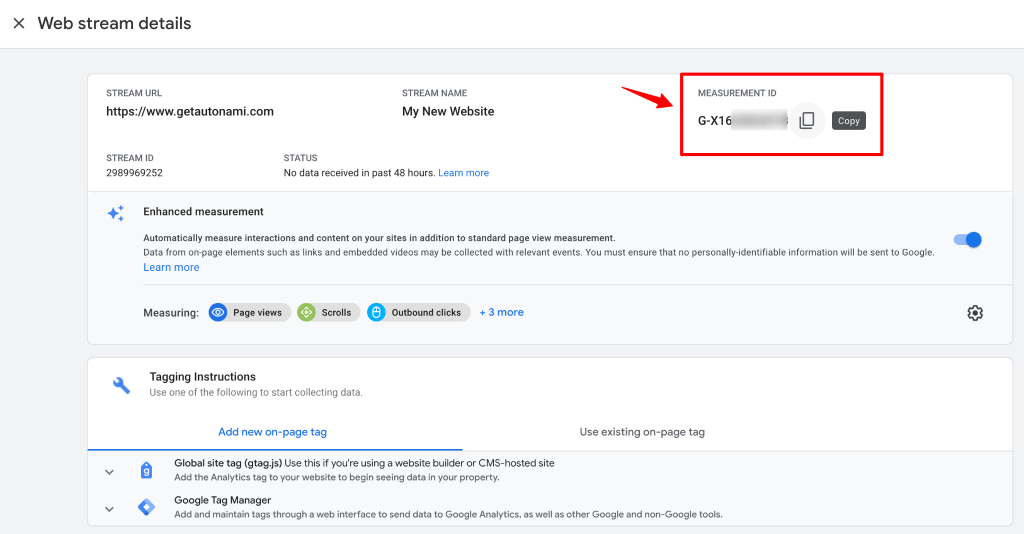
Copy the GA Measurement ID.
Step 5: Enable Google Analytics 4 in FunnelKit
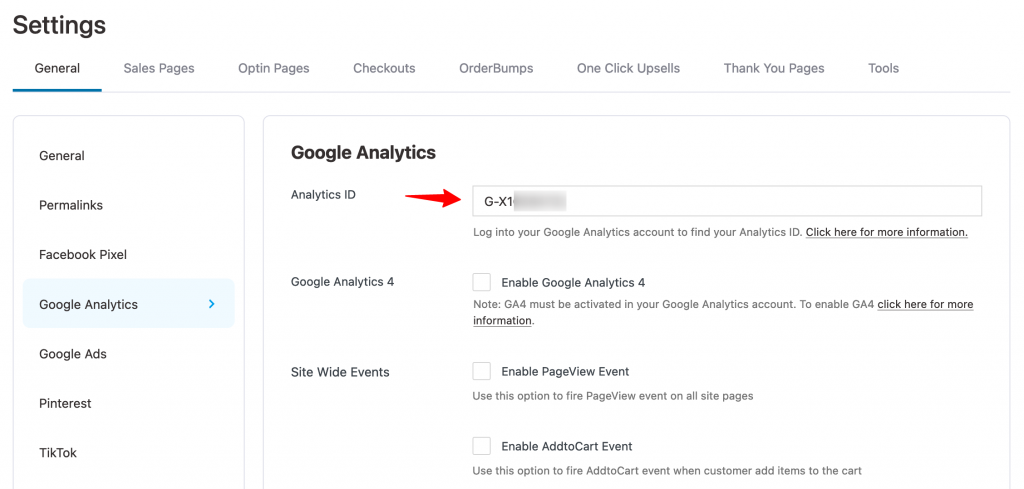
Go to FunnelKit ⇨ Settings ⇨ Google Analytics.

Paste the copied Analytics ID here.
Now, check the box of Enable Google Analytics 4.
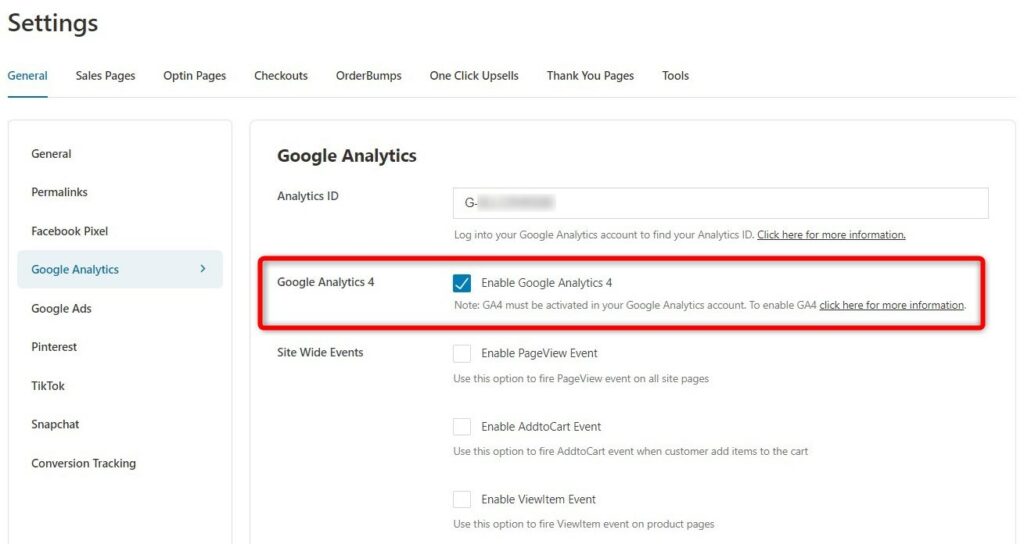
Once done, scroll down and click on Save Changes.
That’s it! This is how you can create a new GA property and set it up in FunnelKit.
You are now ready to witness a smarter way to send and track the data of your website.


