A sales funnel starts with the landing page or the sales page. The goal of the sales page is to convince users to click on the button and make a payment at checkout.
It makes a strong case for the product. With testimonials, images of the product, video, guarantee section, it gives users all the information they need to convert in one place.
Let's learn how you can create a new funnel with built-in templates:
How to Create a Dedicated Sales Funnel Using FunnelKit Funnel Builder
Follow these steps to create a dedicated sales funnel:
Step 1: Add a new funnel
Go to FunnelKit ⇨ Funnels and you will see the option to 'Create New Funnel'.
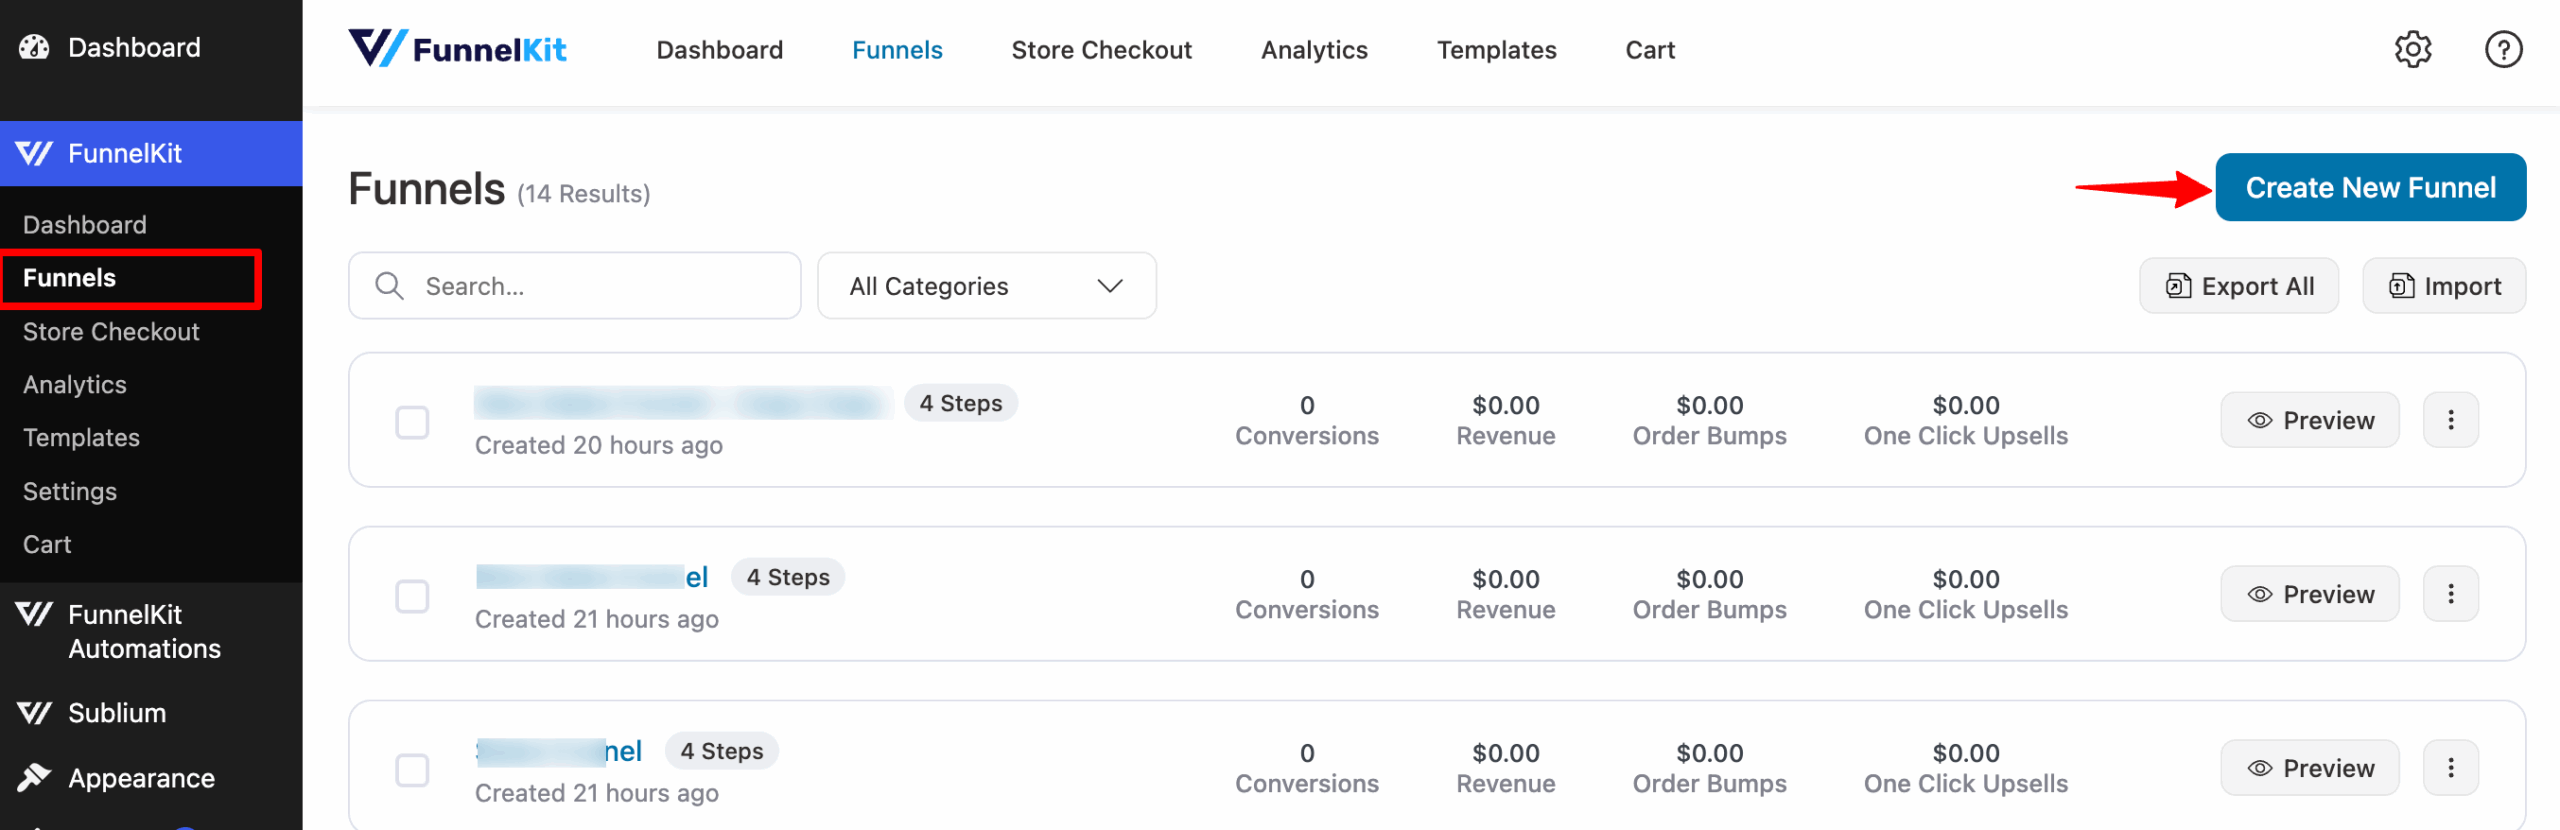
You'll be directed to the templates page.
Step 2: Import your sales funnel template
Select 'Sales Funnels' from the two options, i.e., Sales Funnels and Lead Funnels.
This will sort the list of templates by the funnel type you choose.
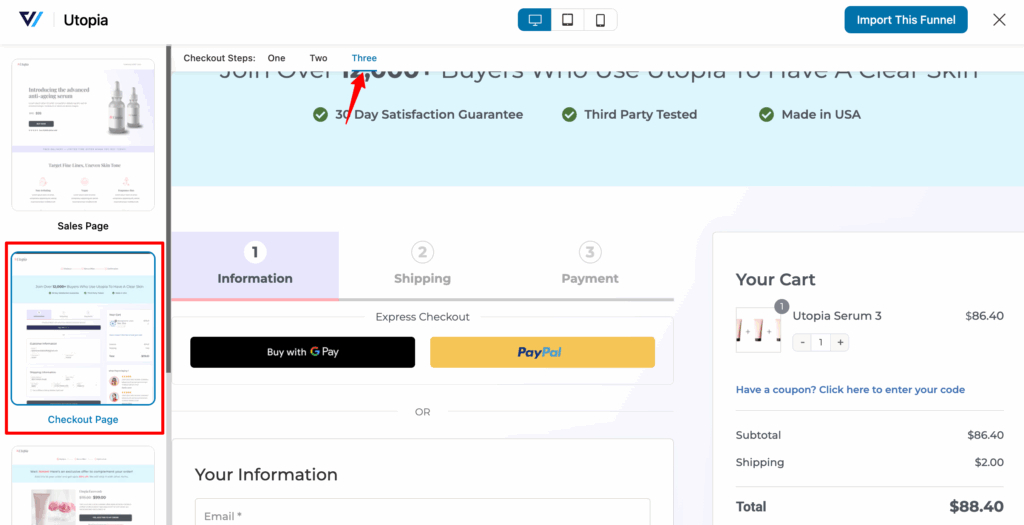
Pick any template that you like to customize and click on Preview.

You'll be able to preview the pages in that funnel template. For checkout, you can select the number of steps.
Once you're satisfied with everything, click on Import This Template and name your funnel.
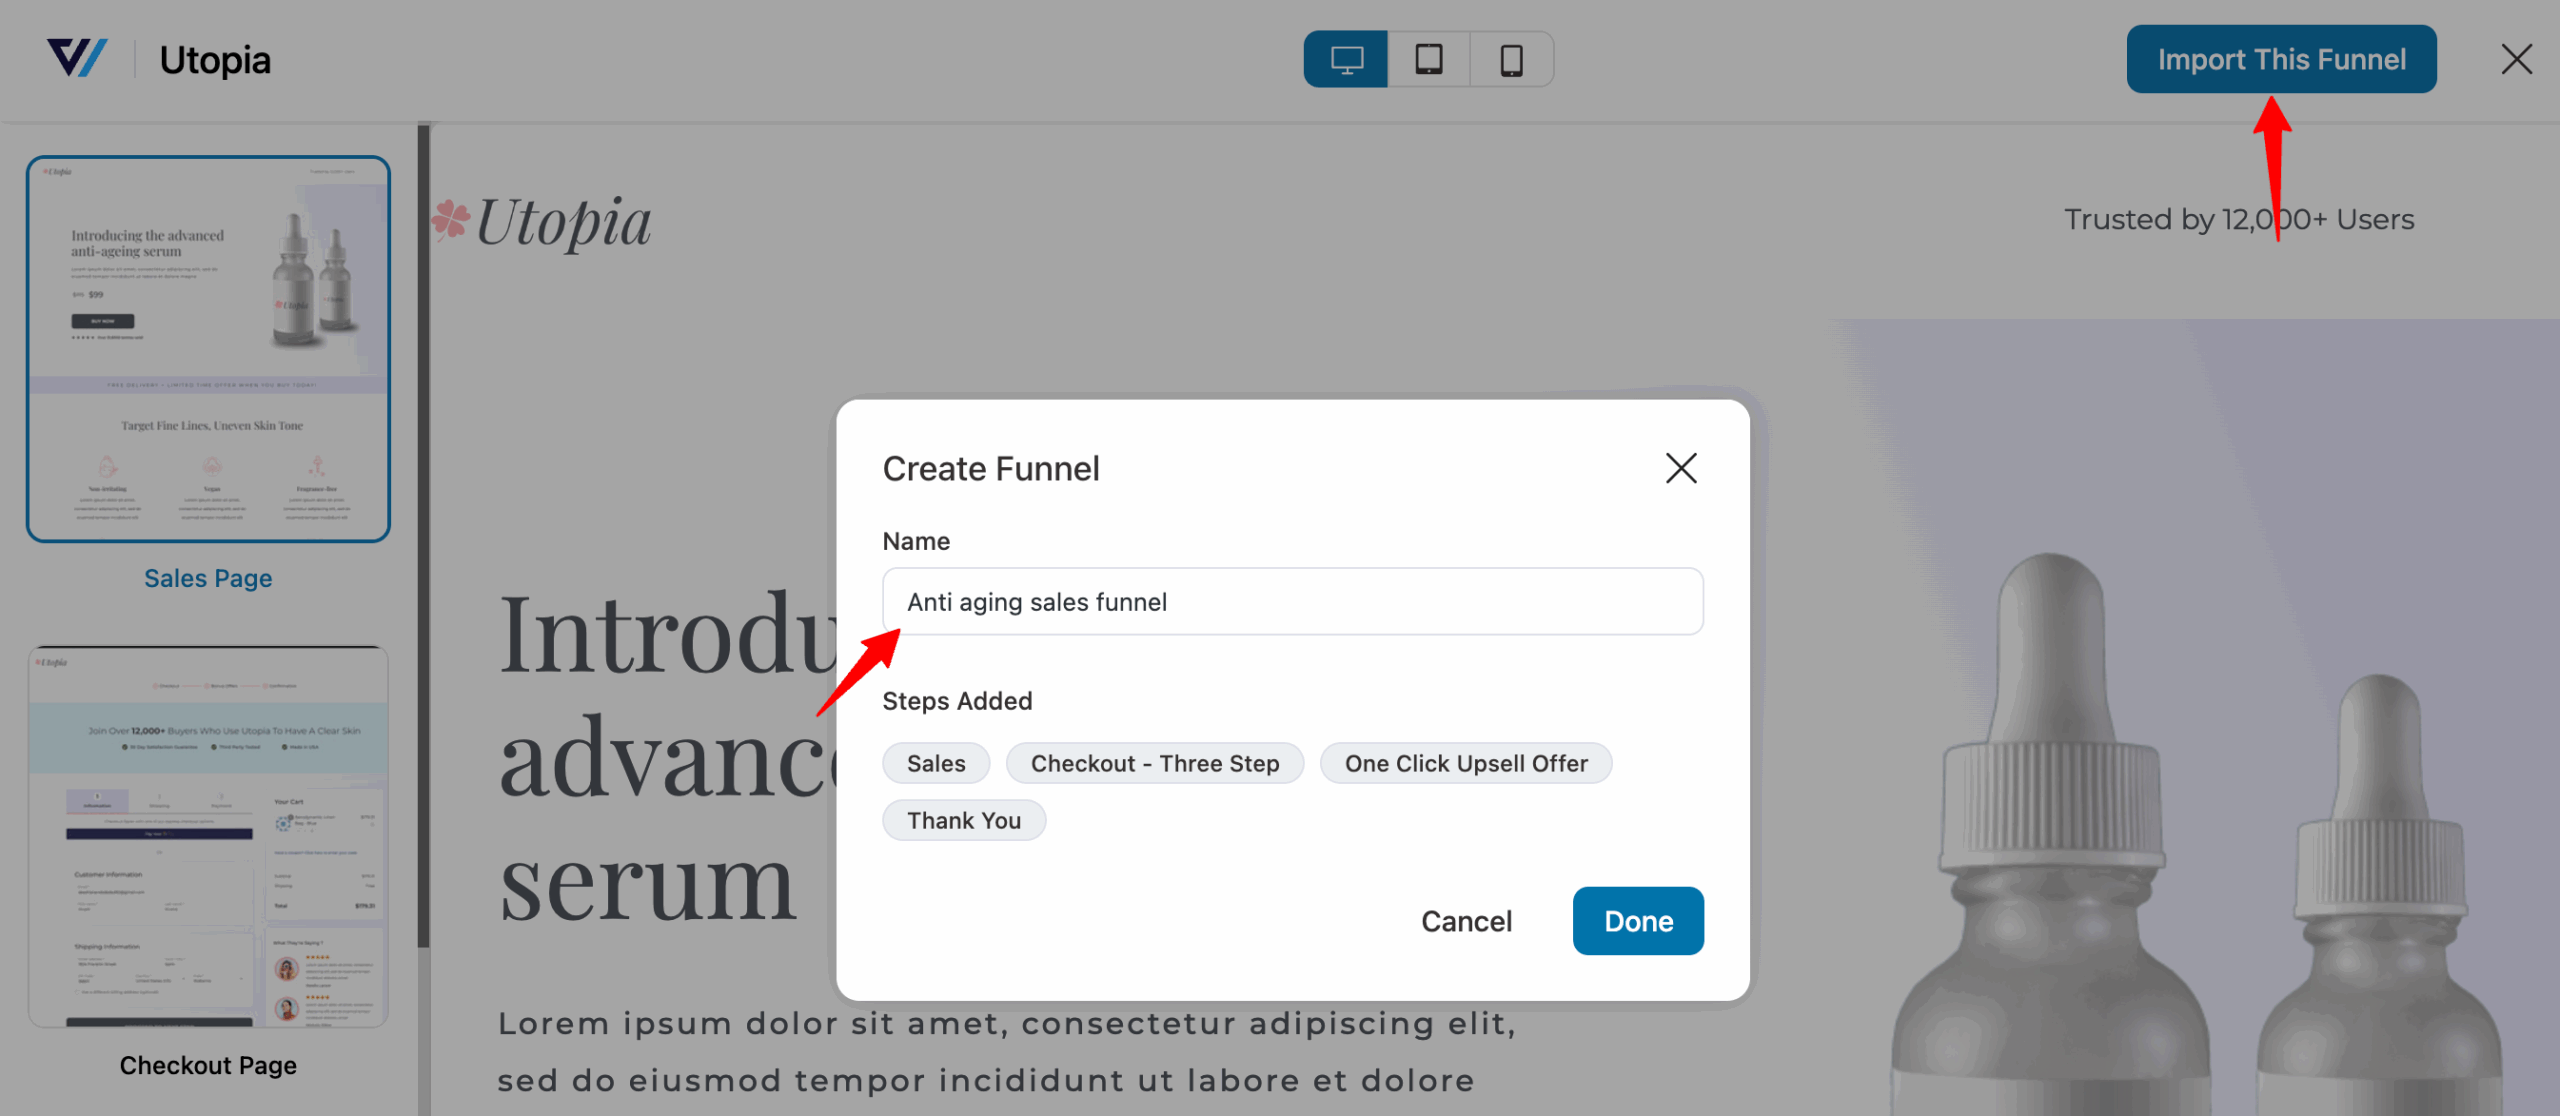
Clicking on Done will import the entire funnel.
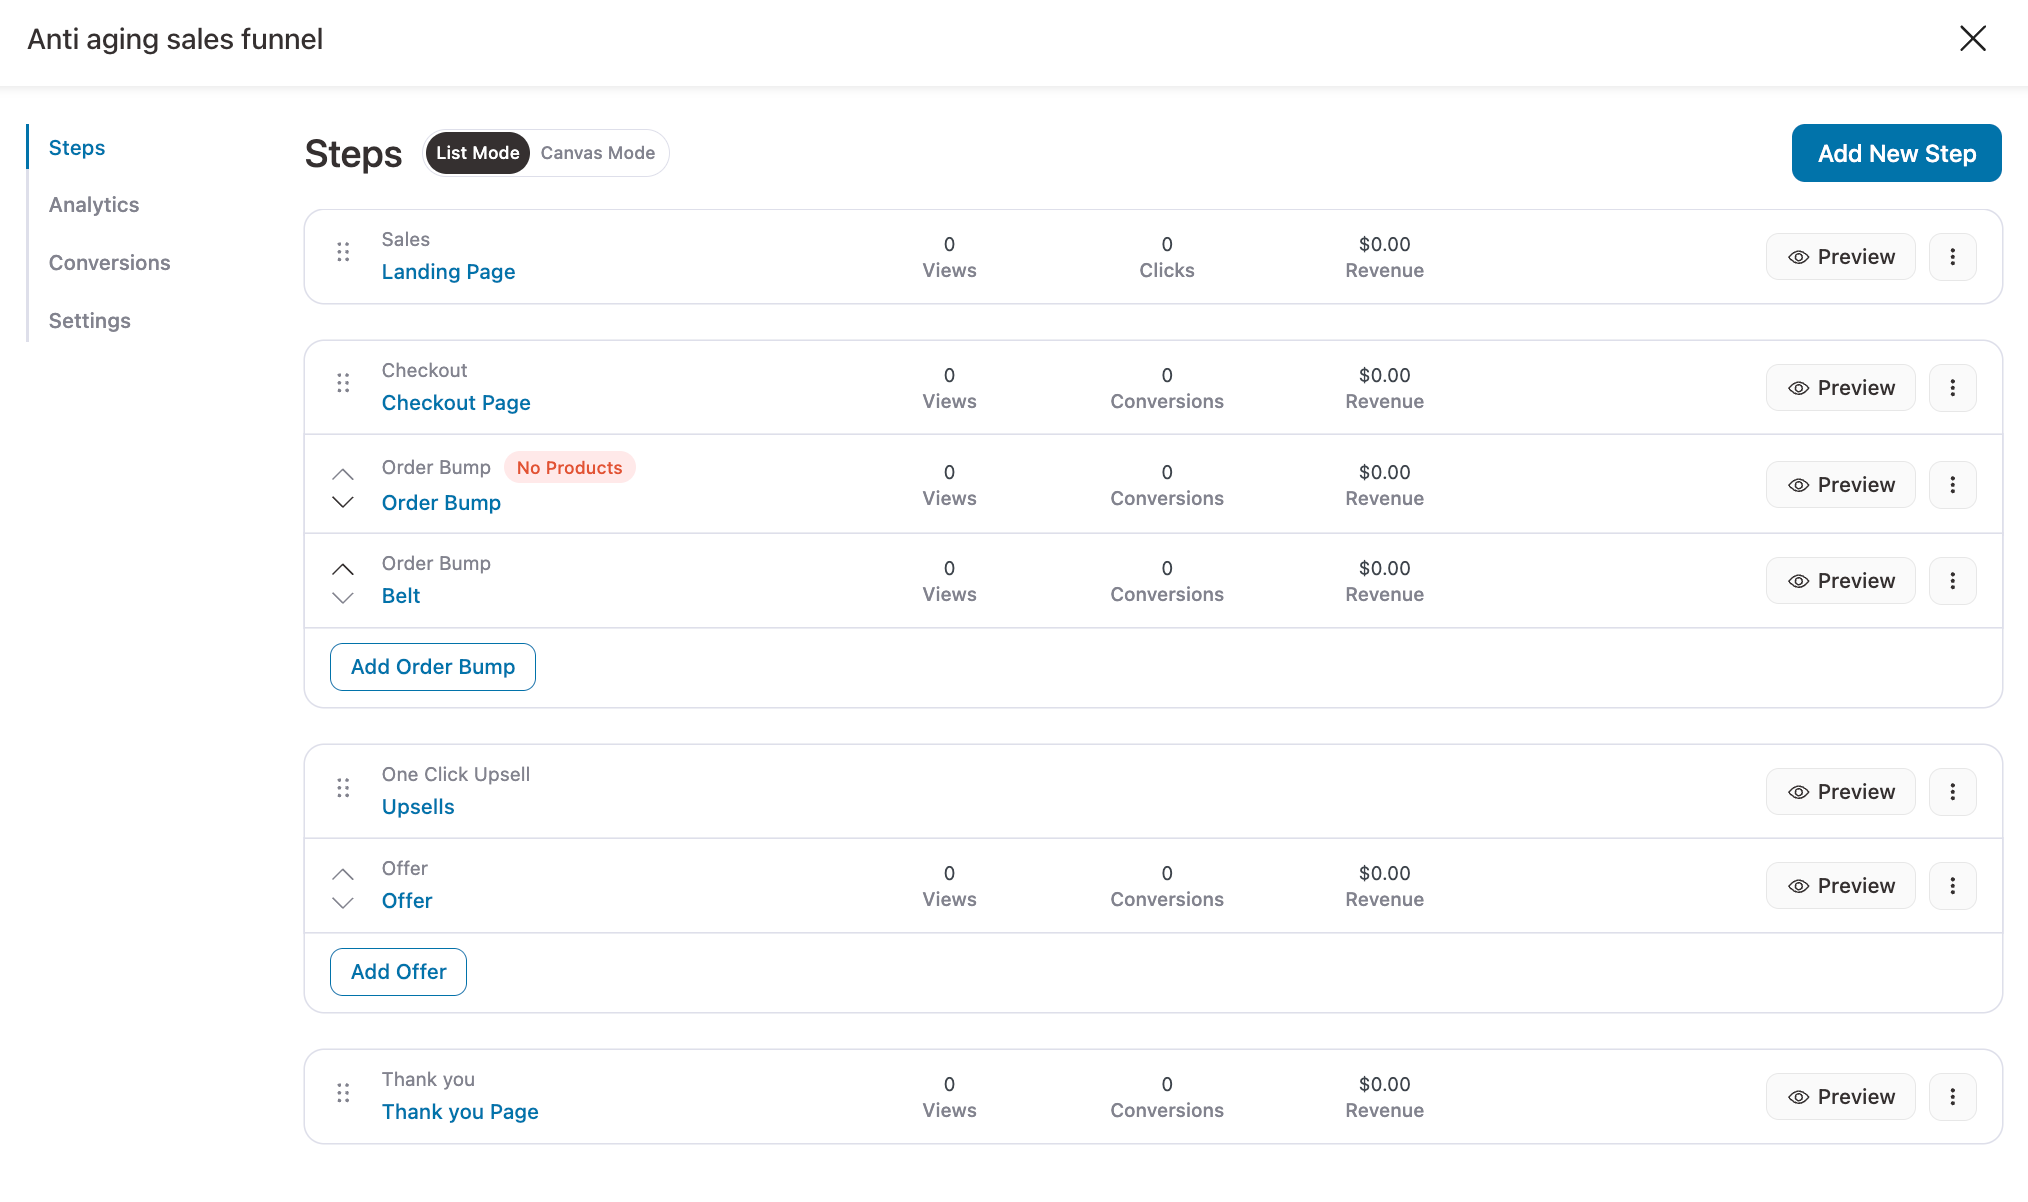
Step 3: Customize the sales funnel pages
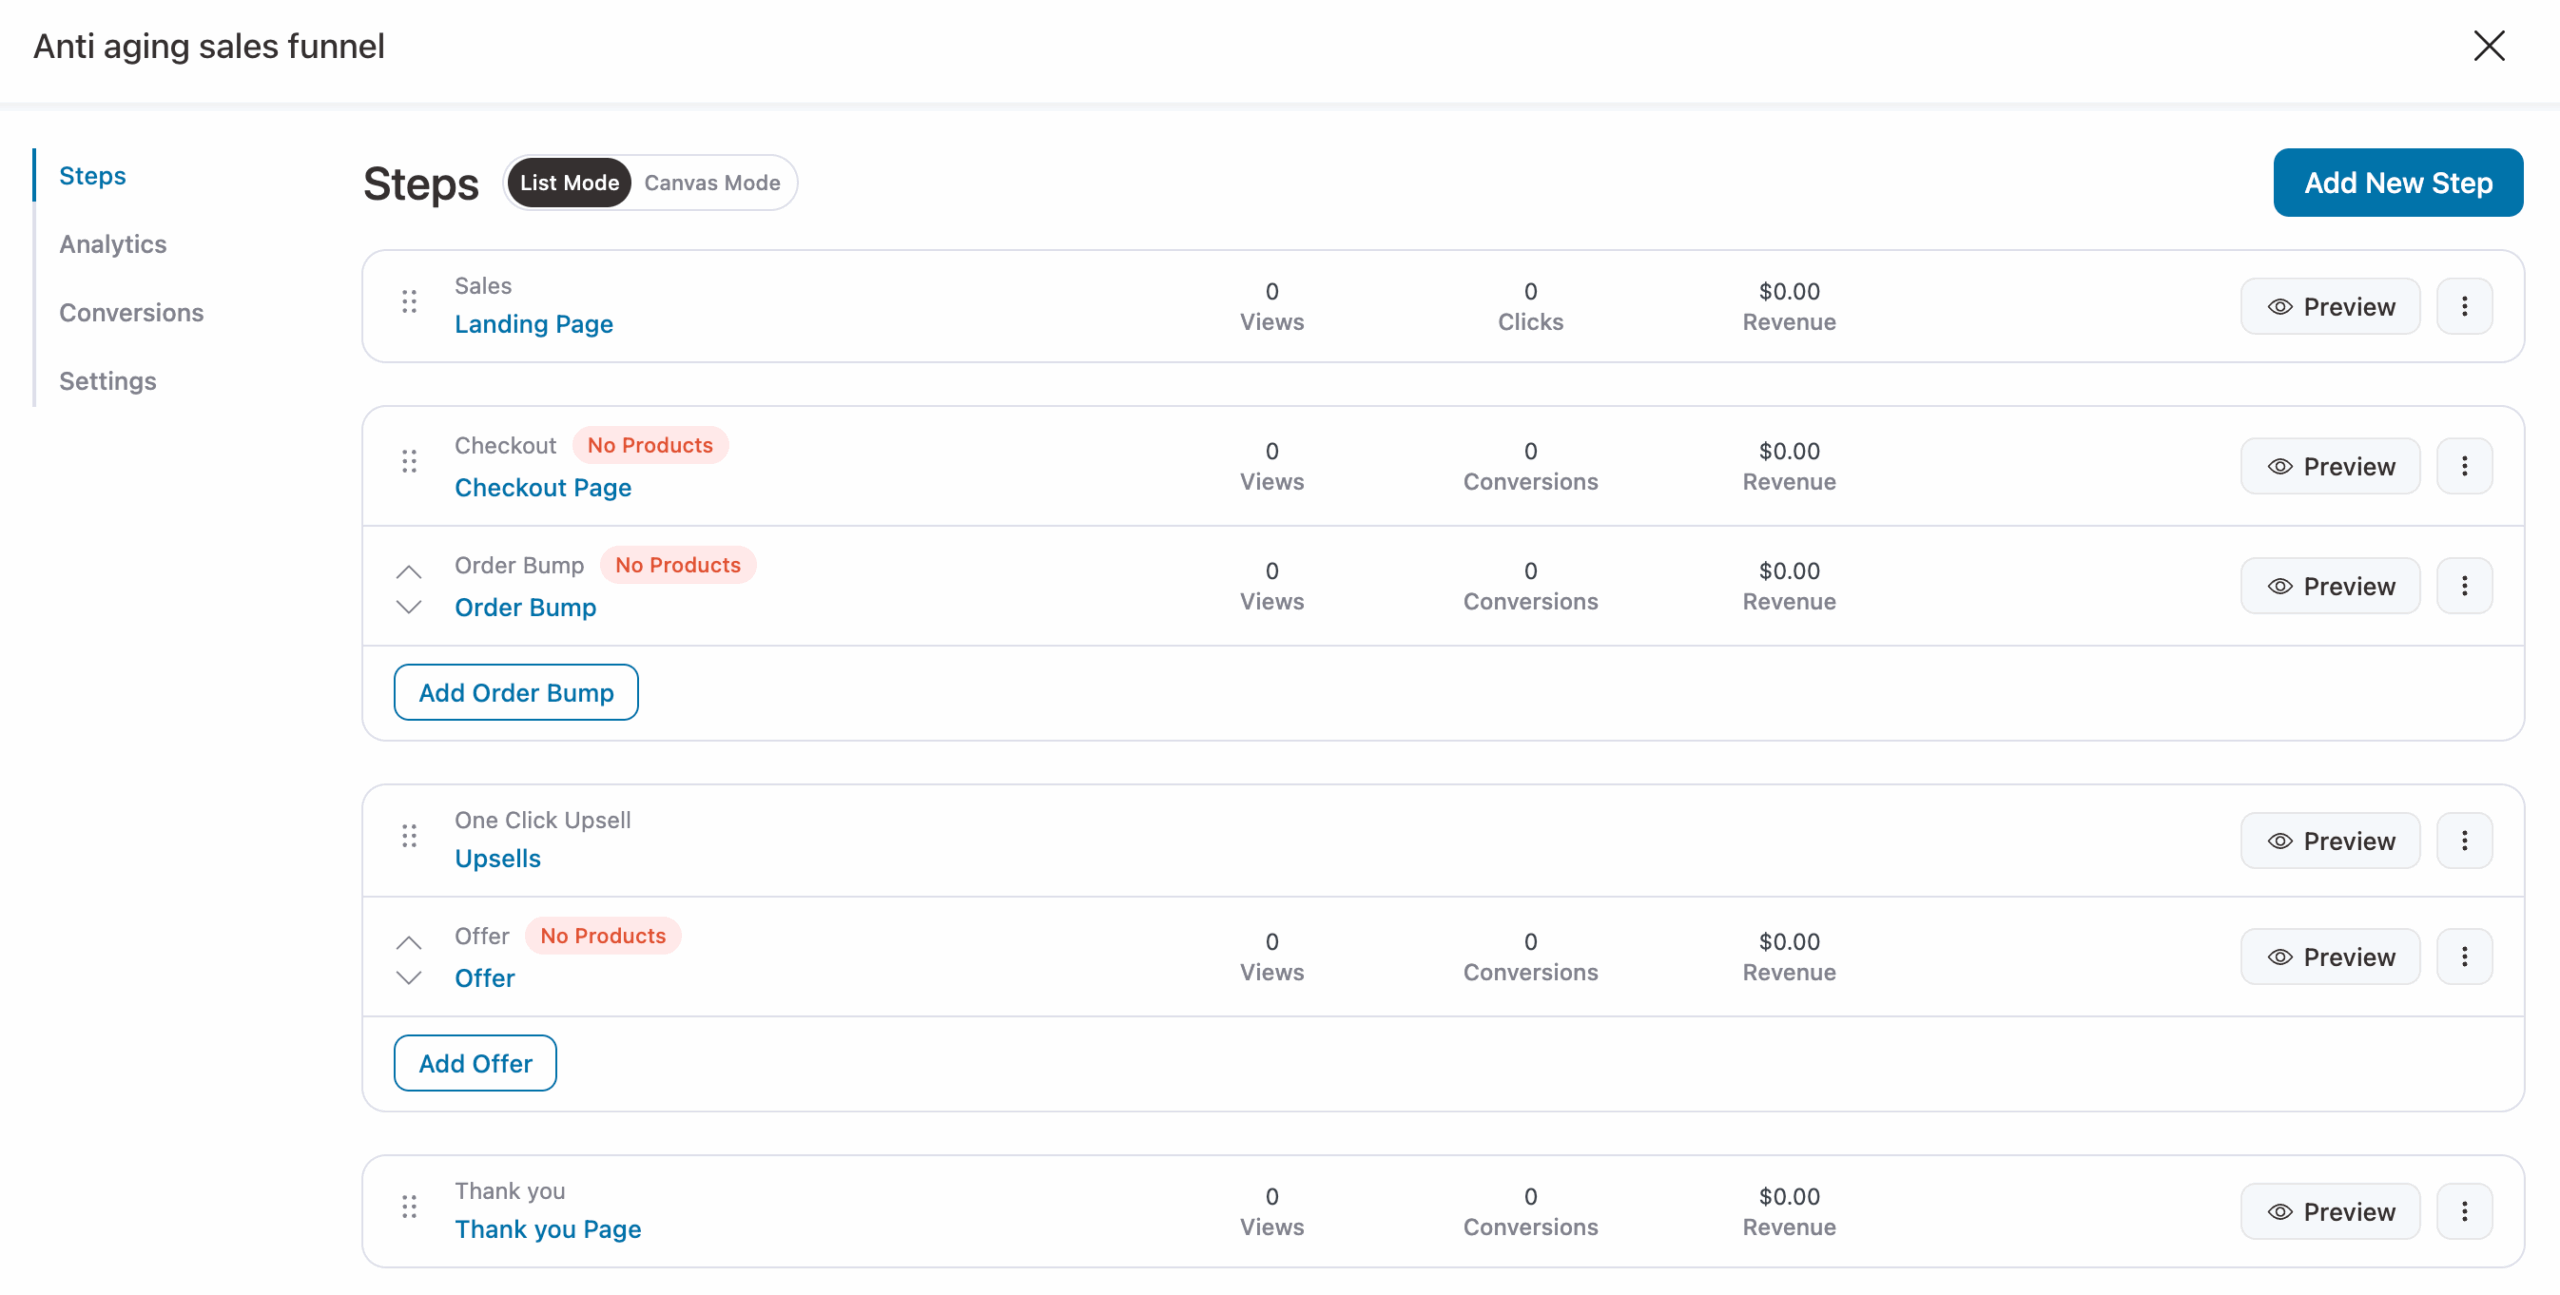
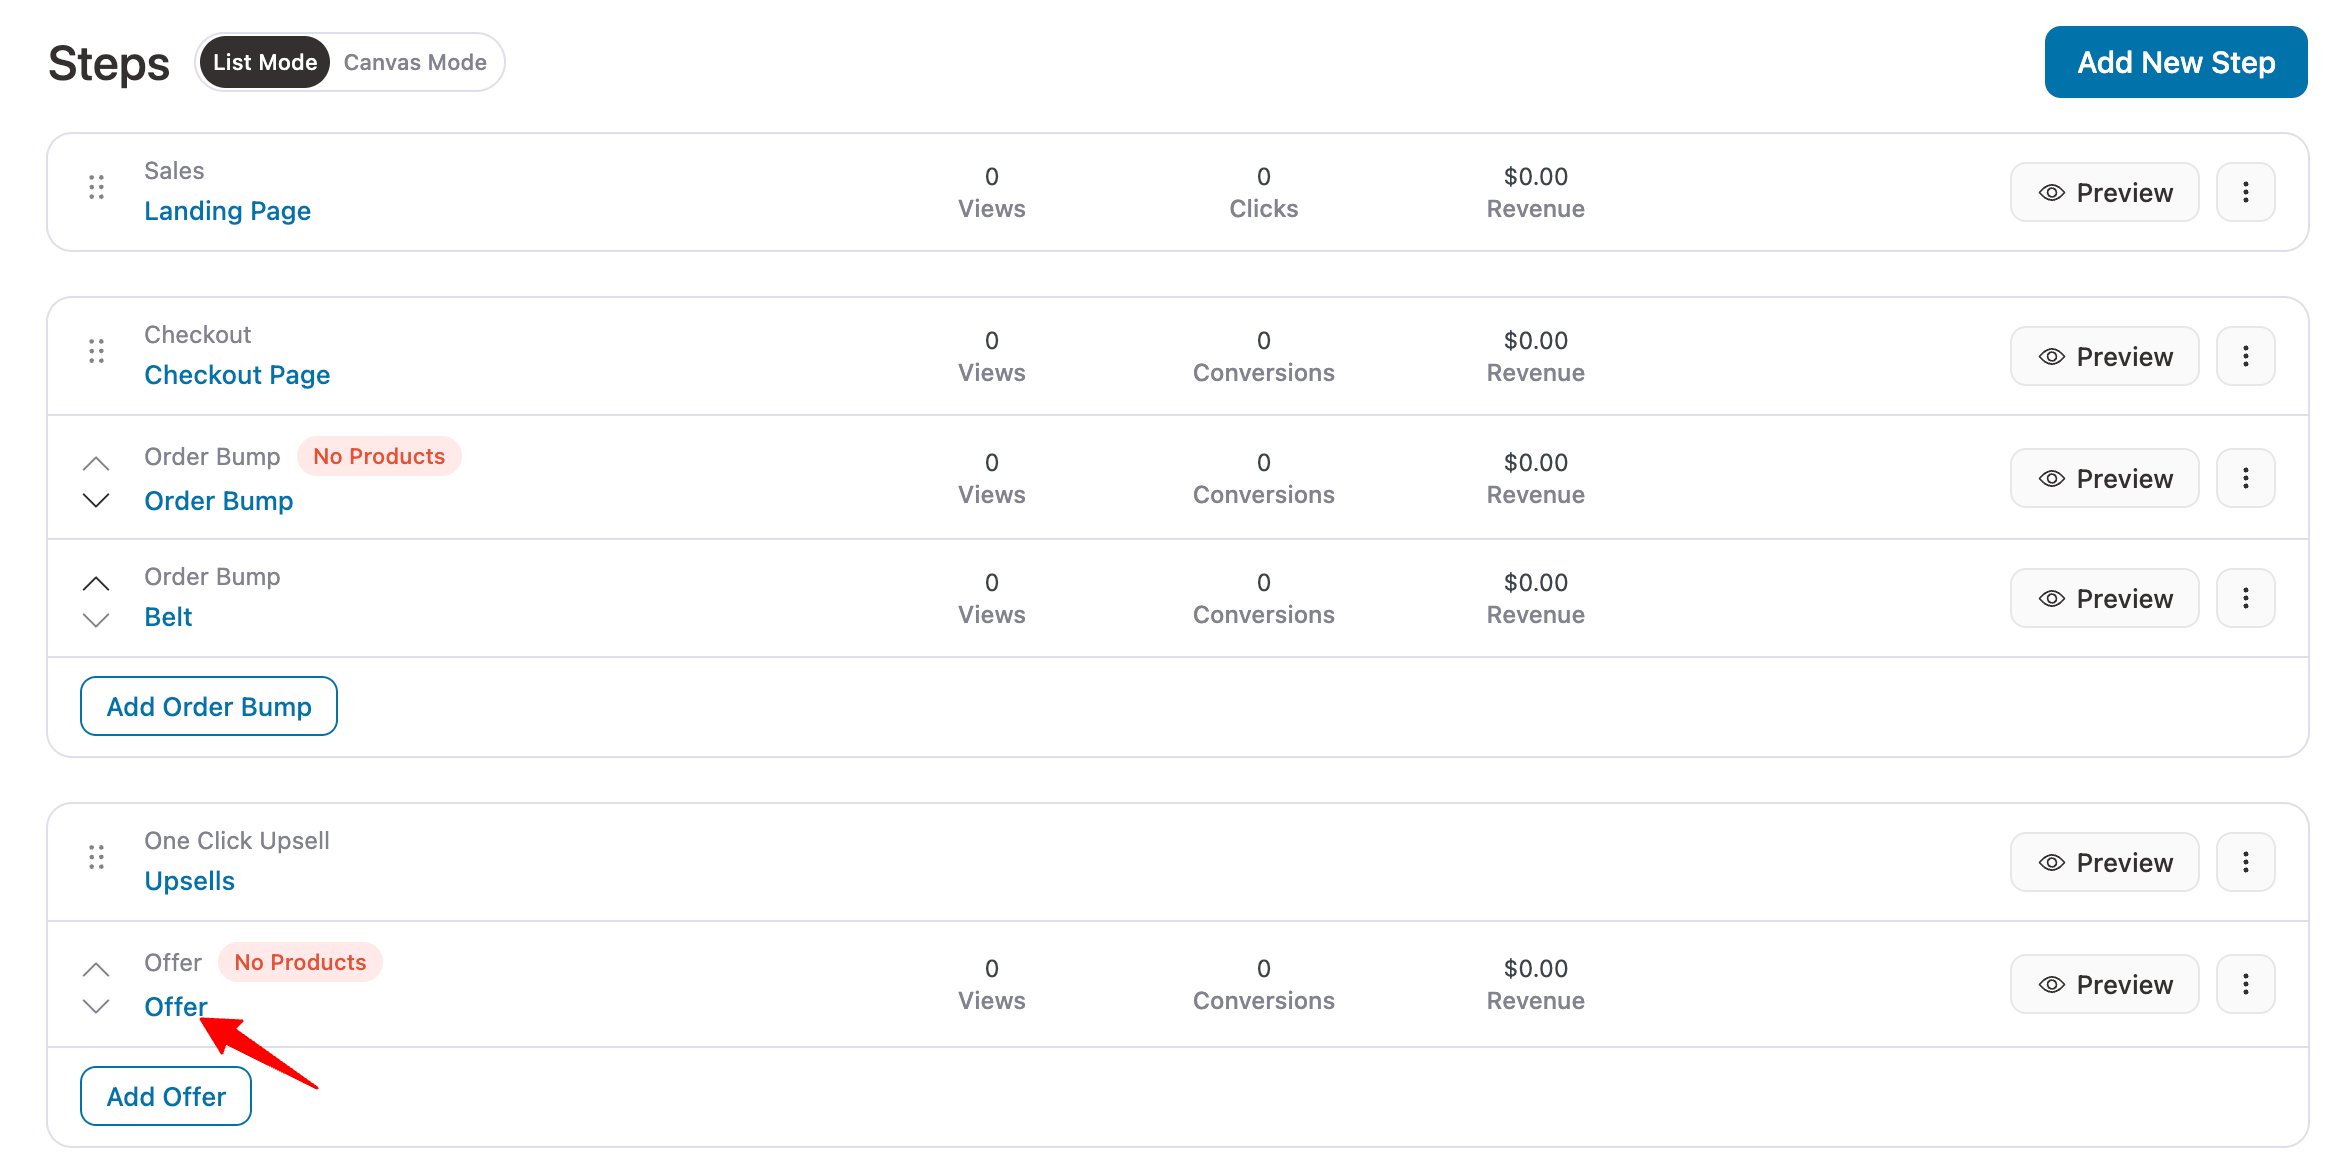
Once you have imported your template, you'll see all the pages in the funnel listed one below the other.
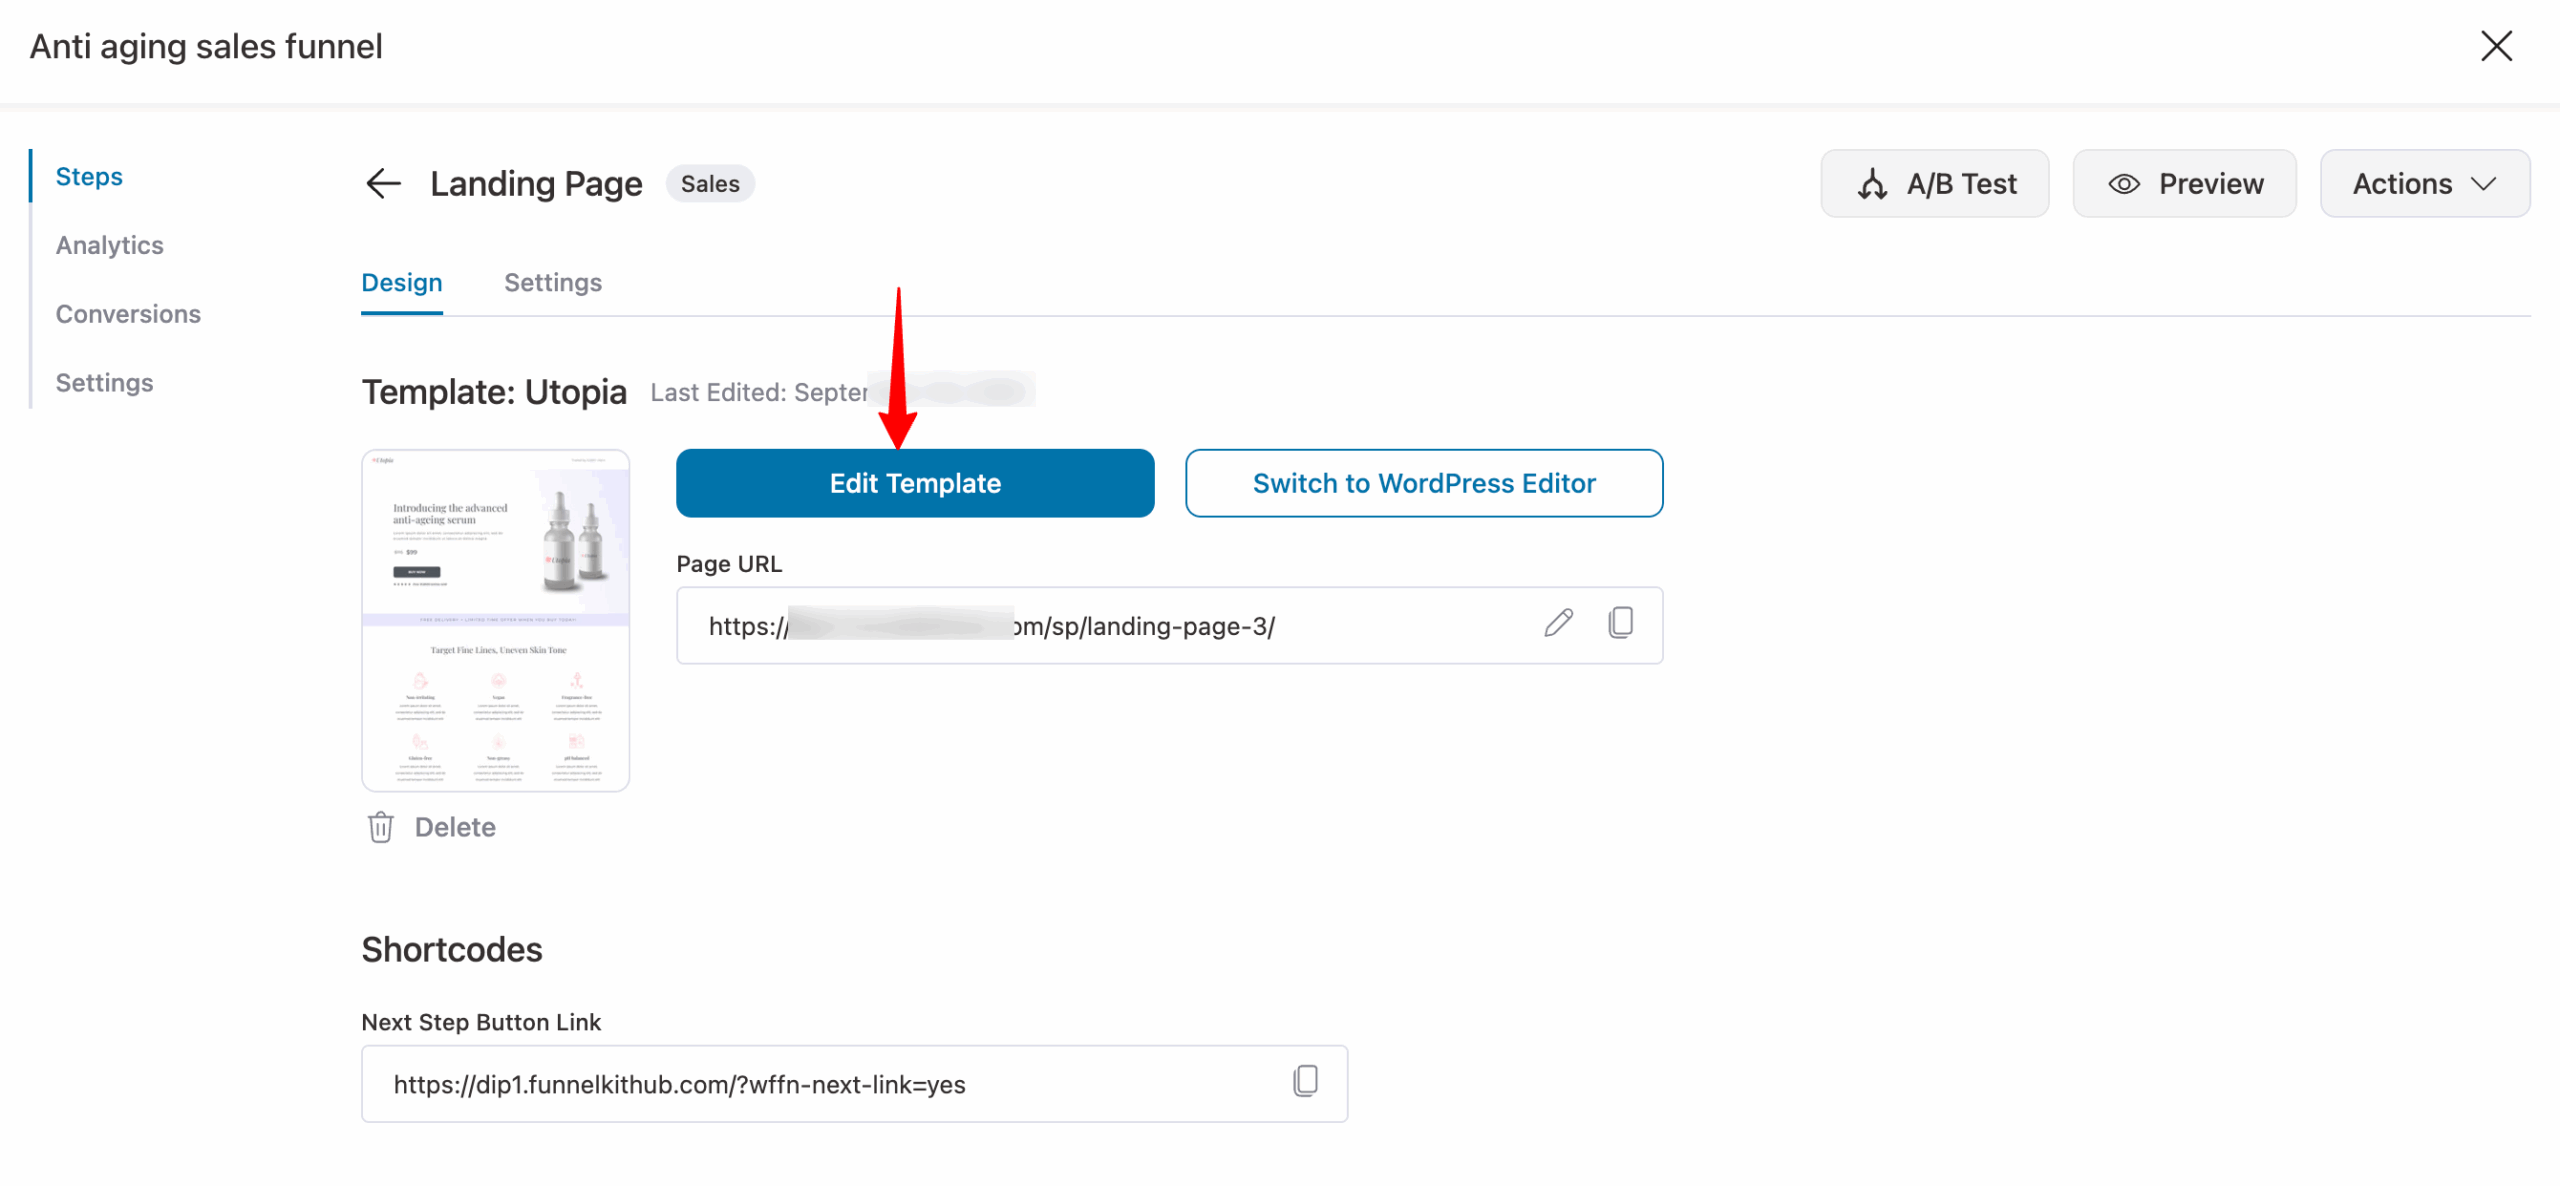
You can click on a step in the list below and edit it:
The landing, checkout, upsell, and thank you pages can all be edited in Elementor.
All you have to do is edit and go to the Design tab of the respective pages.
For the order bump, we have a range of skins and styles to choose from. You don't need any external page builder to edit or code it.
Step 4: Add products to the checkout page
For a dedicated sales funnel, it’s important to add products that will automatically be added to the checkout when a user clicks a CTA on the sales page.
For this, click on the Checkout page, navigate to the Products tab, and hit Add Product.
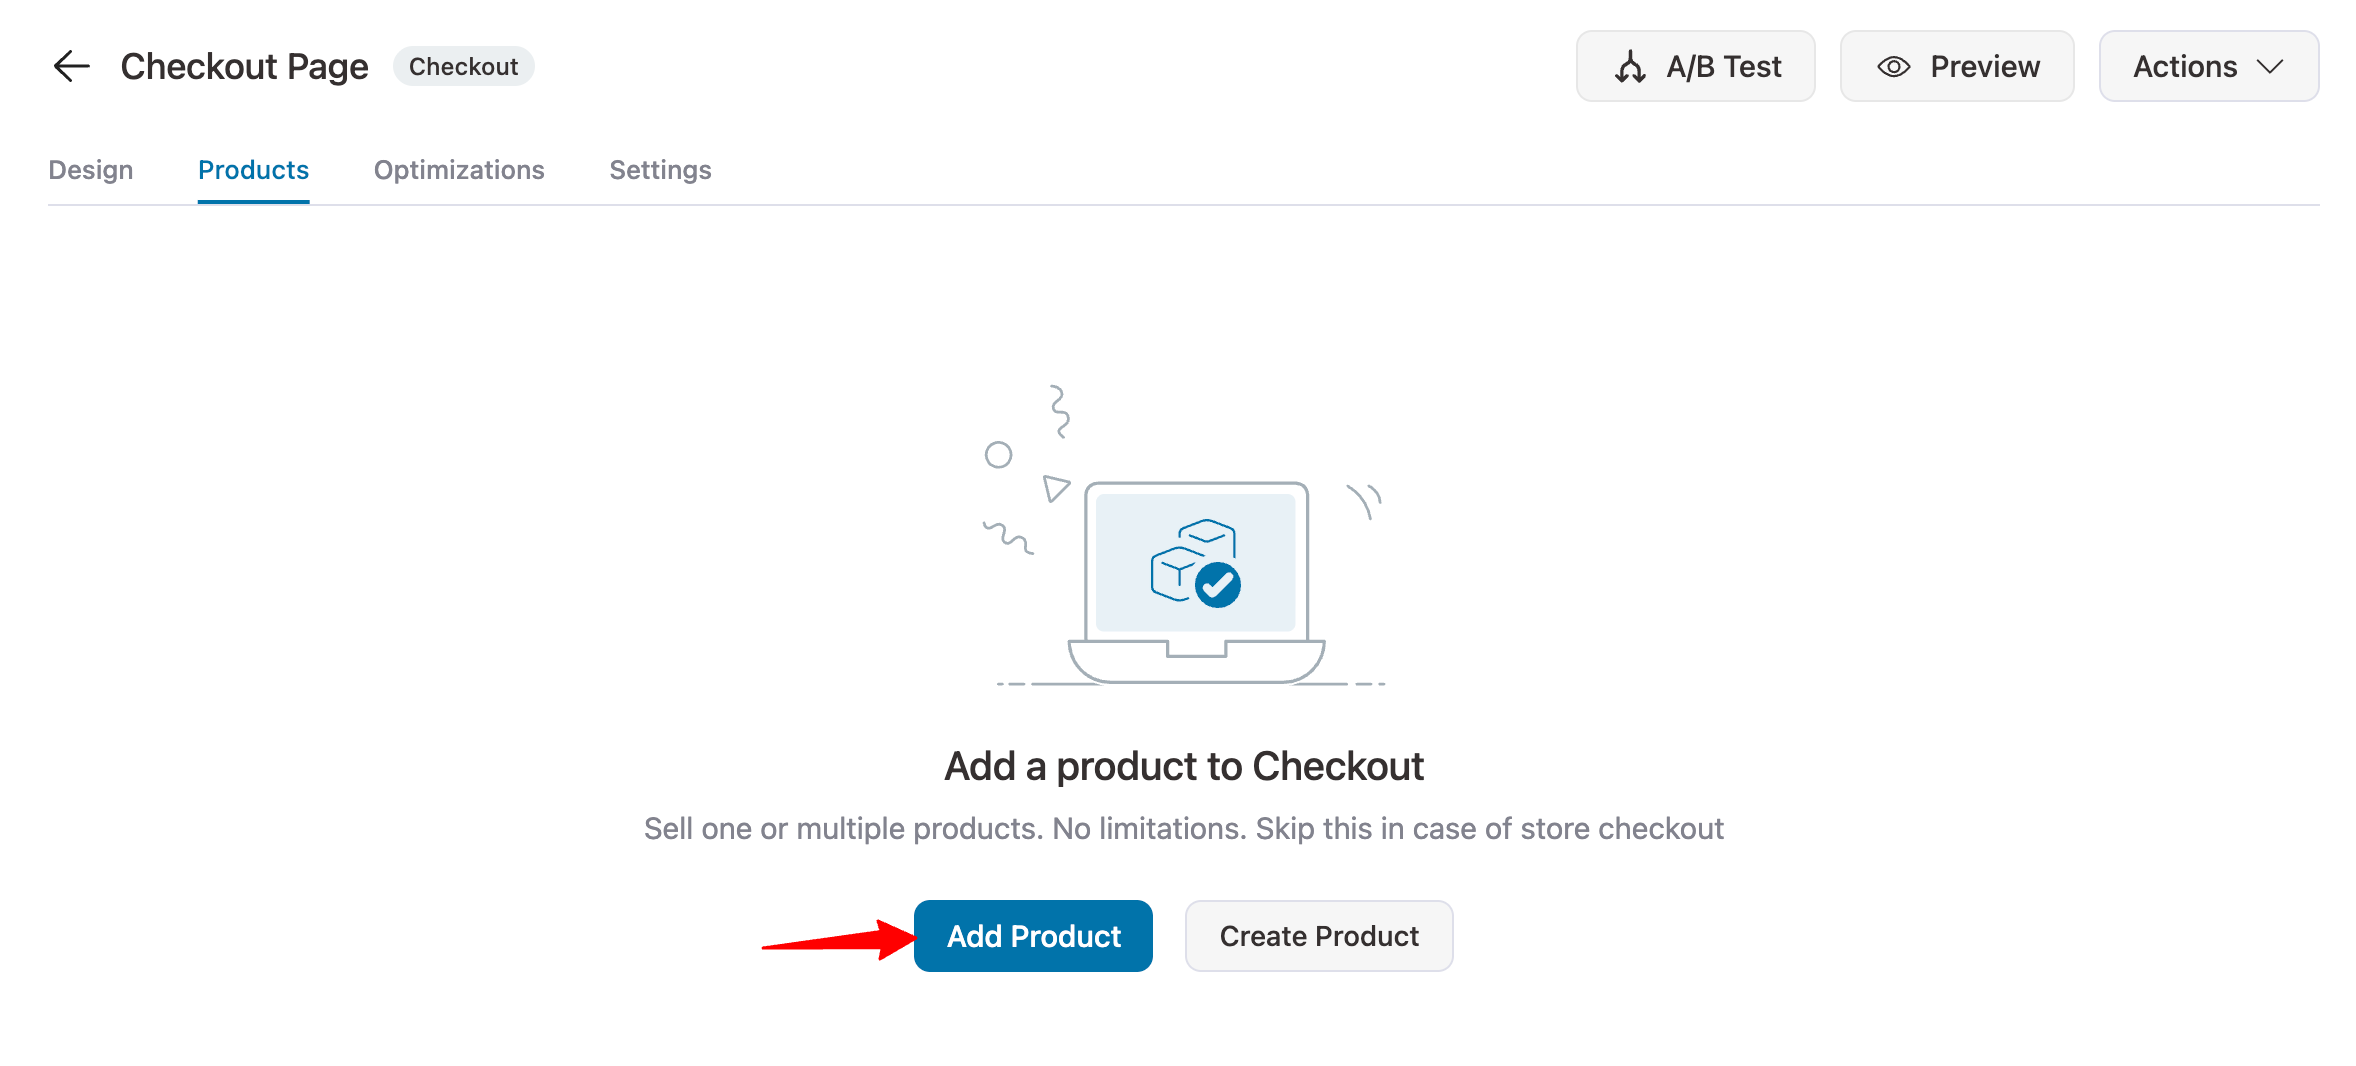
Now you need to search and add a products. You can add one or more products.

Next, configure discounts, quantities, and product selection through this intuitive interface:
Make sure to select the Product Selection Settings, which determine whether buyers can choose one product, any product, or are forced to purchase all products (e.g., single options, multiple products, or fixed bundles).
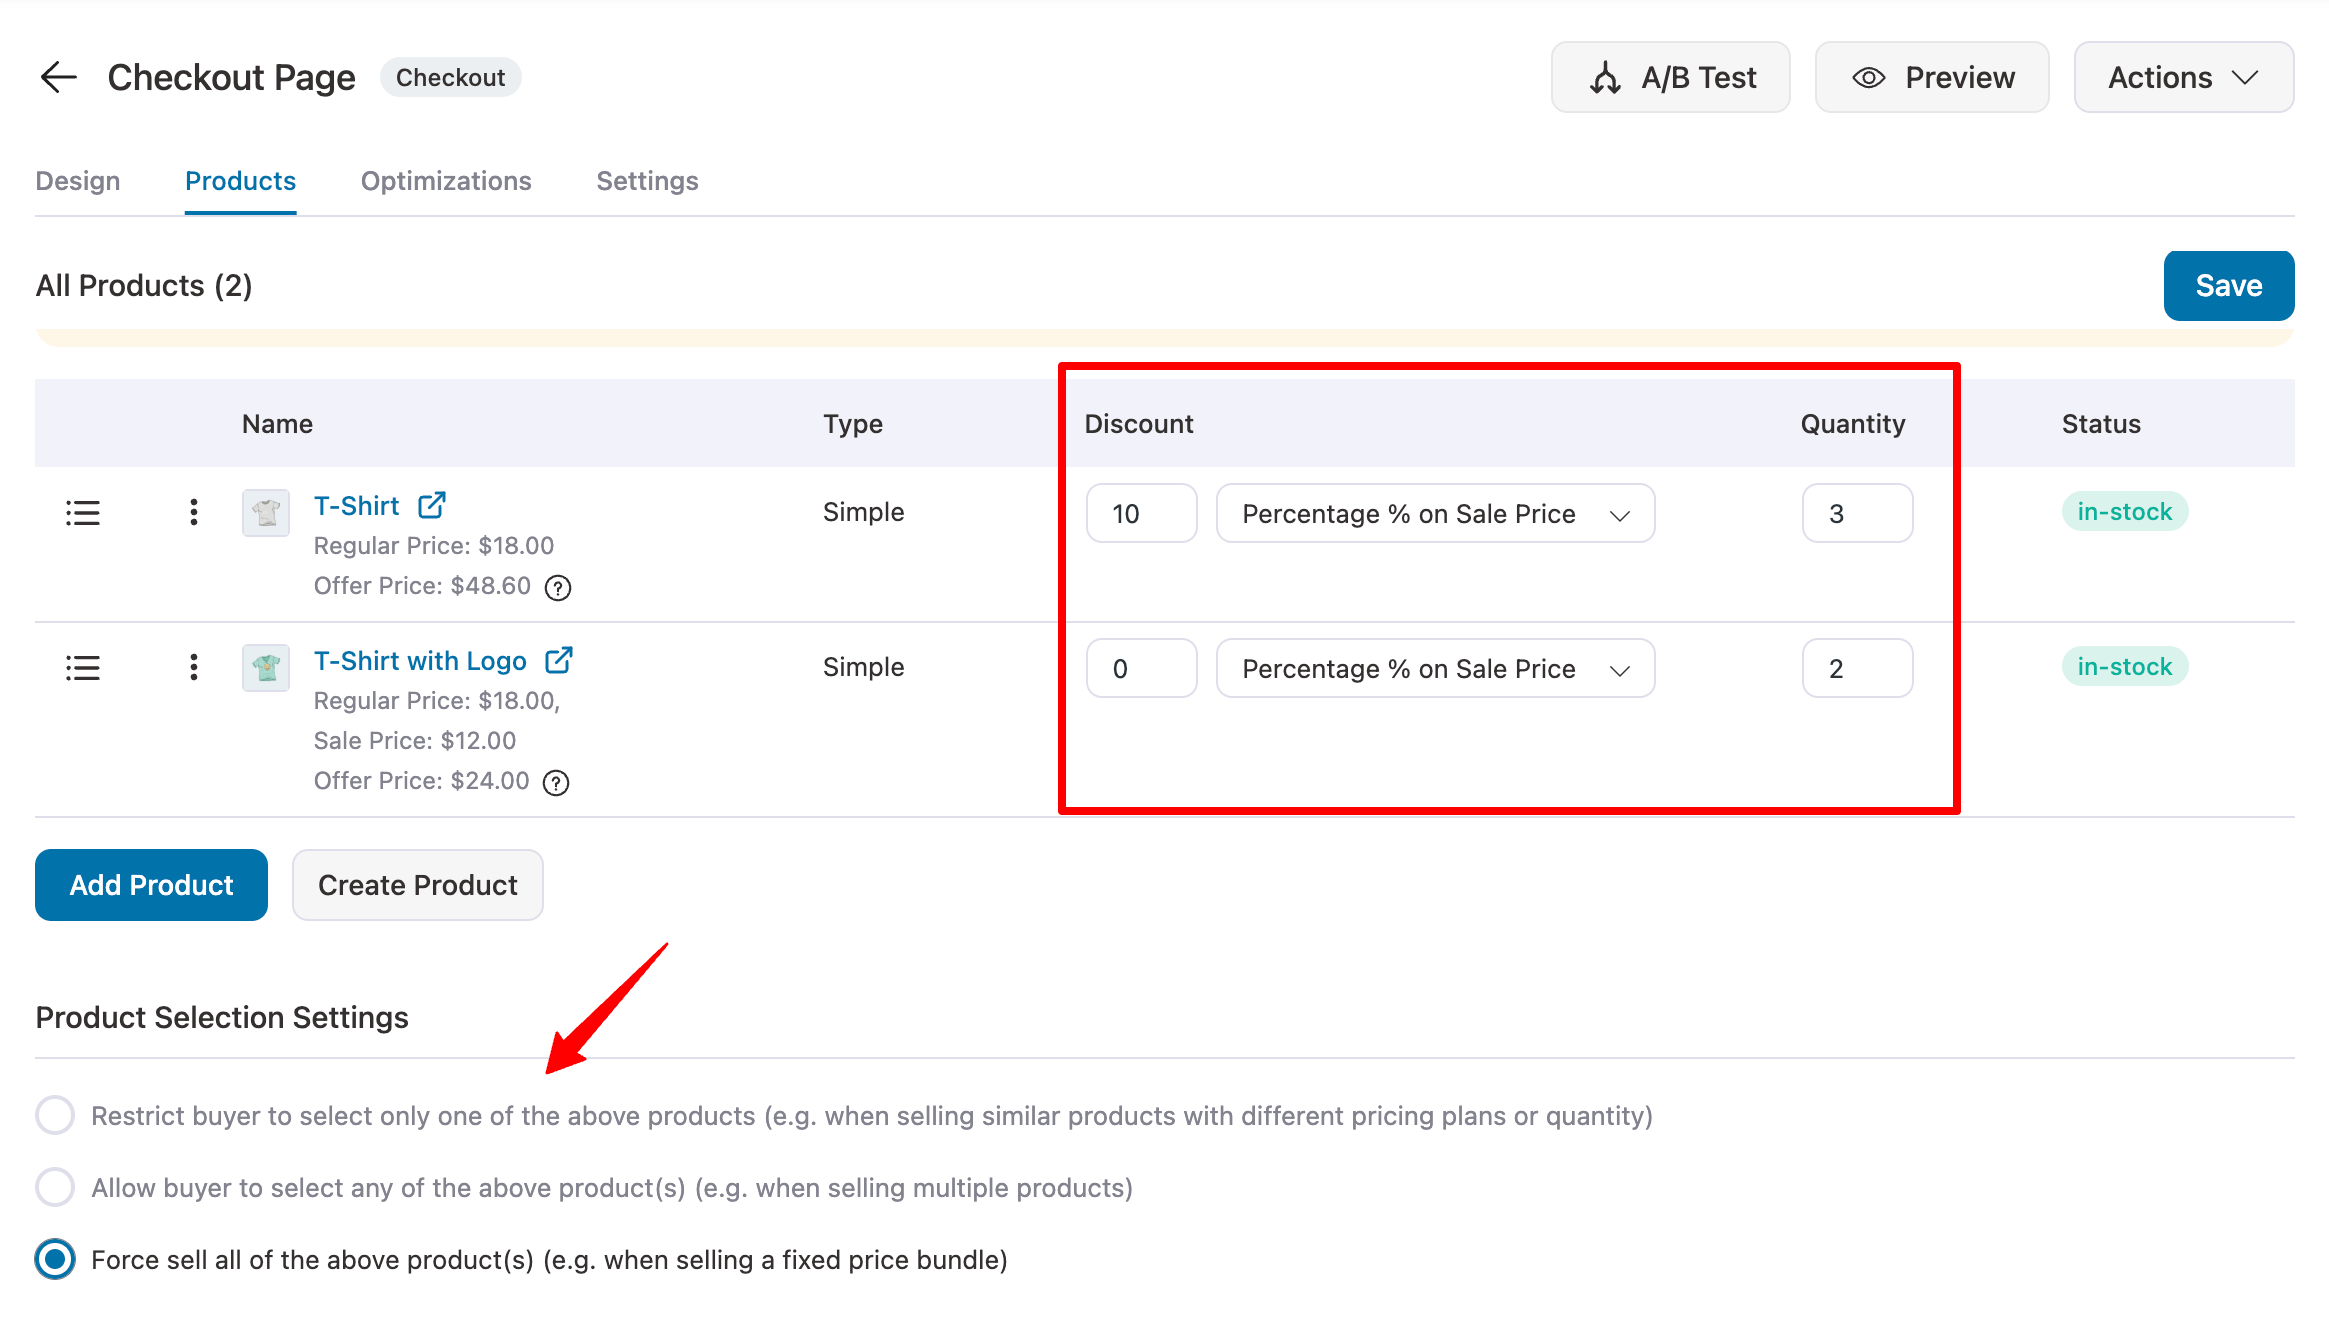
Save all the changes when you're done.
Step 5: Add an order bump
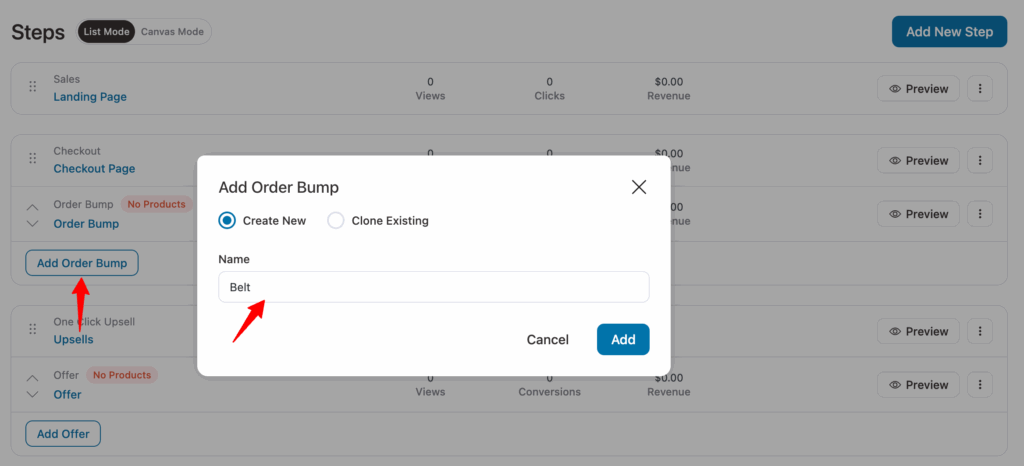
Now it's time to maximize your average order value with the order bump.
For this hit Add Order Bump, provide a name and click Add.
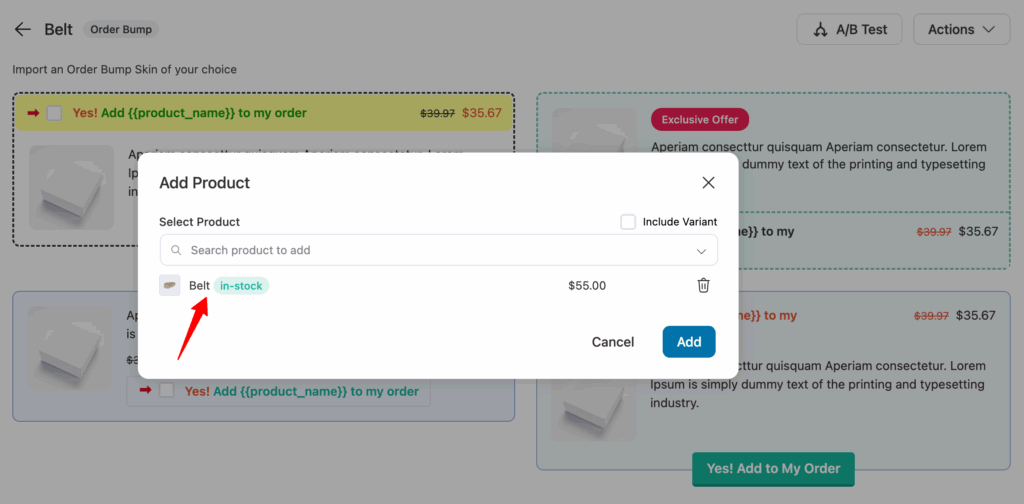
Now, choose your order bump skin by clicking Import. This will take you to the product selection for your order bump.
Next, go to the Products tab, click Add Products, search for the item you want to offer, select it, and hit Add. You can add multiple items or even variable products if you like.
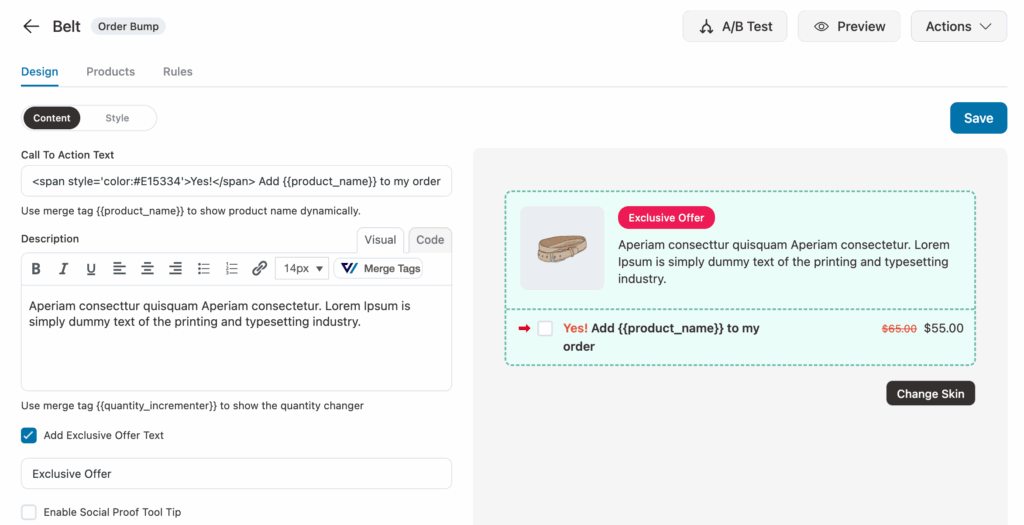
Now you customize the content and design of the order bump offer.
Step 6: Add One-Click upsell offers
You can create a one-click upsell offer tree to control which offer appears when the previous one is accepted or rejected.
To do this, simply click the Offer option.
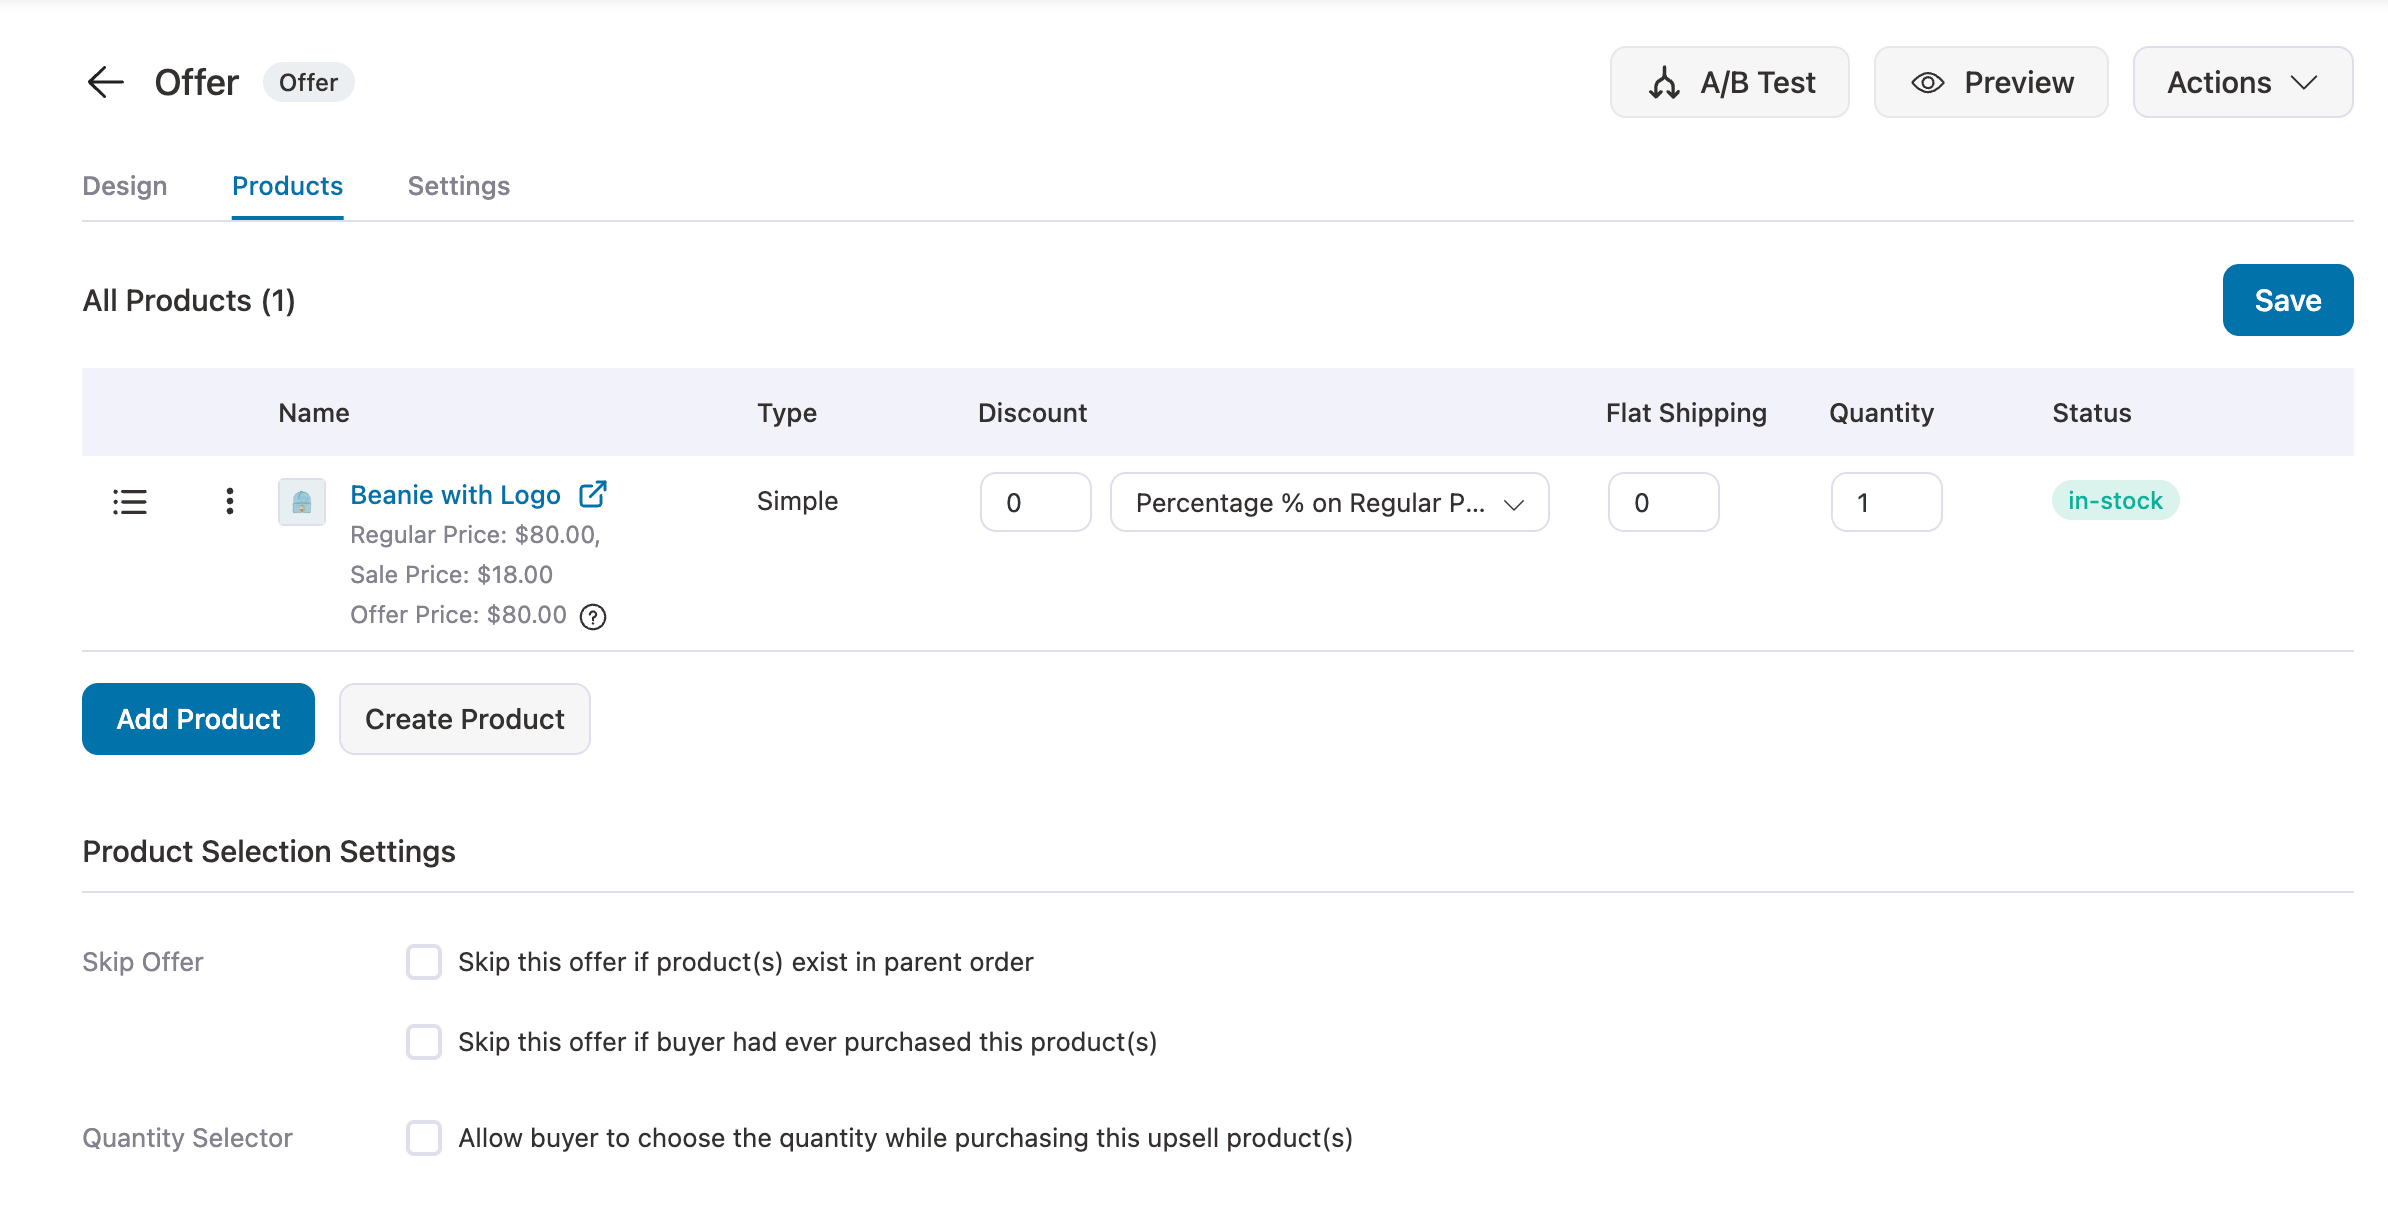
In order for your one-click upsells to get triggered, you must add products. For this, go to the Products tab and add products.
After adding the product, you can configure discounts, set quantity, and more:
That's it! You're all set to launch your first sales funnel!
Step 7: View your funnel and test it out
That's it. Your funnel is now ready to be viewed.
Click View to preview each of the pages in your sales funnel.
This is how you can easily create a new funnel with built-in templates!


