In this documentation, we’ll demonstrate how to set up the Snapchat pixel ID and add it to the FunnelKit Funnel Builder.
Follow the step-by-step instructions below:
Finding the Snapchat Pixel ID
Step 1: Go to Snapchat Ads Manager
Go to the Snapchat Ads Manager.
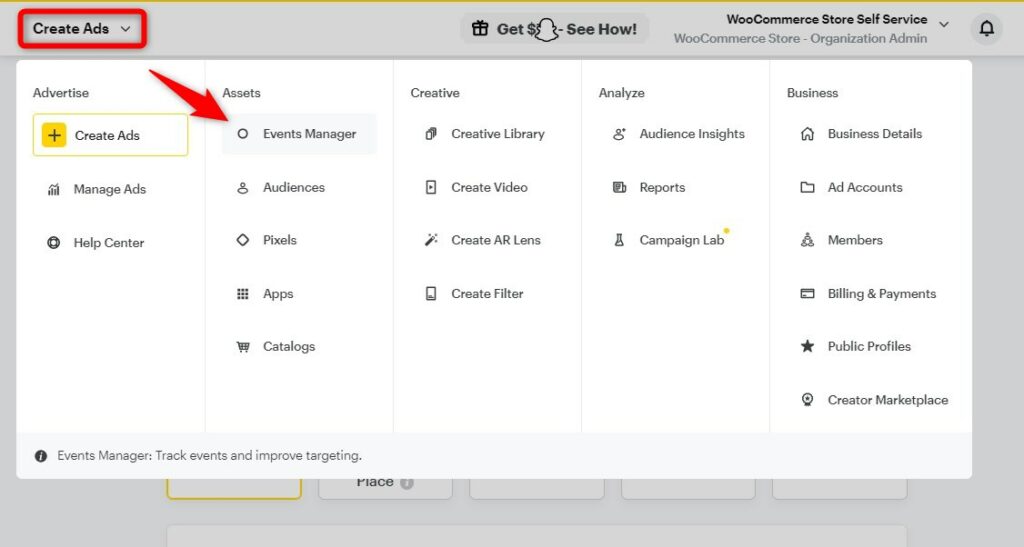
Step 2: Click on Events Manager
Click on Create Ads ⇨ Events Manager.
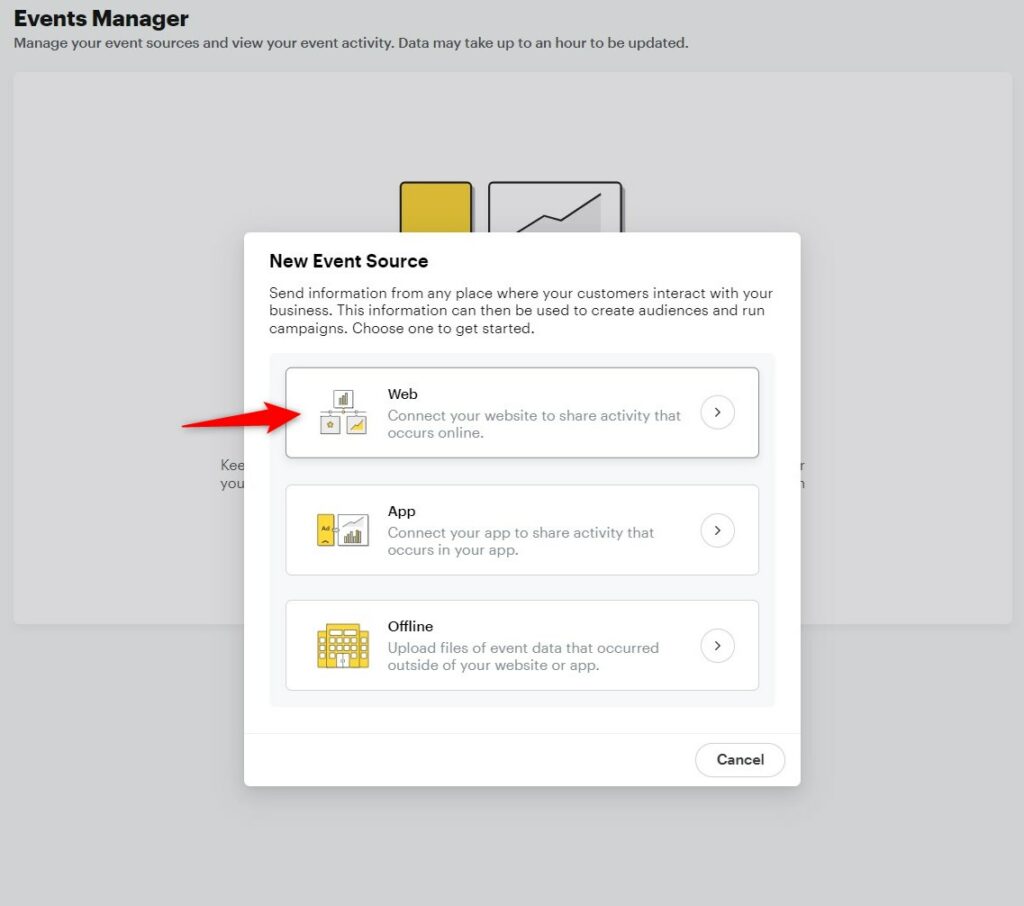
Step 3: Create Snap Pixel
Click on New Event Source.
A popup window will appear. From there, click on Web.
Next, name your Snapchat pixel and hit the Confirm button.
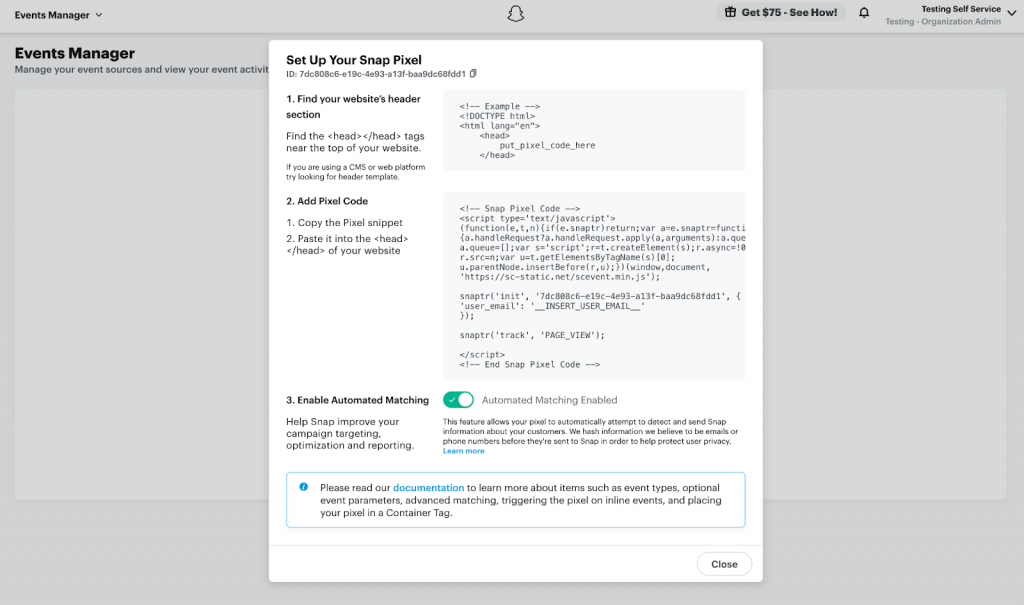
You can choose how you’d like to connect your website to start sending web events to track.
Here, we’ll be continuing with the Pixel Code.
You don't need to paste this code to your website - all you need is Snap Pixel ID.
Adding the Snapchat Pixel ID to FunnelKit's Funnel Builder
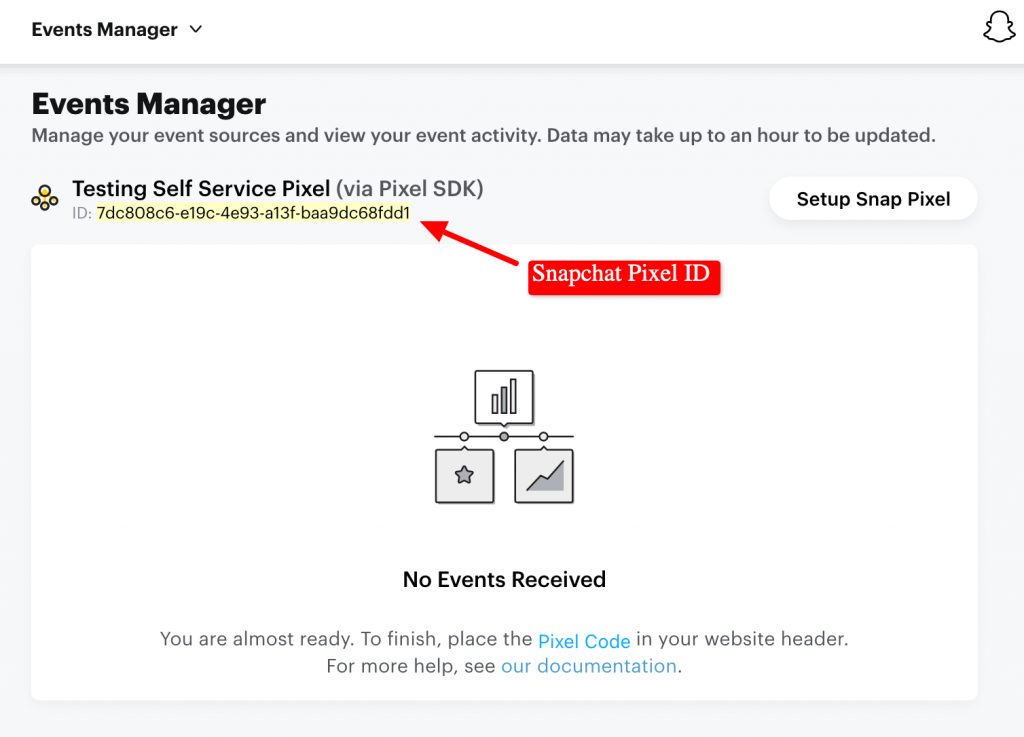
Step 1: Copy the Snapchat Pixel ID
Your Snapchat pixel ID will get created.
Copy your Snap Pixel ID here.
Step 2: Paste the Pixel ID to FunnelKit
Go to FunnelKit ⇨ Settings ⇨ Snapchat.
Click on Save Changes.
You can now track the Snapchat pixel events on your website with FunnelKit.


