In this documentation, you'll learn how to replace your default WooCommerce Checkout Page with your Funnelkit Checkout template.
You can do this by creating a store checkout.
FunnelKit allows you to set up store checkouts (Store checkout funnel) directly.
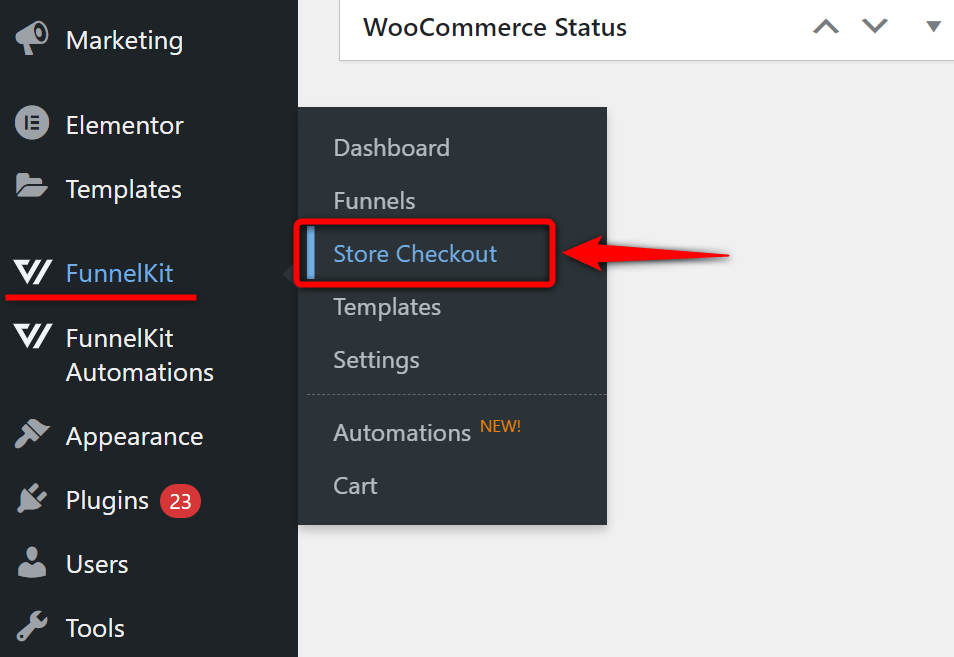
All you have to do is go to the Store Checkout section from the menu.
Now add your Checkout Page.
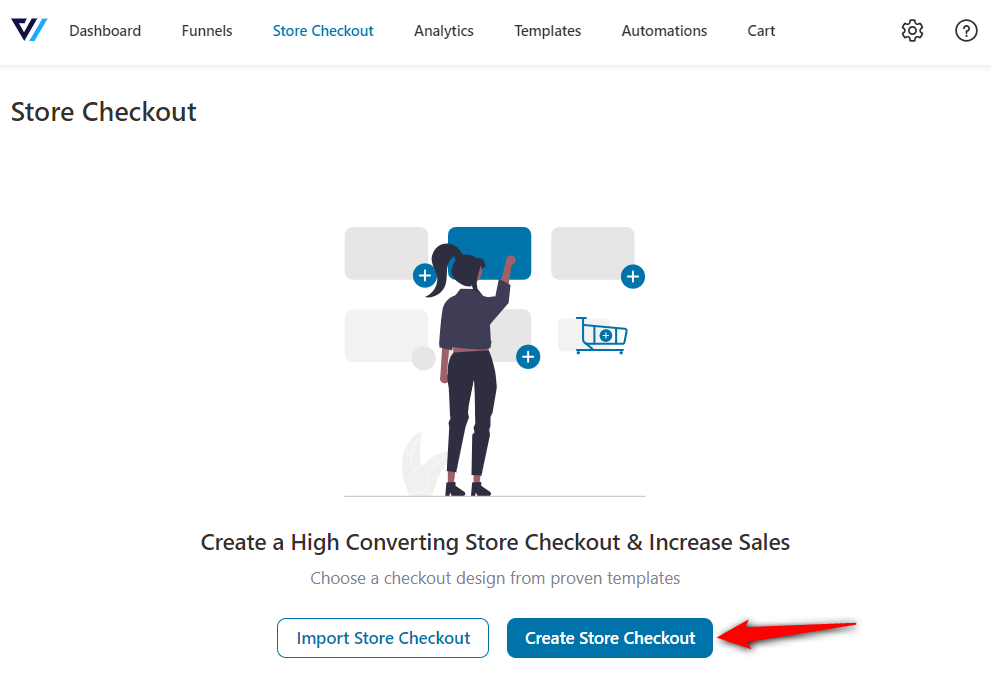
When you add a new checkout page here, it'll automatically be used as your store checkout or global checkout page.
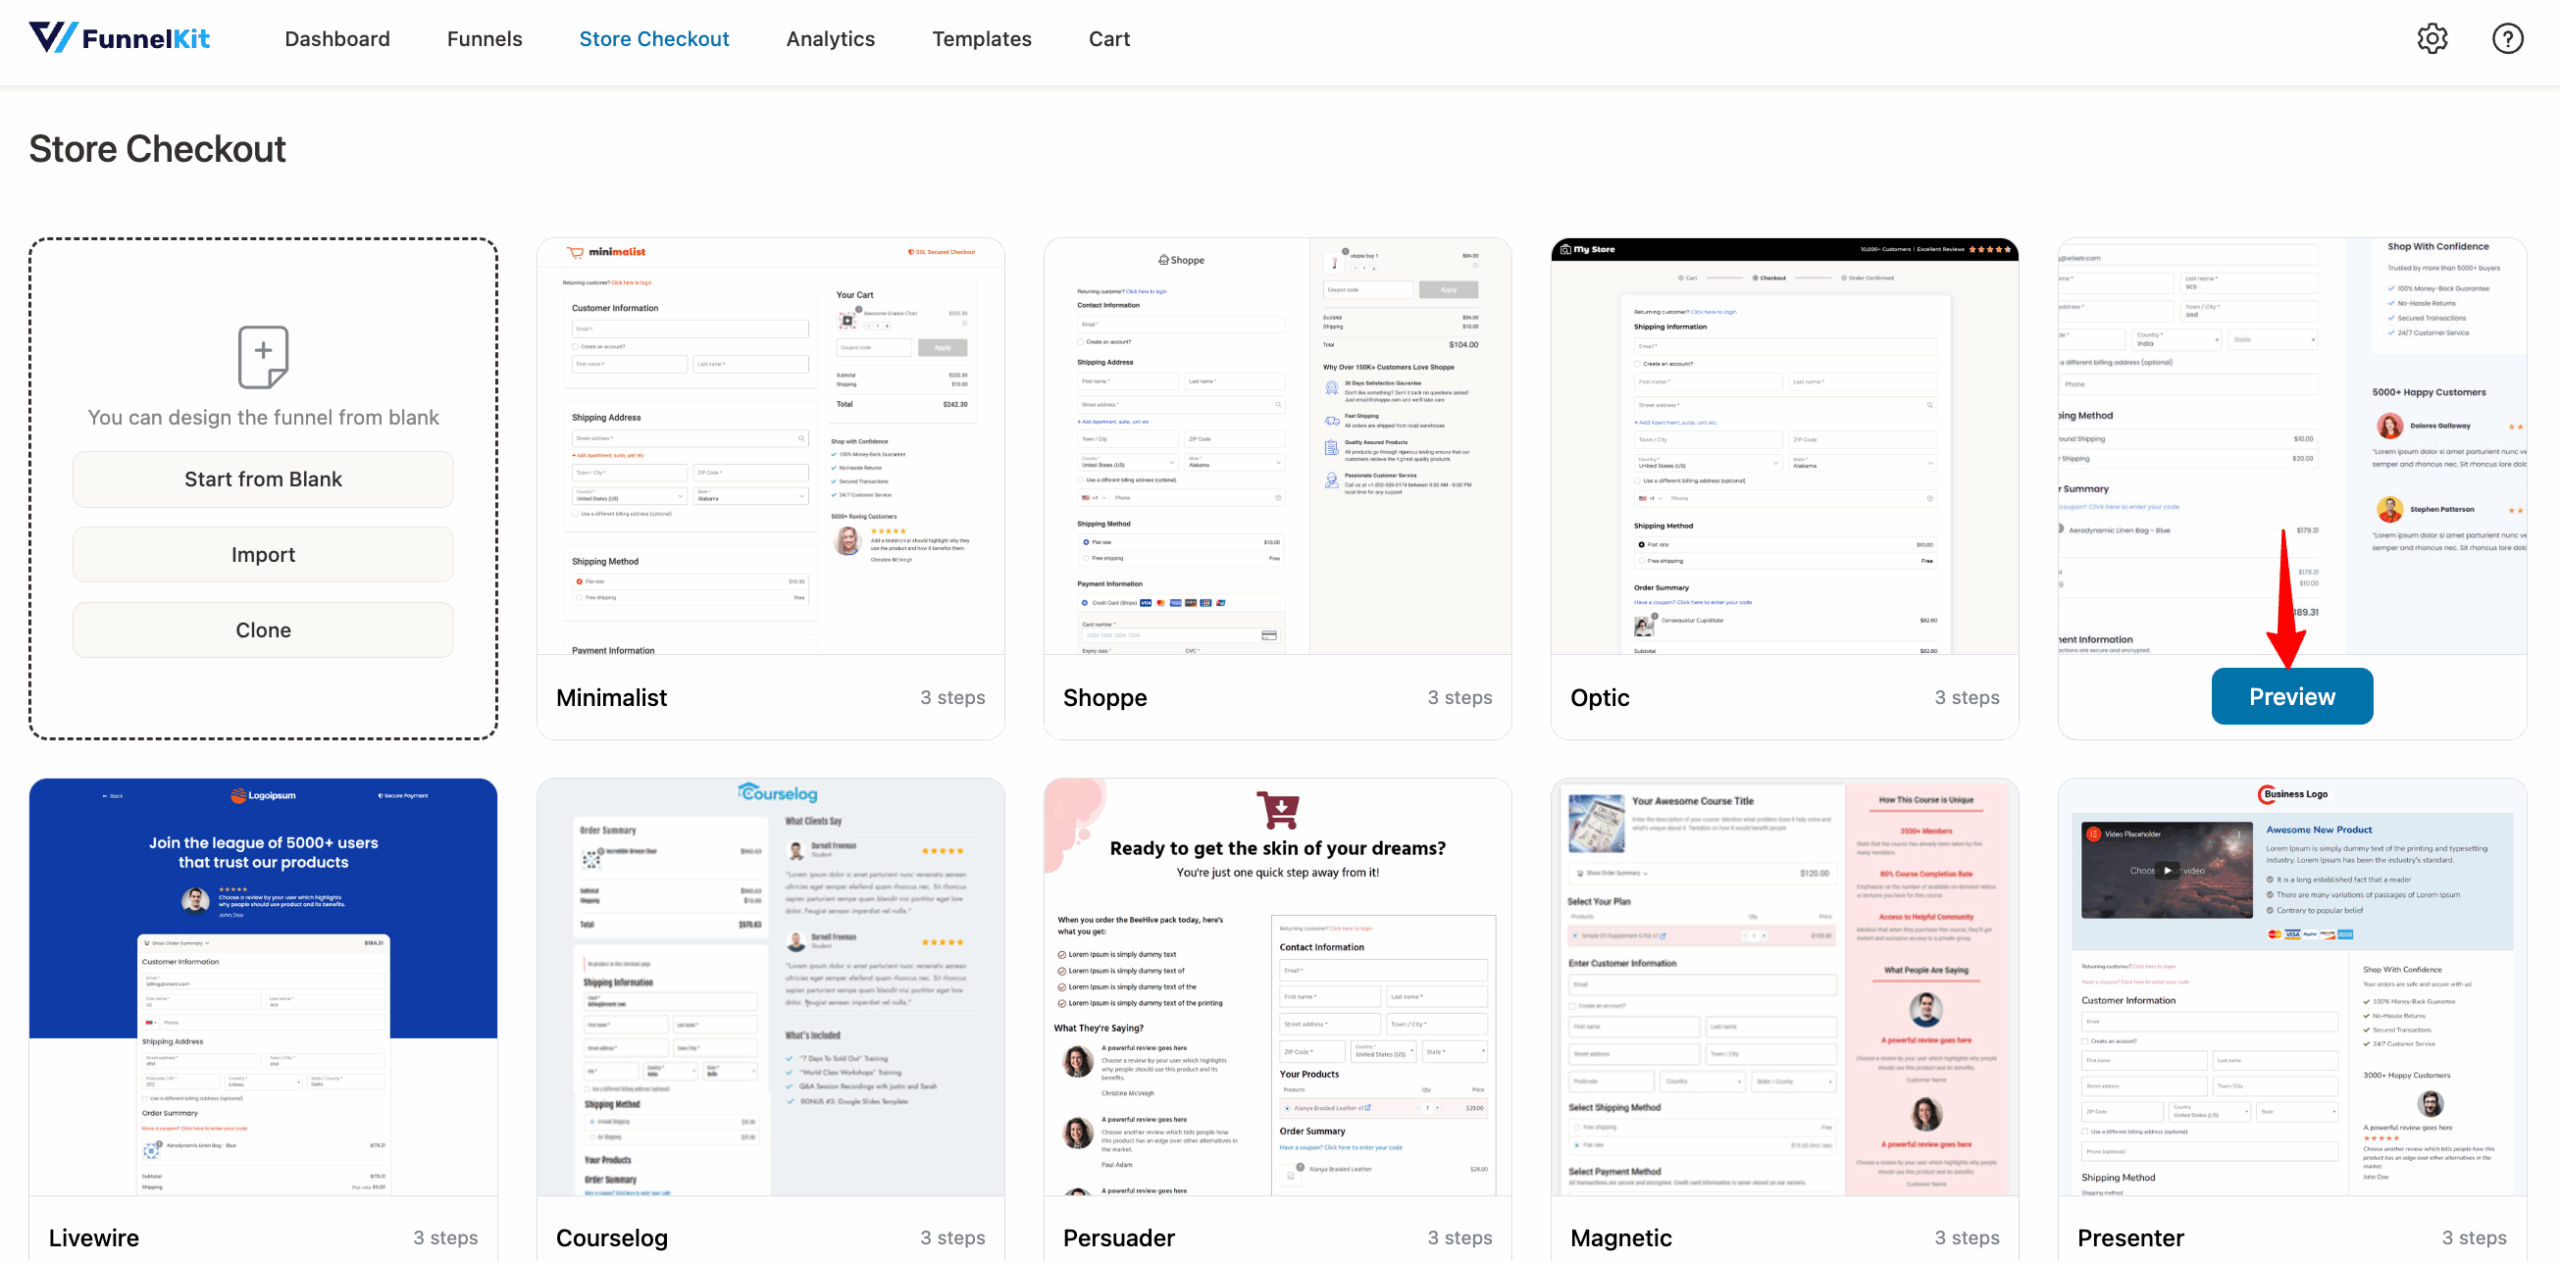
It'll redirect to the templates page.
Choose the store checkout template of your choice.
Please note that the 2-step template signifies the checkout and thank you page. While 3-step templates comprise a checkout, one-click upsell, and thank you page.
Next, name your funnel and further customize your store checkout.
Read our complete checkout customization guide to design your custom checkout page the way you want:
Once done, hit the 'Save' button.
Go back to your funnel and hit the 'Enable Store Checkout' button.
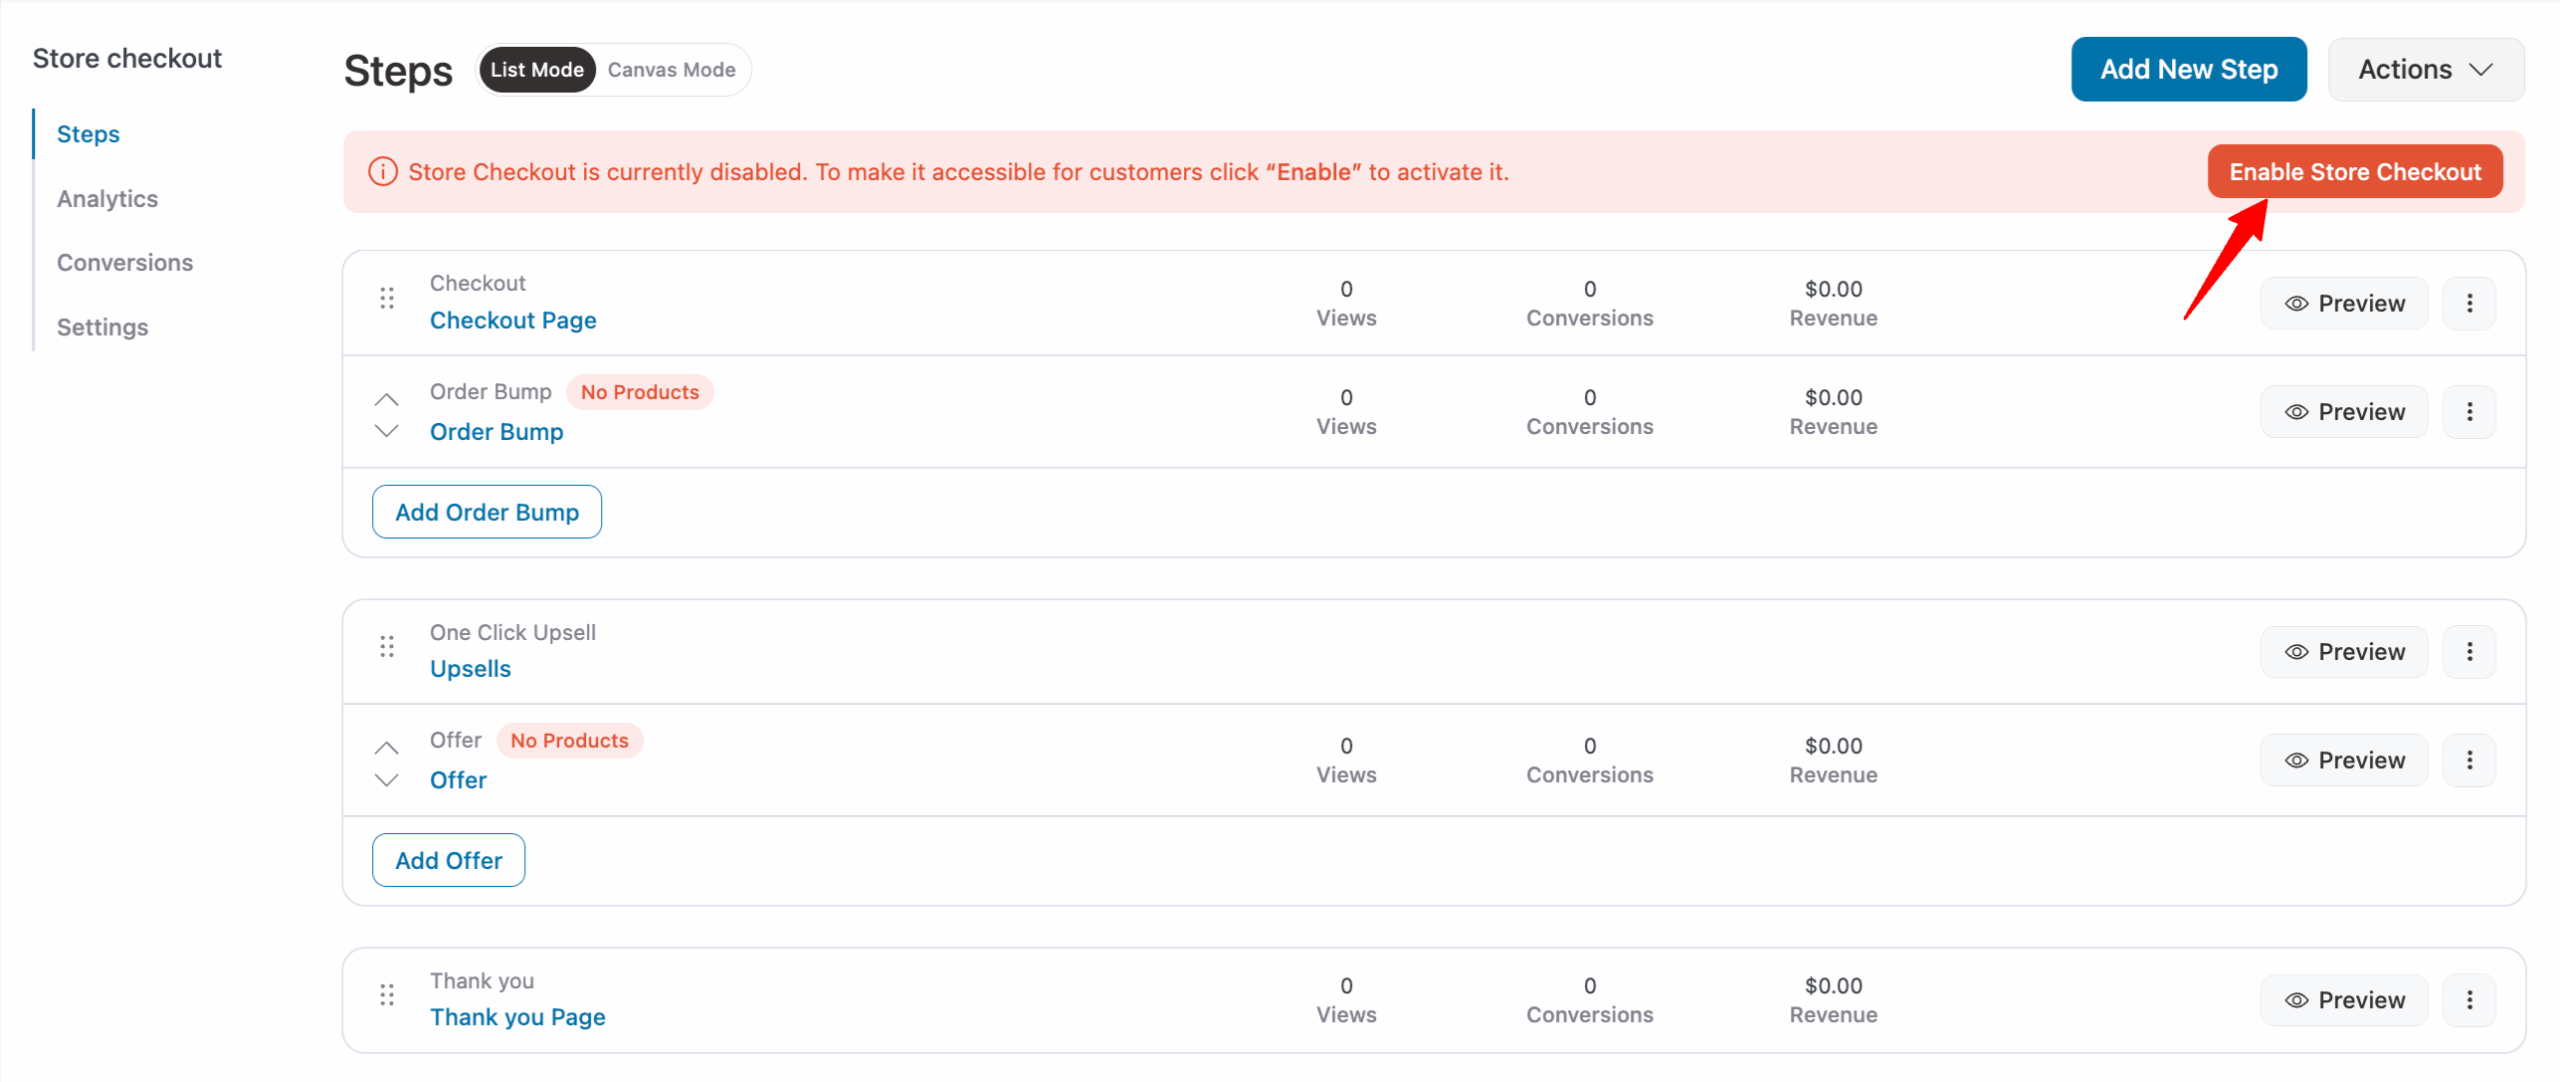
Well done! This is how you can replace the default WooCommerce checkout page with a custom Store Checkout in FunnelKit.


