In this documentation, we will help you set up the ActiveCampaign subscription plugin on your checkout page.
Step 1: Install the ActiveCampaign for WooCommerce
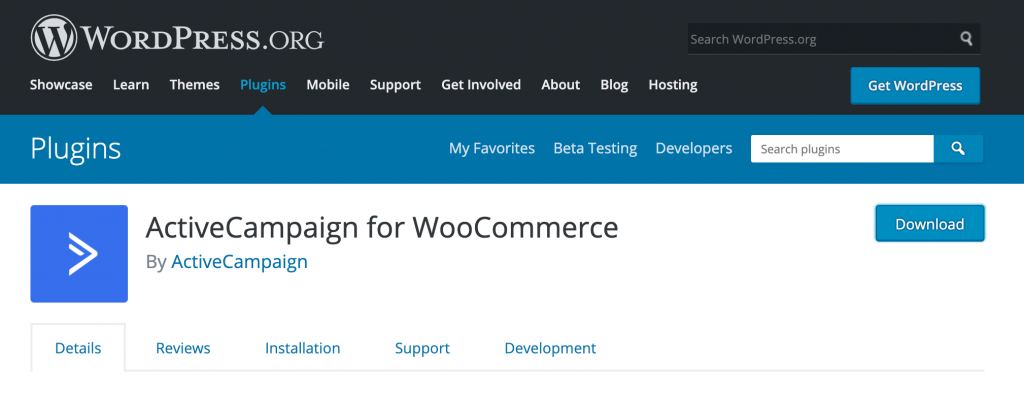
Download the ActiveCampaign for WooCommerce from here.

Install the plugin by uploading it on WordPress.

Once it is installed, click on Activate.
Step 2: Configure ActiveCampaign for WooCommerce
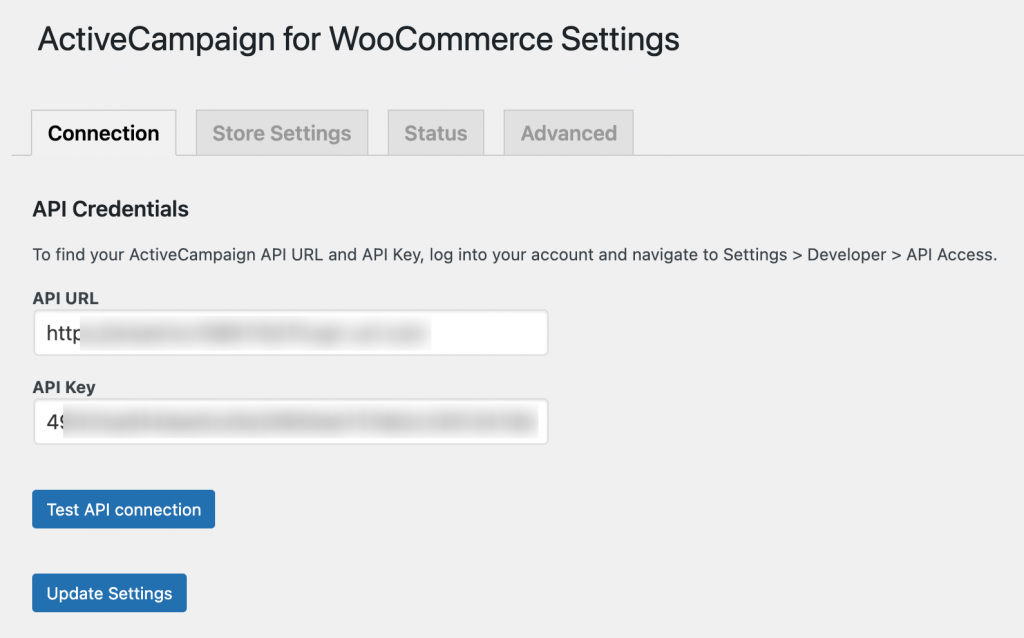
Go to the plugin you’ve installed and configure it from your end.
Enter the API URL and Key from your ActiveCampaign account. Go through the other options as well.

Once done, click on Update Settings.
Step 3: Drag and drop it on the checkout form
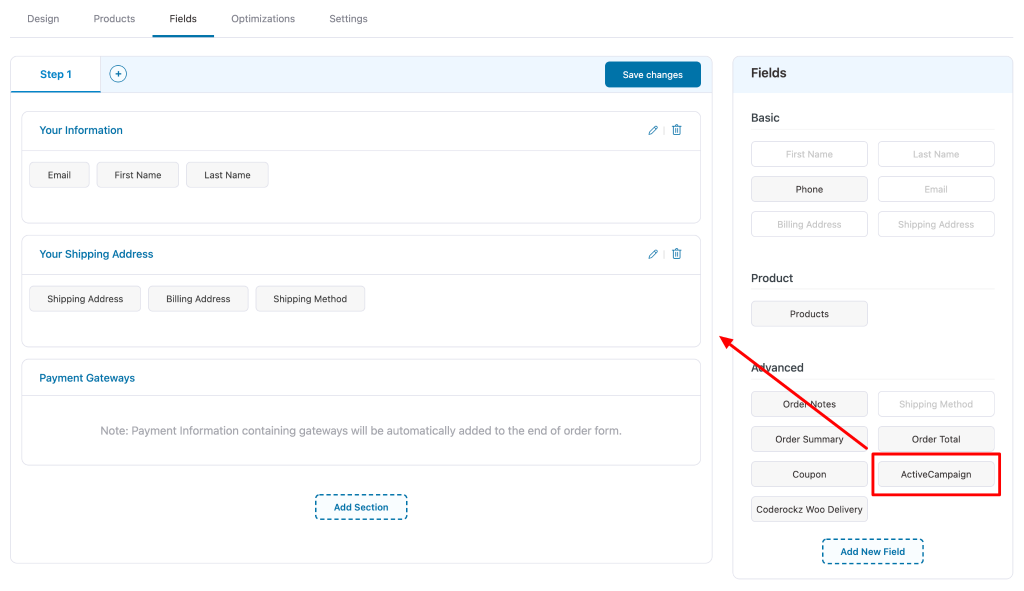
When creating your checkout page with FunnelKit (formerly WooFunnels), go to the Fields tab.
Here, you can drag and drop the ActiveCampaign into existing sections or even create a new one for it.

Once done, click on Save changes.
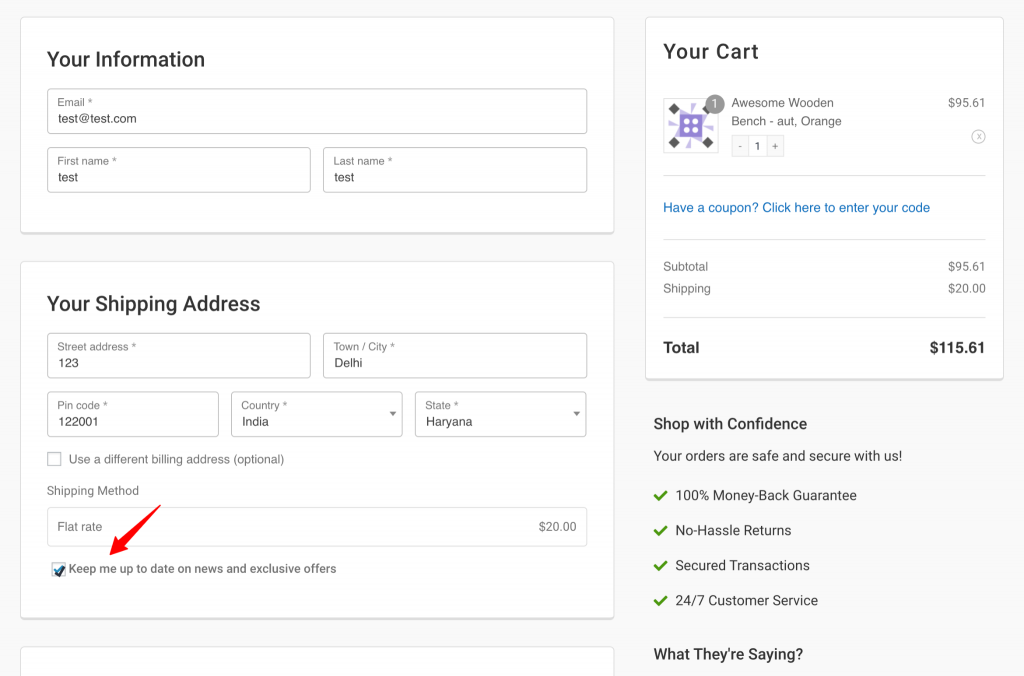
This is how it will appear on the checkout page:

Well done! You have successfully enabled the ActiveCampaign newsletter option on your checkout page using FunnelKit (formerly WooFunnels).


