


Mini cart is the other major module of a checkout form.
Divi lets you customize the heading shown on top of your cart and the products displayed. It even lets you add another coupon option to your cart.
Let’s discuss how to customize the mini cart on your checkout page:
Step 1: Heading
The heading is what you see at the top of your cart. You can change what it says under the Content tab.
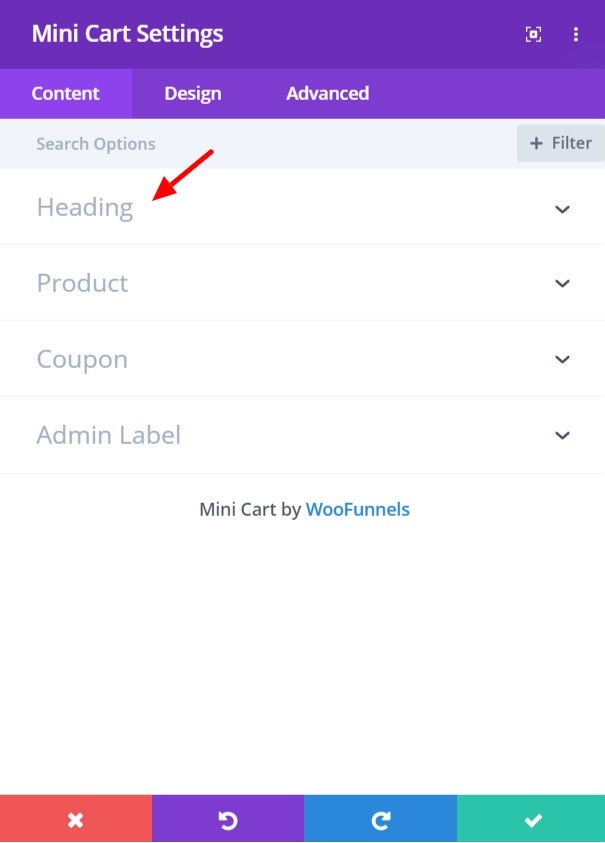
You can also change the color and typography of text from the ‘Design’ tab.
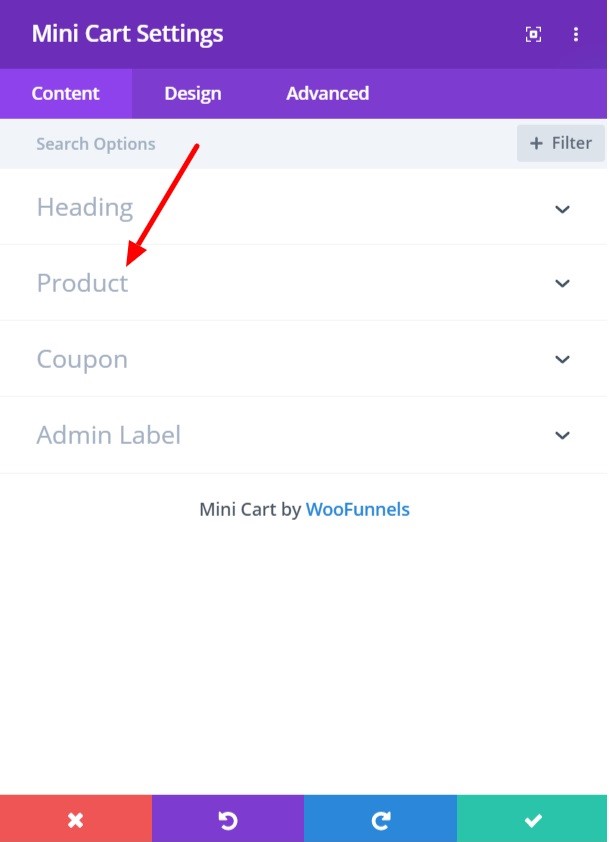
Step 2: Product
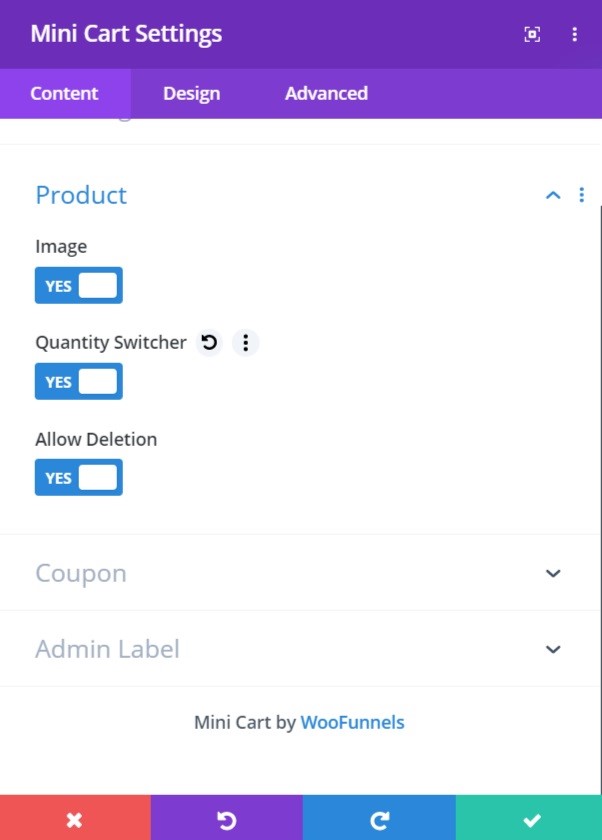
The product section would help you choose the way you wish the products to be displayed to the customers.
You can click on the toggle to choose if you wish the image of the product to be shown or not.
It also lets you enable the shoppers to amend the quantity of the products in the cart and to delete an already added product.
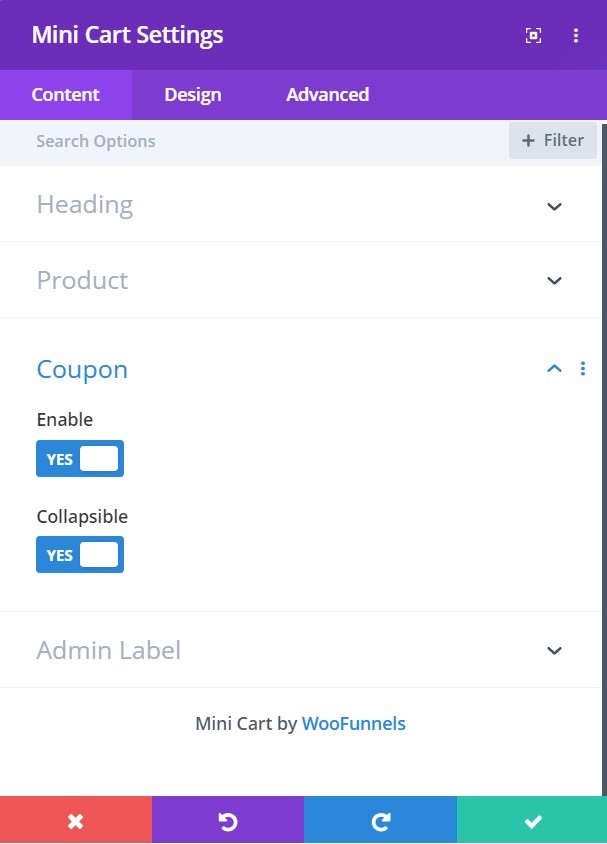
Step 3: Coupon
You can also add the space to enter a coupon code in your mini cart. To enable the same, you need to click on the toggle button.
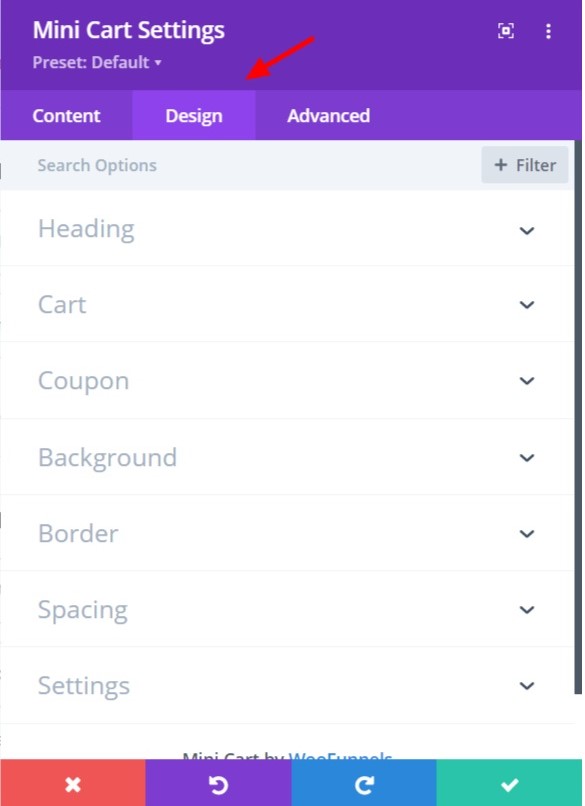
Step 4: Design the Mini Cart
Just like with the Checkout form, you have the option to style the cart to your liking.
From changing background to typography, from spacing to borders, all can be customized under the ‘Design’ tab in the Mini Cart Settings window.
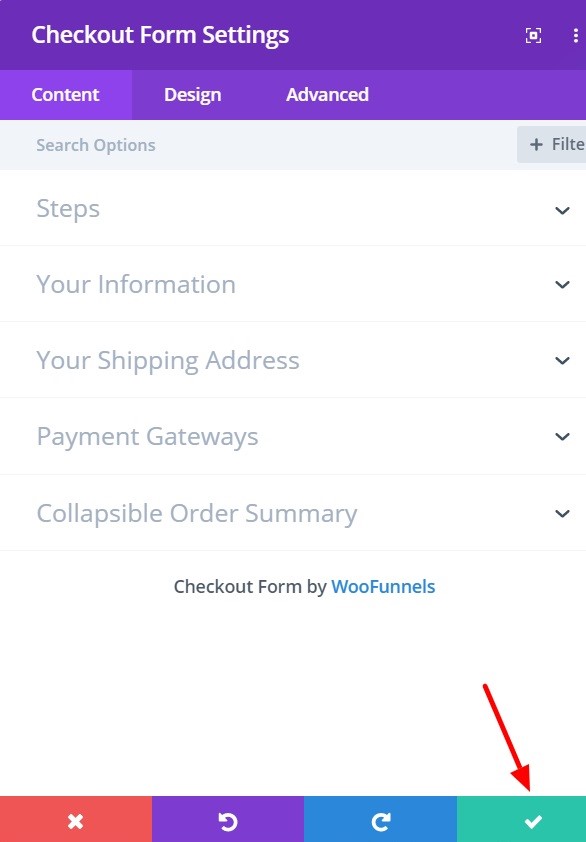
Step 5: Click on the green tick (✓) to save
Once you’re done editing, click on the green-colored tick (✓) icon on the bottom right of the settings window to save the changes made.
Your cart is all ready for use!
You can also style up each of these sections from the ‘Design' tab, and make the cart more in line with the rest of the checkout page.