In this section, you'll learn how to create product-specific dedicated checkout pages.
Product-specific checkout pages let you highlight and promote a specific item.
You may sell one or more products using this checkout page.
Let’s see how to set up a product-specific checkout page.
Step 1: Add a New Sales Funnel
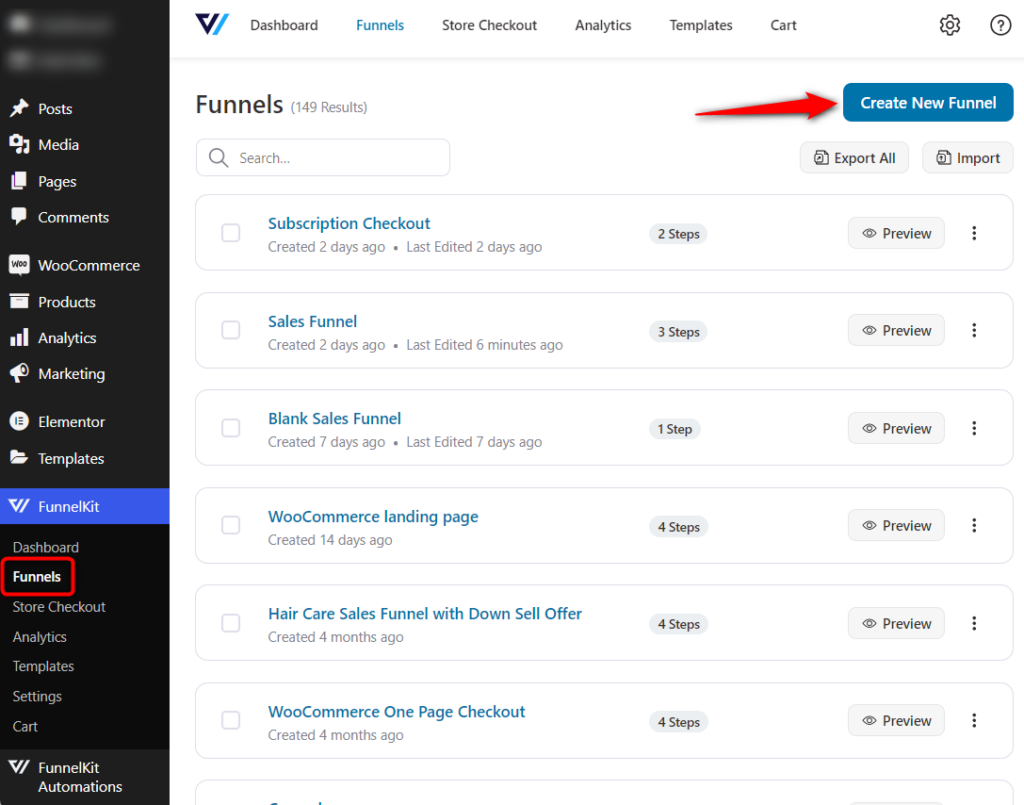
Go to Funnels and click on the 'Create New Funnel' button.
Here, you can choose the template of your sales funnel steps.
You'll get a few different ways to build your checkout page - Elementor, Divi, Gutenberg, Oxygen, Customizer, and others using shortcodes.
Based on the method you choose, you'll be able to see different templates to pick from.

Click on any template to see their previews.
Once you're satisfied with everything, hit the 'Import This Funnel' button and name your funnel to import.

Click on the Done button to create this sales funnel.
Step 2: Customize Your Checkout Page Template
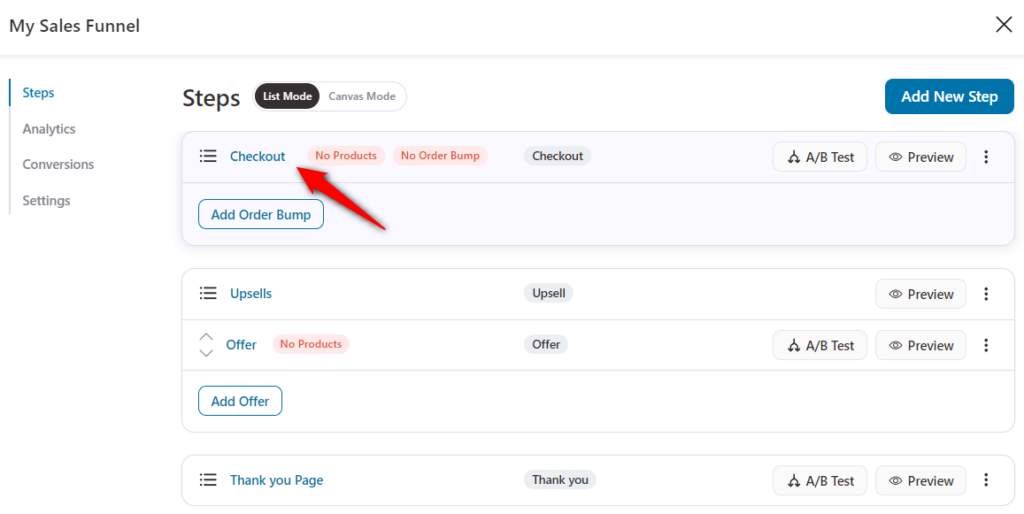
Click on the checkout page name to start customizing it.
It'll take you to the Design section and click on the Edit Elementor Template to begin designing your checkout page with Elementor.
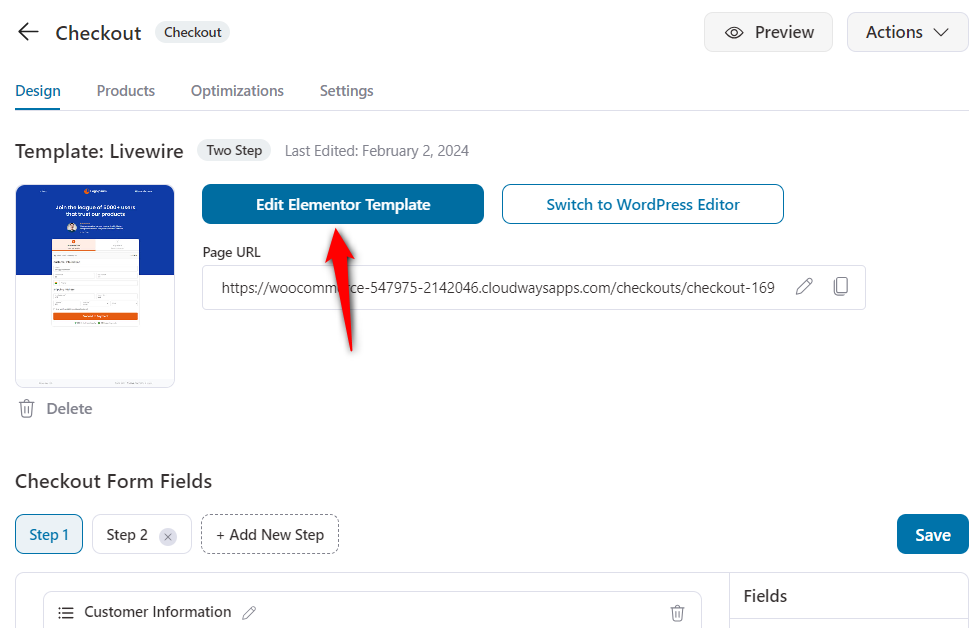
To customize your checkout page, go to our Design documentation.
Step 3: Customize your Checkout Form Fields
The Funnel Builder Checkout provides you with a full-blown checkout form builder.
Go to the ‘Design’ tab and scroll down to the Checkout Form Fields:
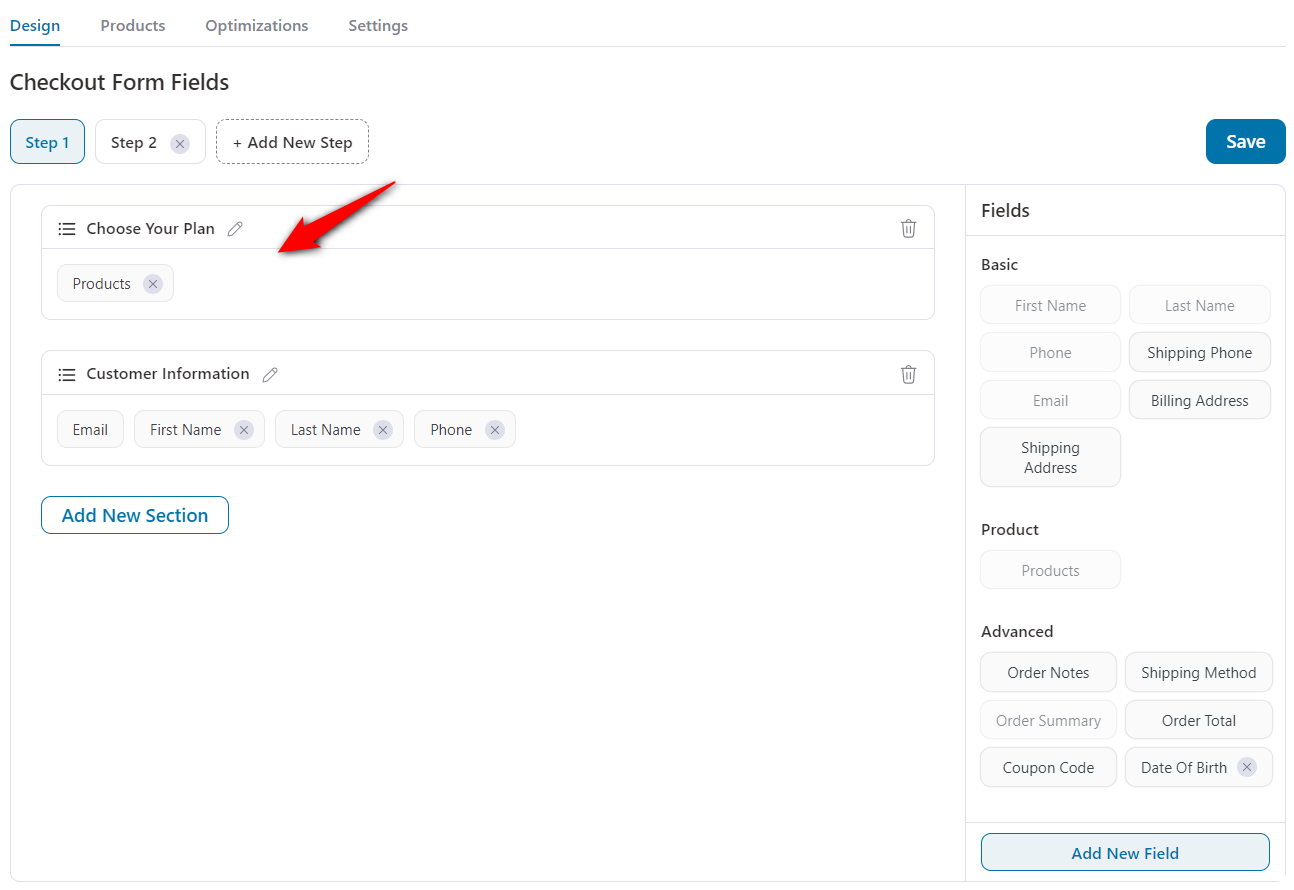
Here you can customize the checkout form fields.
Add new sections, drag and drop fields in them, edit, re-order or delete them based on your requirements.
When you’re adding a new field there are 12 input field types to choose from that include radio button, checkbox, and many more.
In addition, you can use the drag-and-drop functionality to place your fields under any section you want.
Hit the 'Save' button and proceed further.
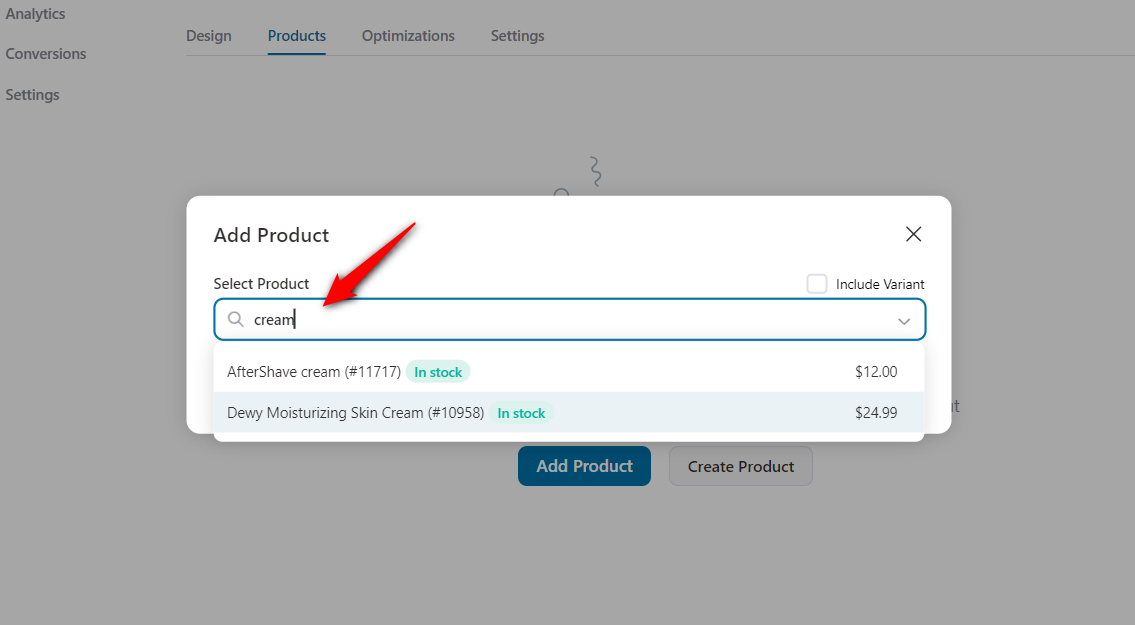
Step 4: Add Product(s) to Your Checkout
Once you've selected a design for your product-specific checkout page, navigate to the 'Products' tab.
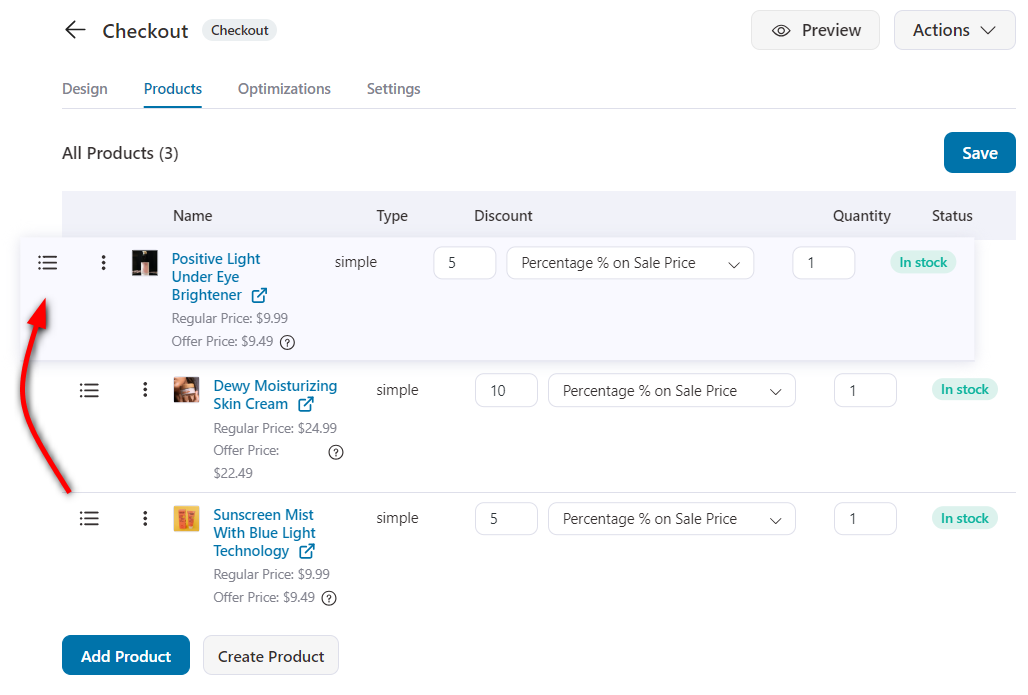
Here add the product(s) that you want to sell through this checkout page.
Drag and drop the products in case you wish to change the order to display them on the checkout.
Step 5: Optimize your Checkout for Higher Conversions
In the dedicated 'Optimizations' tab, there are several options to optimize your checkout page for more conversions.
Click on the 'Optimizations' tab:
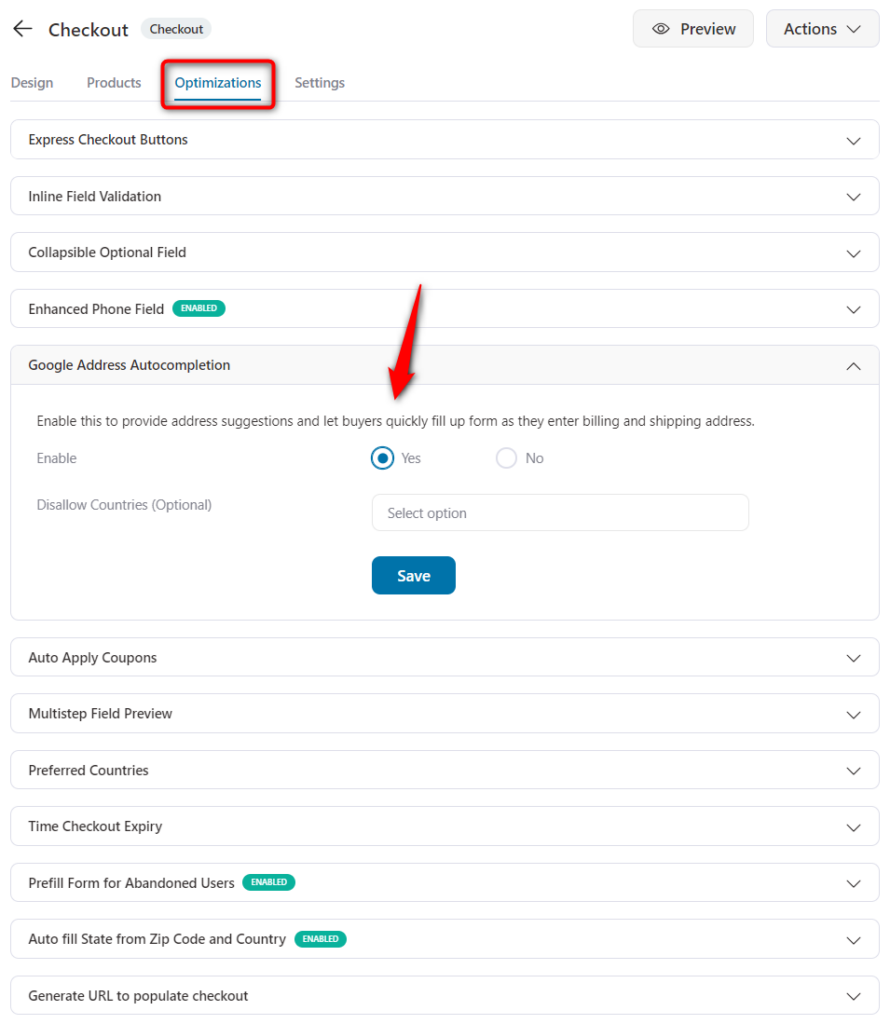
Here you'll find interesting optimization options like Google Address Autocomplete, Auto-Apply Coupons, Express Checkout Buttons such as Google Pay and Apple Pay, and lots more.
They help make your checkout pages frictionless and high-converting.
Once you've enabled optimizations for your checkout page, hit the 'Save' button.
There you go your product-specific checkout page is ready to collect orders!


