Users often find it tedious to type in their address at the checkout, especially on mobile.
The small screen size and frequent mistypes lead to costly failed deliveries and hampers the customer-buyer relationship.
Google Address Autocomplete is a solution to this problem.
When users enter the first few characters of their address on the checkout form, Google offers potential address suggestions in a drop-down menu.
Users can simply choose one, and the rest of the addresses will be automatically filled out.
The FunnelKit Checkouts lets you enable Google Address Complete to speed up and make the checkout process friction-free for prospects.
Broadly, there are two steps to set this up in Checkout:
- Purchasing a Google Maps API Key/ Getting the API Key
- Linking the purchased API key with the Checkout
Follow the steps mentioned below. Please note that the UI may change.
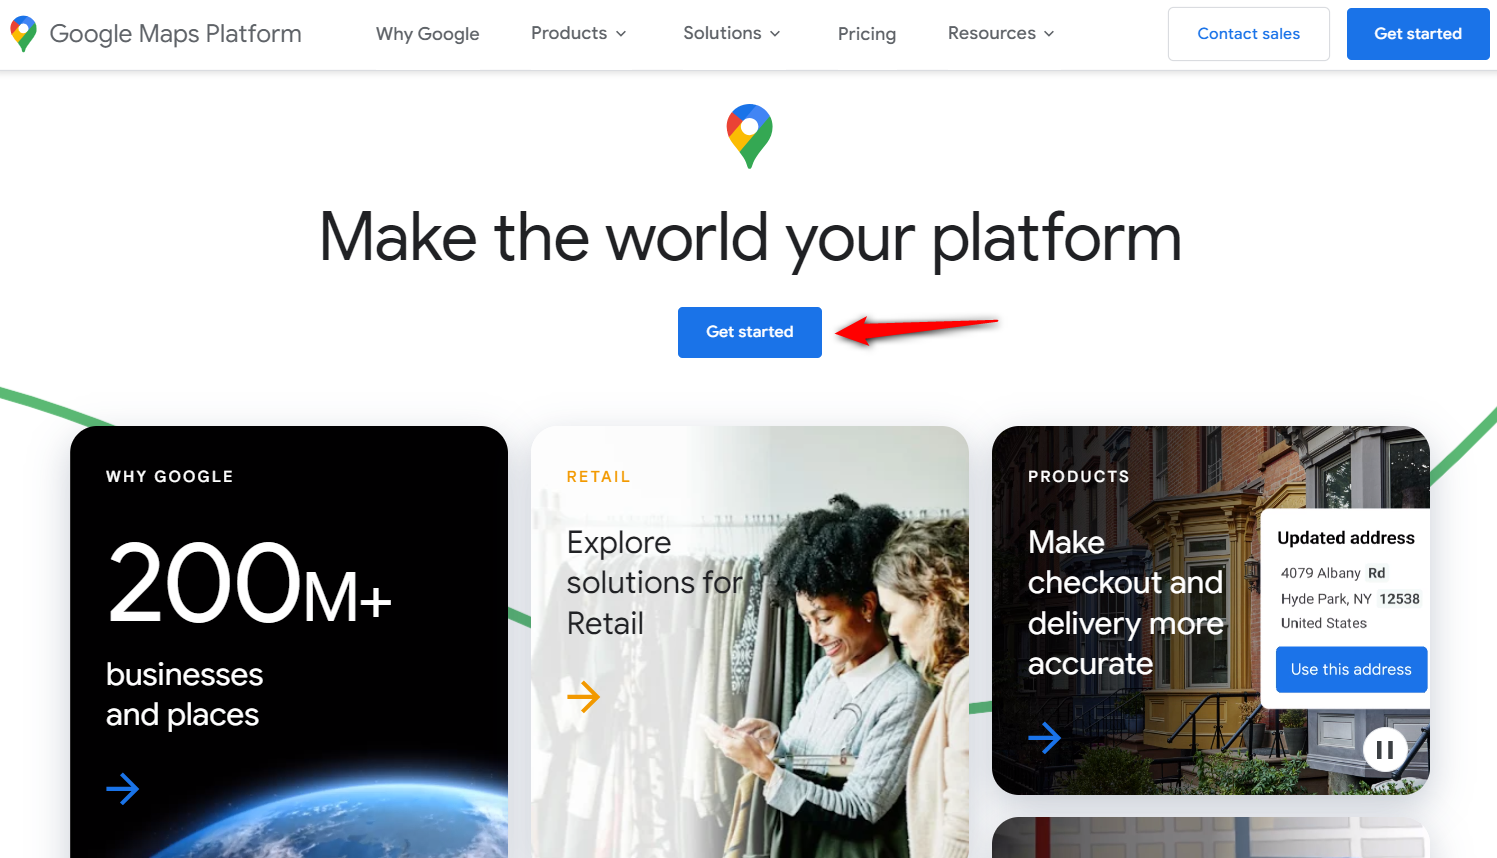
Step 1: Enable Google Maps Platform
Navigate to the Google Maps Platform and click on the 'Get Started' button in the top right corner of the site.
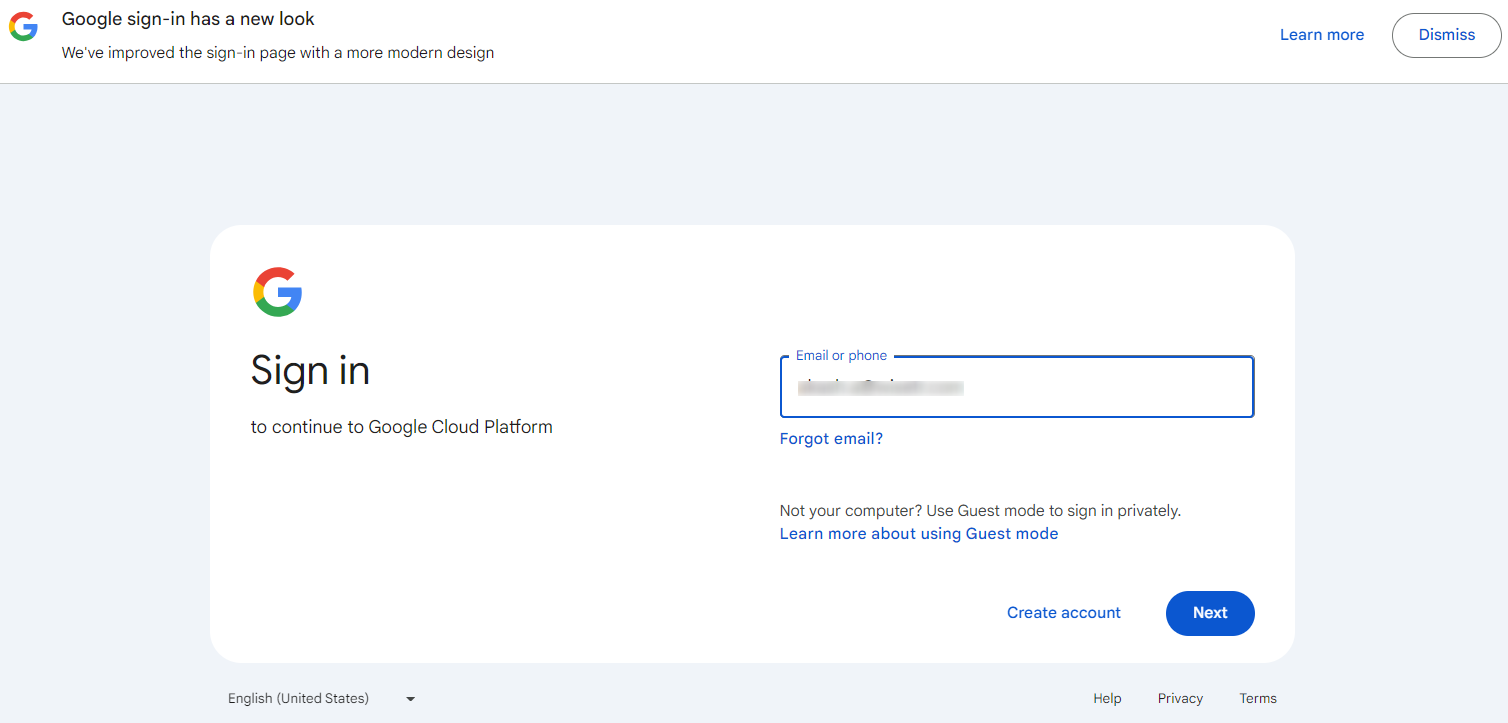
Sign in to your Google account by entering your login credentials.
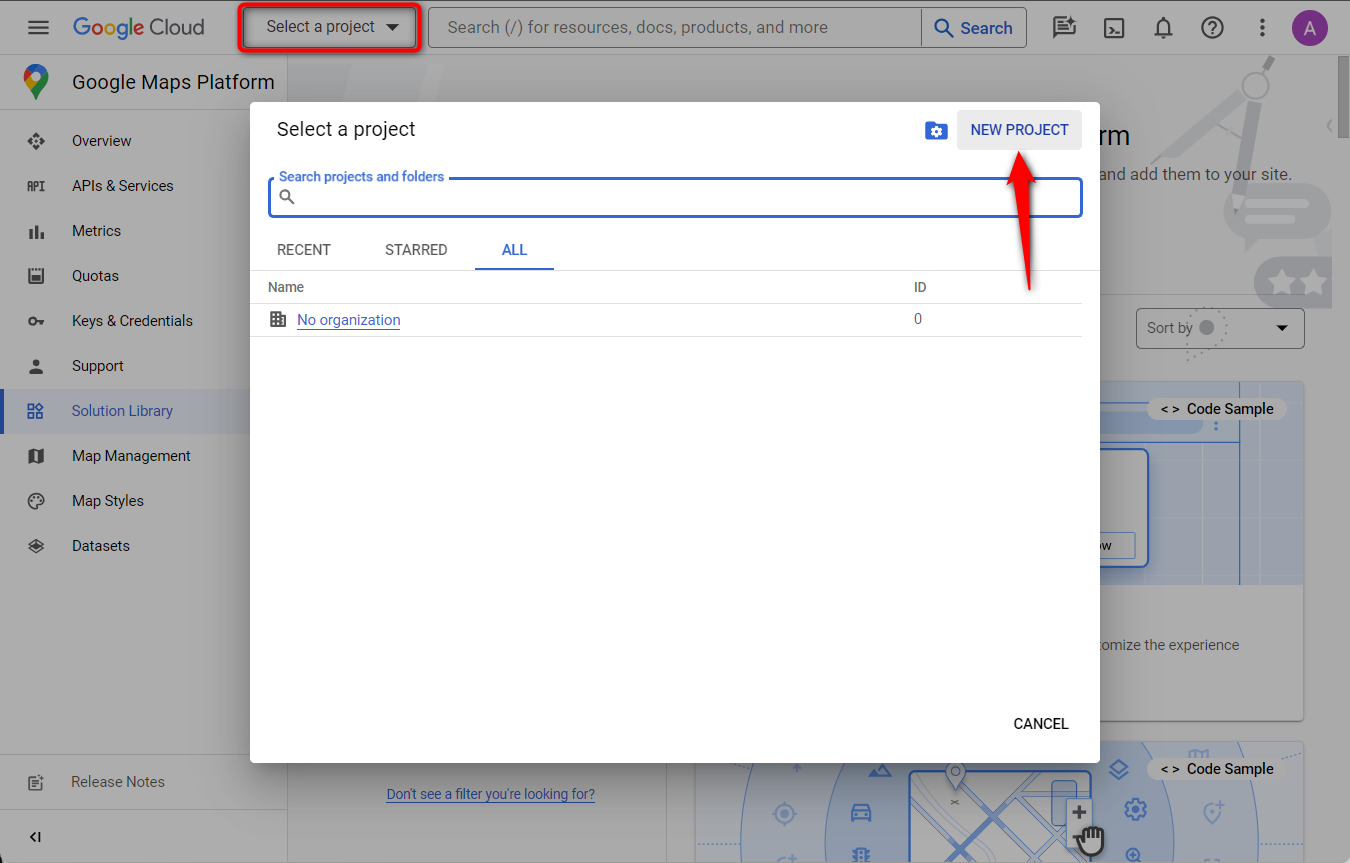
Step 2: Create a new project
If this is your first time creating an API key, you will have to create a Project first.
Click on Select a project dropdown and hit the 'NEW PROJECT' button.
- Give your Project a name.
- Choose your location.
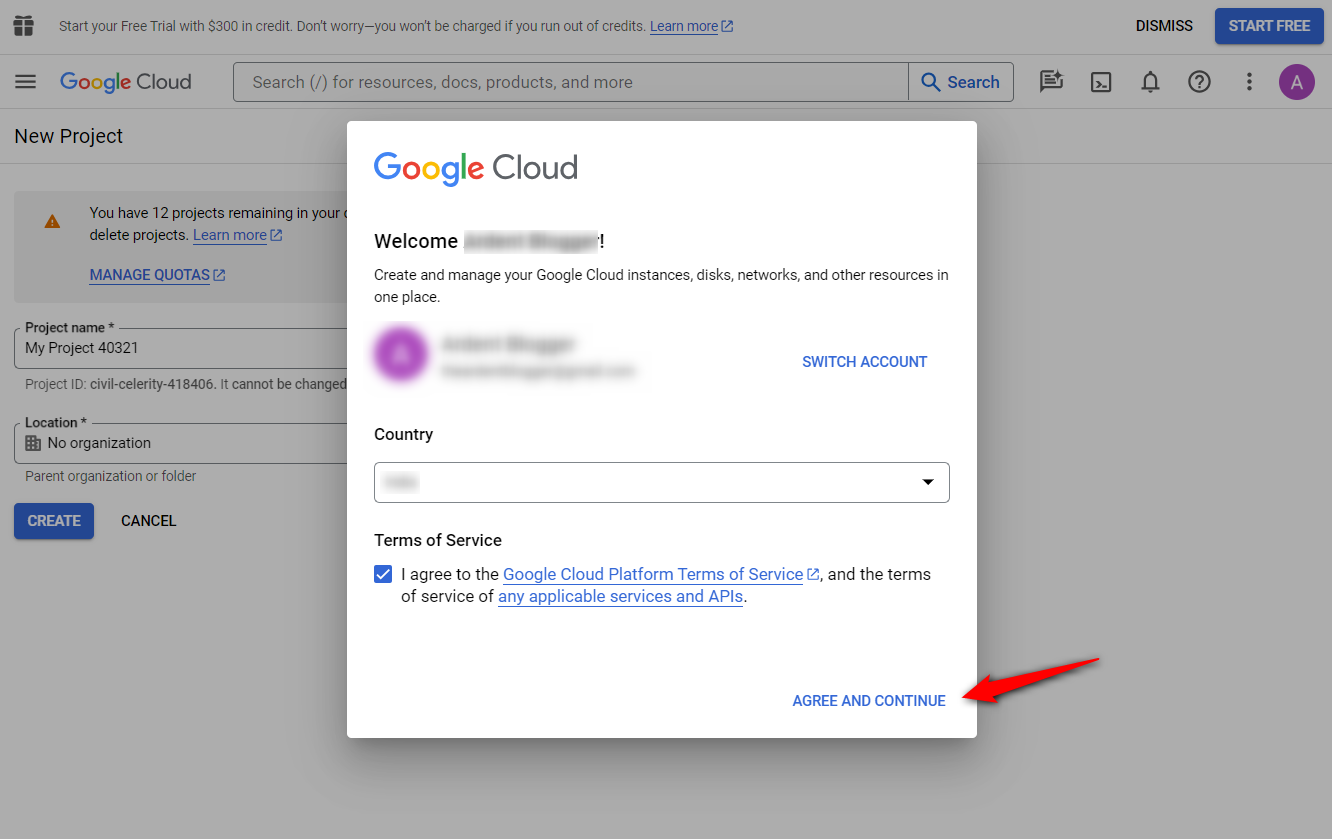
Step 3: Set up your billing
Wait for the billing prompt and select 'Create Billing Account'.
Select your country and accept the Terms of Service. Click AGREE & CONTINUE.
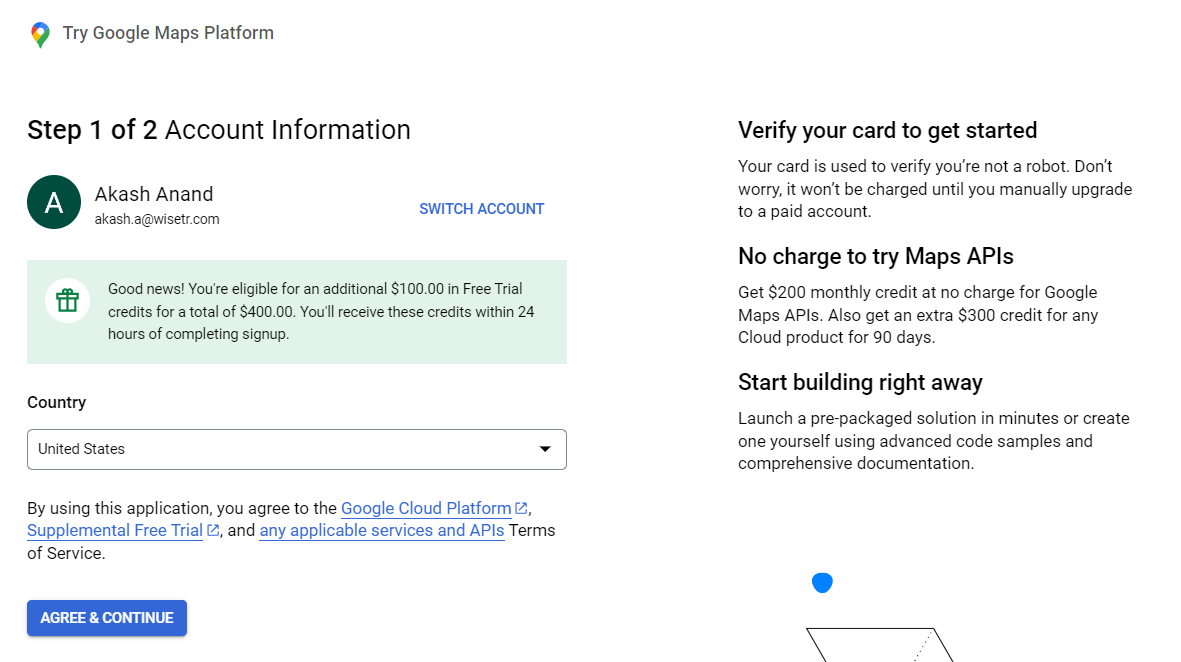
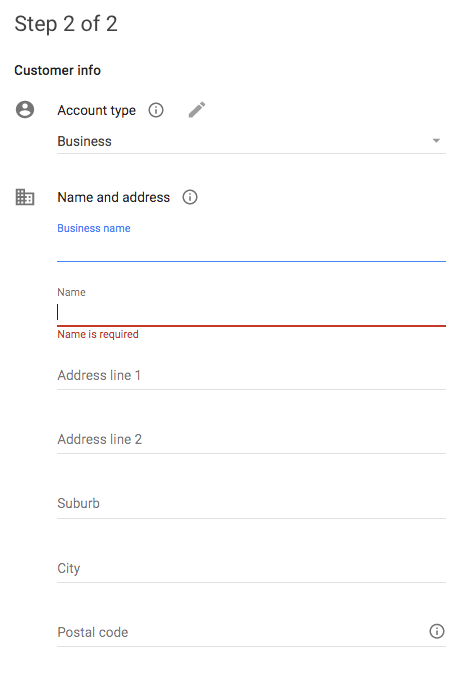
Enter your customer info (details) and card information.
Select 'START MY FREE TRIAL'.
Please note that you get a 12-month or $300 credit-free trial. When this free trial ends, you will get up to 28,000 map requests per month and 40,000 direction calls per month, free of charge. But these credits are more than enough. You will only be billed when your usage exceeds your monthly $200 credit limit.
For more information about the free trial, please refer to Google’s documentation.
Once your billing has been set up, you can move on to creating your API Key.
Getting the Google Maps API Key
If you already have an active Google Maps Platform account and want to know your API key, then follow these steps:
Step 1: Go to the Google Cloud Platform Console and Enable APIs
Click here to go to the Google Cloud Platform Console and click on the APIs & Services.
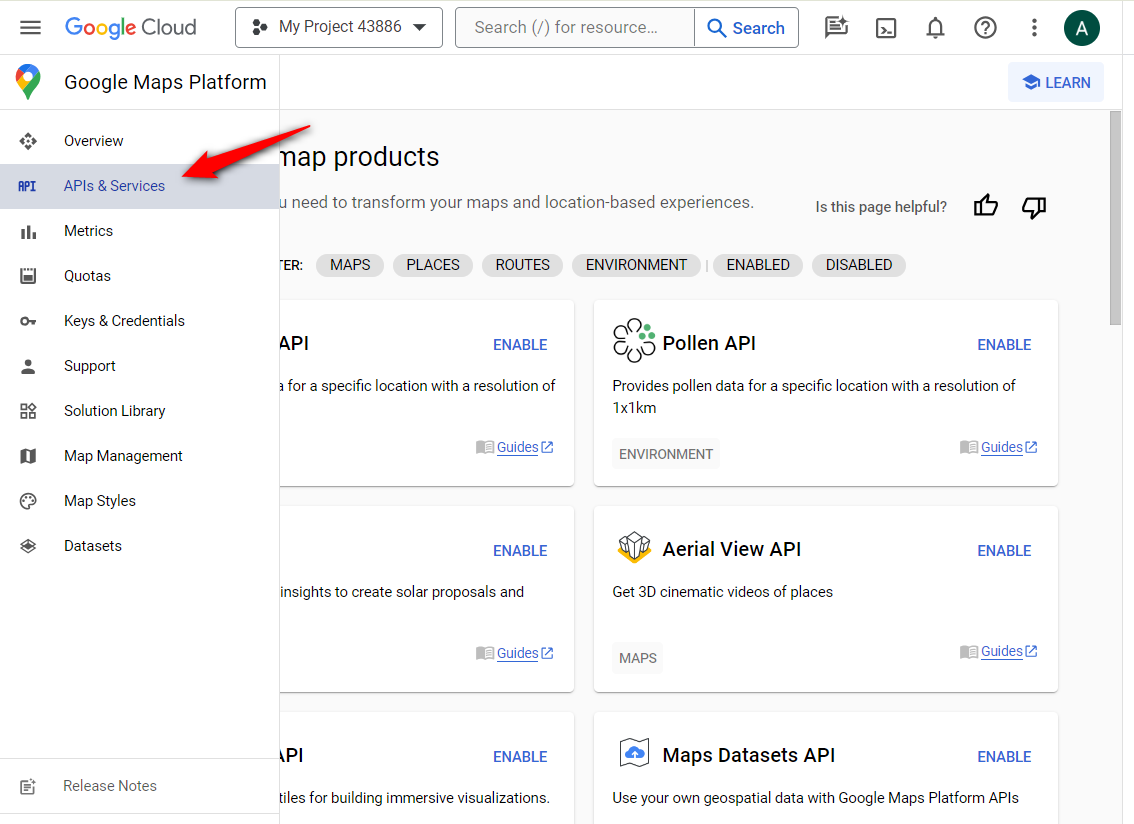
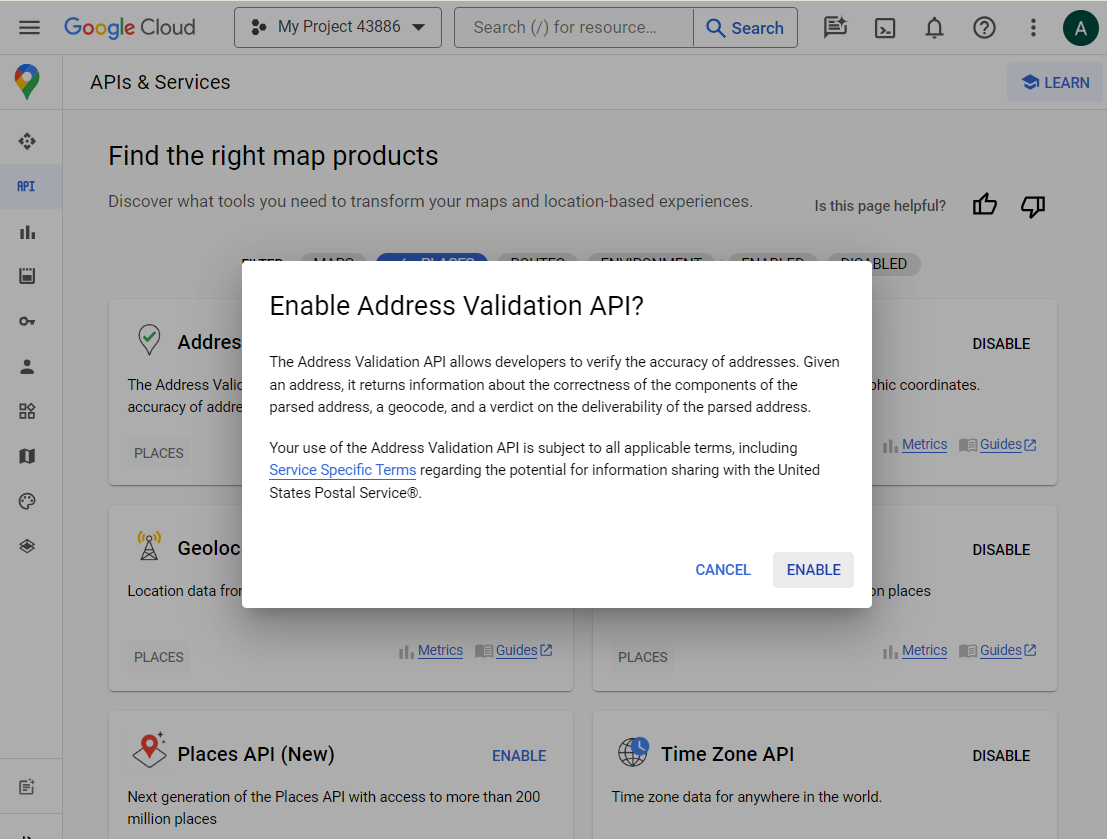
On the Maps and Places tab, enable the relevant APIs manually.
Enable Places API, Geolocation API, Geocoding API, Address Validation API, etc.
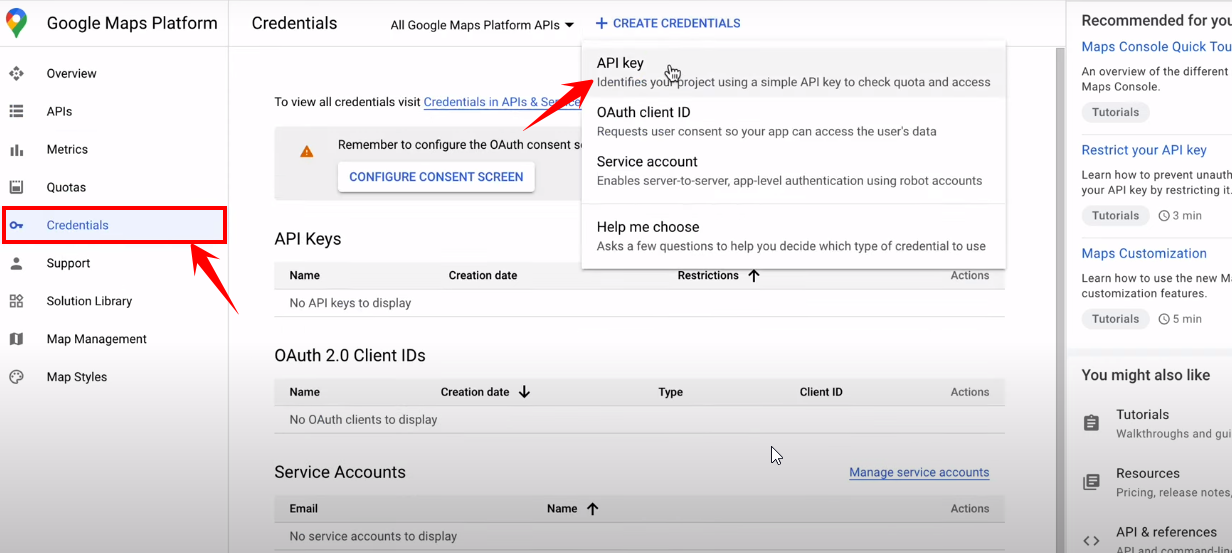
Step 2: Click on 'Create credentials' > API Key
Next, go to the Credentials section and click on the API key to generate the key.
When you do so, a popup appears.
Here you'll get to see your new API key:
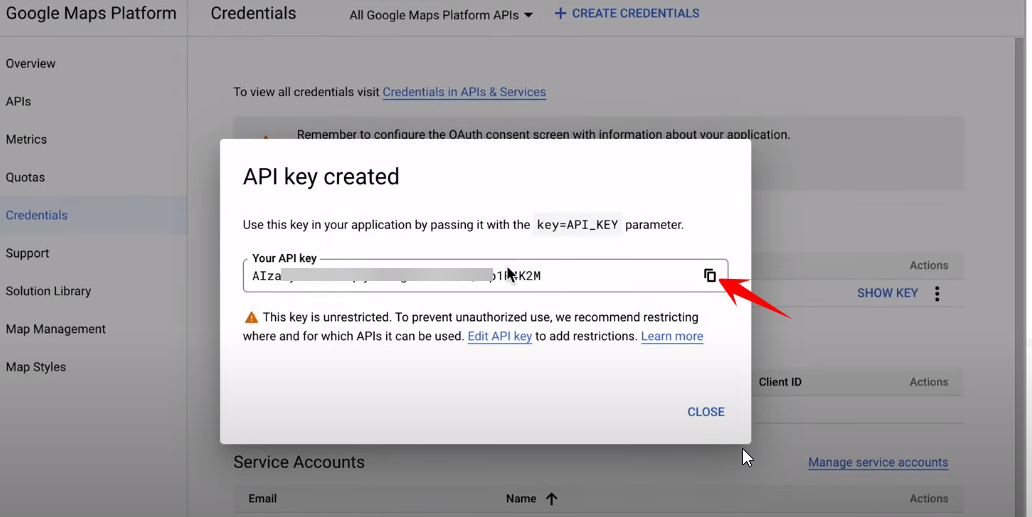
Now copy this API key and paste it into your clipboard or use it anywhere you want.
There you go! That's how you can get your new API Key.
Linking the purchased API key with your Checkout
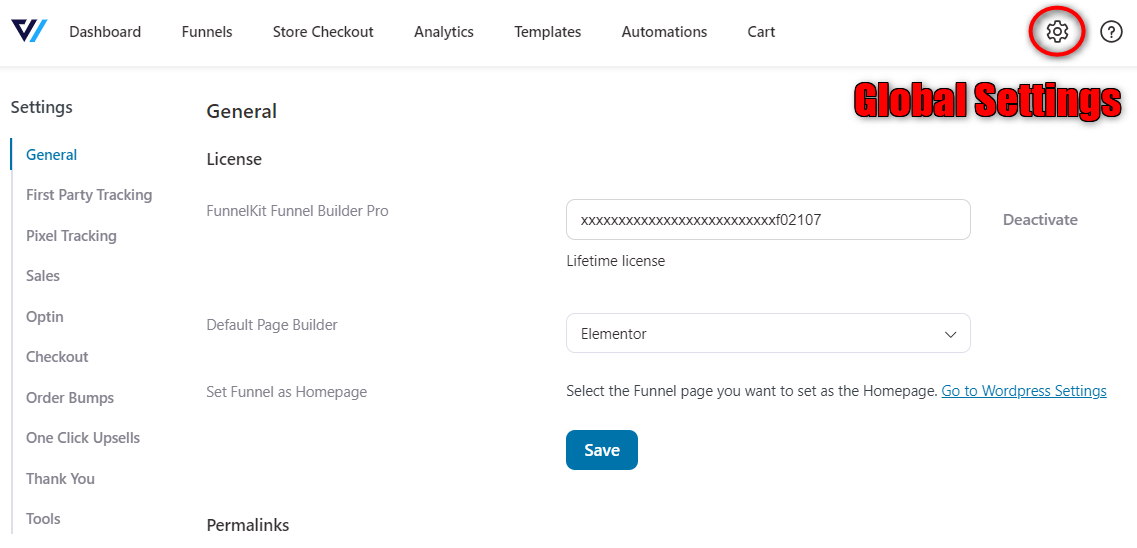
Return to your WordPress site and navigate to the Checkout Global Settings.
Step 1: Click on Settings in the FunnelKit Funnel Builder
You'll land on the global settings page of Checkout.
Next, scroll down to the Google Maps section.
Step 2: Insert the purchased Google Maps API Key here
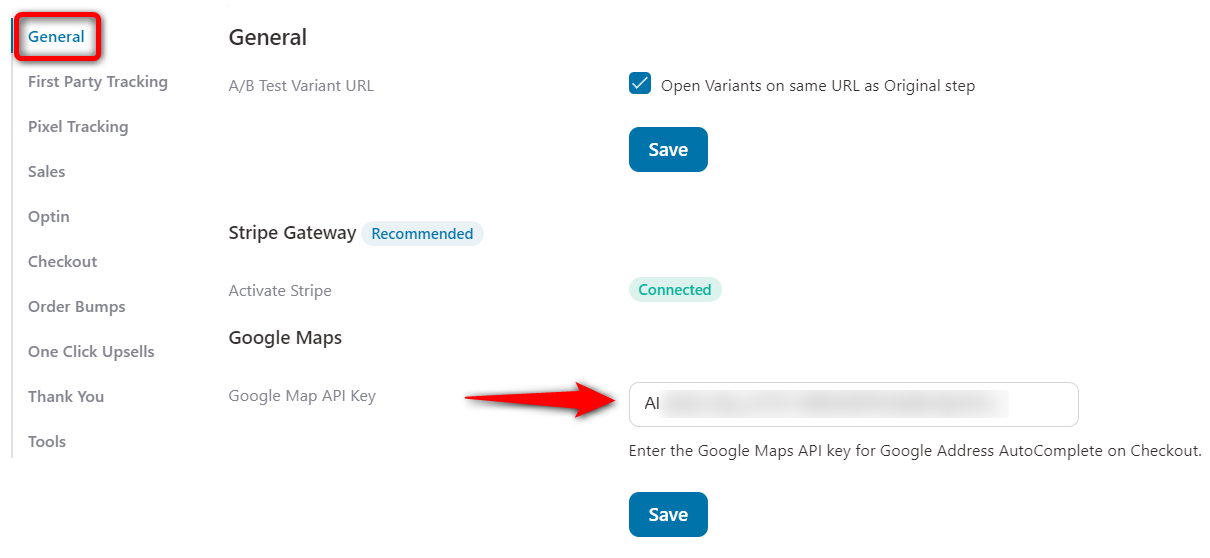
Once done, hit the 'Save' button.
Step 3: Enable Google Address autocomplete
In the Optimizations tab, you'll find that the first option is Google Address Autocompletion.
Hit the toggle and enable it.
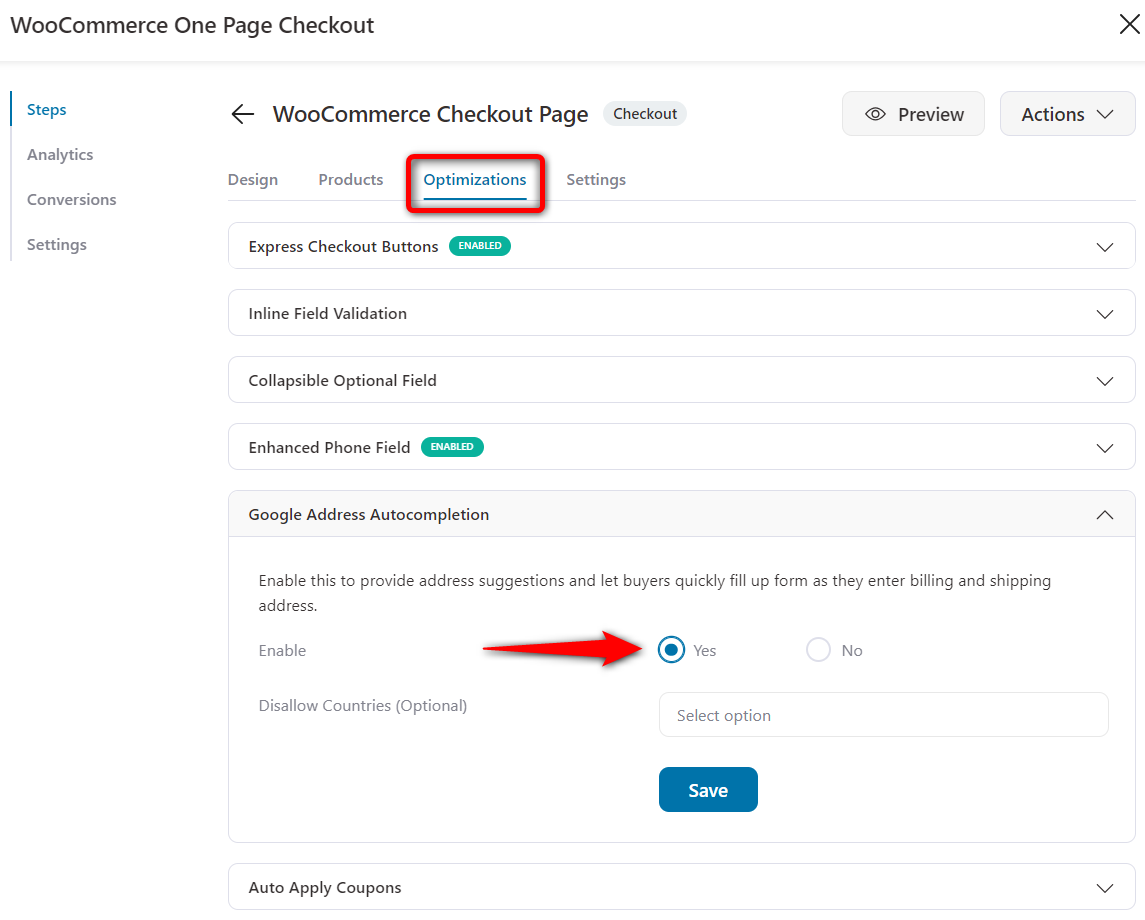
That's it, you've now enabled Google Address Autocomplete for the selected Checkout page.
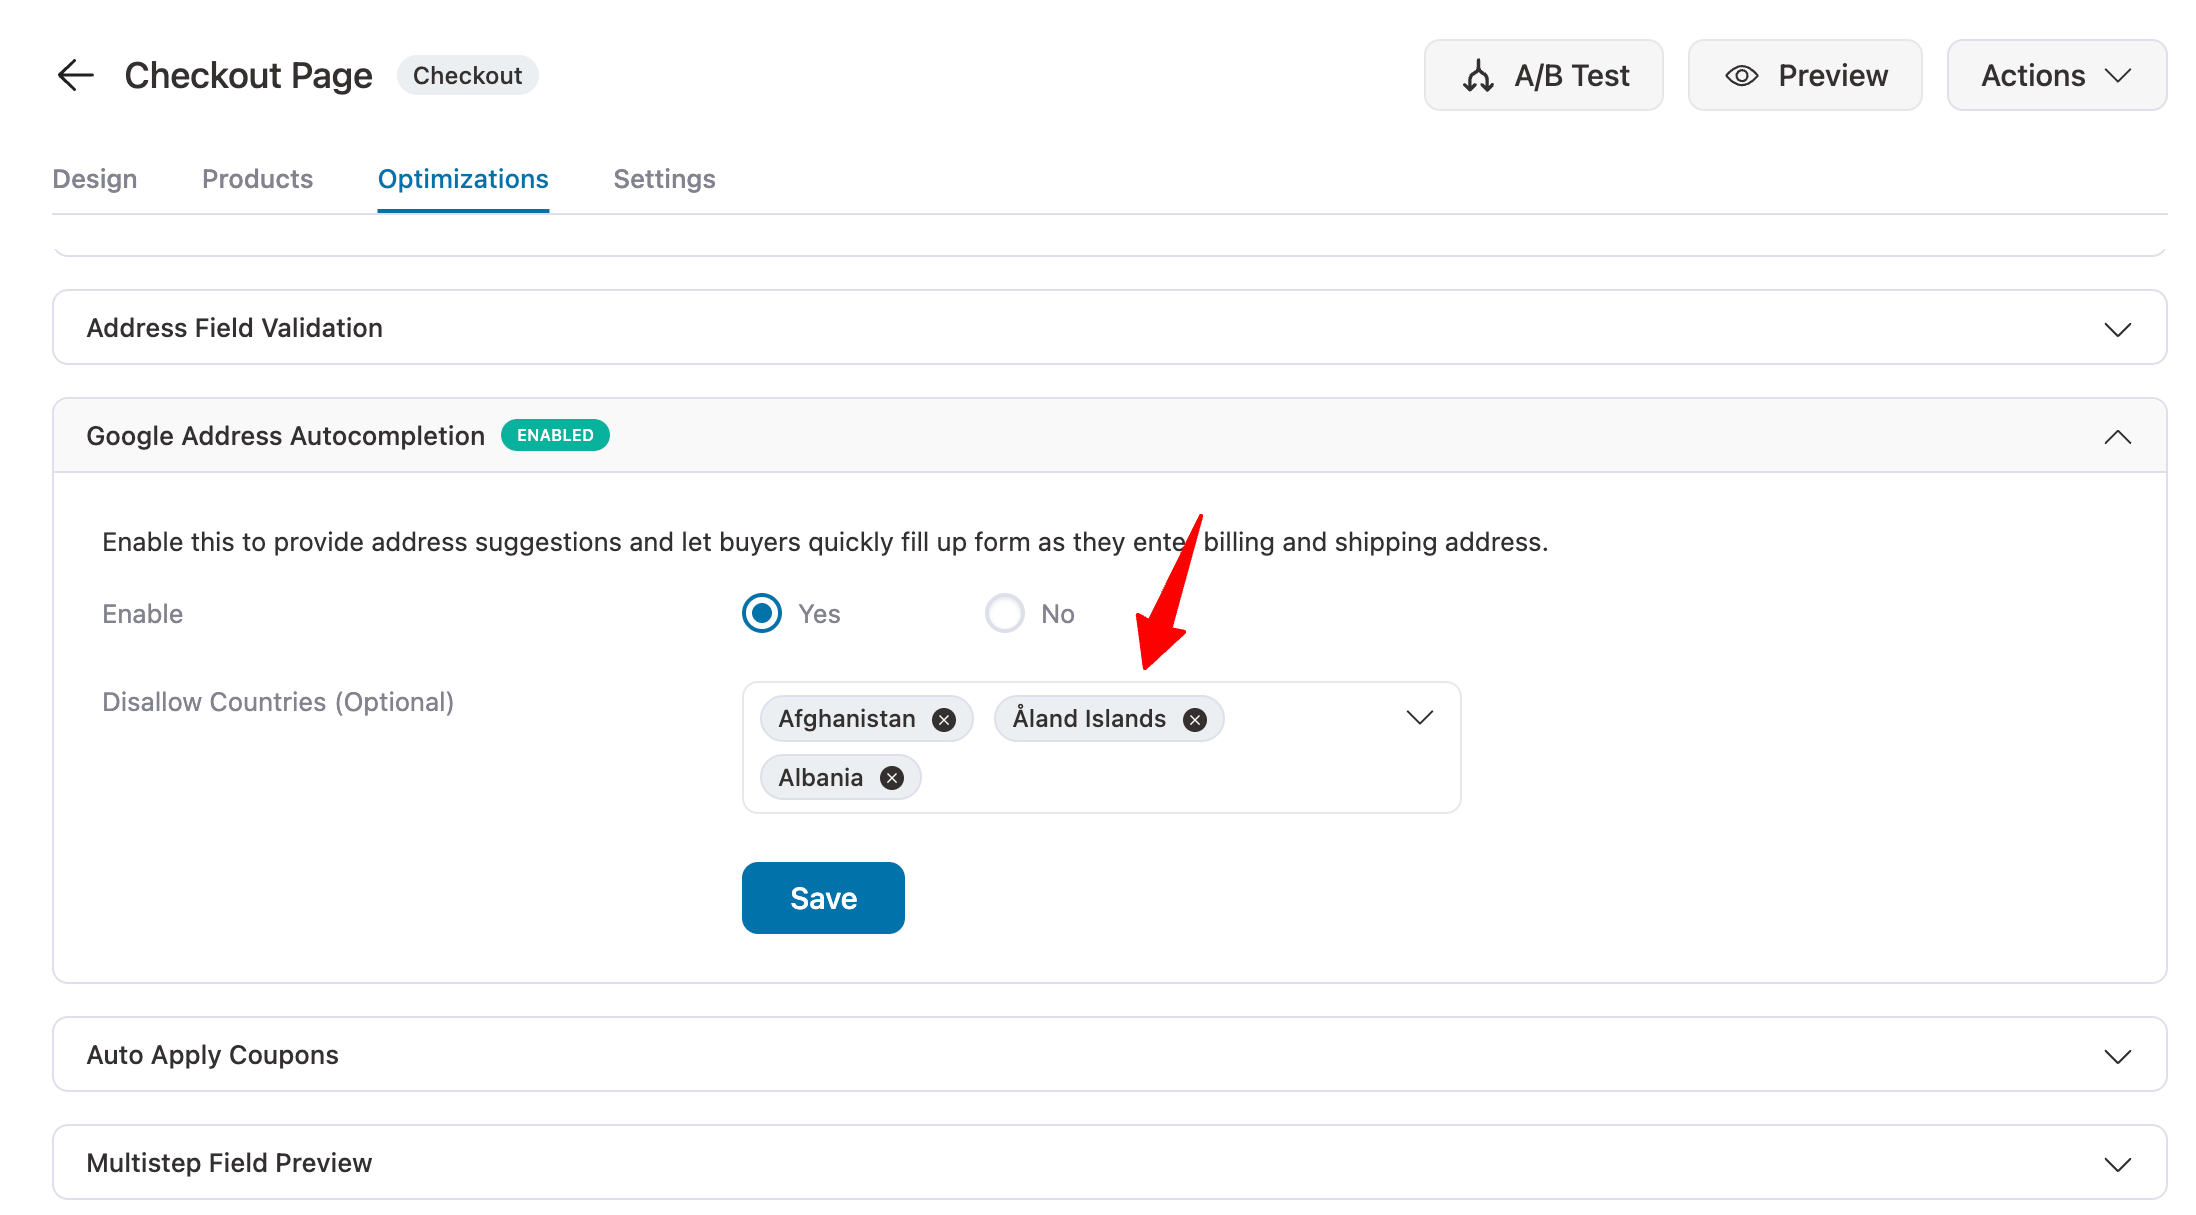
Step 4: Disallow countries from Google Address Autocomplete
Additionally, you can choose to disallow some countries where you think that it might not be accurate.
For that, you can select the countries for which you want to disable this feature.
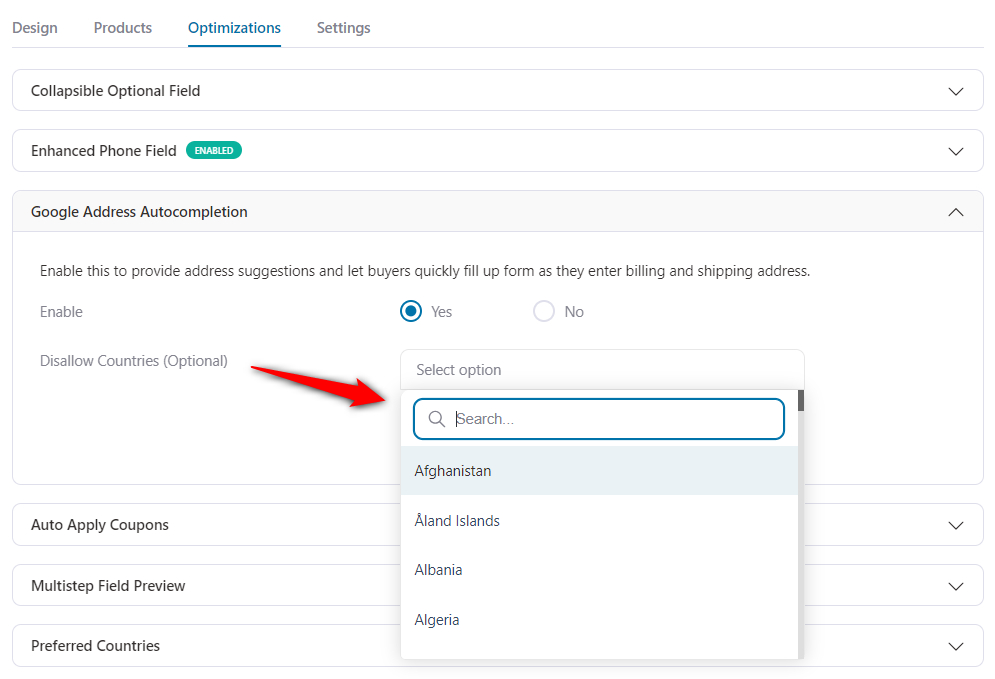
Simply search and add countries.
Example in JavaScript:
var options = {
  componentRestrictions: { country: 'us' }
};

var autocomplete = new google.maps.places.Autocomplete(inputElement, options);
Once done, click on Save Changes.
Restrict Access to your API Key
After pasting the API Key to your WordPress site and saving the settings, return to the Google API Manager.
You will want to restrict access to your API Key to avoid having it “hijacked” and going over your quota.
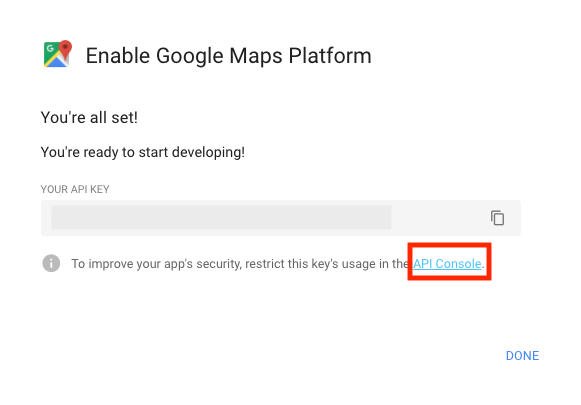
To do so, click the API Console link in the Enable Google Maps Platform window, as shown.
Select 'HTTP referrers (web sites)' and enter the following domains under 'Accept requests from these HTTP referrers (web sites)', replacing yourdomain.com with your domain name.
*yourdomain.com/*
Please note that the Google Maps API is very specific about how this field is formatted – so use exactly this format.
Click the 'Save' button to save your key restrictions.
Now, you need to enable the required API functions for your project.
Click the Library link in the API Manager sidebar menu.
Next, press the Google Maps JavaScript API panel.
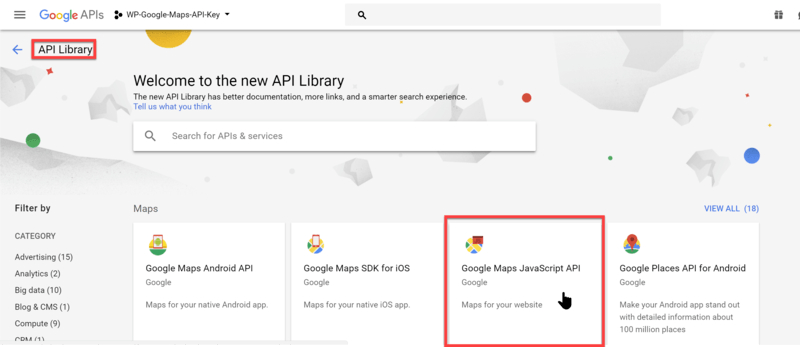
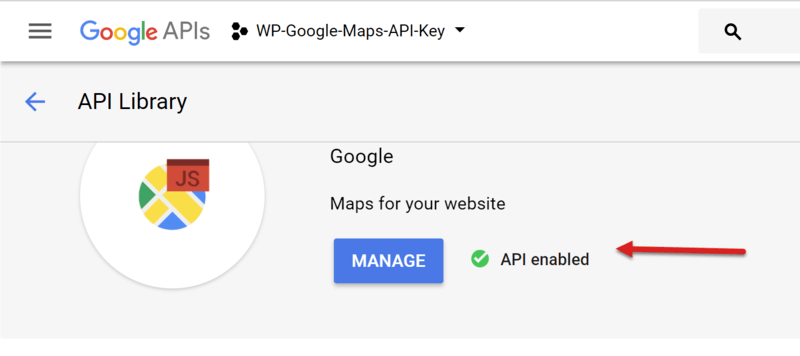
The JavaScript API will probably already be enabled as shown in the screenshot below.
If the JavaScript API is not enabled, then click Enable on the Google Maps Javascript API window.
That's it, now you're good to go!
Troubleshooting Google Address Autocomplete Issues
If Google Address Autocomplete is not working in FunnelKit Checkout, follow the troubleshooting guide below for common Google API errors in the browser console. Here’s how to fix them:
1. Google Maps JavaScript API error: ApiNotActivatedMapError
Cause: The required APIs are not activated in your Google Cloud account.
Solution:
- Go to Google Cloud Console > APIs & Services > Library.
- Enable the following APIs:
- Places API
- Maps JavaScript API
- Geocoding API
2. Google API "RefererNotAllowedMapError"
Cause: Your API key is restricted to specific referrers, but the current URL is not added.
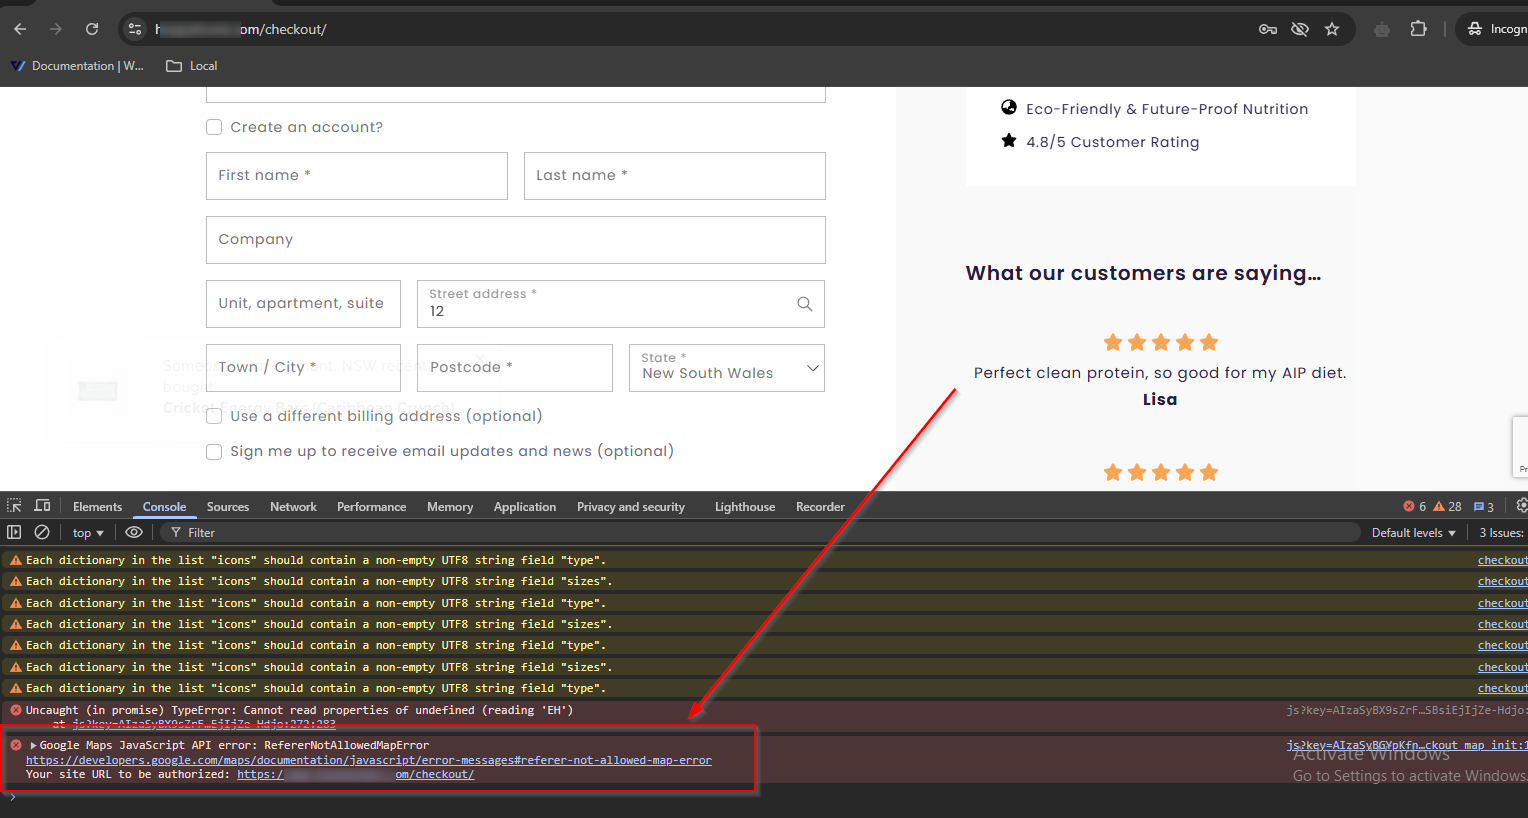
Solution:
- Go to Google Cloud Console > APIs & Services > Credentials.
- Click on your API key and check Application Restrictions.
- Under Website restrictions, ensure your site is using the API is listed correctly (e.g.,
https://yourdomain.com/*).
3. Google Maps JavaScript API error: NotLoadingAPIFromGoogleMapsError
Cause: The API is not being loaded directly from Google’s official servers.
Solution:
- Ensure your API script is added correctly in FunnelKit Funnel Builder settings.
- Avoid using third-party proxy services to load the API.
- Double-check that your API key is copied correctly.
4. Google Maps JavaScript API error: InvalidKeyMapError
Cause: Invalid API key configuration in Google Maps JavaScript API, particularly for the Google Places API (used for address autocomplete).
Solution:
1. Verify the API Key:
Ensure that you're using a valid and active API key. You can do this by checking the Google Cloud Console for your project:
- Go to Google Cloud Console.
- Navigate to APIs & Services > Credentials.
- Ensure the API key you're using is listed and has no restrictions that could be causing the error.
2. Enable the Required APIs:
Ensure that the required APIs are enabled for your Google Cloud project:
- Google Maps JavaScript API
- Places API
You can enable them via the Google Cloud Console:- Go to APIs & Services > Library.
- Search for Google Maps JavaScript API and Places API.
- Click Enable for both.
3. Check API Key Restrictions:
Google allows you to restrict the API key to specific referrers (e.g., domains or IPs) for security reasons. If you’ve set restrictions on the API key, verify that:
- The restrictions allow the domain or IP where the key is being used.
- You are using the correct HTTP referrers (or IP addresses) in the Application Restrictions section of your API key configuration.
To review and modify API key restrictions:- Go to the Credentials section.
- Click on the API key you're using.
- Check the Application restrictions (set to HTTP referrers, IPs, or none).
- Ensure the restrictions are correct.
After ensuring all of the above points, Google address autocomplete will work.
Need More Help?
If you’re still facing issues, check your Google Cloud settings or reach out to our support team.


