FunnelKit Checkout is fully compatible with Klaviyo. You can enable the newsletter option on its checkout page in an attempt to grow your mailing list.
Let’s learn how to do it.
Download the Klaviyo plugin on WordPress.
Now, upload the plugin and install it.
Connect Klaviyo to WooCommerce
Navigate to Marketing > Klaviyo and connect it with your WooCommerce store.
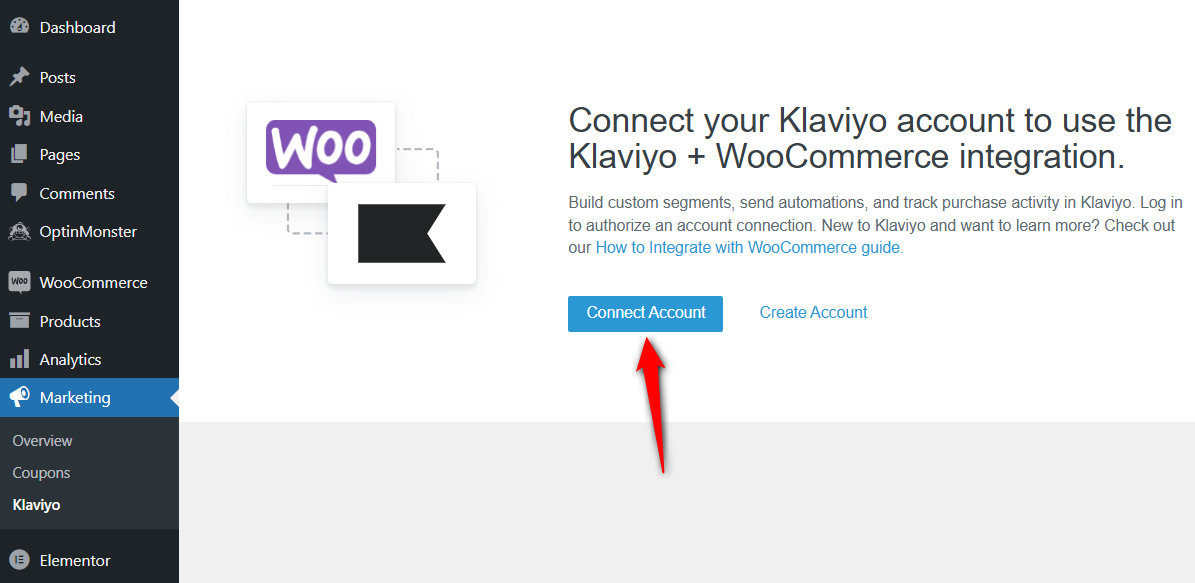
Sign in to your Klaviyo account and it'll connect with your WooCommerce website.
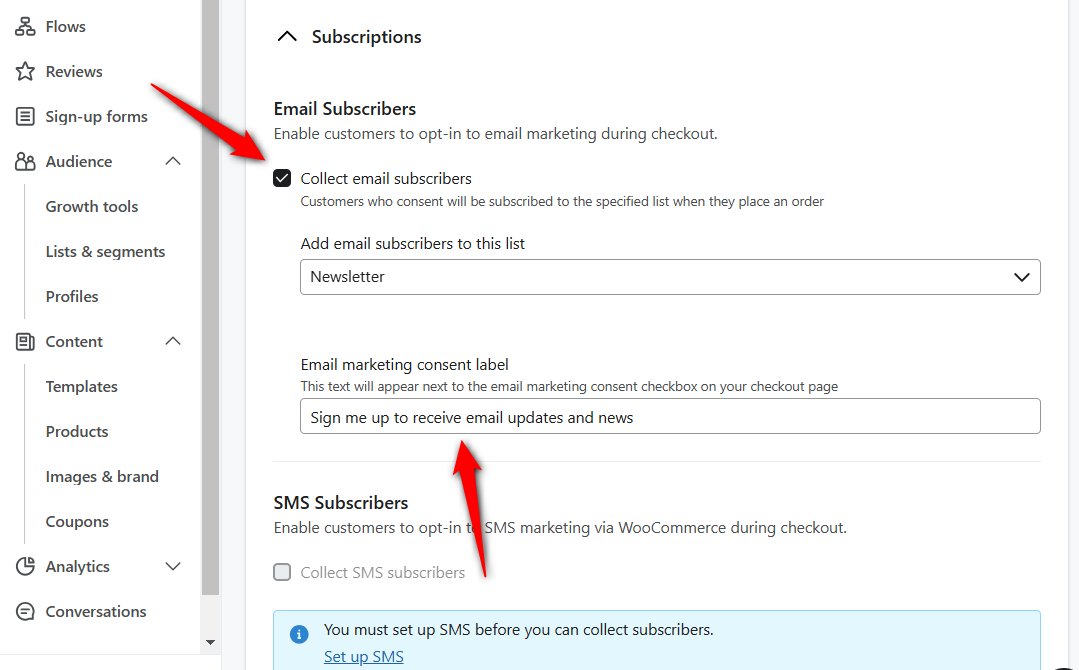
Scroll down on the dashboard and set the email marketing consent label.
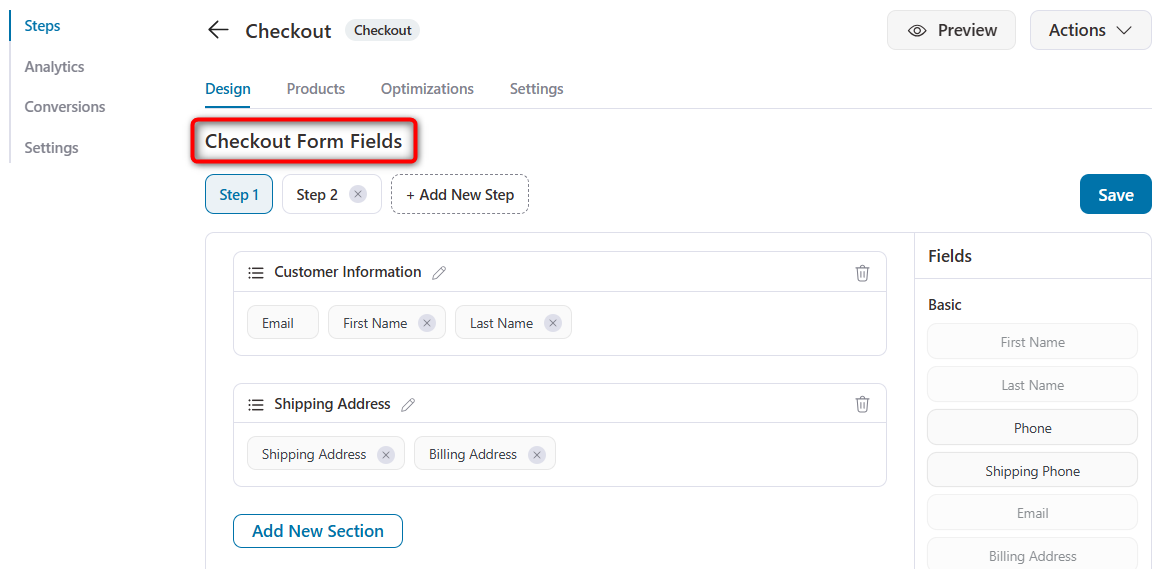
Place the Extra Advanced Fields in FunnelKit Funnel Builder
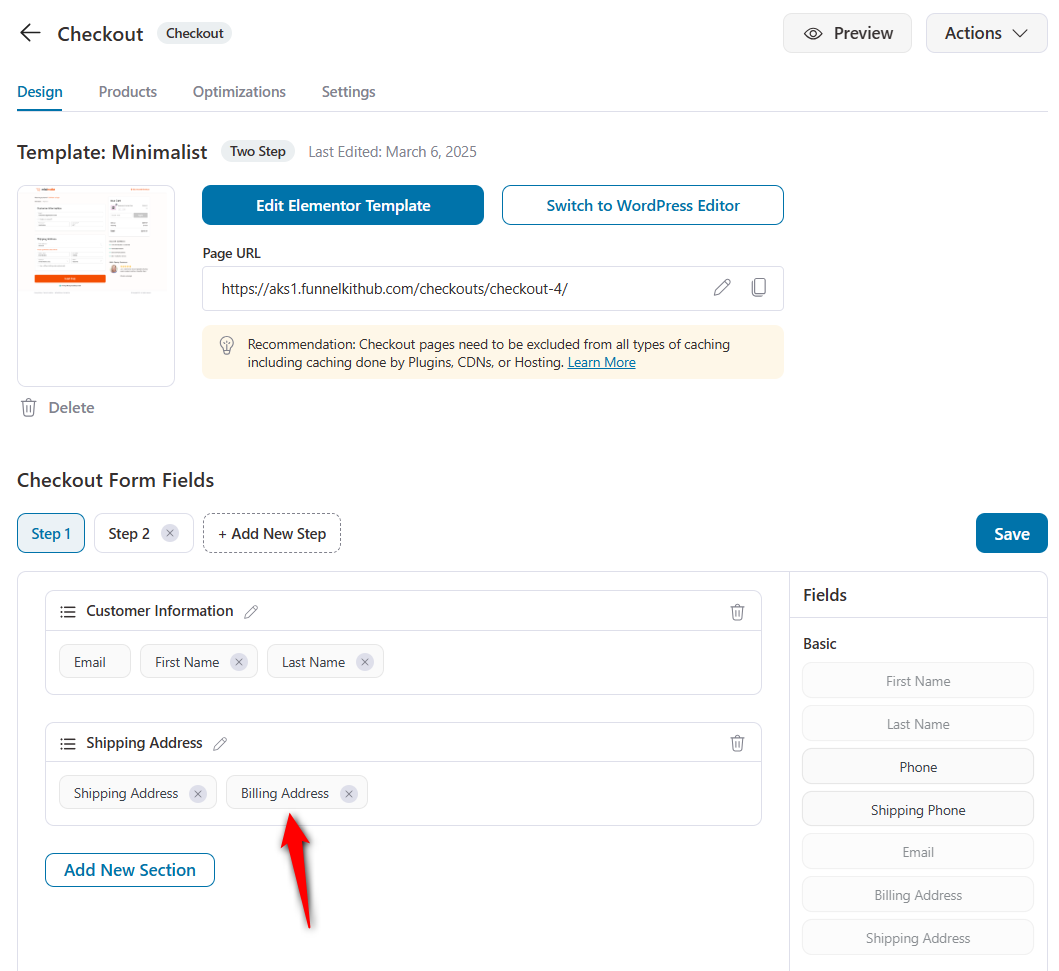
When creating your funnel checkout page, go to the Design tab.
Scroll down to the Checkout Form Fields.
Go to the billing address field on the checkout form
Click on the Billing Address field to make customization to your Klaviyo newsletter option.
Here, you can access the Klaviyo newsletter option. Make customizations to the label, placeholder text, and required field option.
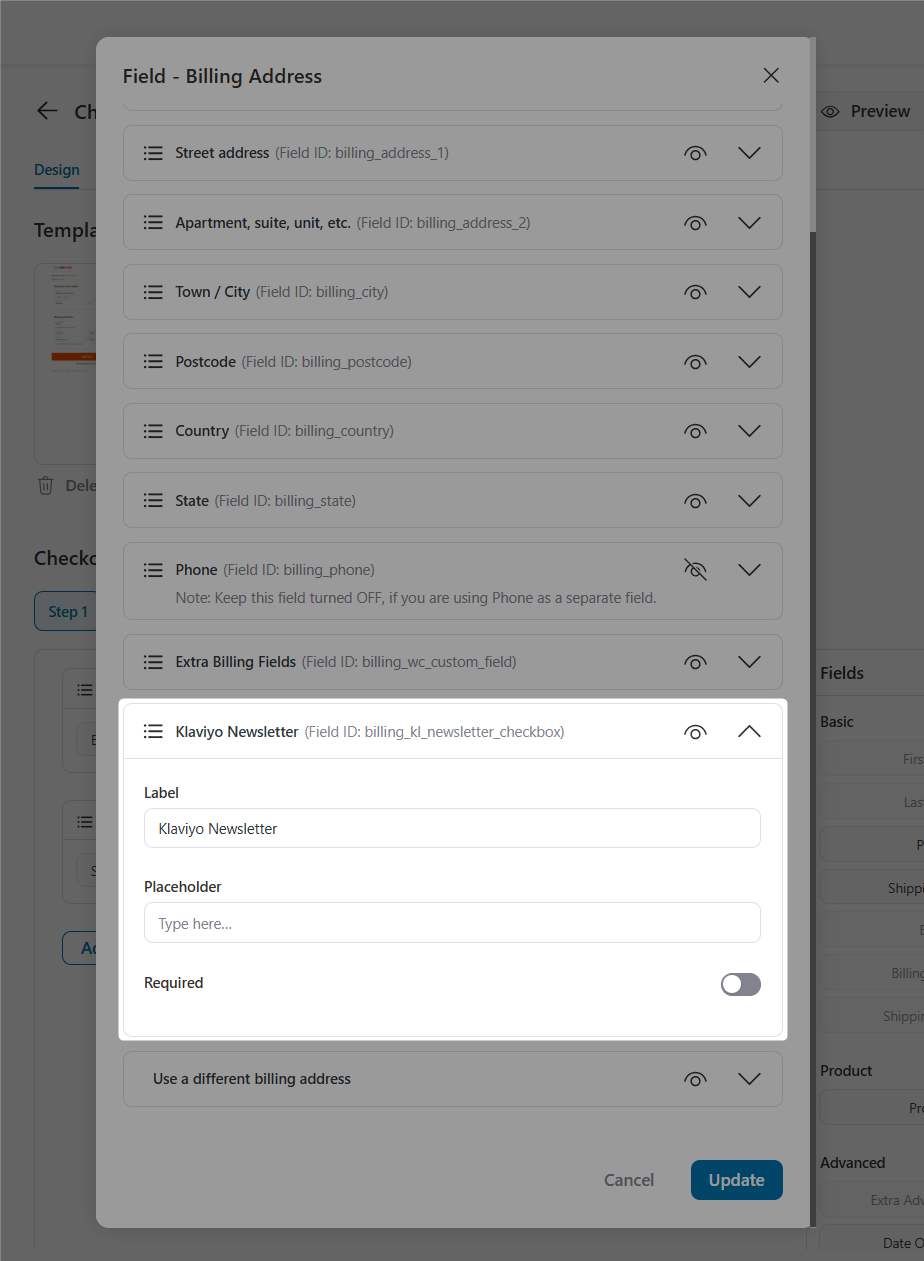
When done, click on the Update button.
This is how this option will look on your checkout page:
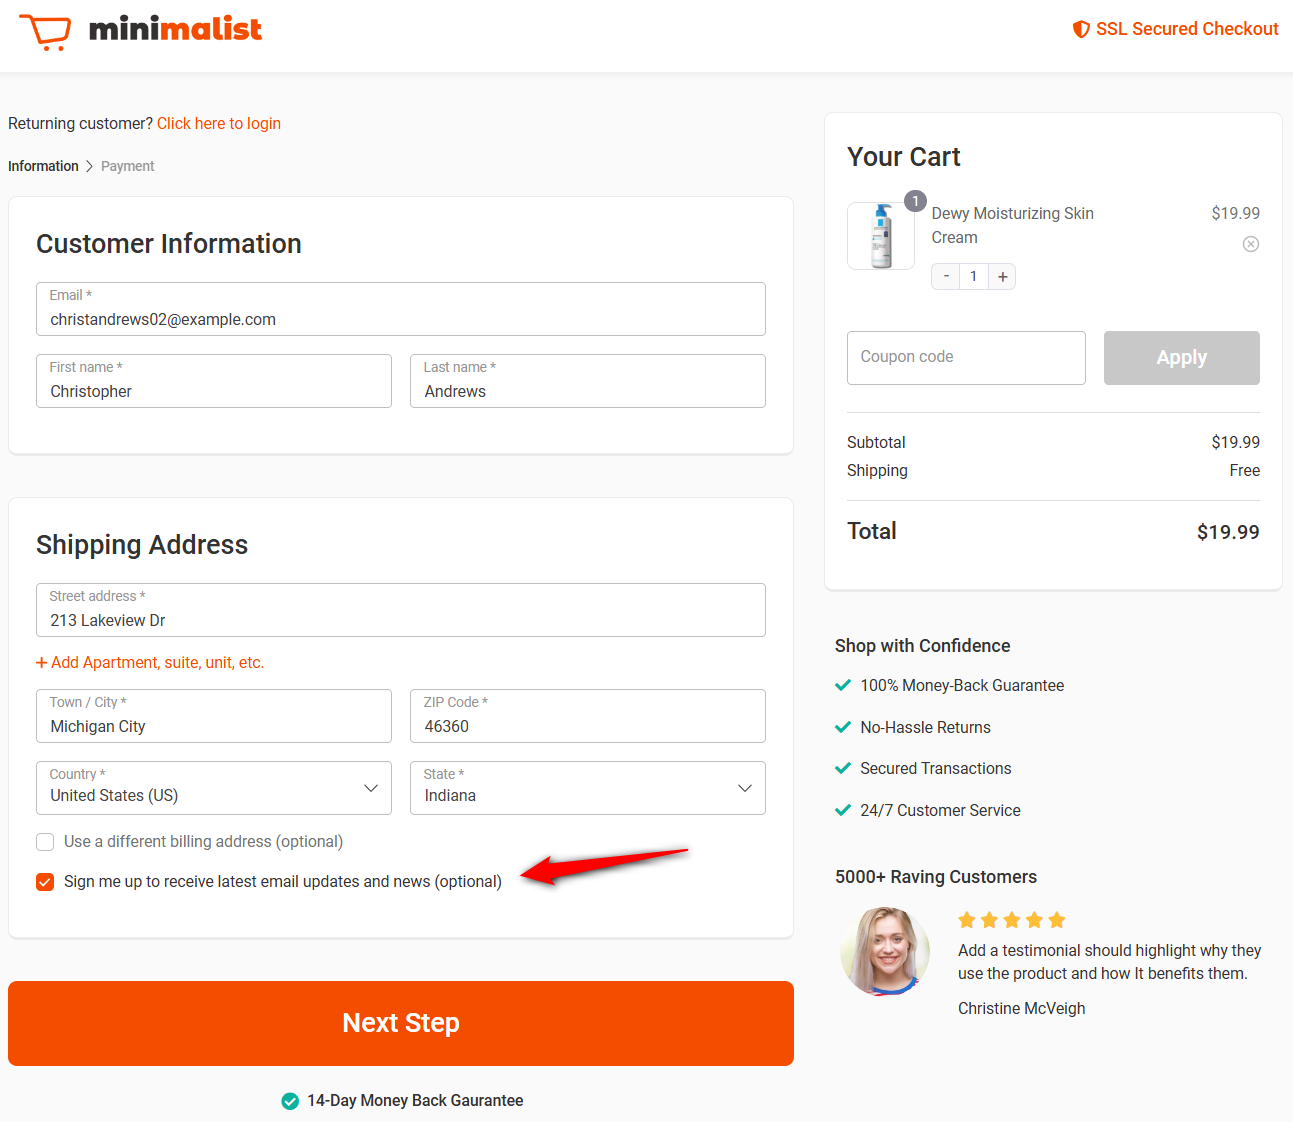
That’s it! You have enabled the newsletter option on your checkout page.


