A sticky CTA Button makes it easy to click, the user doesn’t need to scroll and look for the button.
Here's how you can make the CTA Button of your checkout page sticky using Elementor.:
Step 1: Edit your Checkout Page
Click on 'Edit Template' to edit your checkout page using Elementor

Step 2: Edit the Checkout Form widget
Click on the pencil icon of the Checkout Form widget.
Step 3: Go to the Style tab and make the checkout button sticky
Here you'll find the option to make the Button sticky for mobile.
Simply hit the toggle to enable it.
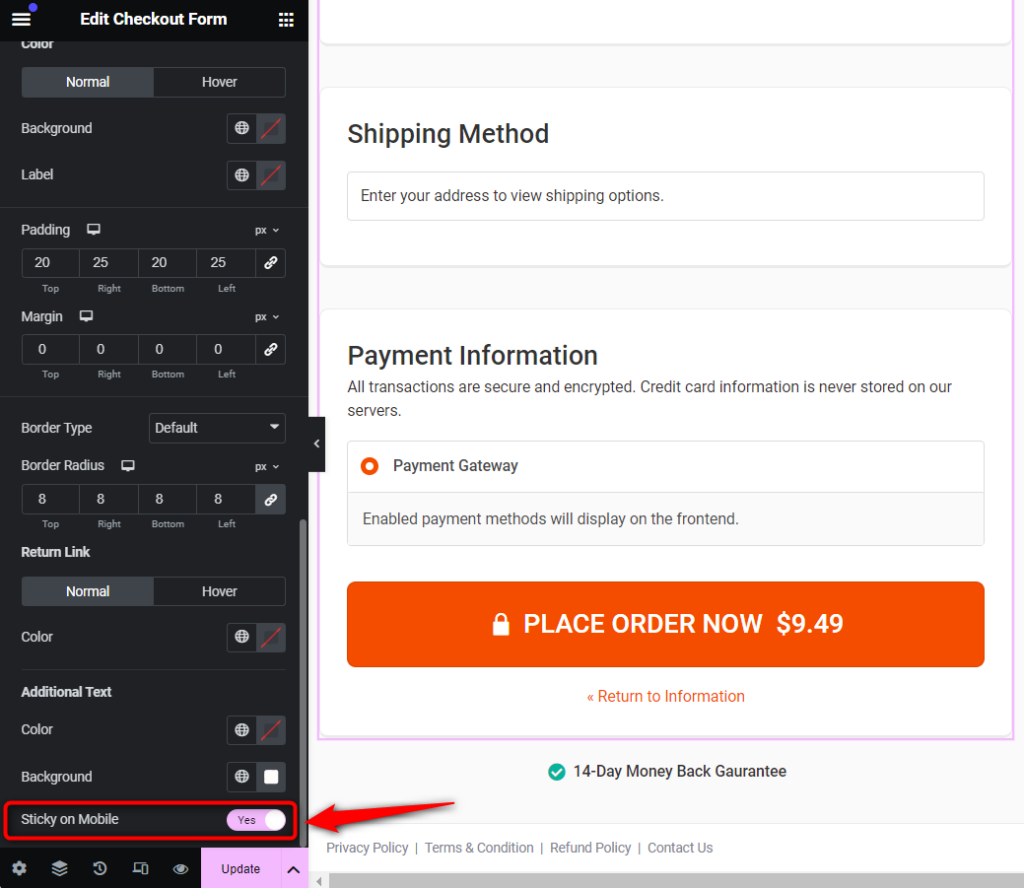
You can also set the button width and alignment from here.
Click on the 'Update' button to save your changes.
There you go! You can preview the checkout page on your mobile to see how the sticky CTA Button looks.


