FunnelKit Checkout lets you add custom HTML to your checkout page.
You can follow the steps below to add a custom HTML field to your Checkout page:
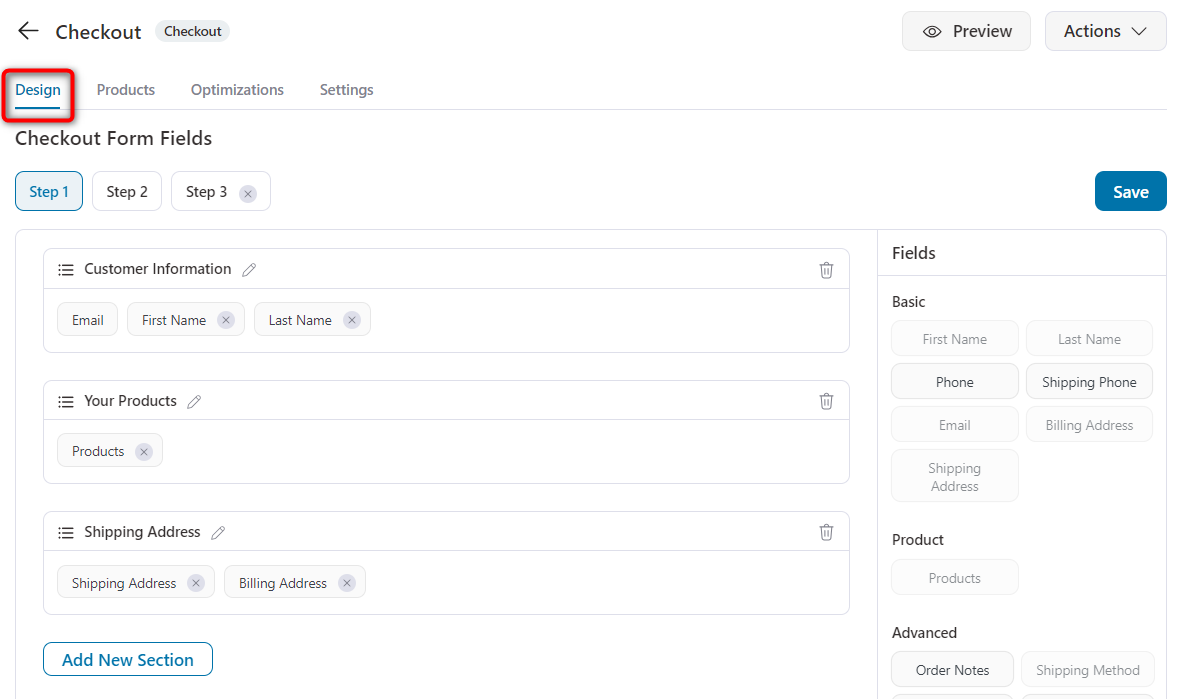
Step 1: Go to the 'Design' tab
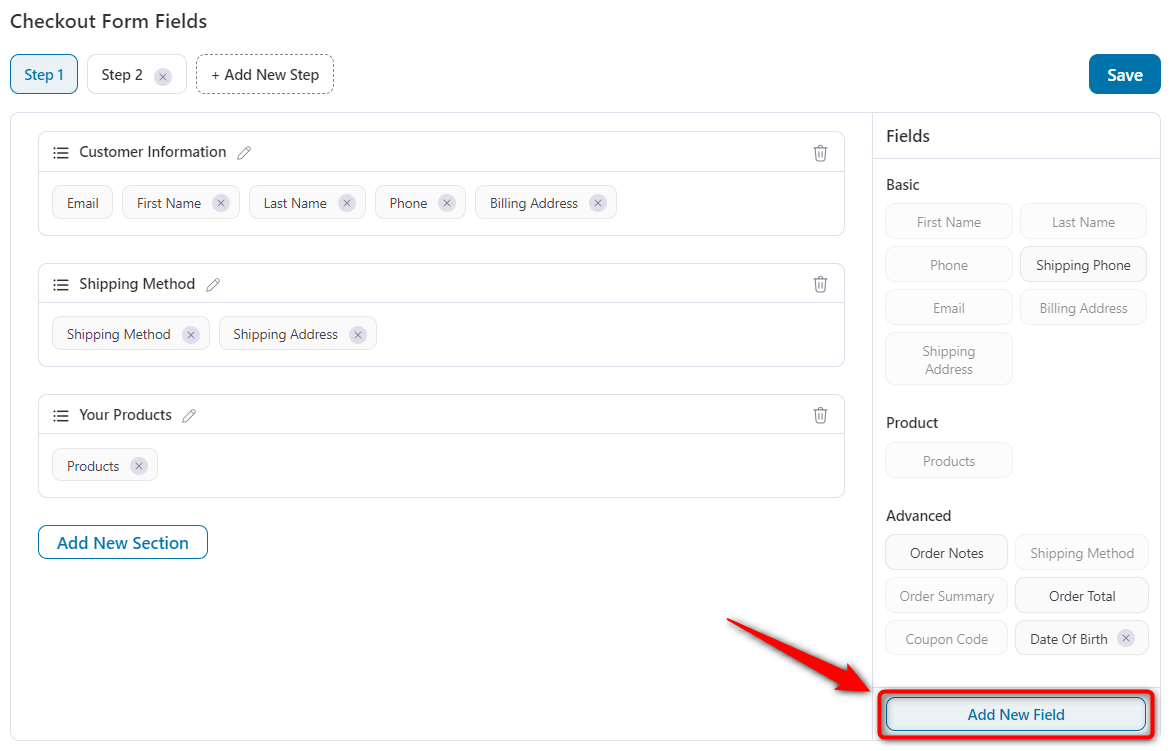
Step 2: Click on 'Add New Field' to create new field
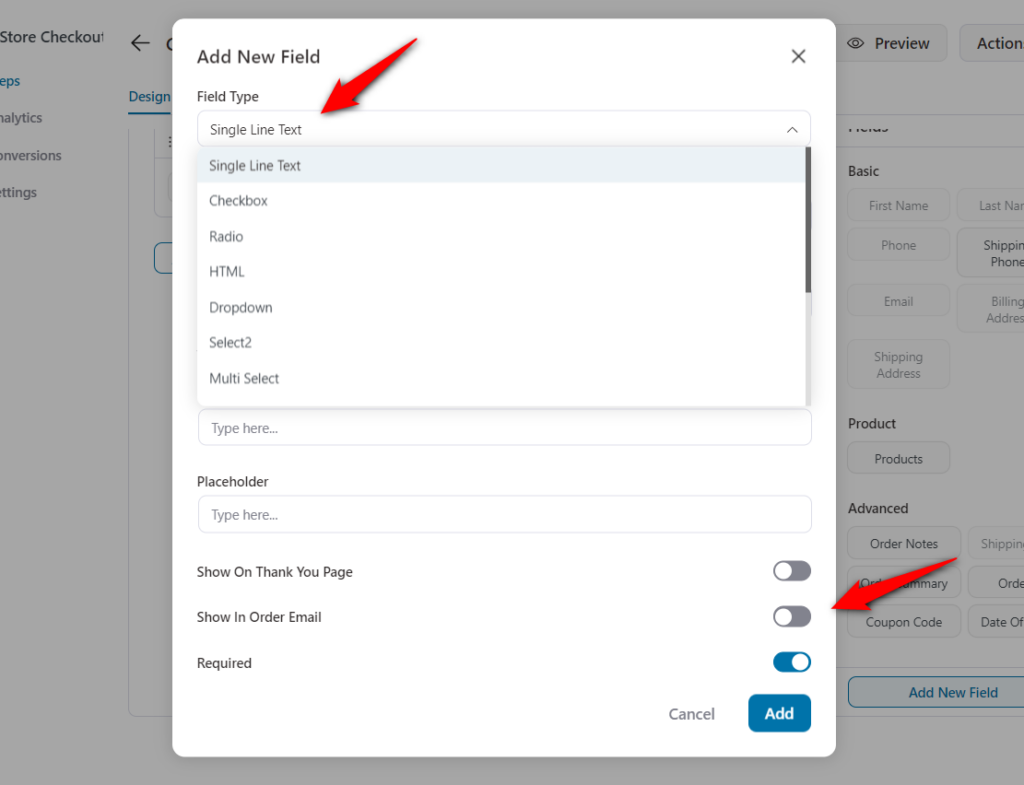
Step 3: Select the Field Type as "HTML"
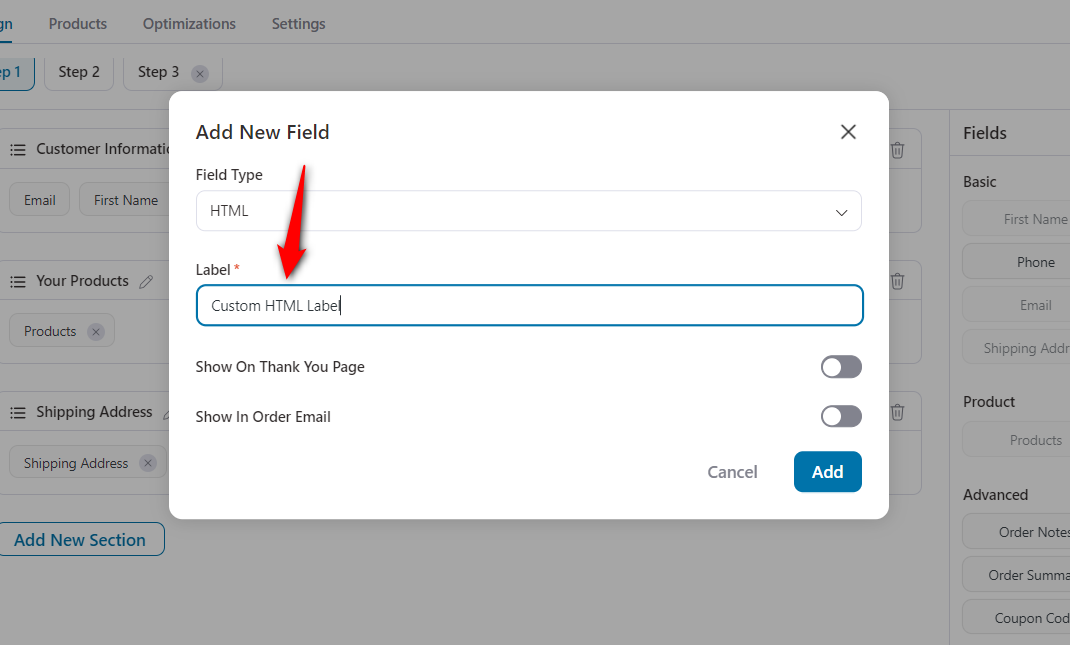
Step 4: Add an appropriate label for this field
Specify the label you want to have for this field.
You can also choose to show this field on the Thank You Page and in Order Emails.
Once done, click on the 'Add' button.
Step 5: Drag and drop this HTML field to any section on the form
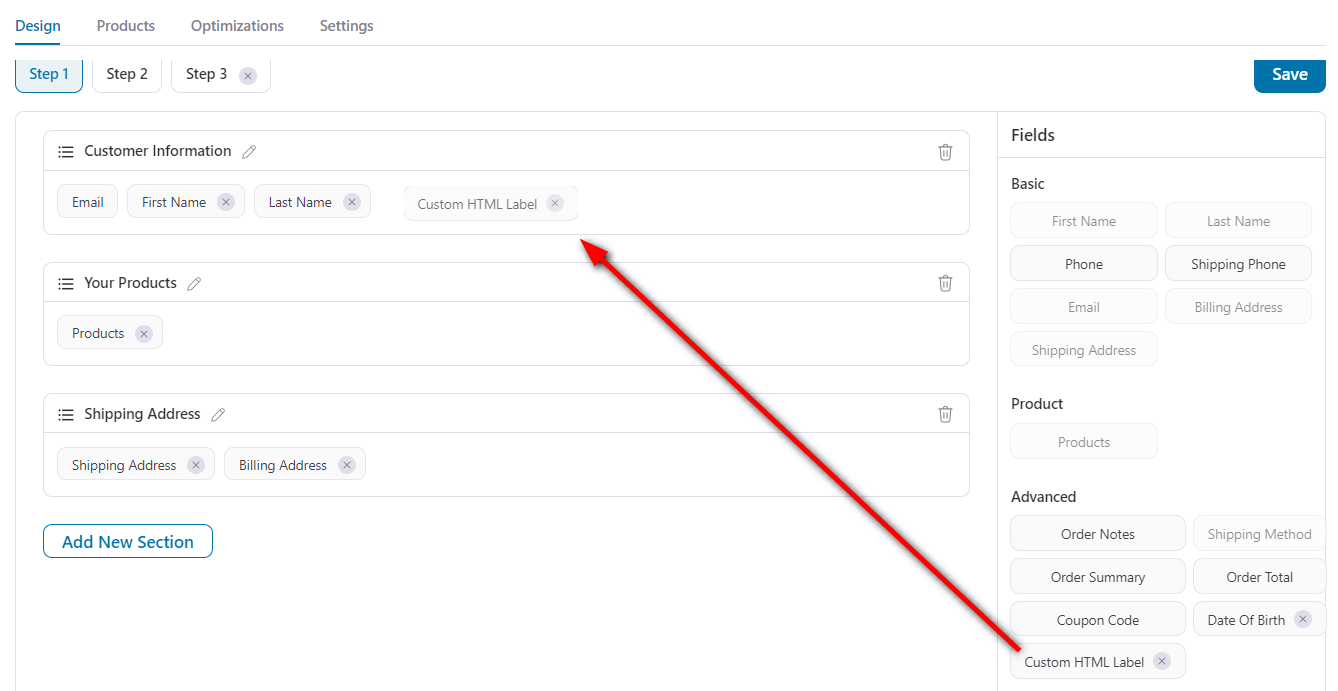
Step 6: Click again on this HTML field to Add/Edit the content in this field

Once done, hit the 'Update' button to lock all the changes made.
Here's the final output:
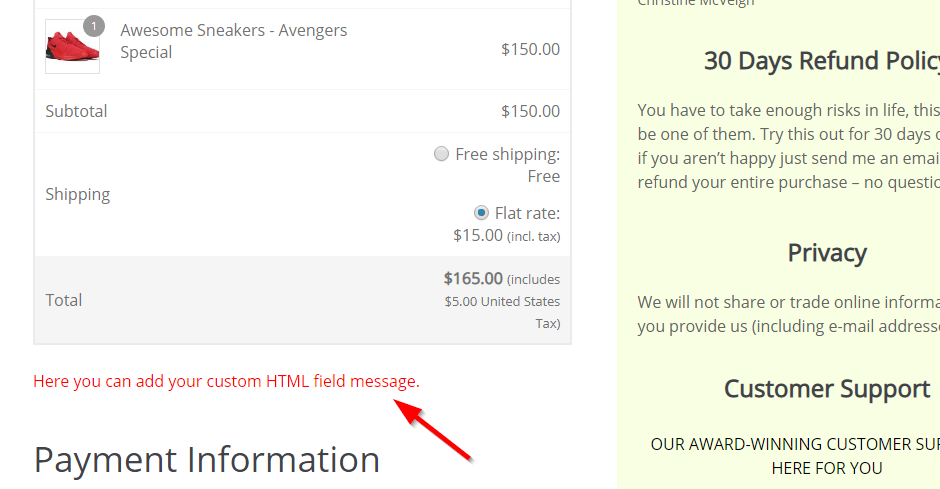
This is how you can add a custom HTML field to your checkout form.


