FunnelKit Automations works brilliantly to help you segment your contacts with the help of filters.
To filter your contacts using FunnelKit Automations, go to Contacts and click on the dropdown as shown below:
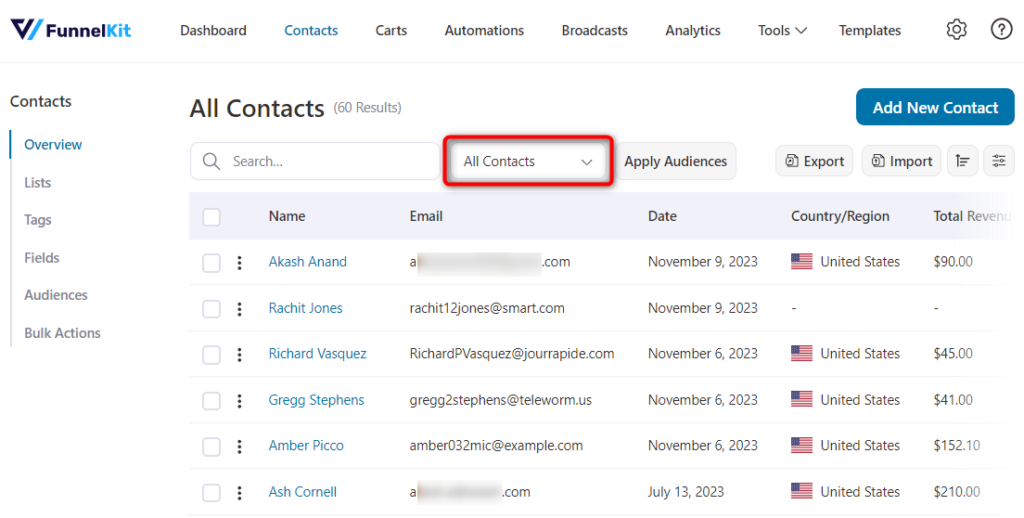
Next, select Advanced Filters.
Then, click on the + Add New Filter button.
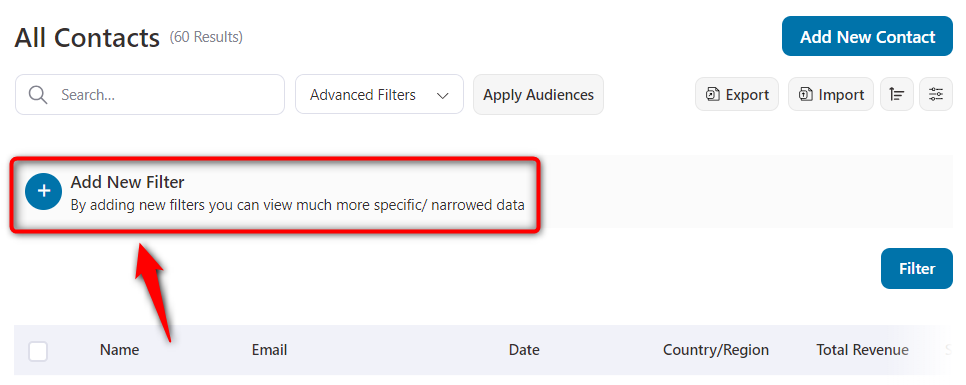
You’ll see different options here:
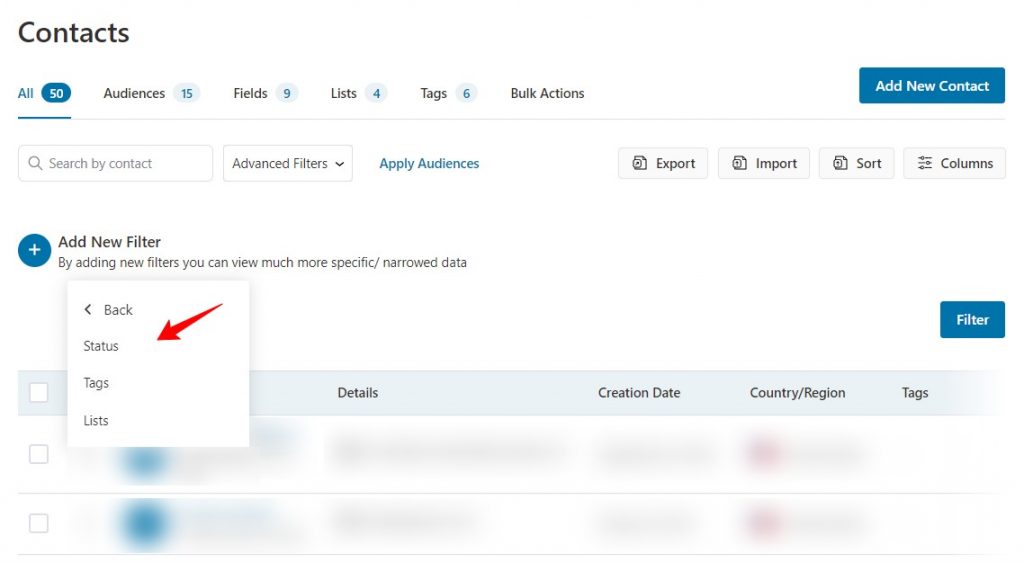
Segments
You can filter your contacts using status, tags, and lists. This way, the contacts which are associated with those statuses and tags/lists will only show up.
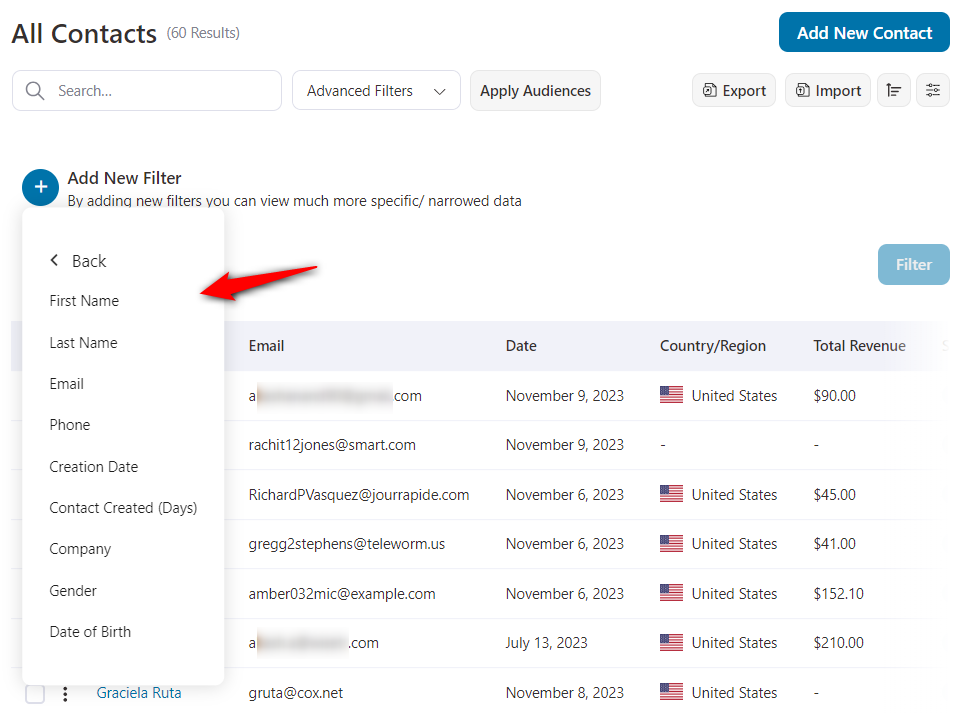
Contact Details
Filter contacts using their basic information such as first or last name, email, company, date of birth, gender, and more.
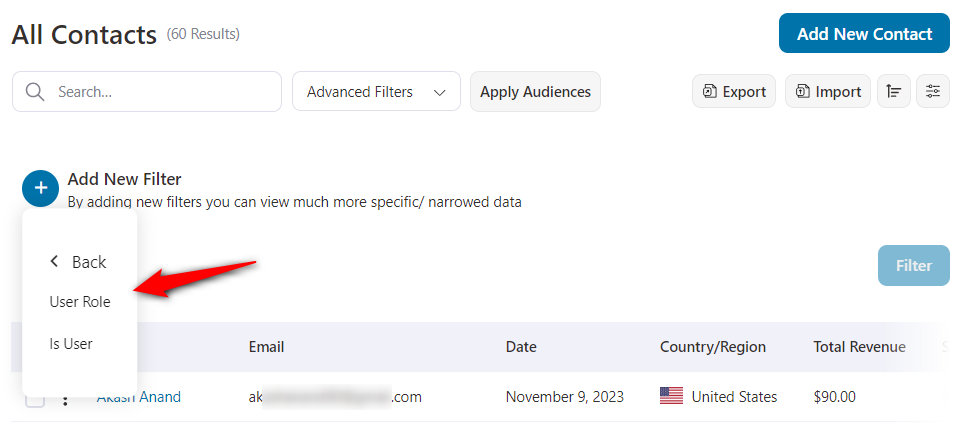
User
Filter your contacts using the WordPress user (based on the user role or is already a user) on your website.
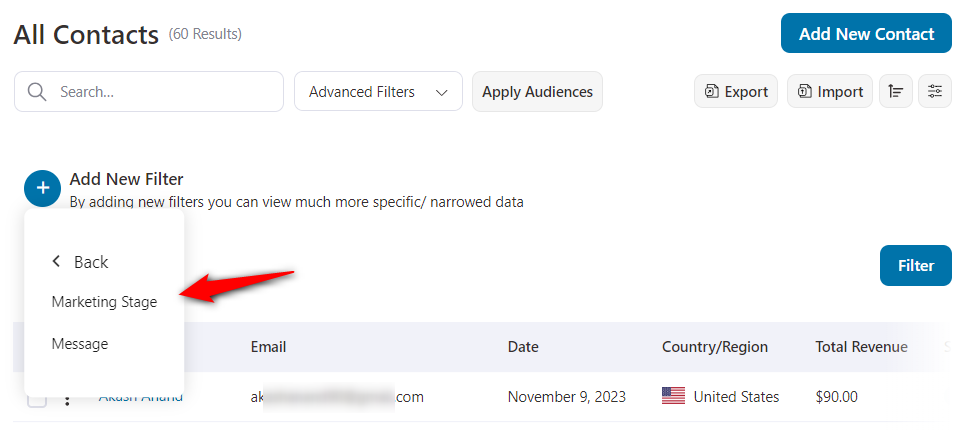
Custom Field
Filter your contacts using the custom fields you created within FunnelKit Automations.
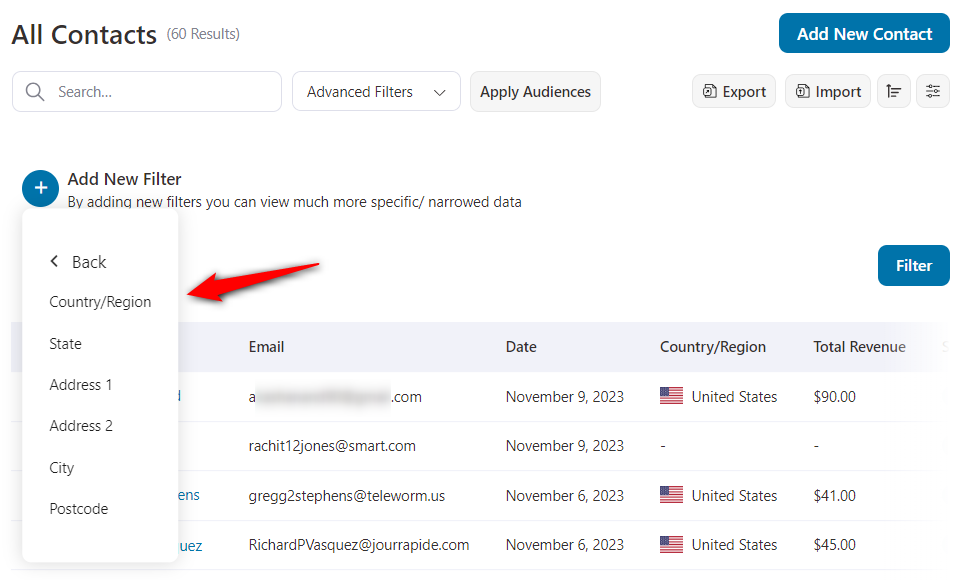
Geography
You can filter your contacts using an address, country/region, state, city, or postal code.
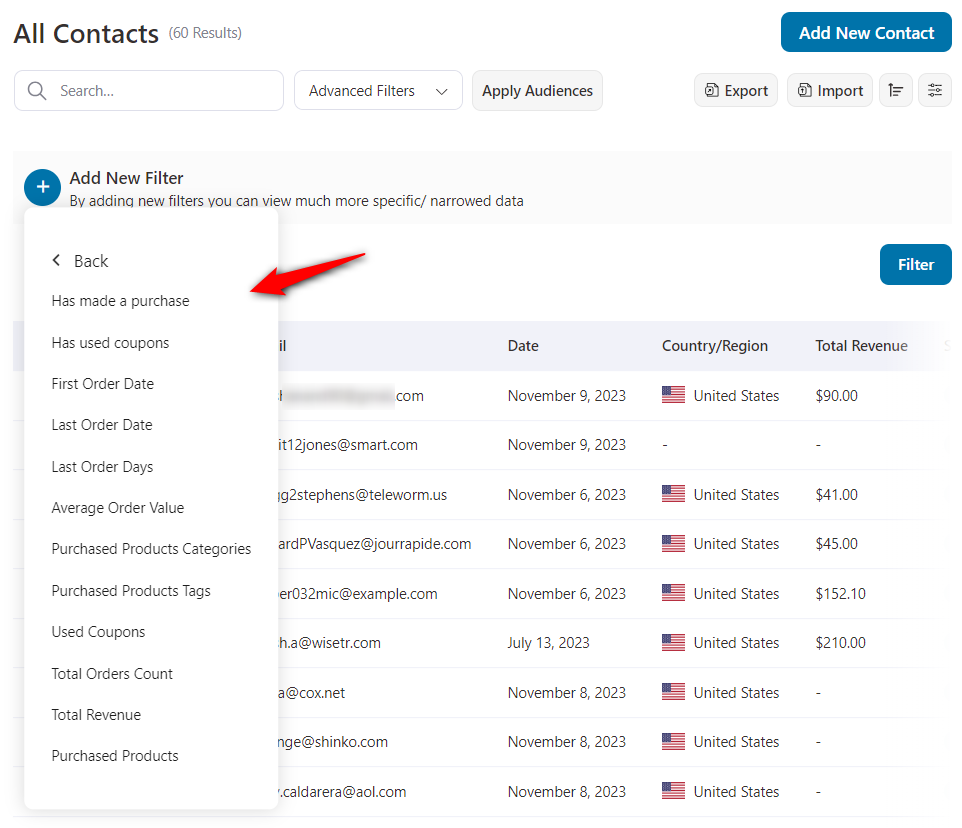
WooCommerce
Filter contacts using WooCommerce purchases such as items bought, revenue, order date, average order value, used coupons, purchase product categories/tags, etc.
Engagement
Filter contacts using the engagement stats on your campaigns, such as engaged, unengaged, last click, last login, link triggered, last open, last click, and more.
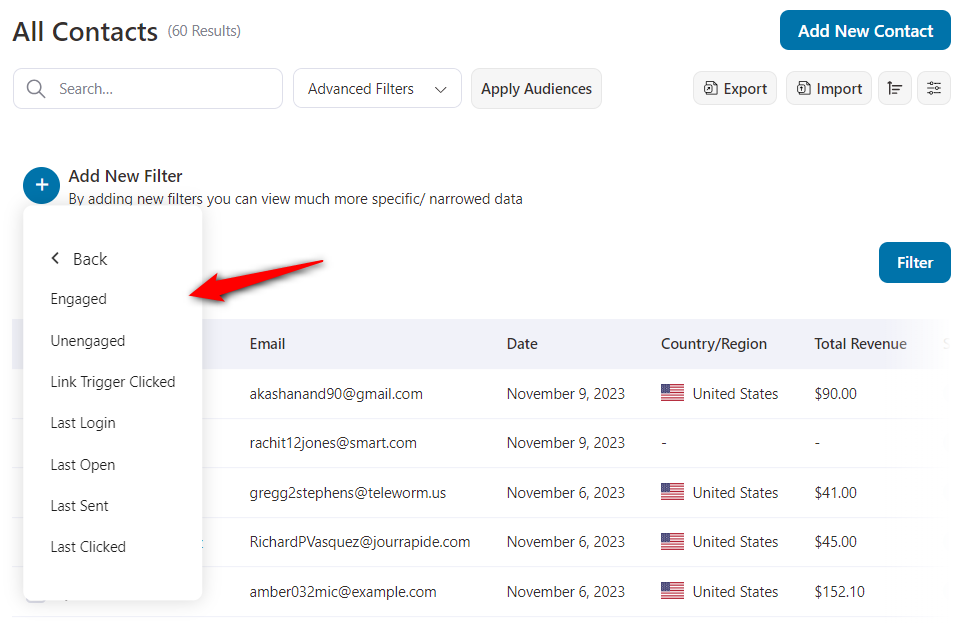
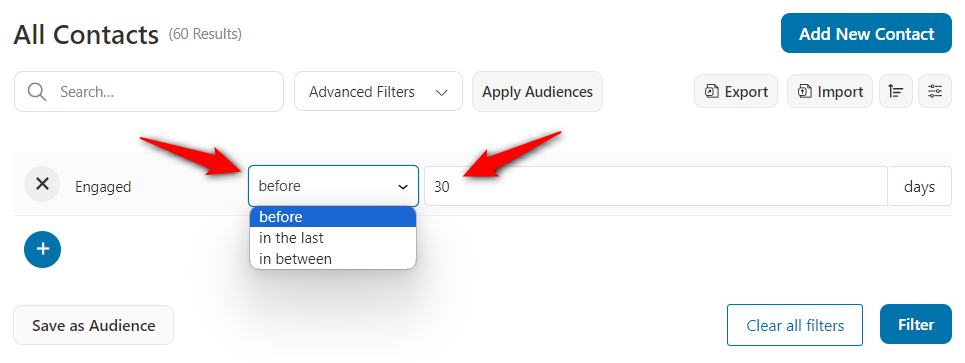
The engaged users will include all the users to whom you have not sent emails or who interacted in some way (opened the email, clicked on a link, etc.) with the emails you sent.
You can filter your contacts based on the engaged users by defining the period in the number of days.
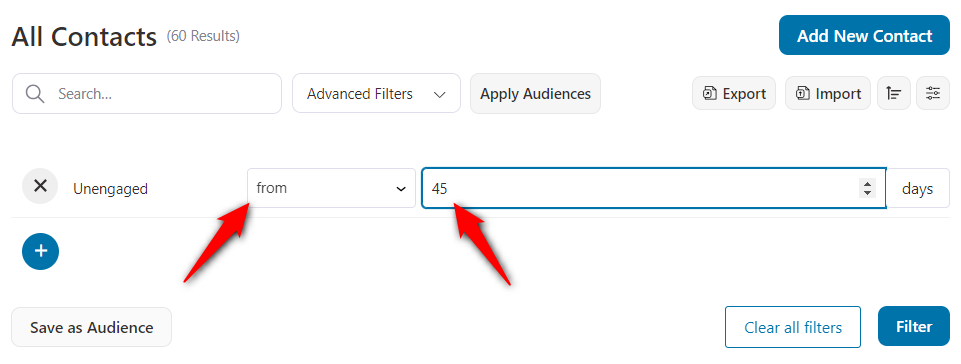
The Unengaged users will include all the users who haven't interacted with the emails you sent to them in the specified time period.
Filter your unengaged contacts for a specific period of time (in days).
Broadcast
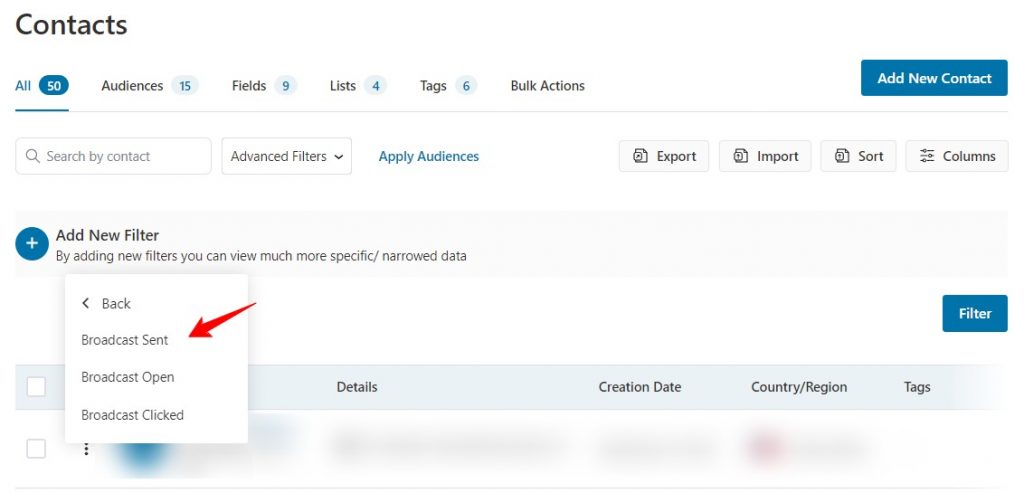
Segment your contacts based on the email broadcasts you sent to them.
You can filter your contacts based on the broadcast you sent to them, whether they opened the broadcast, or whether they clicked on a link in the broadcast.
Automation
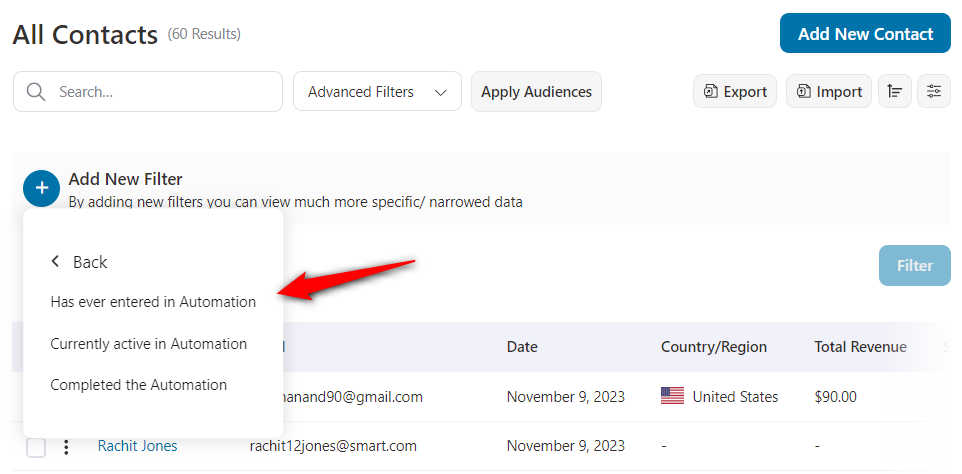
Filter your contacts list based on the automations created in FunnelKit Automations.
You can segment your contacts based on whether they have entered, are currently active in, or have completed a particular automation.
FunnelKit
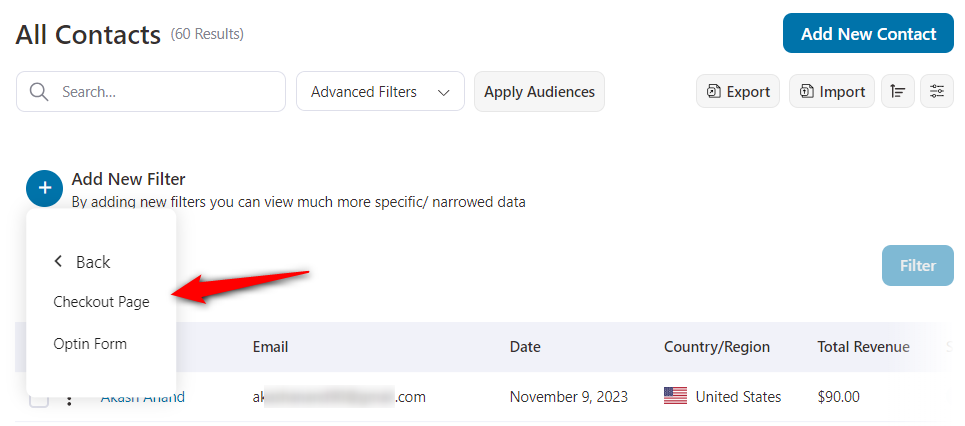
Filter your contacts based on the opt-in or checkout page created with FunnelKit's Funnel Builder.
You can segment your contacts if they have placed an order with a specific checkout page.
How to Filter Your Contacts?
Select any of the categories above to filter your contacts.
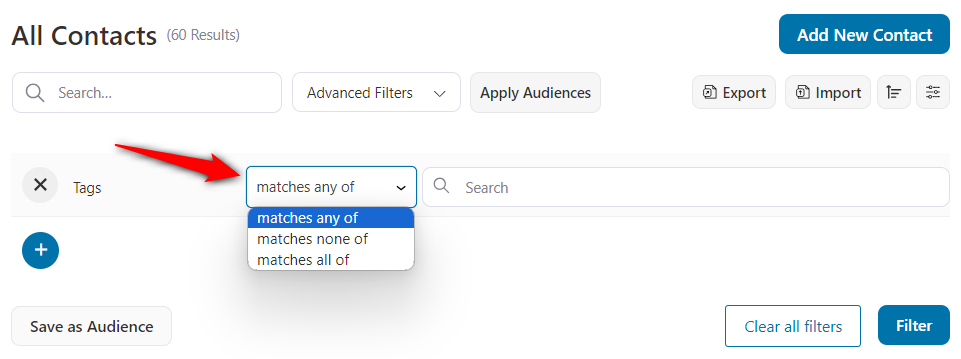
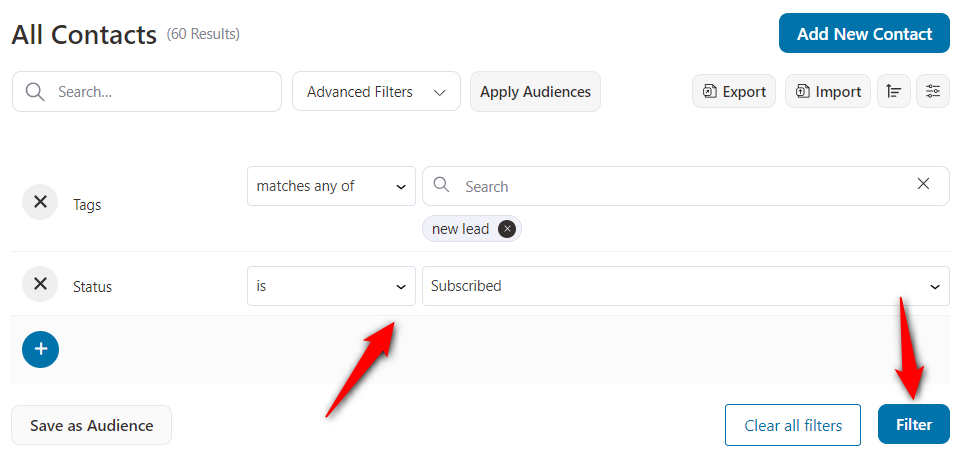
In this case, we are selecting tags. You’ll get the option of either including or excluding these tags.
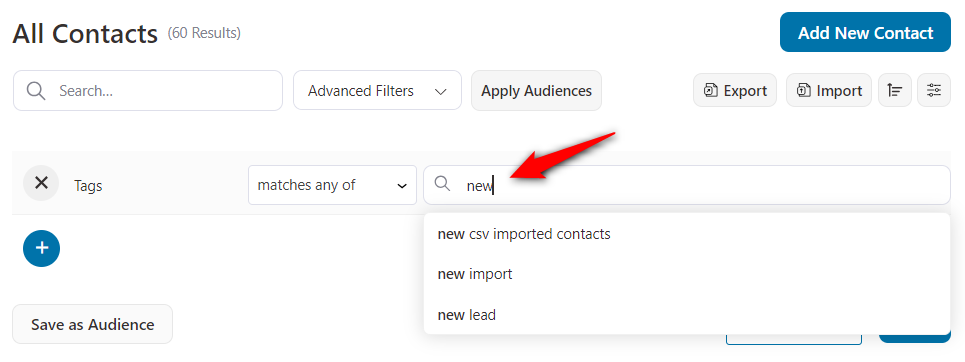
Now, enter your tag name. As you type your tag name, it’ll suggest tags with similar names that you have created in FunnelKit Automations.
You can further apply another filter on top of one.
Once done, click on the Filter button.
Please note that - only the contacts who matched these filters will show up on your screen.
If no contacts satisfy your filtering criteria, then you’ll get a prompt - No Contacts Found.
This is how you can filter contacts in FunnelKit Automations.
You can also save multiple filters as your audience to avoid setting them repeatedly, saving time.
Know everything about the audience in the next section.


