Once you have chosen your email service provider and configured it with the recommended plugin, you can test your emails.
To test your emails, you need to go through the following steps:
- Configure your email settings
- Create an automation to test your emails
Let’s go through these steps now.
Configure your email settings
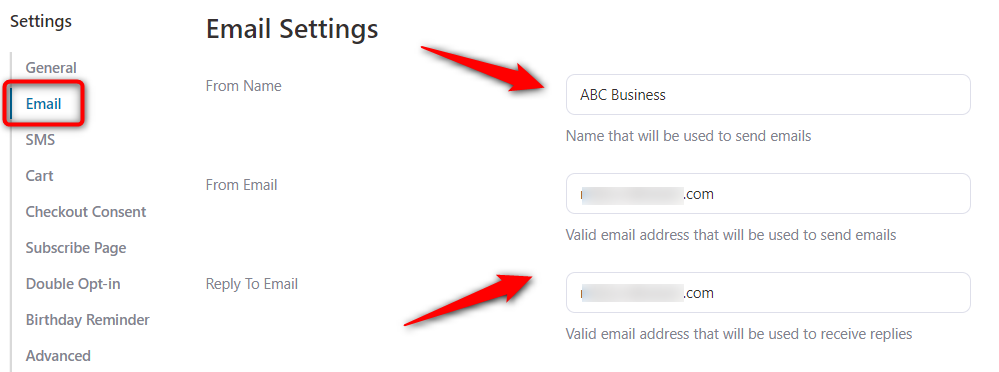
Go to FunnelKit Automations ⇨ Settings
Under email settings, check the From Name, From Email, and Reply-to-email addresses.
Make sure you have enabled and configured the bounce handler settings within FunnelKit Automations.
Create an automation to test your emails
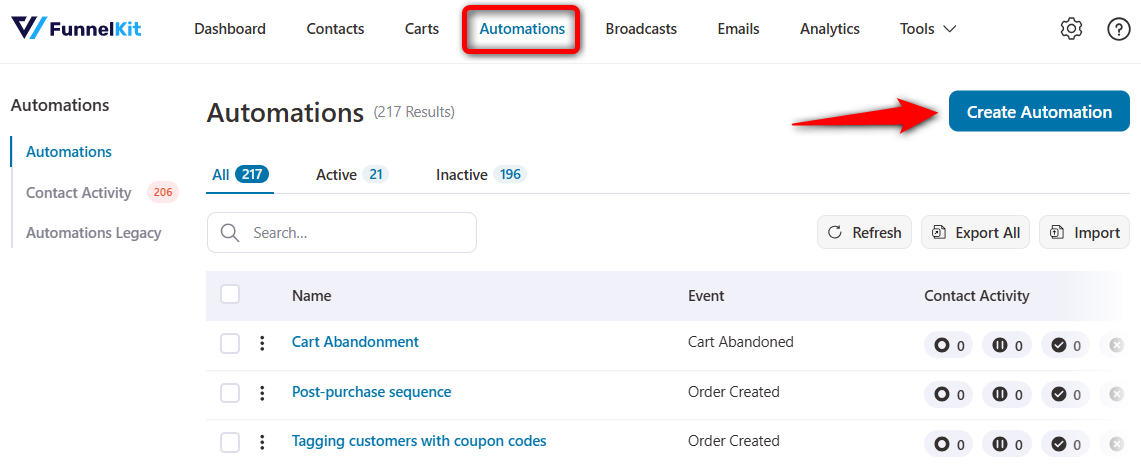
Go to Automations and click on Add New Automation.
Here, we'll import a pre-built recipe for our automation.
For that, click on any automated recipe you want to import.
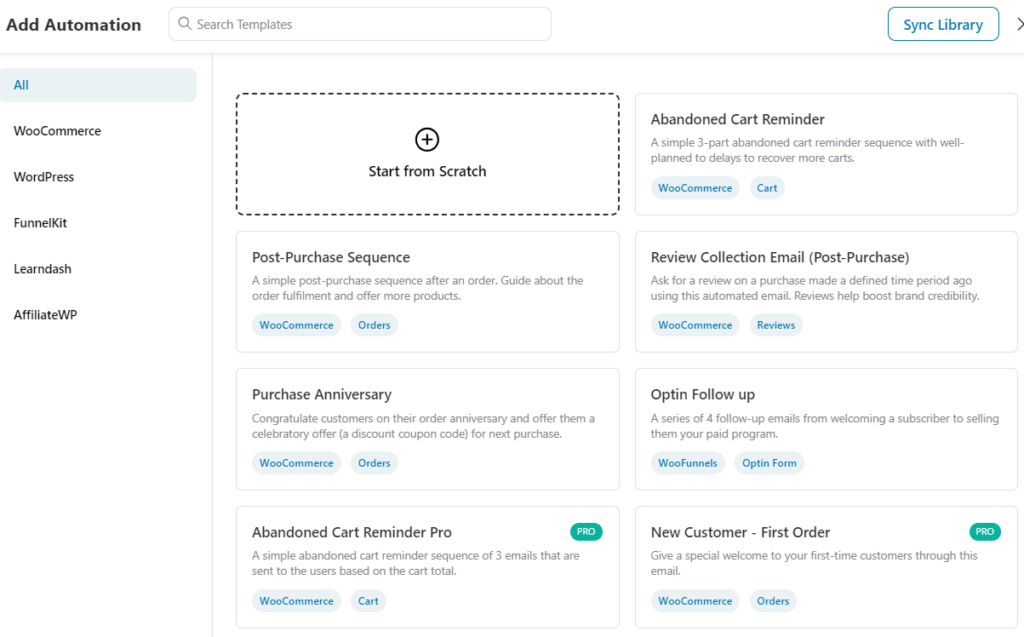
You'll be able to preview your automation recipe.
Click on Import and name your automation.
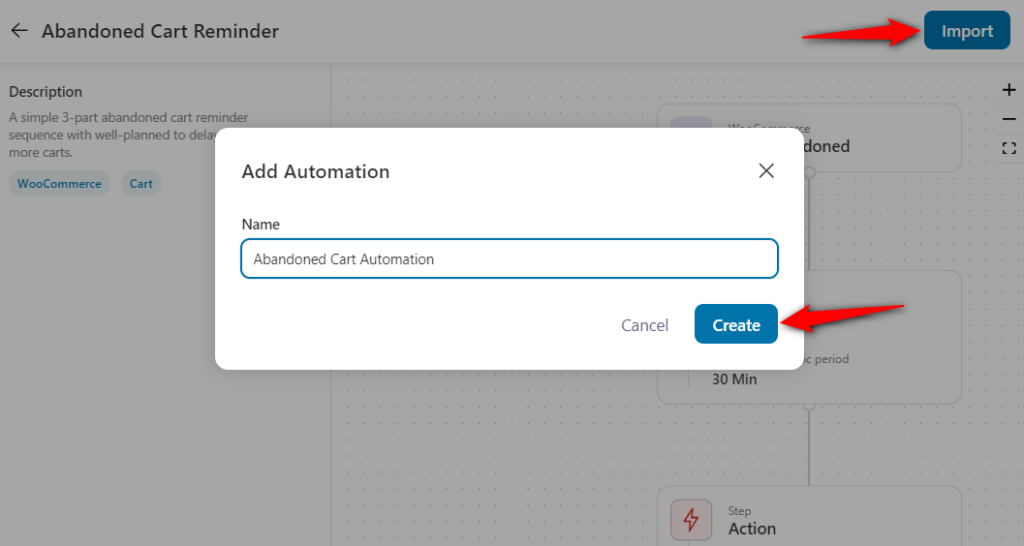
Clicking on Create will import your automation into the workflow section.
Feel free to customize it as per your requirements.
Go down to your workflow and click on the Send Email action.

Enter your email address under the Send Test Mail button.
Then, click on Send.
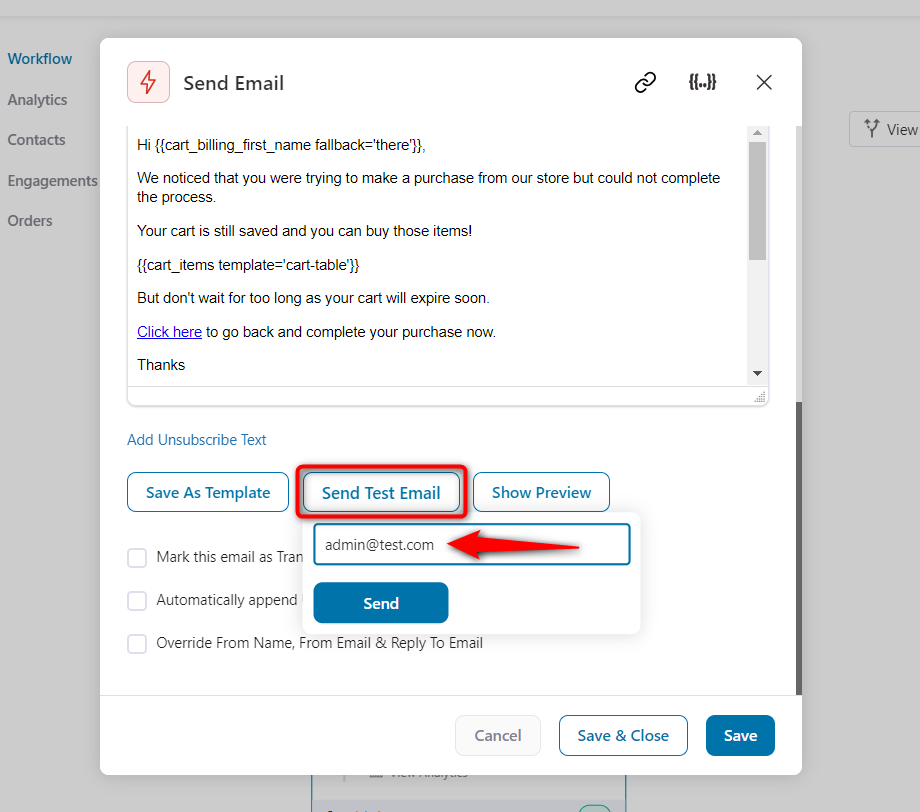
This is how you can send a test email to check your email deliverability.


