You can easily connect MailChimp to FunnelKit Automations.
All you have to do is follow the instructions below:
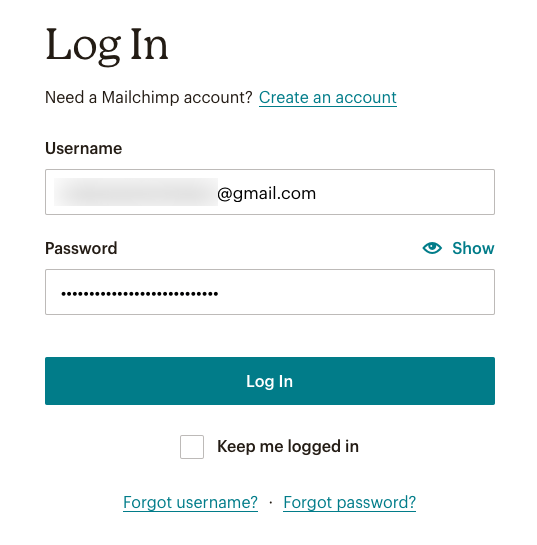
Step 1: Login to your Mailchimp account
Go to Mailchimp and log in to your account.
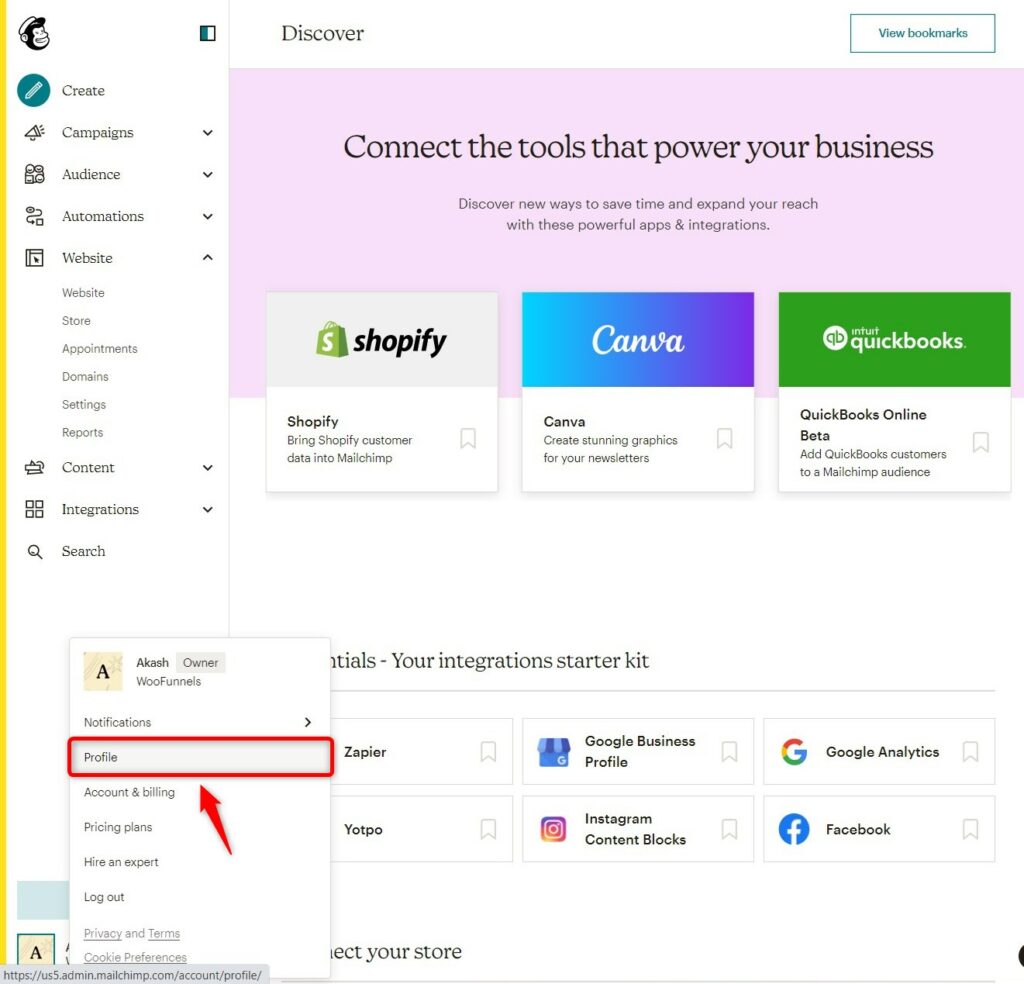
![](https://funnelkit.com/wp-content/uploads/2021/08/image-290.png)
Step 2: Create a store
Under the Website tab, head over to the Store.
![](https://funnelkit.com/wp-content/uploads/2022/02/mailchimp-click-website-store-1024x656.png)
Enter the details about your business name.
![](https://funnelkit.com/wp-content/uploads/2023/02/mailchimp-store-1024x697.jpg)
Once you finish this process, it'll let you create the store.
Here's the documentation you can refer to on how to create your store.
Step 3: Go to your Profile
Next, go to your profile.
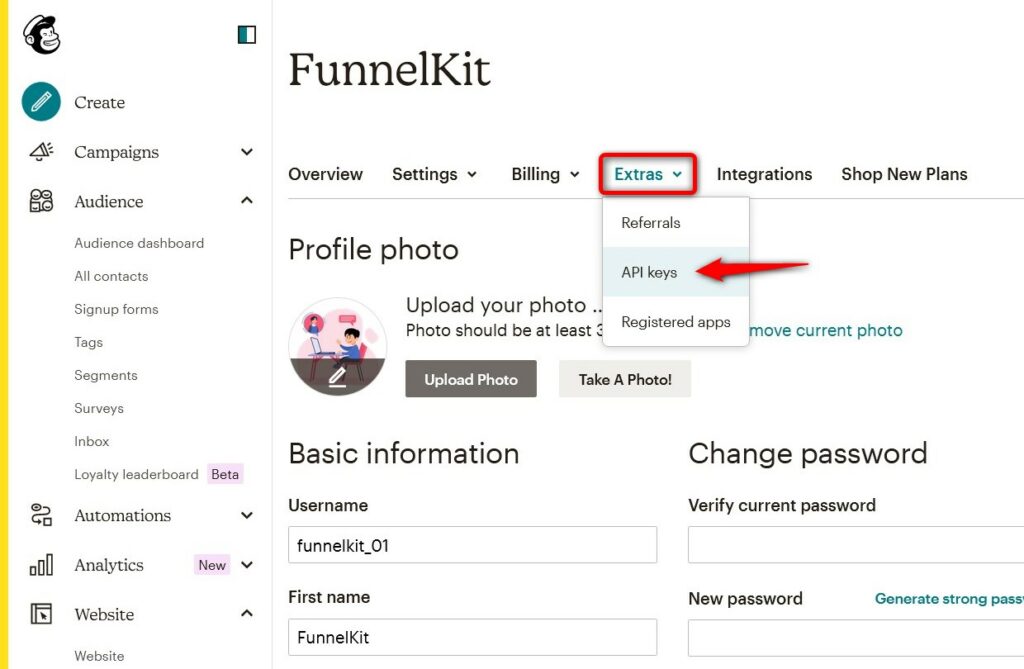
![](https://funnelkit.com/wp-content/uploads/2022/11/mailchimp-profile-1024x984.jpg)
Step 4: Click on API Keys
Go to Extras ⇨ API Keys.
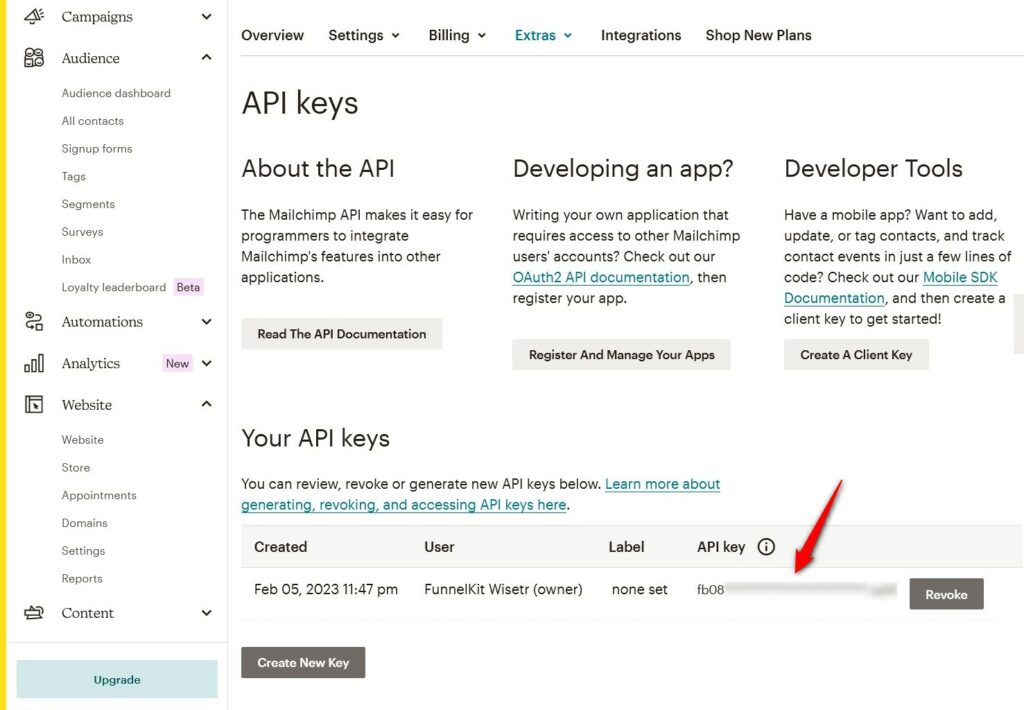
![](https://funnelkit.com/wp-content/uploads/2023/02/extras-api-keys-mailchimp-1024x669.jpg)
Step 5: Copy the API keys
Here you'll find your API key.
Either create a new key or copy the one you created earlier.
![](https://funnelkit.com/wp-content/uploads/2023/02/api-keys-mailchimp-1024x710.jpg)
Step 6: Paste the API keys under MailChimp in FunnelKit Automations
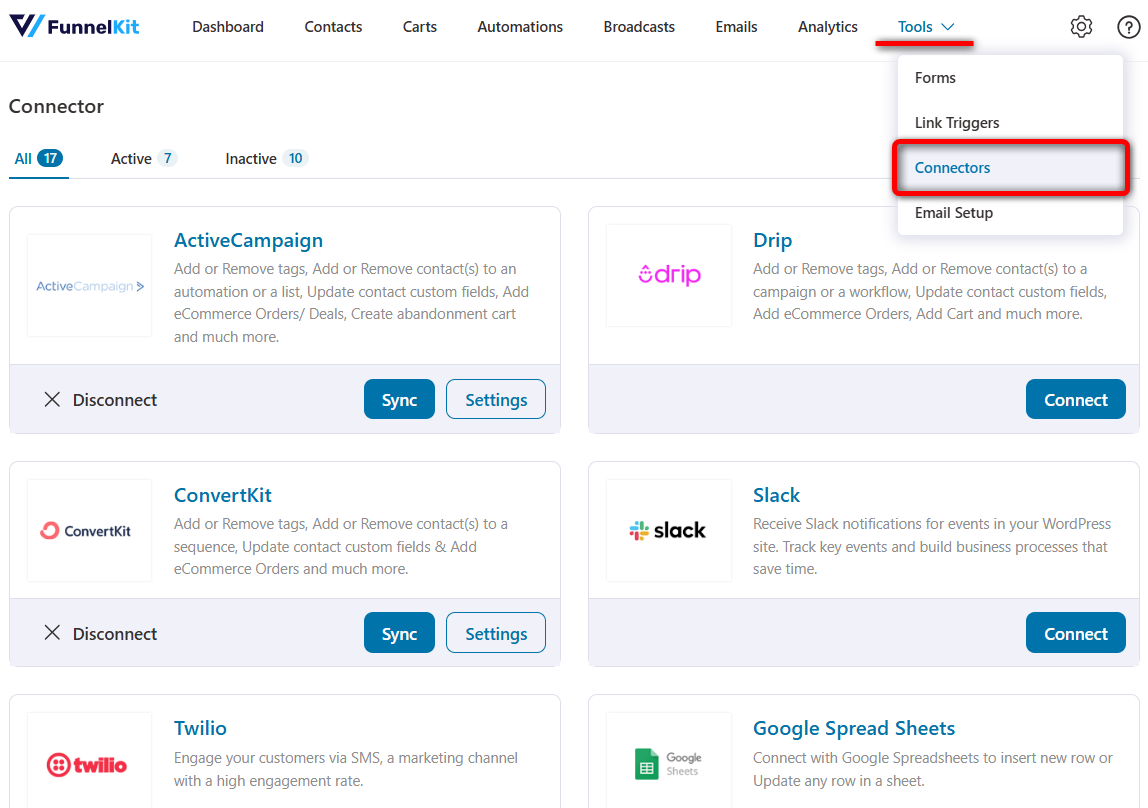
Go to the Connectors tab under FunnelKit Automations.
![Connectors tab in FunnelKit Automations](https://funnelkit.com/wp-content/uploads/2022/11/click-connectors-generalized-1024x561.jpg)
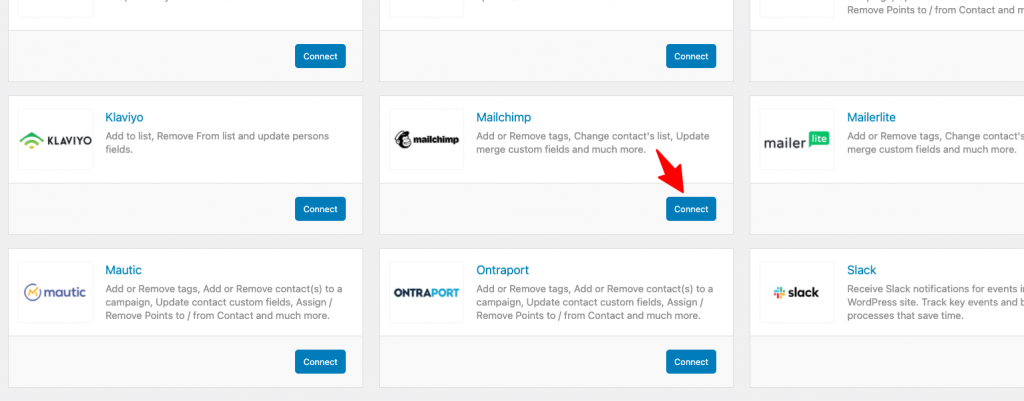
Go to MailChimp and click Connect.
![](https://funnelkit.com/wp-content/uploads/2021/08/image-295-1024x401.png)
Paste the API keys here.
Then select your business and the store.
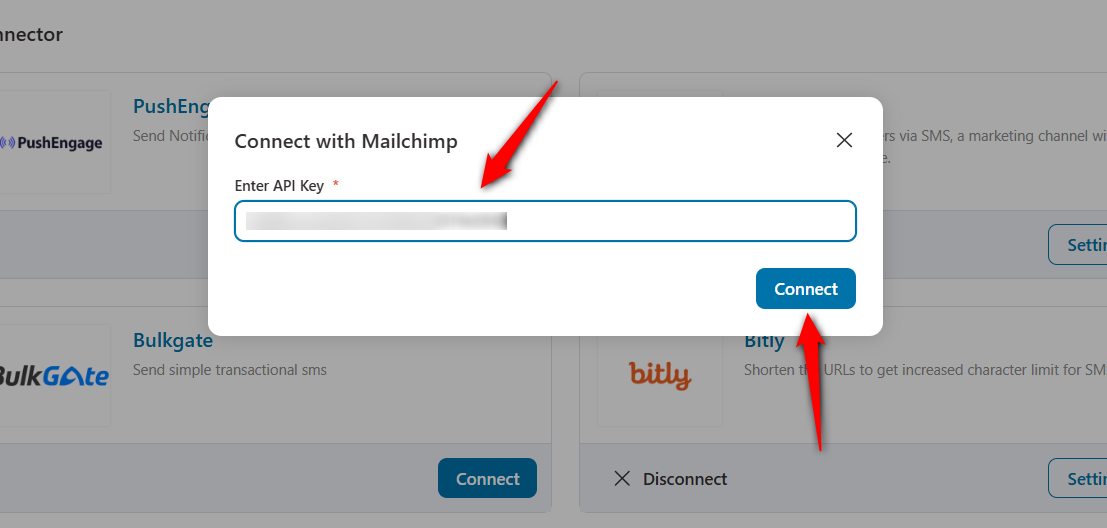
![](https://funnelkit.com/wp-content/uploads/2023/02/paste-api-key-mailchimp-1024x547.jpg)
Click on Connect.
This will successfully connect Mailchimp to FunnelKit Automations.