FunnelKit Automations introduces an all-new enhanced visual email editor that helps you design visually appealing and responsive emails for your marketing campaigns.
It has a user-friendly interface and requires no coding skills, making it easy for you to create professional-looking emails.
Features
Here are some key features of the Block Builder in FunnelKit Automations:
- WooCommerce content blocks - Apart from the usual content blocks, such as text, images, buttons, etc., you get access to WooCommerce blocks, such as the product, cart item, order summary, coupon, etc., to help you design attractive emails and send them to your customers.
- Drag-and-drop interface - The Email Visual Builder in FunnelKit Automations has a drag-and-drop interface that allows you to add and arrange various content blocks onto the canvas easily. This makes the builder intuitive to design the perfect email layout you want.
- Pre-designed email templates - FunnelKit Automations offer a library of 22+ pre-designed email templates to help you get started quickly. These templates can be imported with one click and customized to match your brand, saving time and effort in designing emails from scratch.
- Modern customizations - It offers you with modern customization options for each content block and section. That allows you to change your email’s color scheme, topography and design elements to maintain brand consistency. This way, you can tailor your emails the way you want.
- Personalization - Personalize your emails with their name and other related information with the help of merge tags. For example, you can address them with their first name, send them their order details, and include other information. This makes the email more personal and engaging.
- Responsive design - FunnelKit Automations ensures that the emails designed with its builder make sure that the emails are responsive on different devices. These templates and all the content blocks are automatically optimized to be displayed properly on desktops, tablets, and mobile devices.
- Preview and test emails - See real-time previews and send test emails to see how your designed emails appear to your recipients. This feature helps you identify and rectify any issues before sending the email to your contacts.
- Conditional content display - Dynamically show or hide content in your emails based on your contact’s interests and relevant information. You can create a set of rules or conditions that determine whether or not the content should be displayed in an email.
- Layouts - Get access to pre-built layouts such as headers, footers, testimonials, banners, blocks, etc., to design your emails much faster. You can even save your own custom layouts and use them in your future email campaigns.
Import a Pre-Designed Email Template
FunnelKit Automations’ built-in Visual Builder lets you design attractive emails in your automated campaigns and broadcasts.
Select the Visual Builder (New) in your email section and hit Edit to launch the builder.
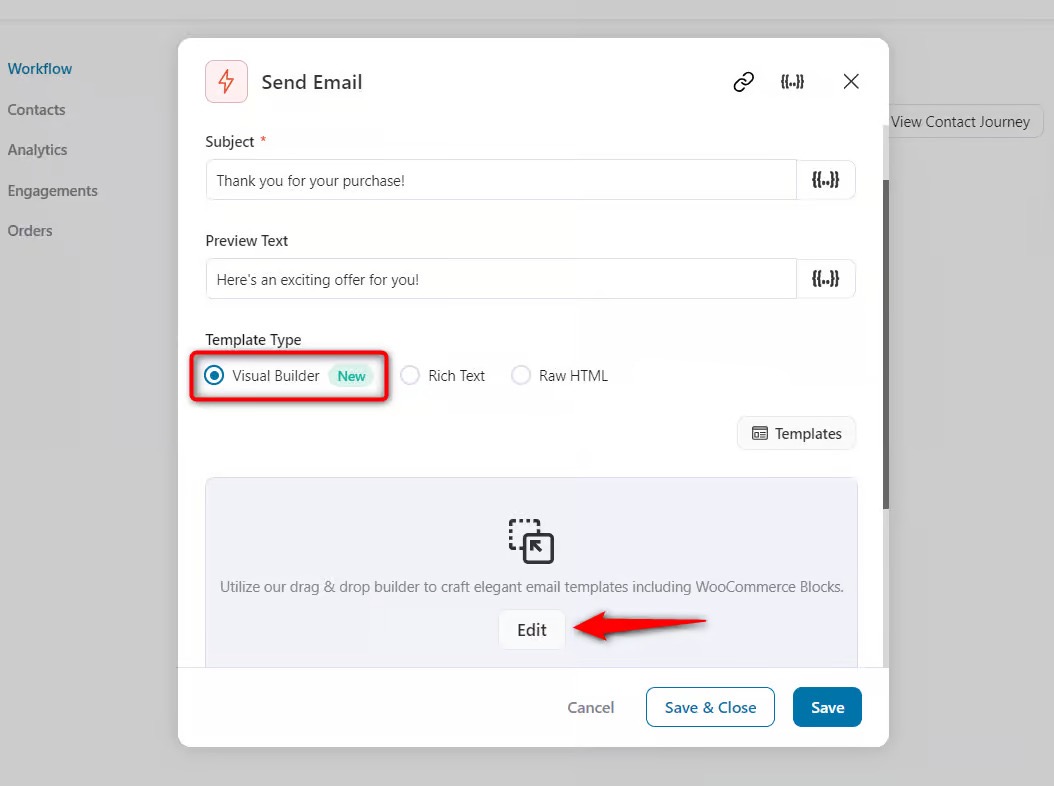
Wait for a couple of seconds to load the Visual Builder.
You’ll be taken to the pre-built templates screen, where you can import and customize the template as per your requirements.
You can also create an email from scratch and save your templates to be used in your future email campaigns.
You get access to 22+ templates for order confirmation emails, abandoned cart recovery emails, winback emails, newsletters, webinar registration, course engagement, product recommendations, sale announcements, and more.
Let’s import the Personalized Coupon template under eCommerce.
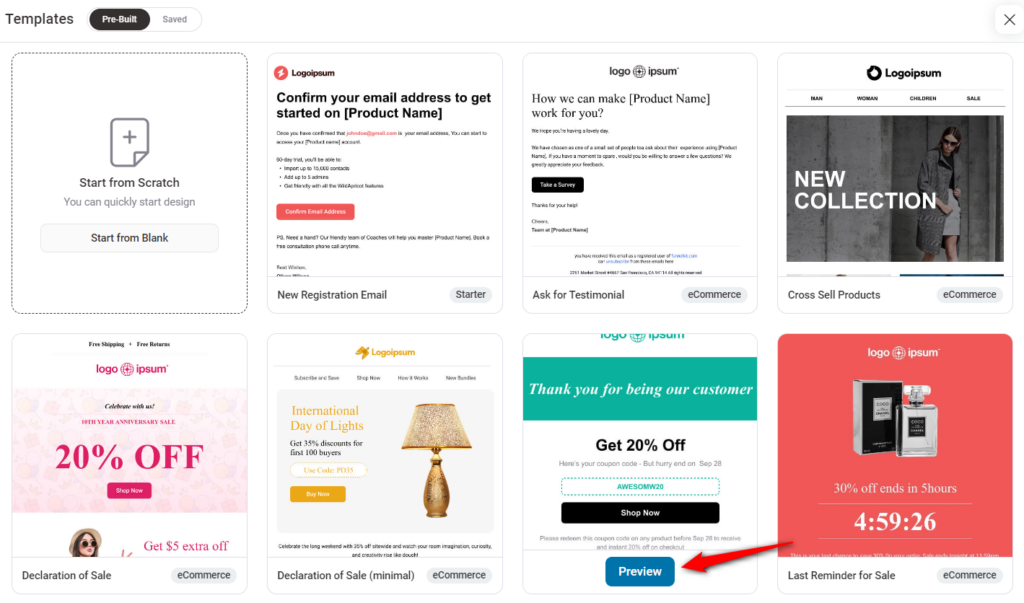
By clicking on the Preview button, you’ll be able to see the full preview of the selected email template.

This will import your template with a single click onto your builder canvas.
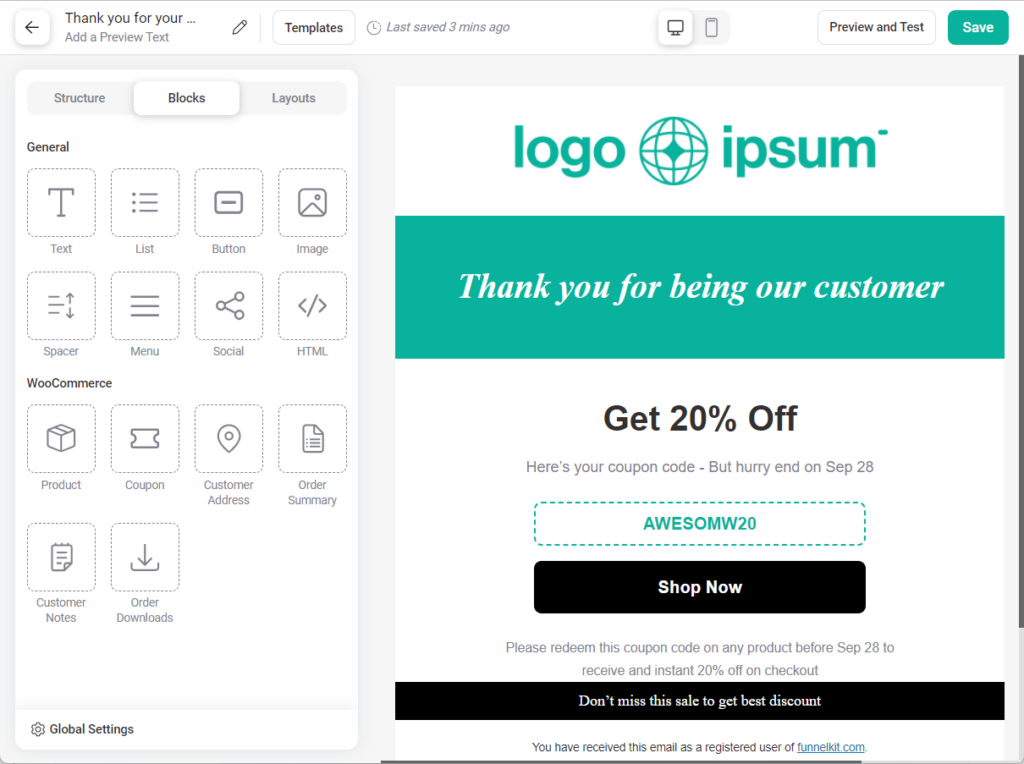
On the right, you’ll see the imported template. On the left, you'll see your content blocks as well as sections like Structure, Layout, and Global Settings.
Customization
Here, we’ll explore the different sections and content blocks to customize the email.
Header
Let’s start with customizing the header or logo.
Go to the Layouts section and drag and drop the header onto your email template.
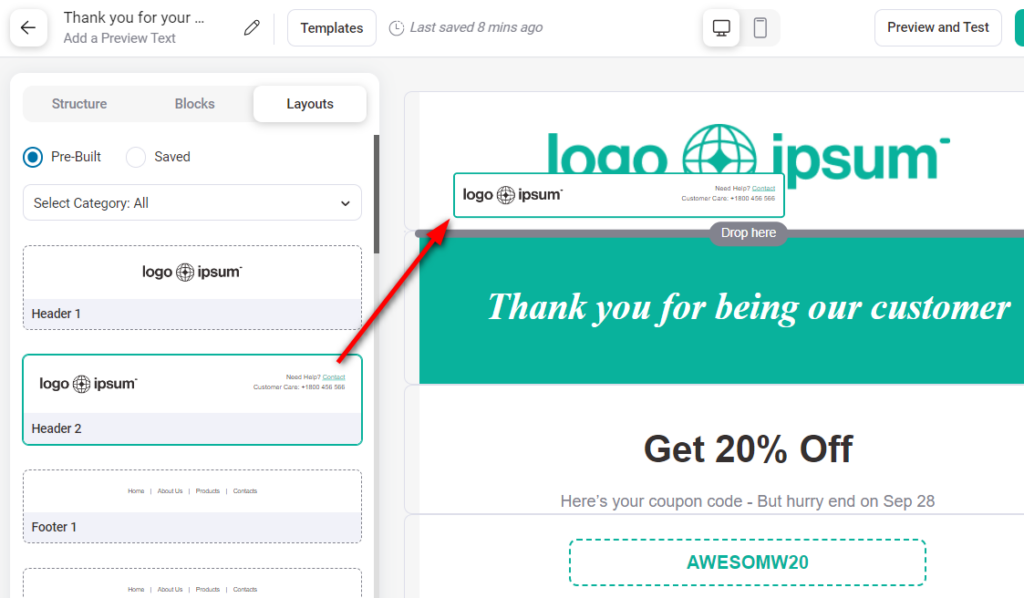
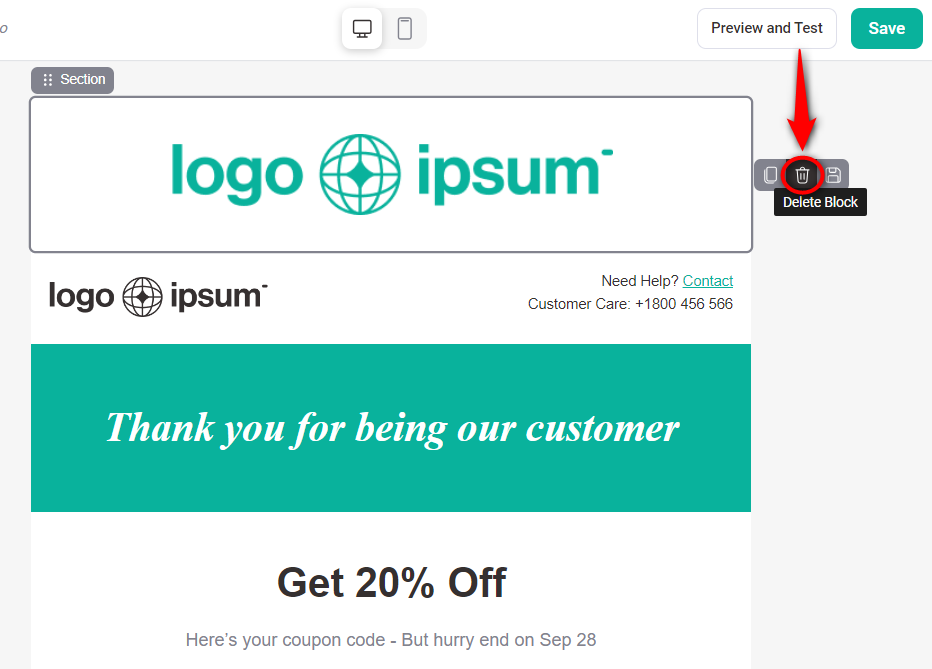
Now the header is added, remove the previous header from your email.
To remove the previous header, click on the Bin icon.
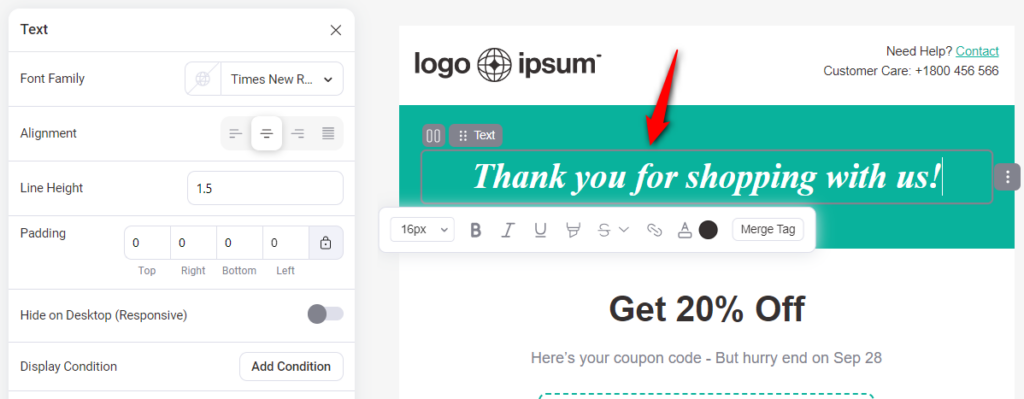
Text
You can change the text of your heading by simply clicking on it and typing the new text.
Section Color
Next, click on the Section Color and customize it to match your brand.
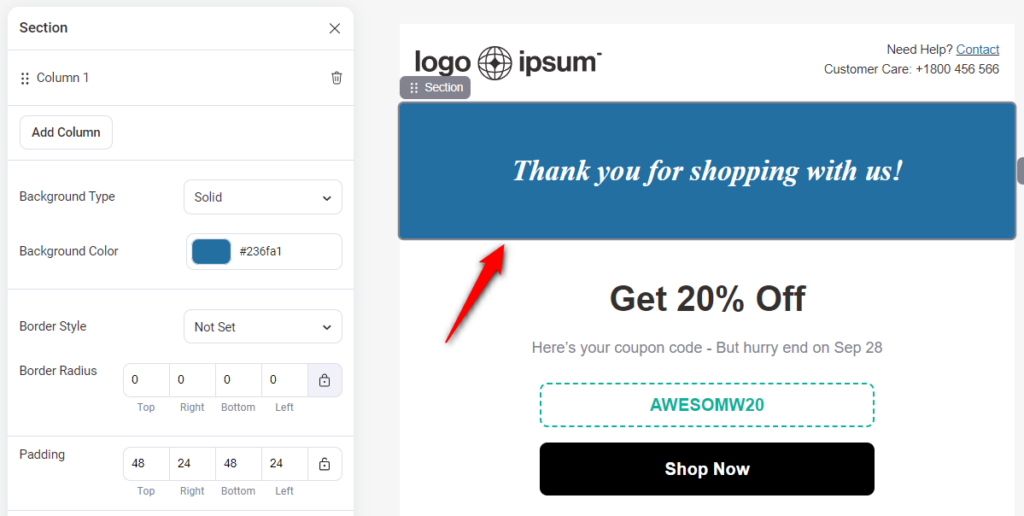
Here, we’ve changed our background color.
Personalization
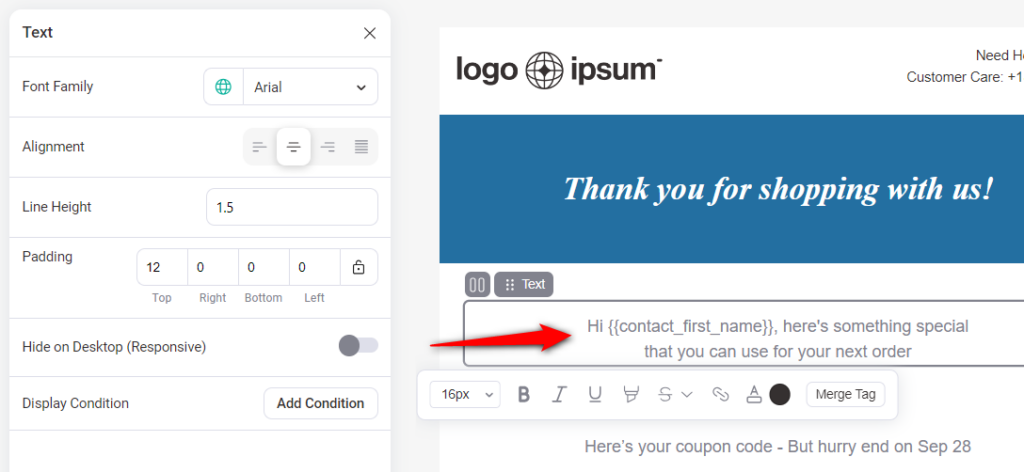
Add the text block to your email template and add some personalization.
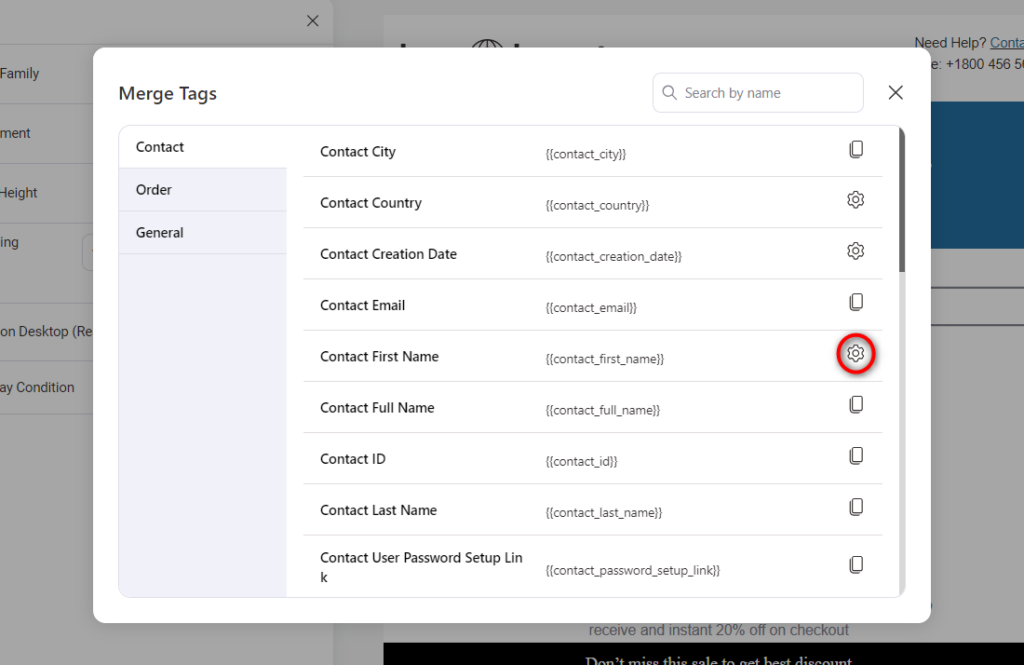
Let’s say you want to dynamically bring the user’s first name in all your emails. Click on the Merge Tag.
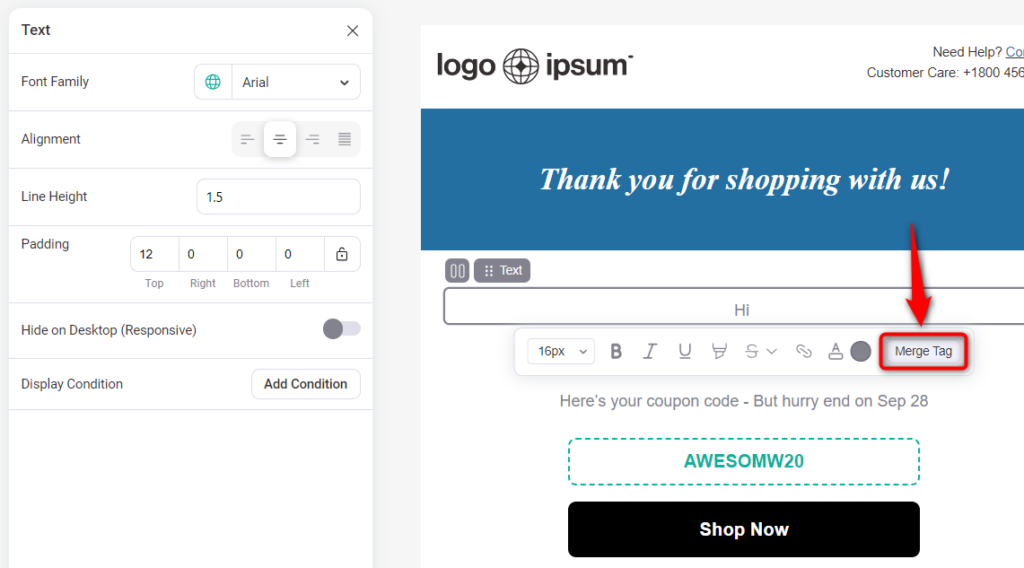
Here, you’ll find different merge tags that you can personalize your emails with.
Let’s copy the First Name merge tag.
Paste this merge tag into your email body content.
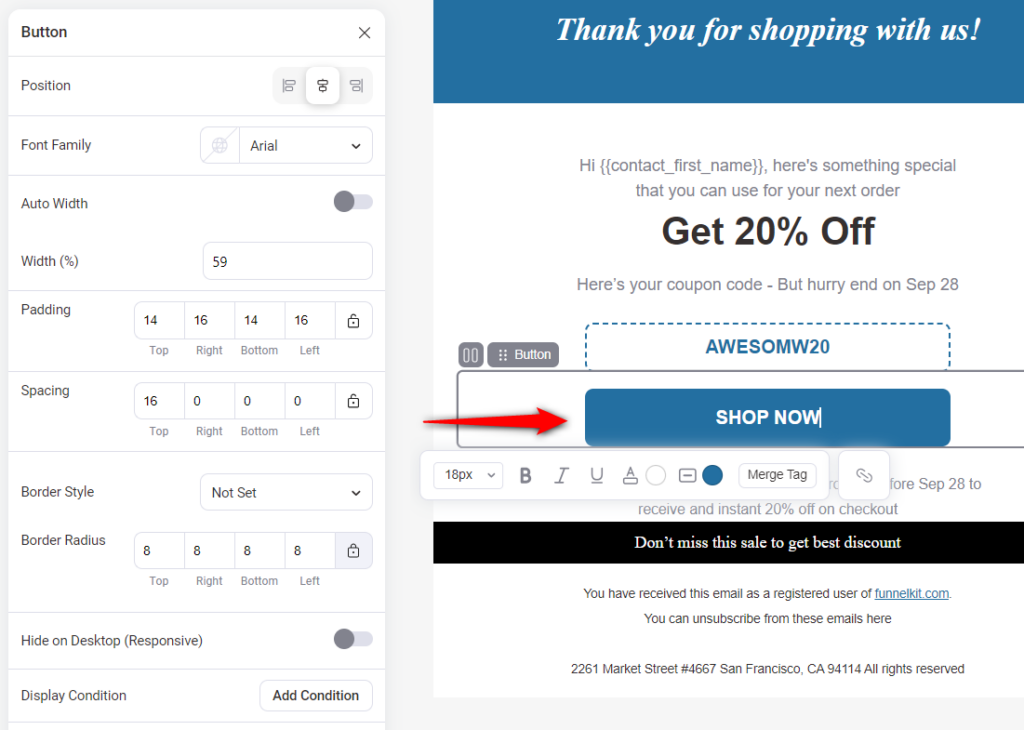
Button
Customize the look and feel of your CTA buttons in your email, which further assists you in driving the necessary action.
Change the text, color and URL of the CTA.
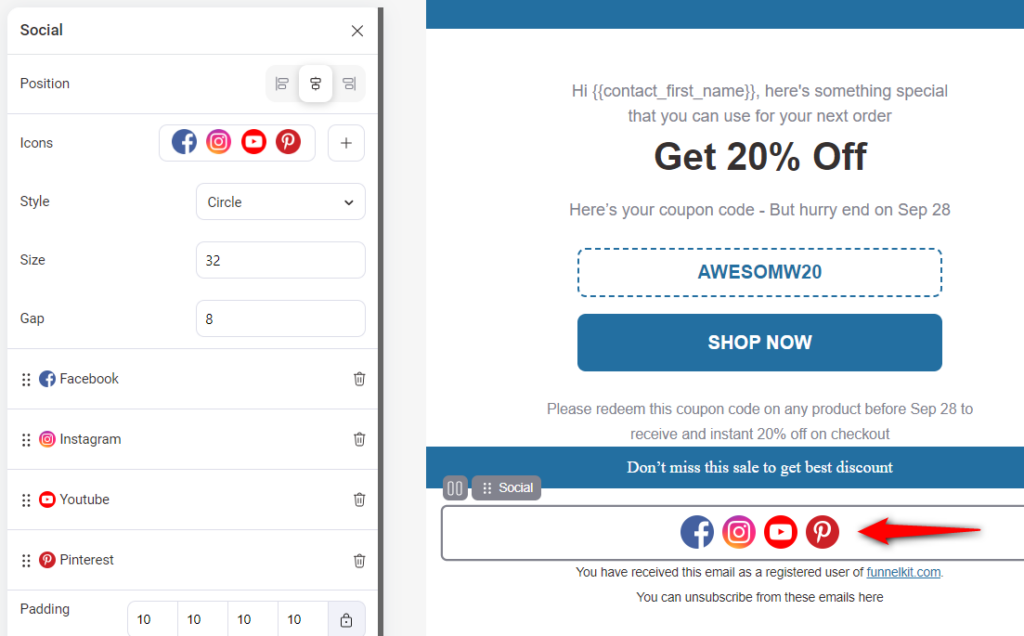
Social Icons
Add some social icons by dragging and dropping the Social block onto your template.
Then, customize the icons by assigning the URL to your social media account.
It lets you add social icons for Facebook, Instagram, YouTube, and Pinterest by default, but you can add more depending on your brand's platforms.
Make sure to hit Save when you’re done customizing your email design.
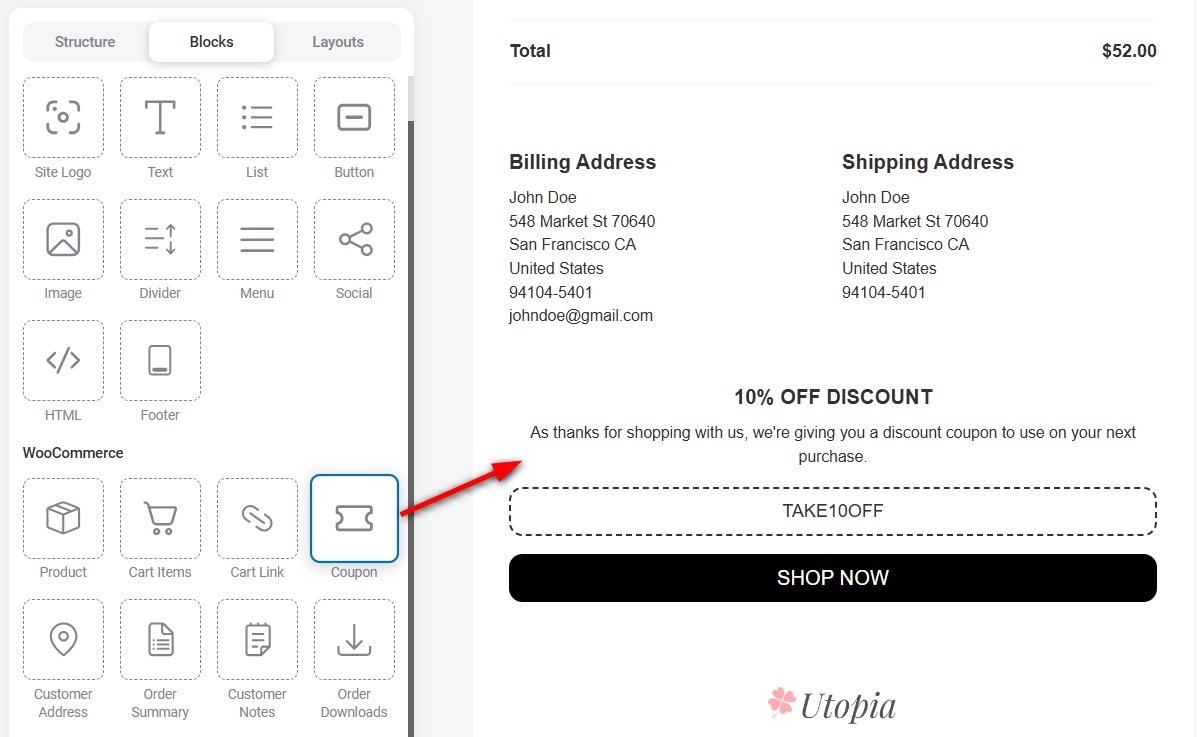
WooCommerce Content Blocks
You get access to various WooCommerce blocks to help you transform boring default WooCommerce emails into visually-appealing emails:
- Product
- Cart Items
- Cart Link
- Coupon
- Customer Address
- Order Summary
- Customer Notes
- Order Downloads
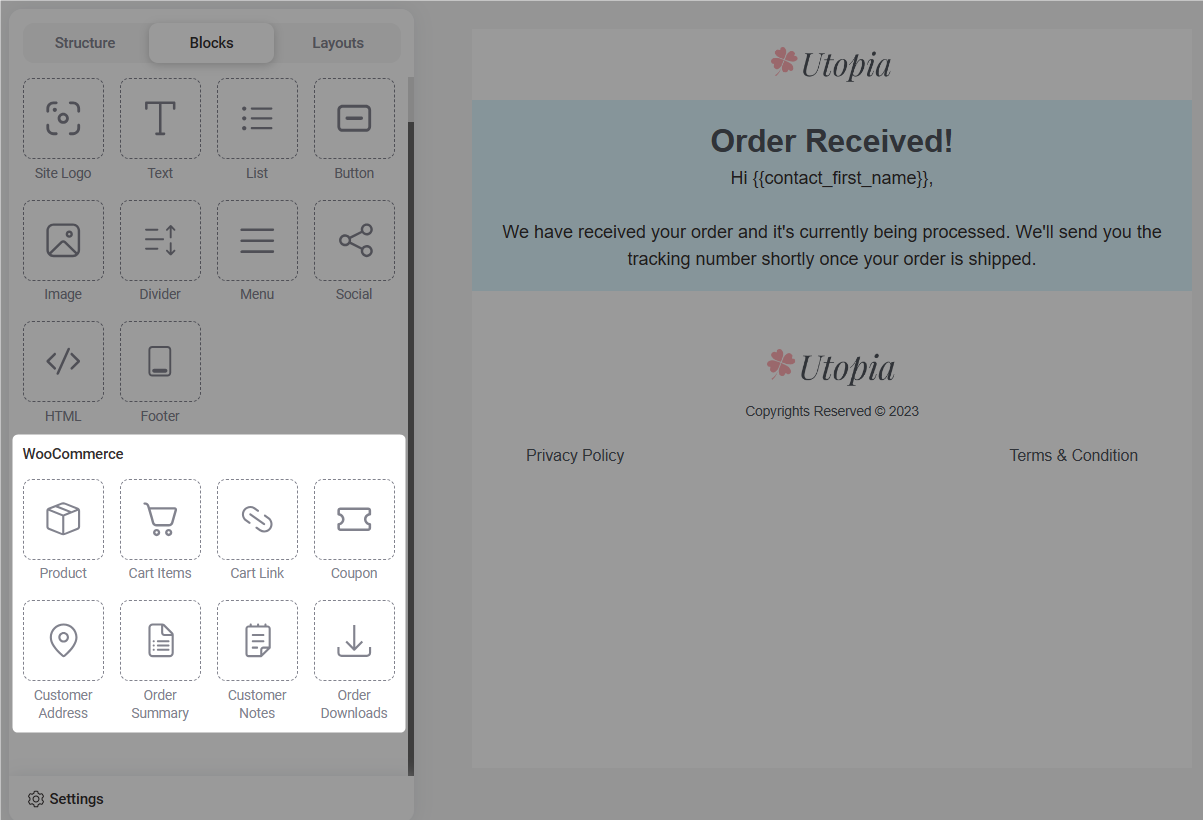
Let’s explore some of these blocks.
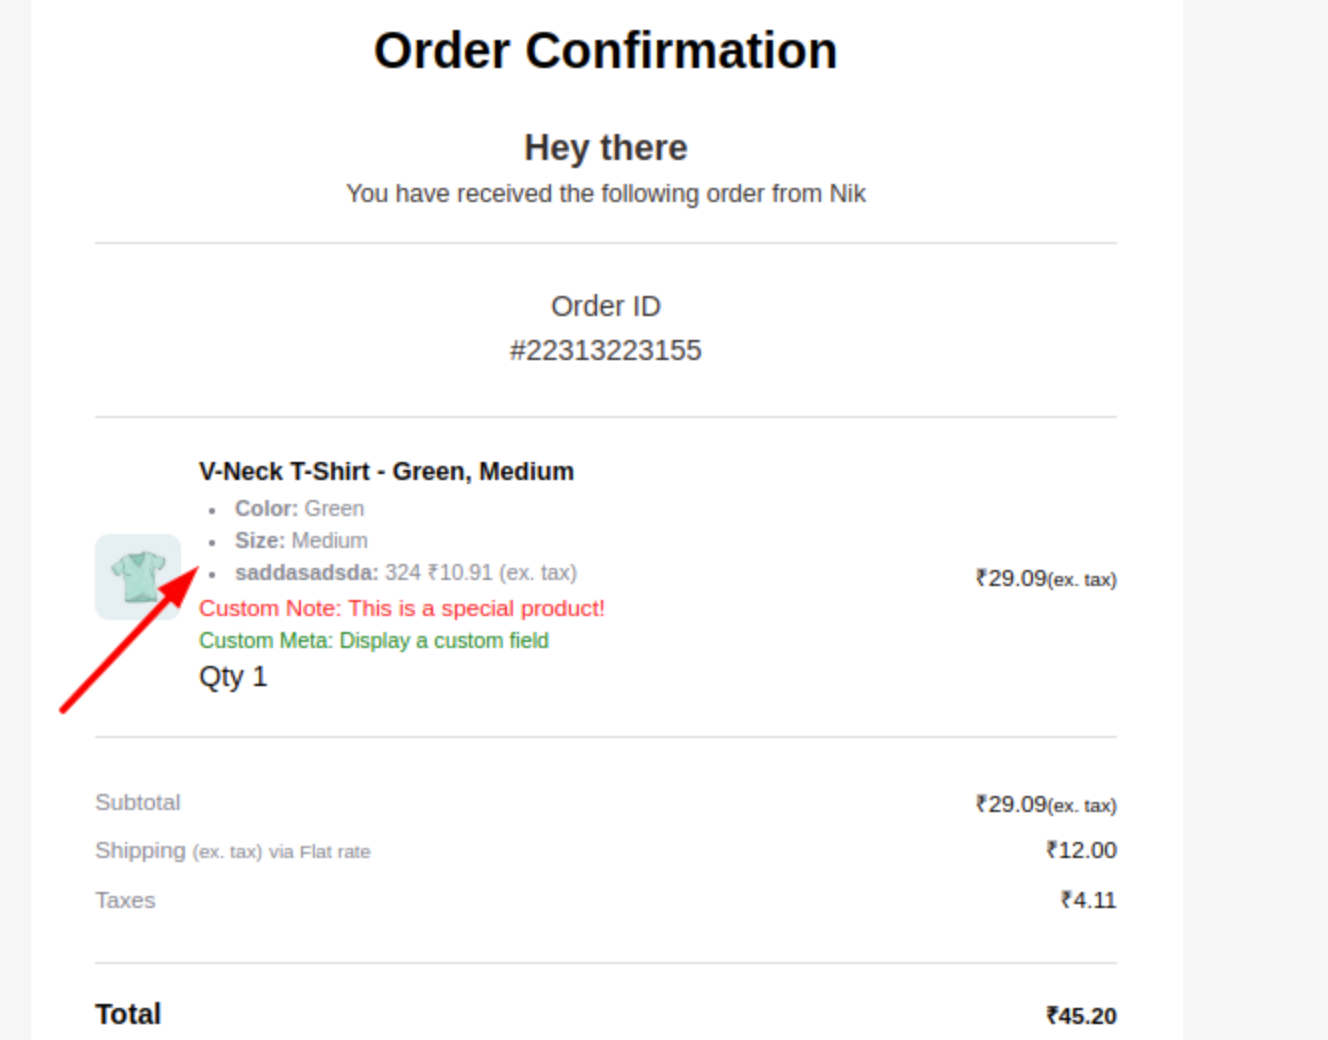
Order Summary
Drag and drop the Order Summary block into the workspace.
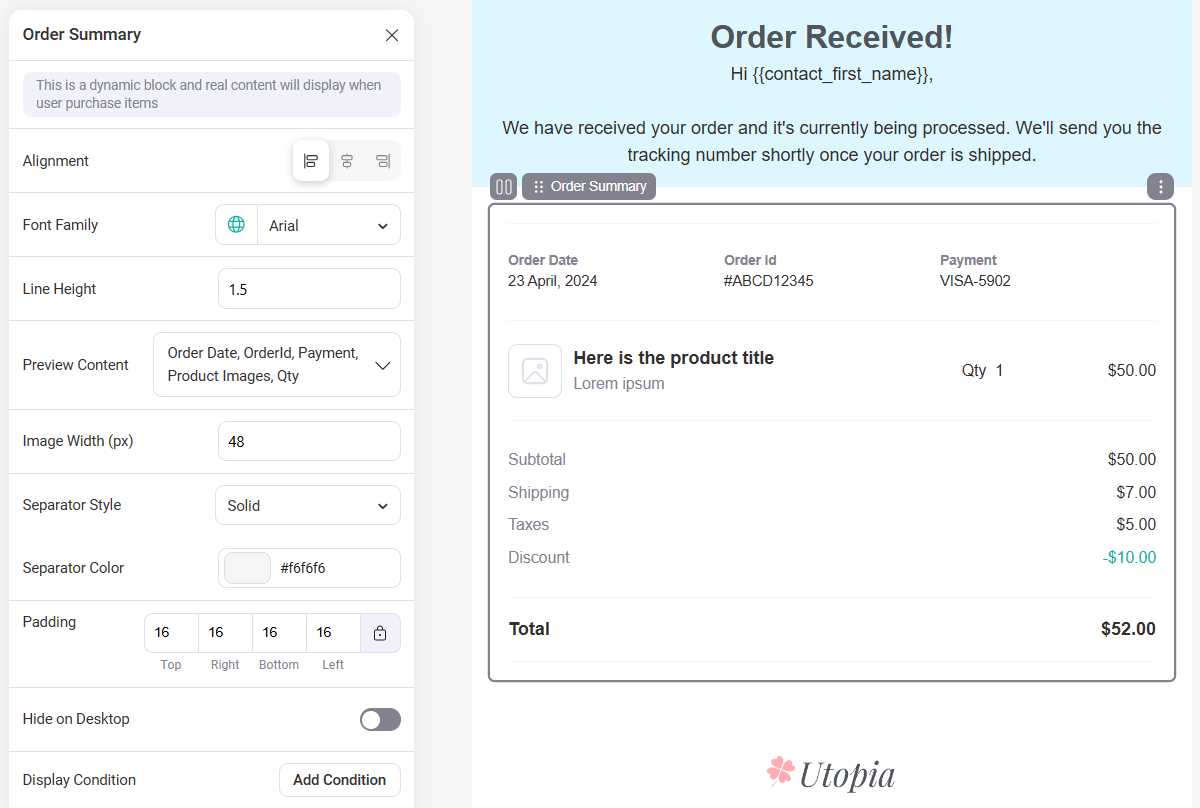
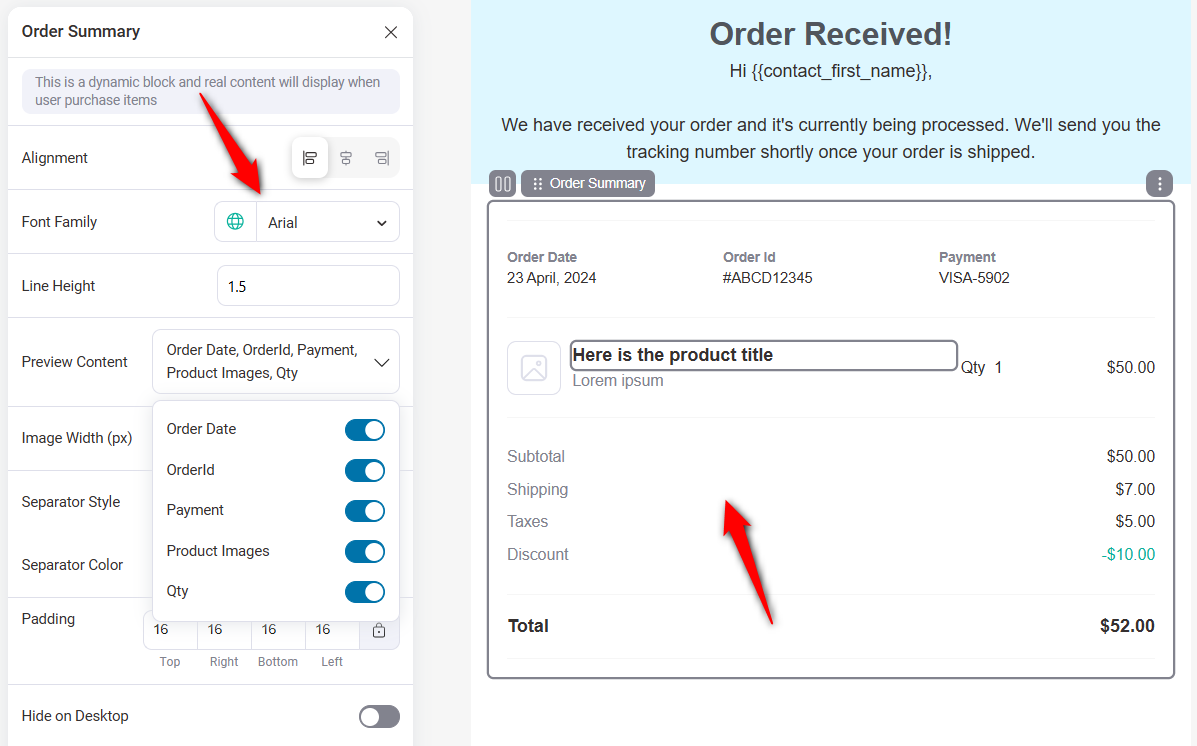
Customize the order summary block by setting up the alignment, font family, line height, image width, separator, padding, and more.
You can enable or disable the settings related to order date, order ID, payment, product images, quantity, etc.
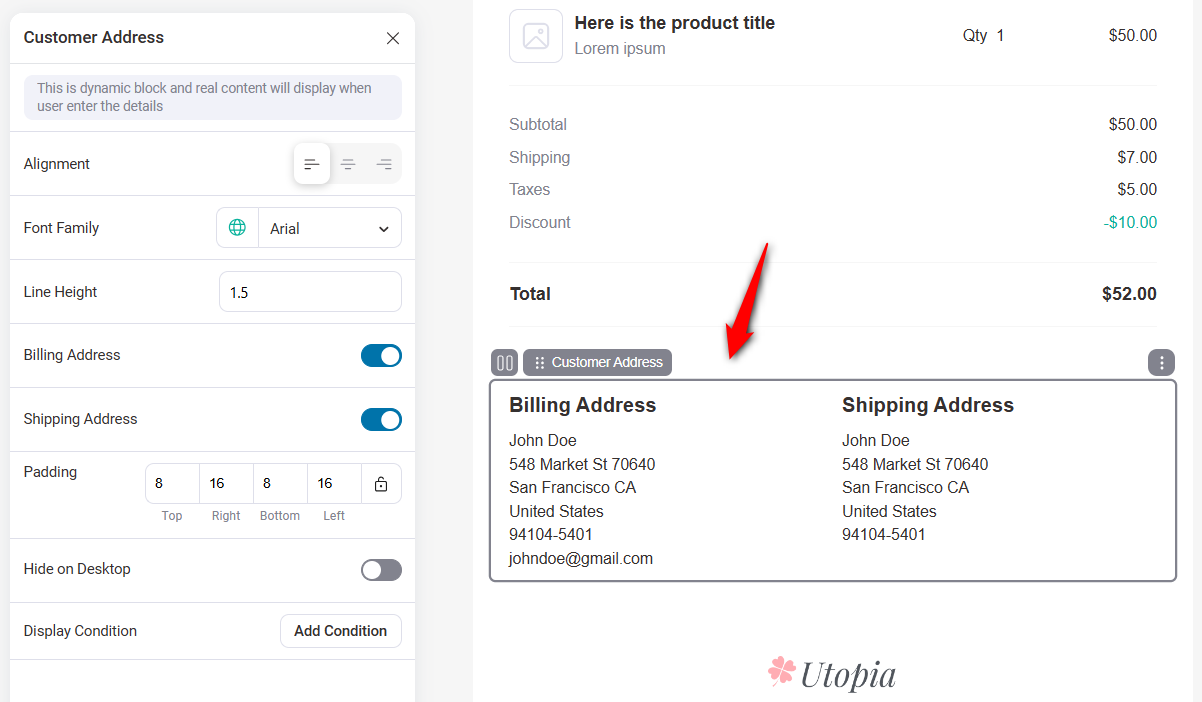
Customer Address
The Customer Address content block displays the billing and shipping addresses of the customer.
Drag and drop the customer address block to your email.
Coupon
The WooCommerce Coupon block helps you display the discount code and incentivize your customers for their next purchase.
Customize this coupon block as per your needs.
You can automatically choose static WooCommerce coupons created in your store or select a personalized, dynamic coupon created inside FunnelKit Automations.
Save the changes when done.
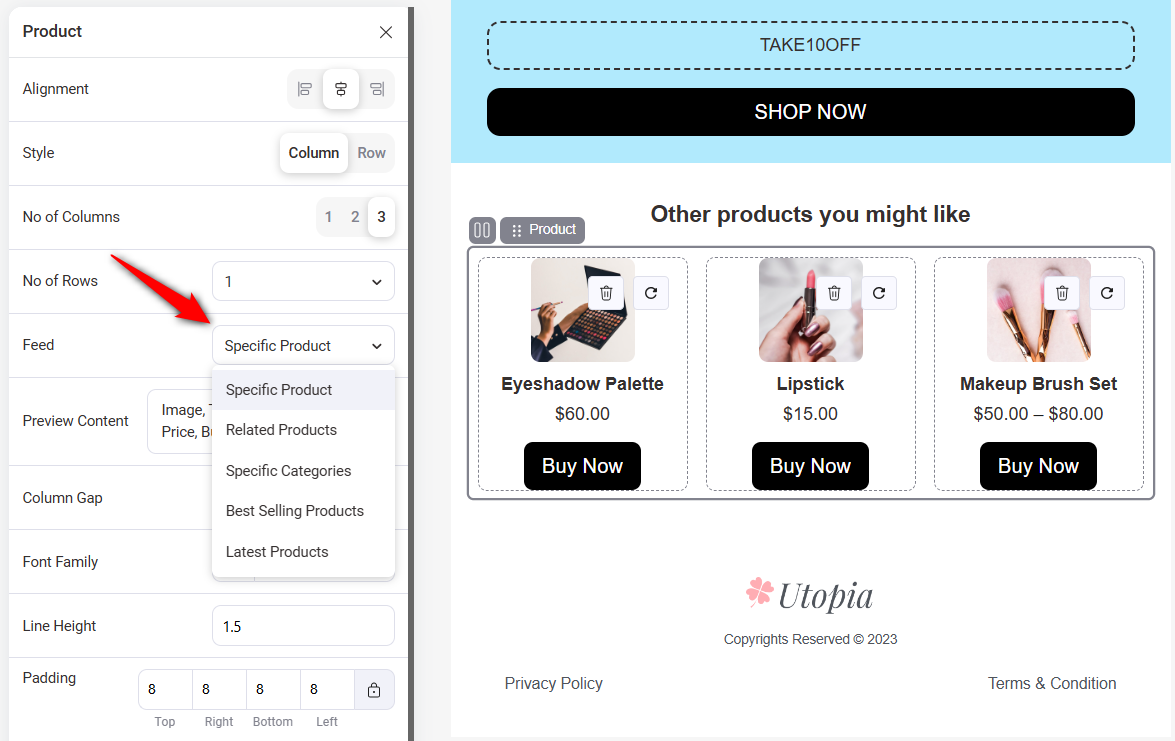
Product
The Product block helps you display upsells and cross-sells inside your emails to help you boost average order value.
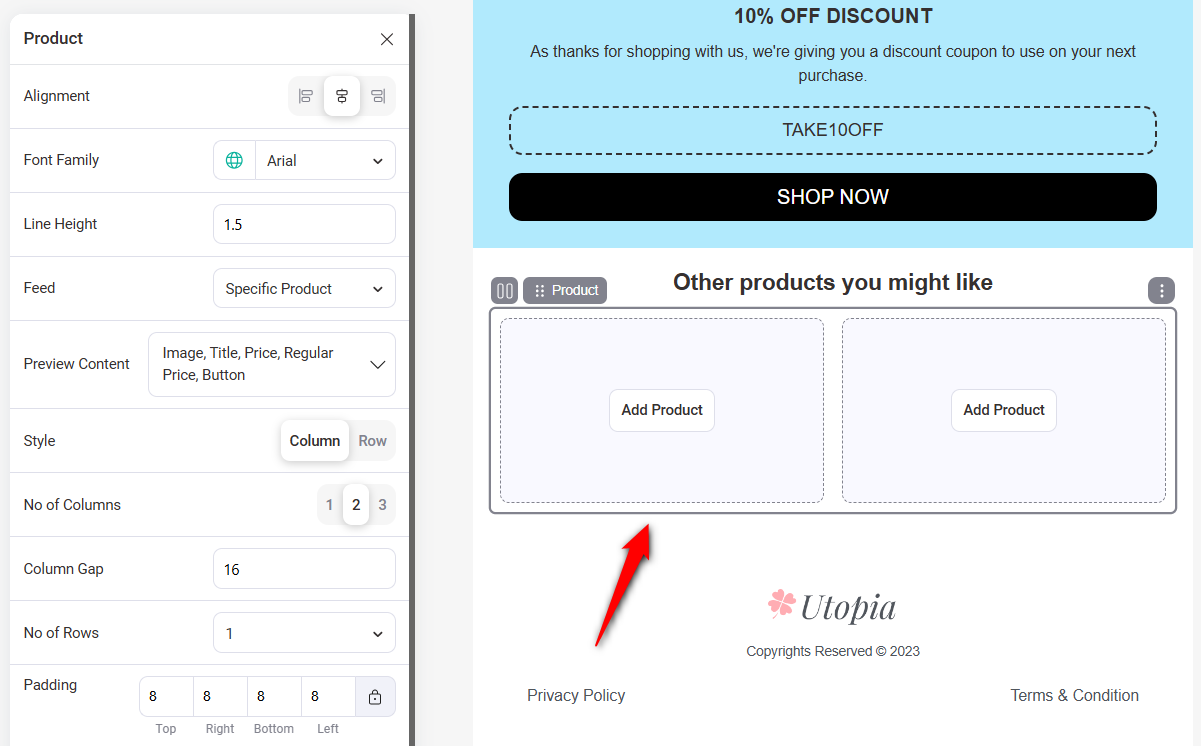
Let’s set the number of columns to 3 and add our product recommendations.
You can either choose from latest products or search for an item.
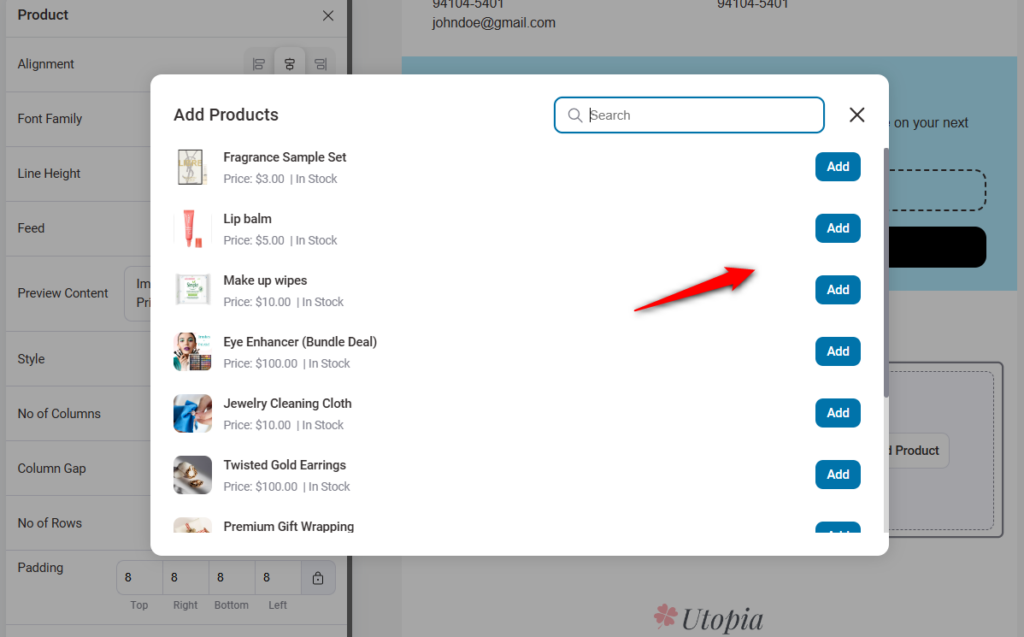
We’ve added all the product recommendations.
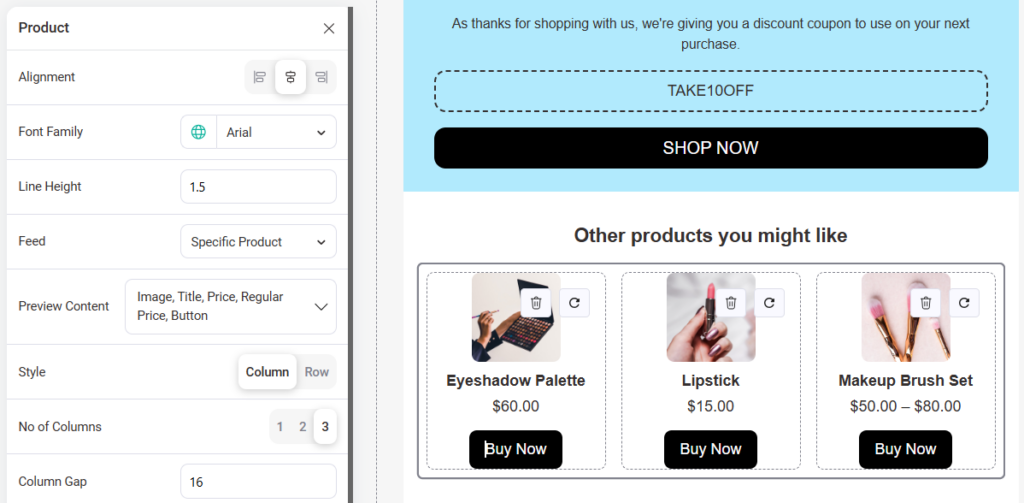
Choose product feed and select specific products, related products, specific categories, best-selling products, and the latest products to offer them to your customers.
This allows you to showcase the newest or top products to your users.
Save the changes when done.
Pre-Built Layouts
With pre-built layouts, you can quickly create different components of your email by dragging and dropping the sections.
You get access to a variety of layouts, including headers, banners, testimonials, footers, single or multiple product recommendations, FAQs, and more.
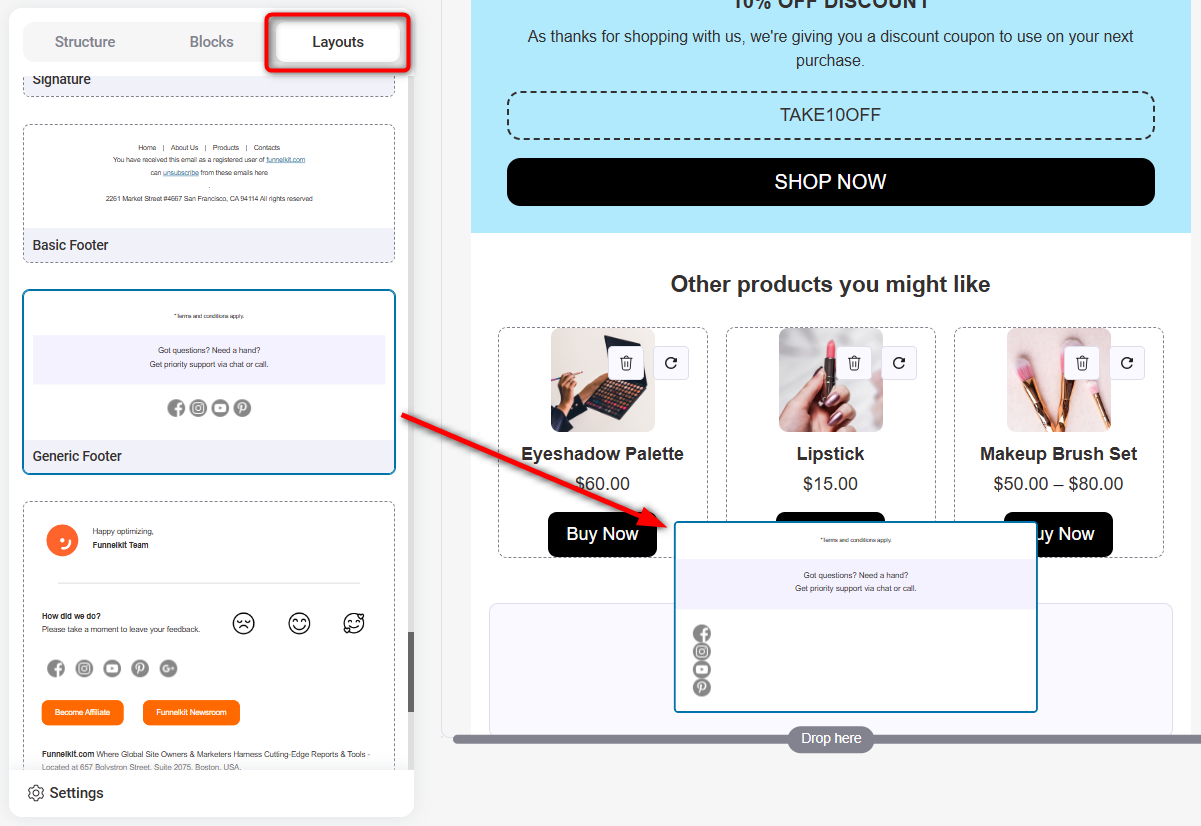
There are many pre-built layouts that you can use and customize them the way you want.
Custom Saved Layouts
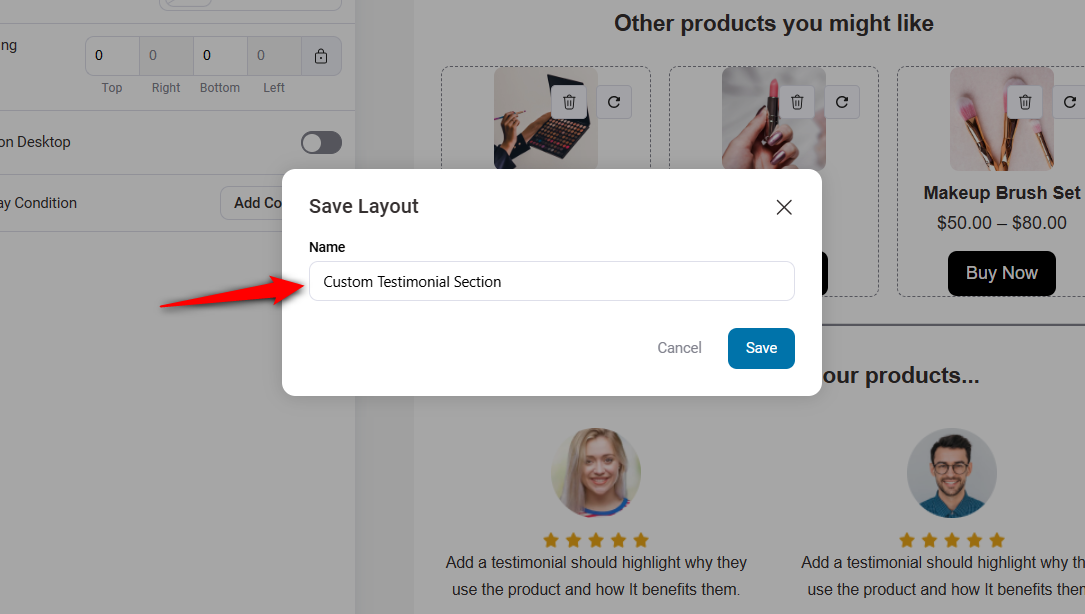
You can save a section as a layout if you love what you've designed and want to use it in different emails.
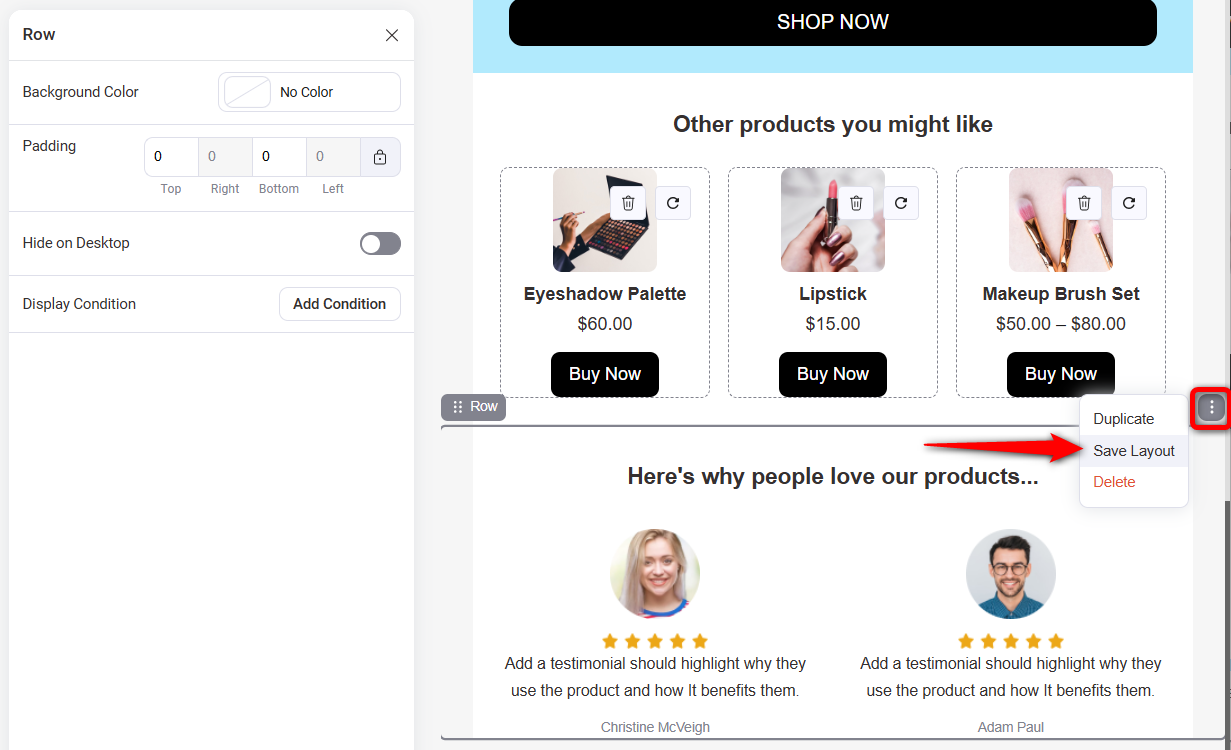
Enter the name of the section you want to save as a layout.
You can access the layouts you've saved from the Saved Layout section.
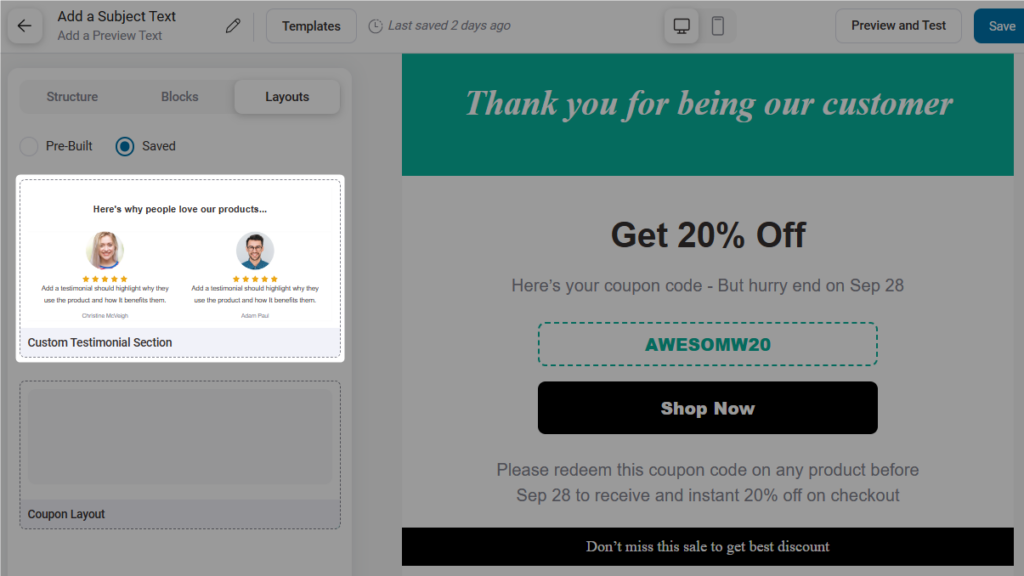
You can use these layouts in any email by dragging and dropping them from your saved layouts section.
FunnelKit Automations also gives you the ability to make changes to the saved layout.
Display Condition
FunnelKit Automations lets you display conditional content based on a certain rule.
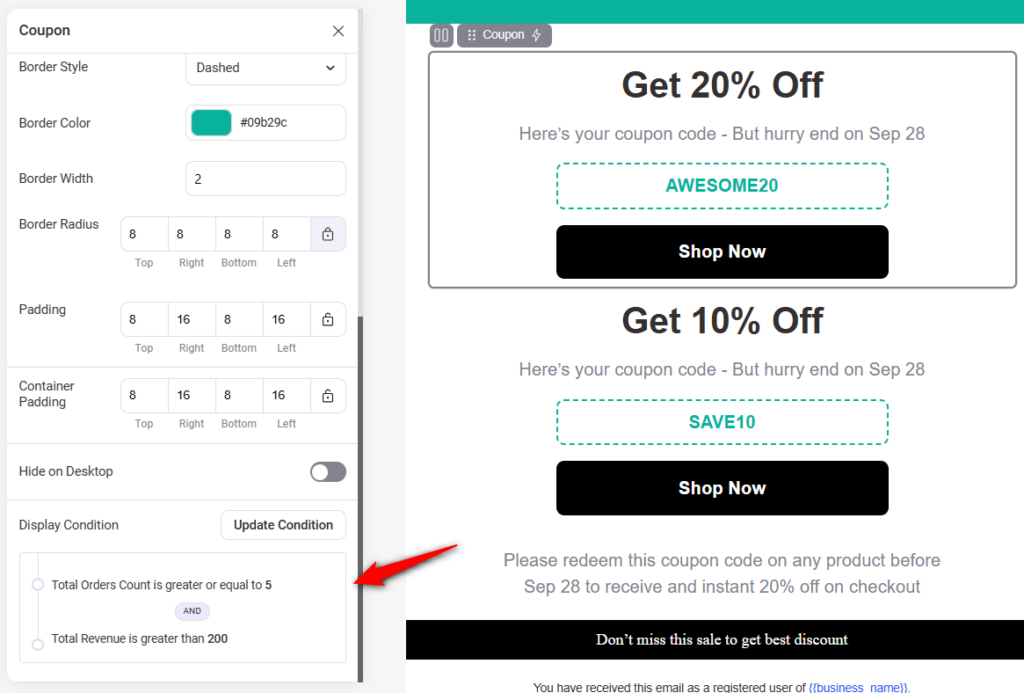
For example, you want to offer a 20% discount coupon to your VIP customers who have shopped from your store at least 5 times and spent over $200.
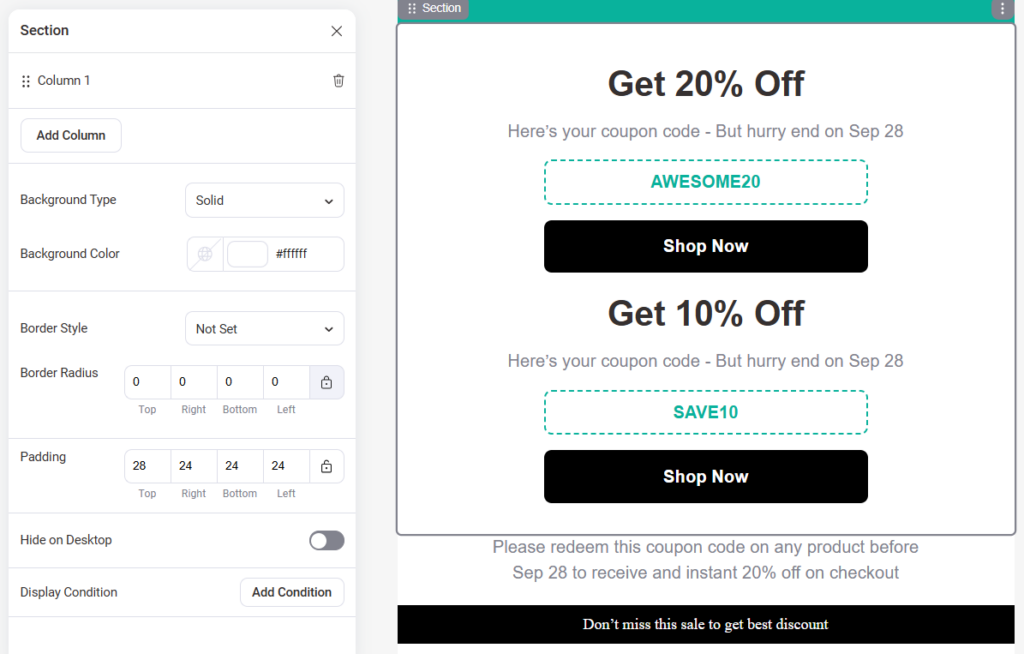
While you want to offer 10% coupon to rest of other people.
To do that, create two coupon section offering 10% and 20%.
For the 20% coupon, go to Display Condition and click on 'Add Condition'.
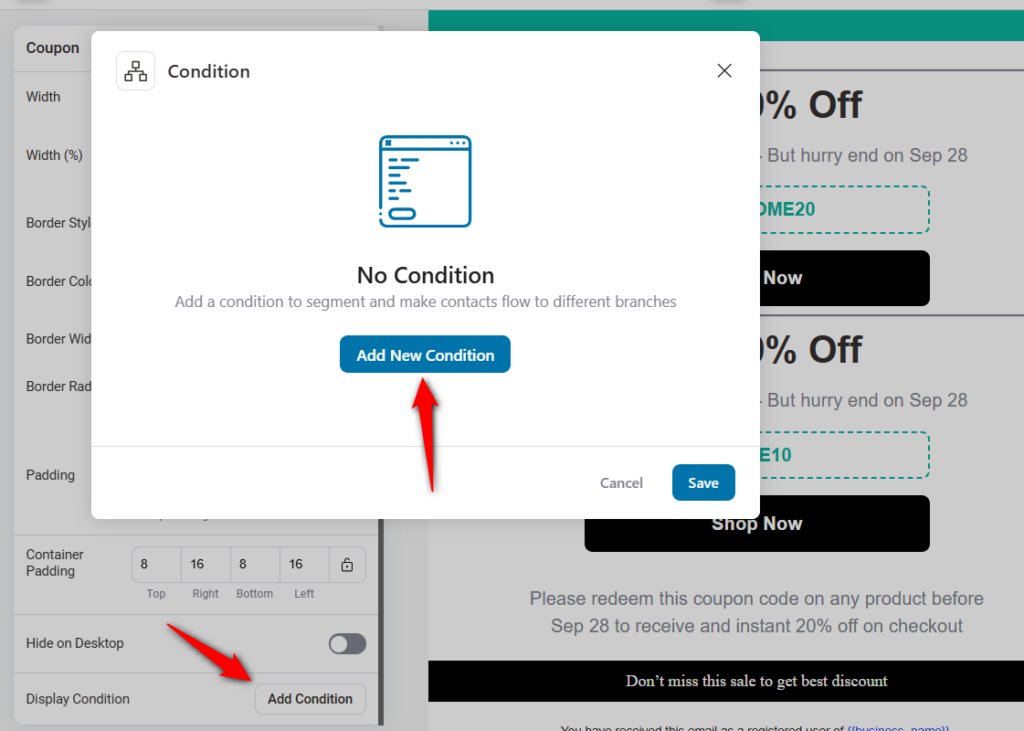
Add your conditions here.
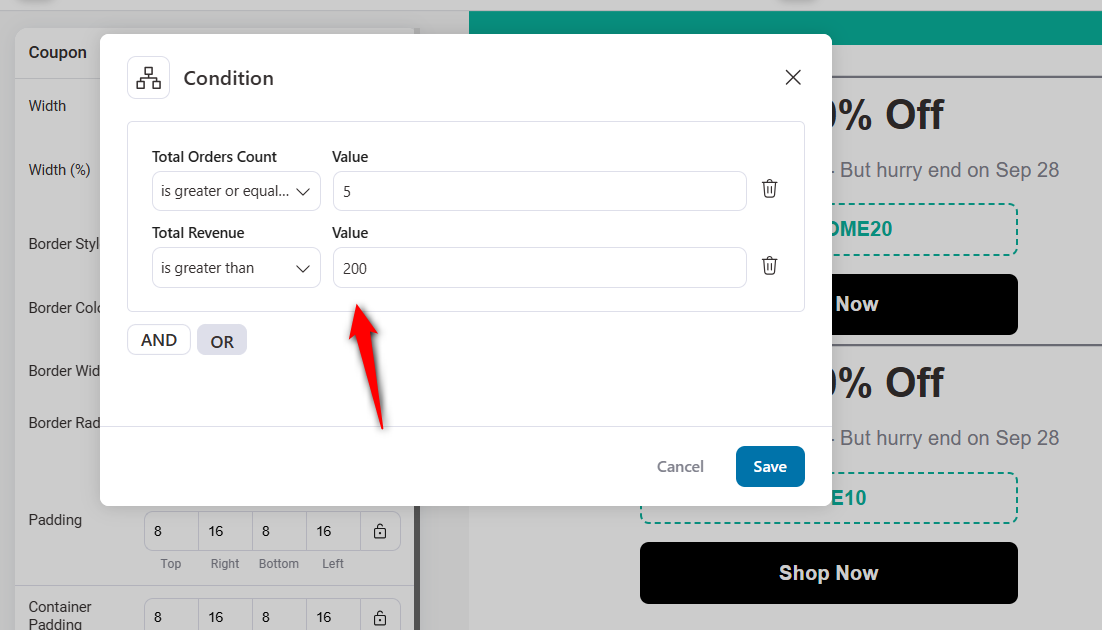
Now, this coupon will only be shown to users who have ordered at least 5 times and spent over $200 in your store.
Now, to show a 10% OFF coupon, add this condition: Total orders count less than 5 and Revenue less than $200.
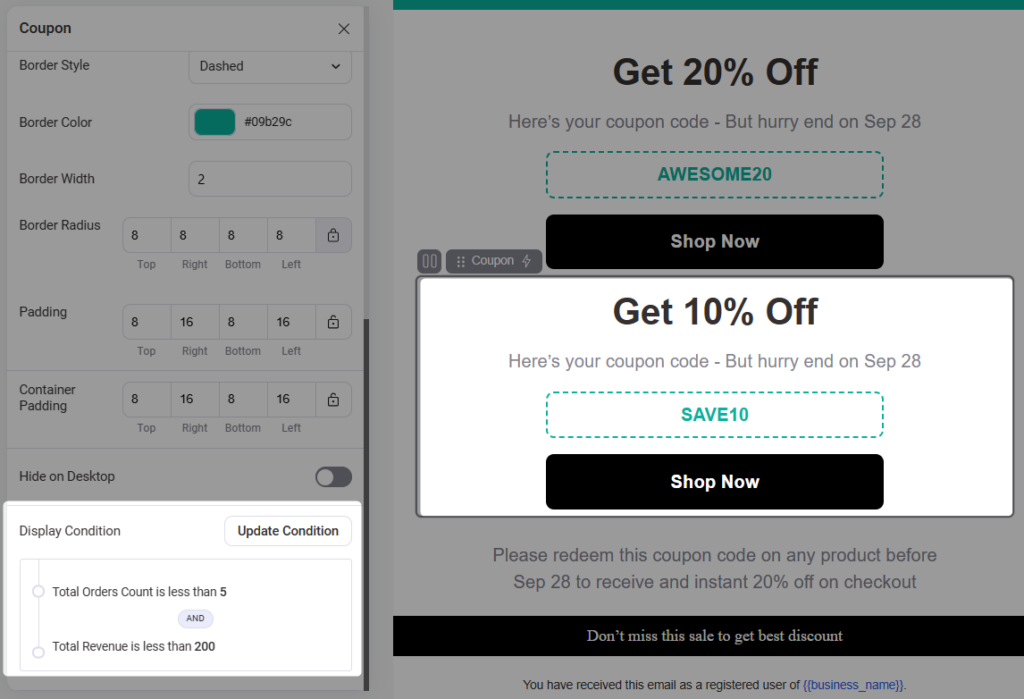
This is how you can use display conditions inside your email.
Preview and Test Email
To preview and test your email, click on the Preview and Test button on the top.
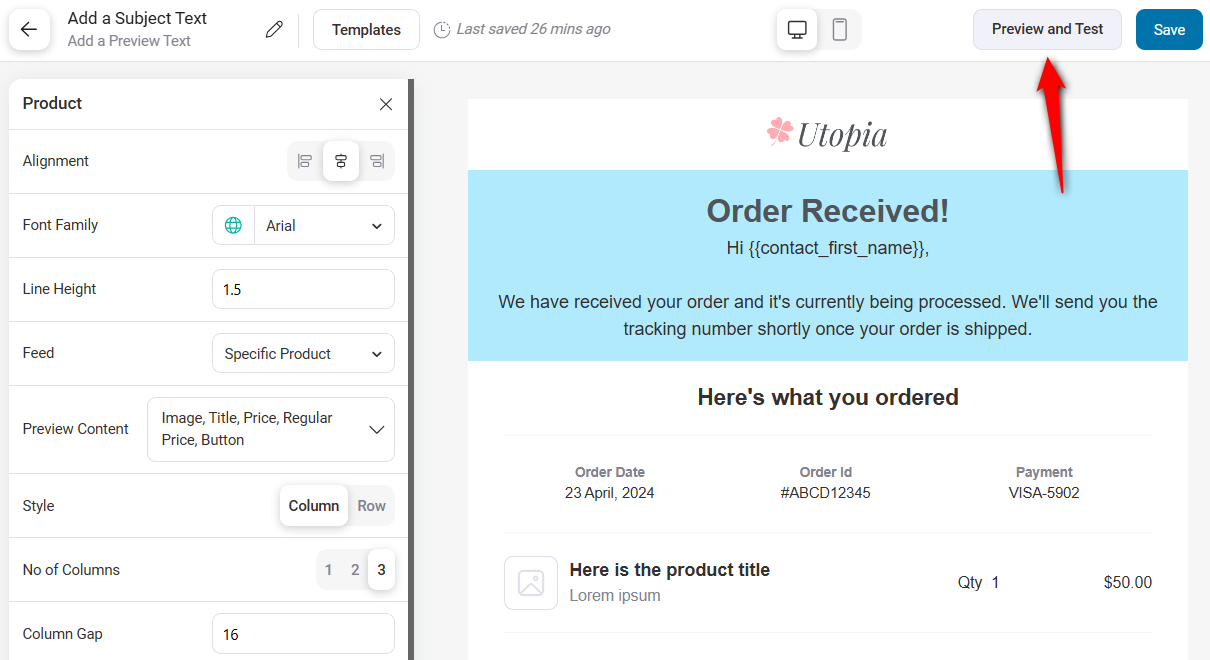
This will give a full preview of your email. You can check for different devices like desktops and mobile.
Scroll down and check for any errors so that they can be removed before sending it to your users.
On the left hand of your screen, you can send a test email to see a live preview of how these will be displayed to your recipients.
You can type in a maximum of 10 recipients to send test emails simultaneously.

If you’ve correctly configured your SMTP server, your test emails will be delivered to your inboxes.
This was all about the Visual Email Builder in FunnelKit Automations.


