In this section, we'll learn how to set up an email broadcast campaign.
Step 1: Add a new broadcast
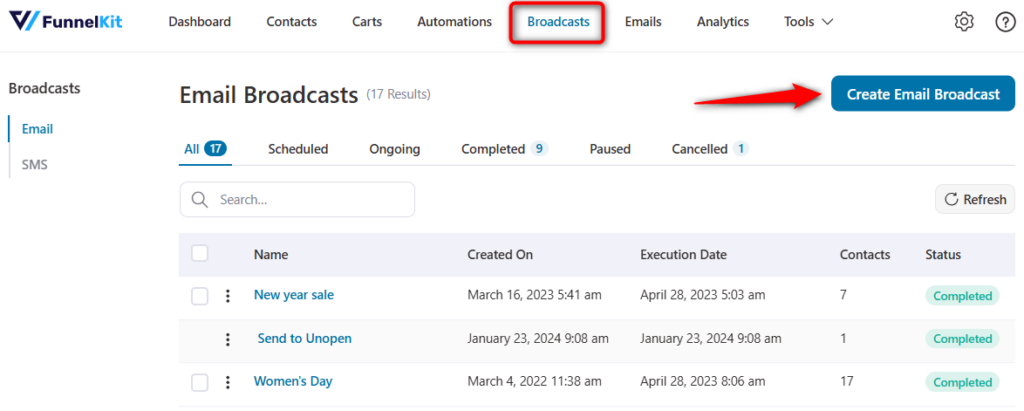
Go to Campaigns ⇨ Broadcasts.
Under Email, click on Add New Broadcast.
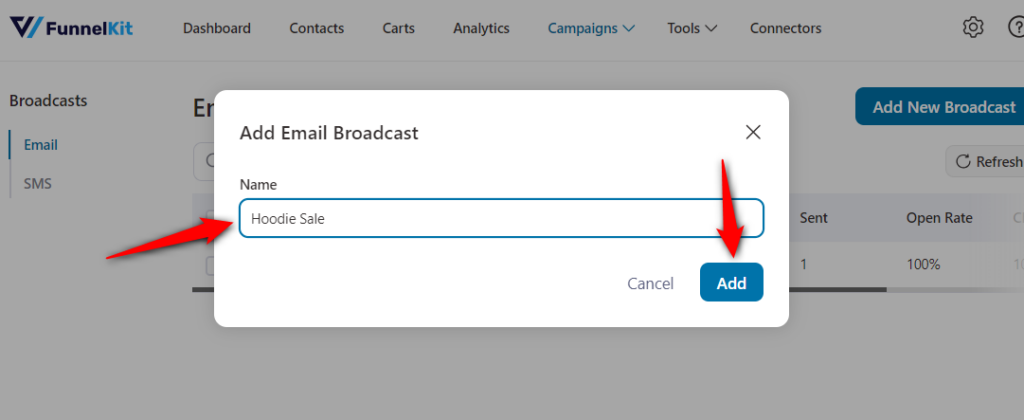
Step 2: Enter the name of your broadcasts
Name your email broadcasts and click Add.
Step 3: Add your broadcast information
In this step, you need to provide some additional information about the broadcast, like:
- Type - Choose the type of email that you want to send from the Standard or A/B Test options. Choose Standard to send a single email to all the selected contacts. Go with the A/B test to split-test your broadcast email and create more than one variant of the same.
- Send it to all contacts including unsubscribers - You can select/deselect if you want to send this email to your unsubscribers or unverified contacts as well or not.
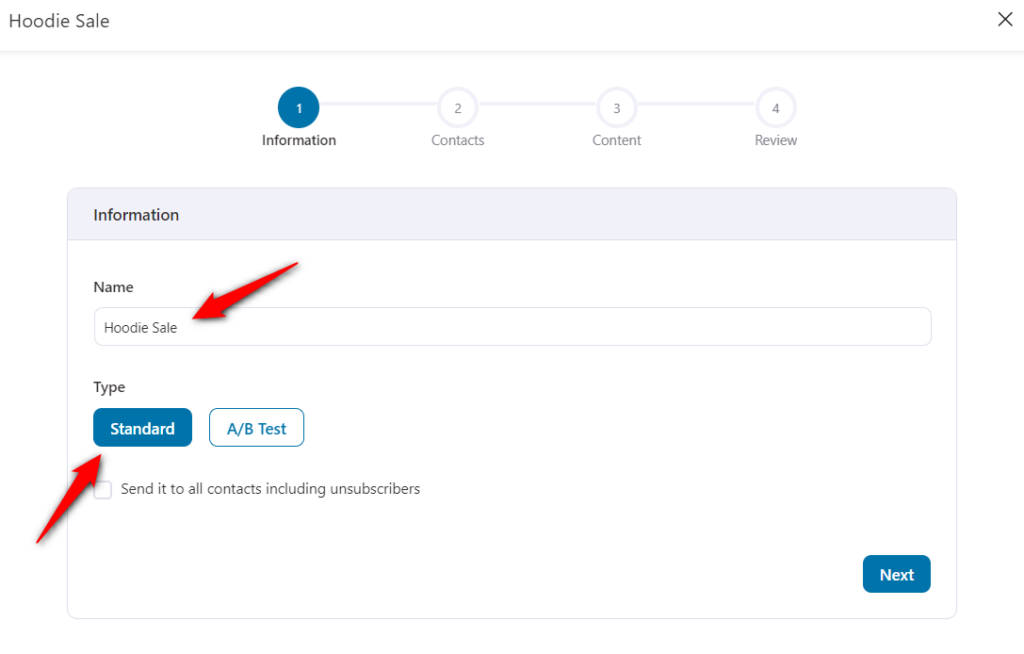
Once done, click on Next.
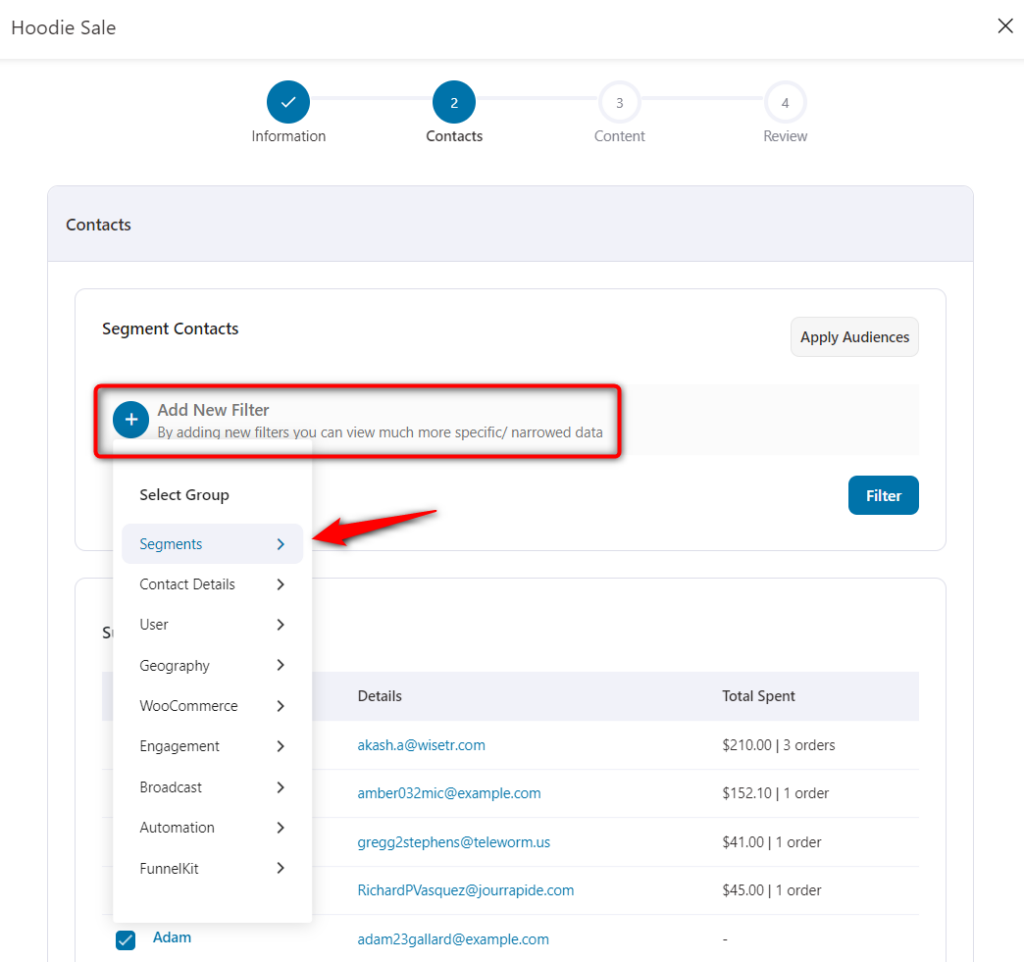
Step 4: Select your contacts
You can see all of your contacts here. If you wish to segment contacts, click on the "+ Add New Filter" icon.
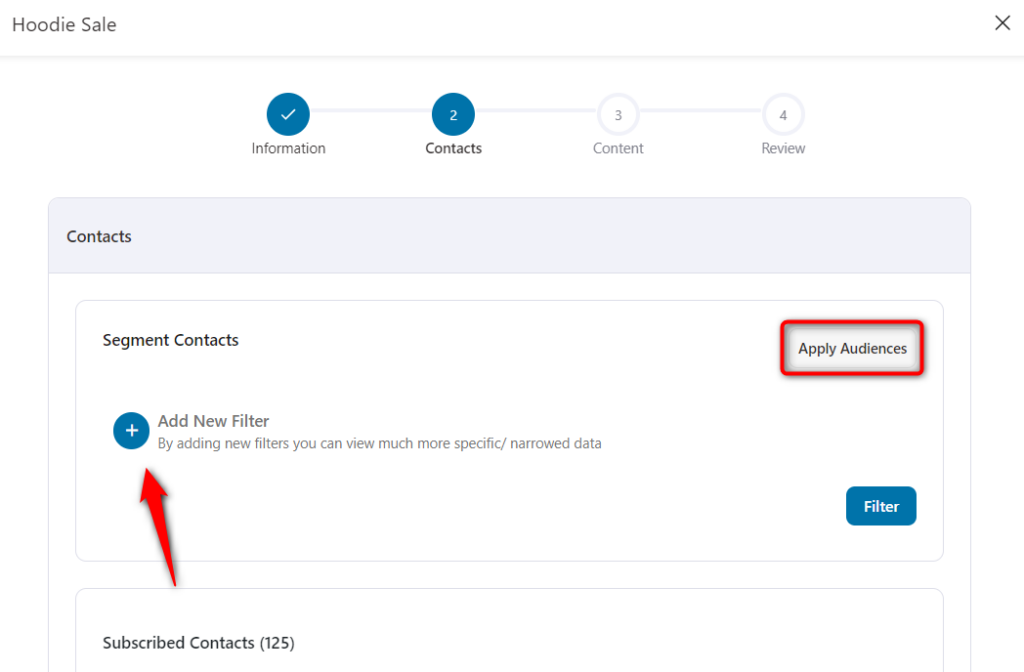
Segment your contacts by tags added on them, lists they're a part of, contact details, custom fields, and more.
You can even select segments from saved audiences.
For this example, we have selected the customers who've purchased the "Content writing master course" from us.
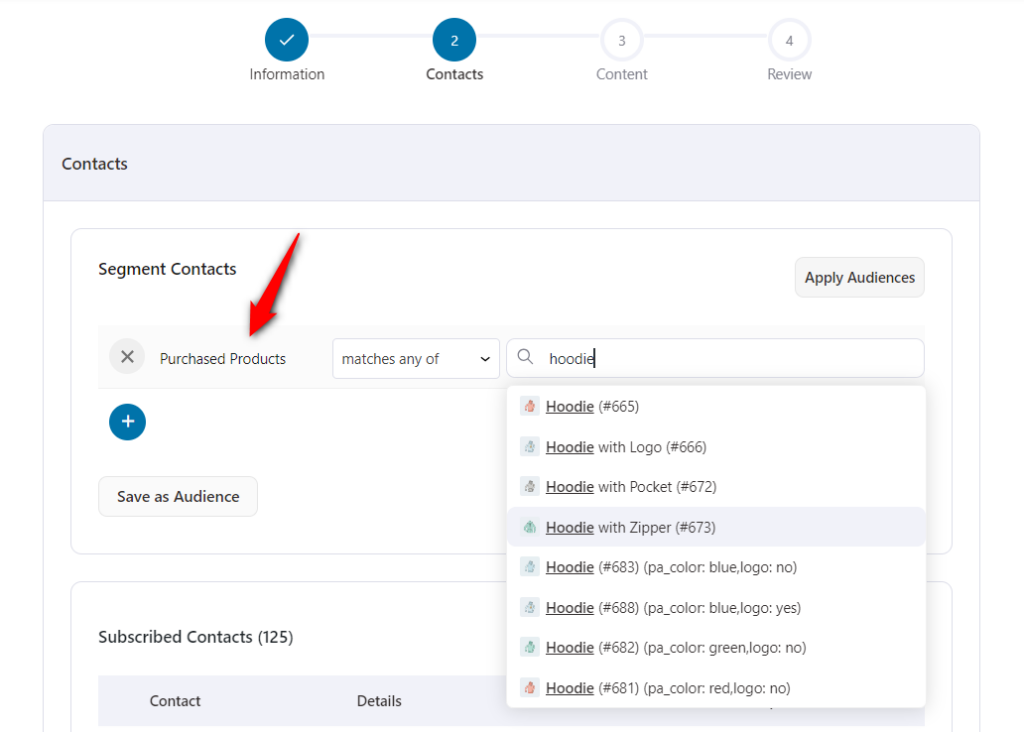
Click on Filter to show the contacts matching your filter.
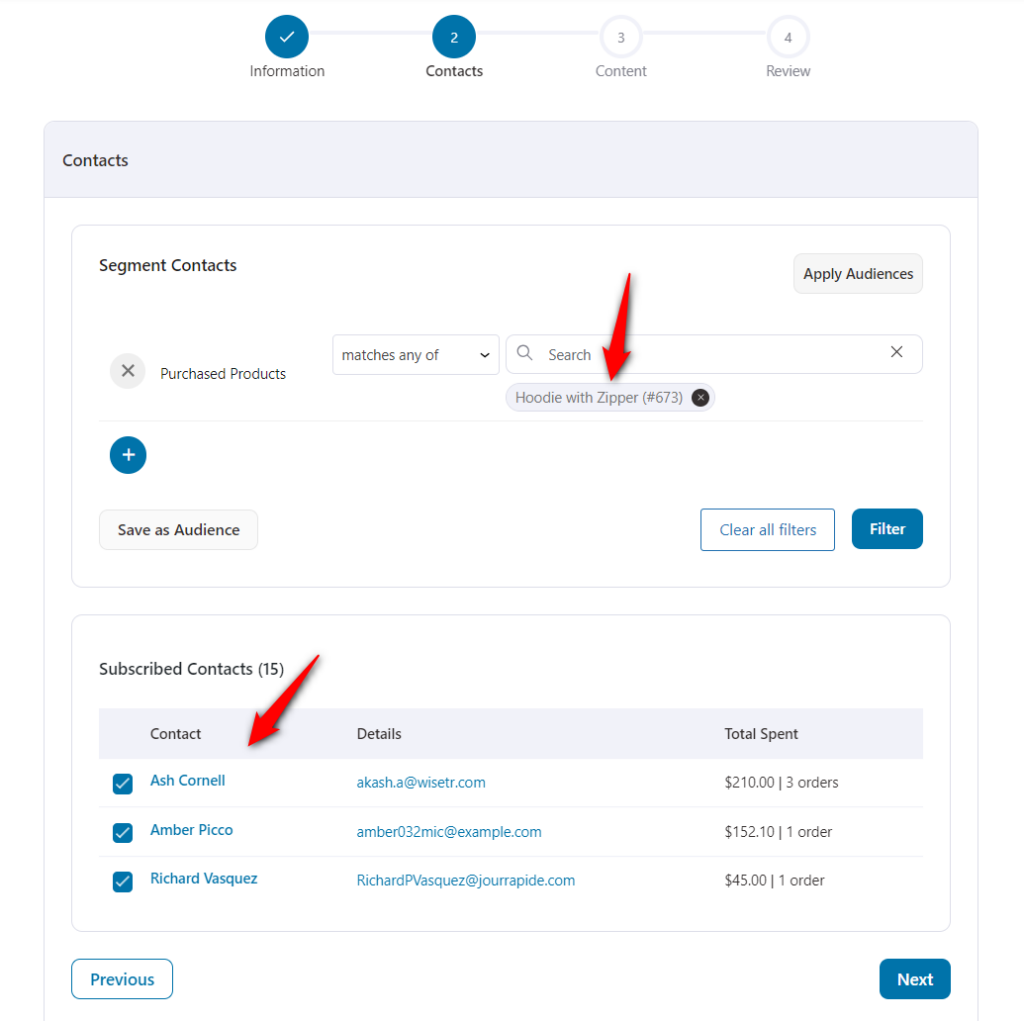
Click on Next.
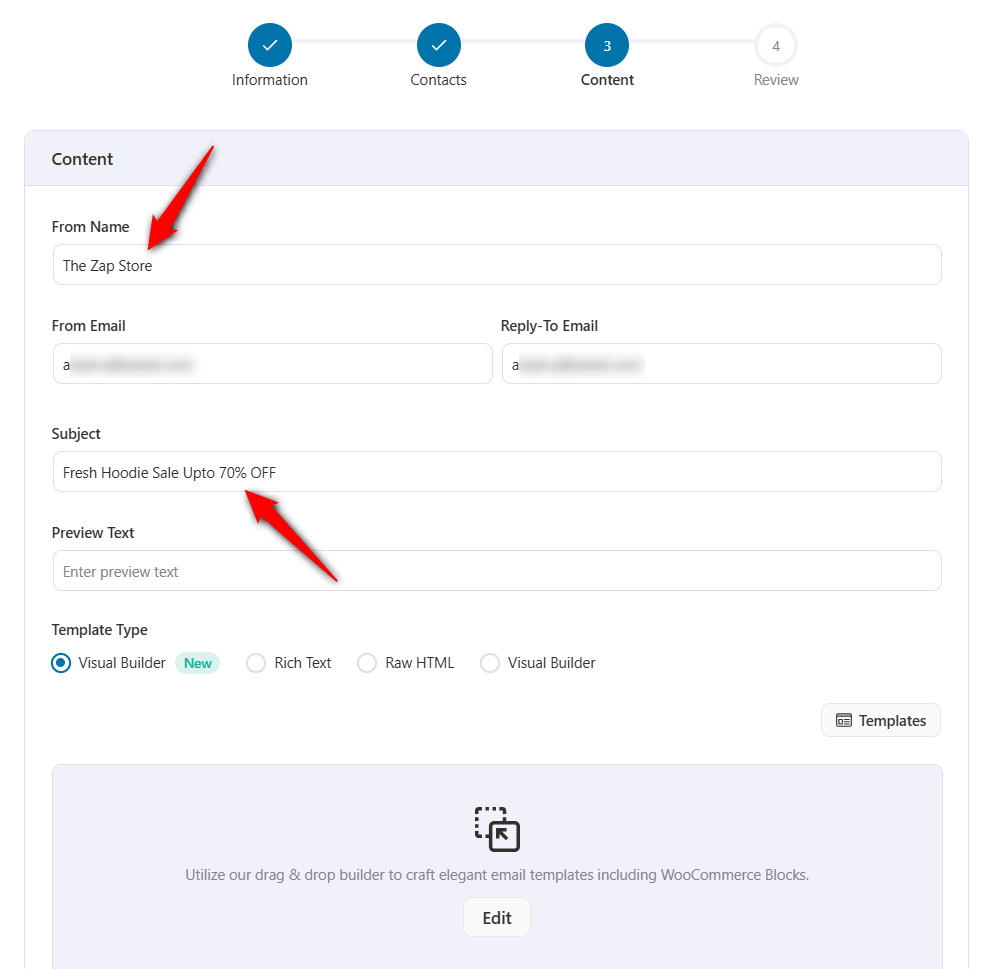
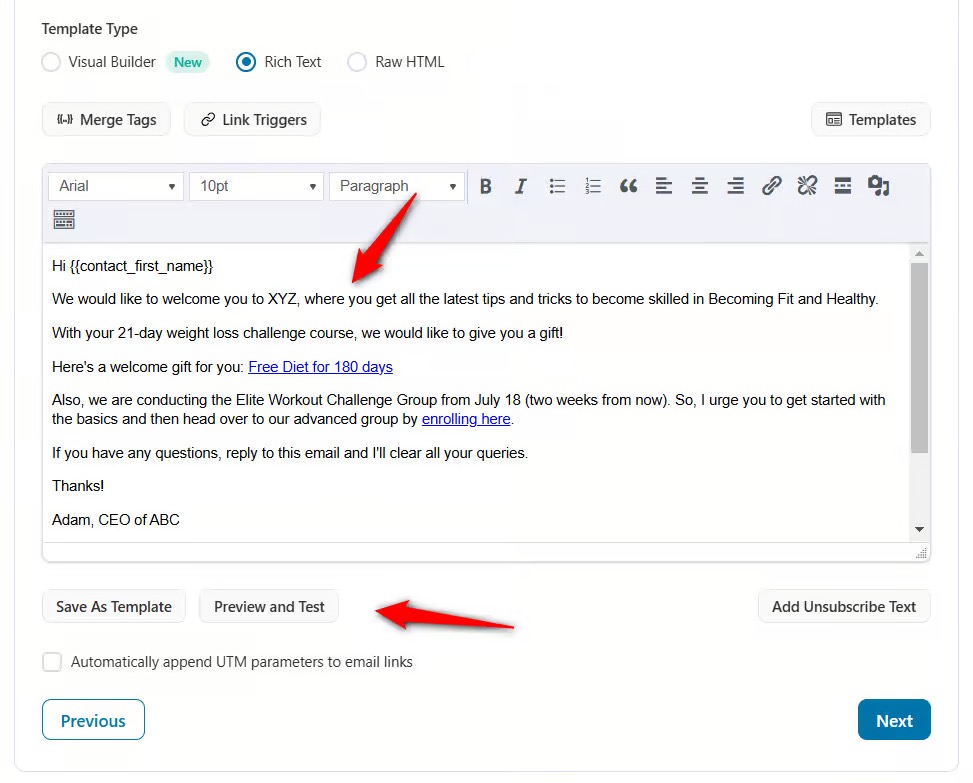
Step 5: Add content
Here are the details you need to add:
- Your Email Details - These will be the sender's details. Type in your name, email address, and reply-to-email address
- Subject - The subject line of your email (mandatory)
- Preview Text - Assign a preview text that appears next to the subject line of your emails
- Template Type - Select the template you want to use for your email. You can choose between Text, HTML and Visual Builder, which will open FunnelKit Automations's email editor.
- Body - The main body where you can write your email content
After you have written your email, you have additional options to:
- Add Unsubscribe Text - By clicking here, you can provide your contact with a link to unsubscribe to your emails.
- Send Test Email - you can send test emails to yourself or any contact.
- Show Preview - This option will show you the preview of your email.
- UTM - You can even append UTM parameters to email links.
Now, click on Next.
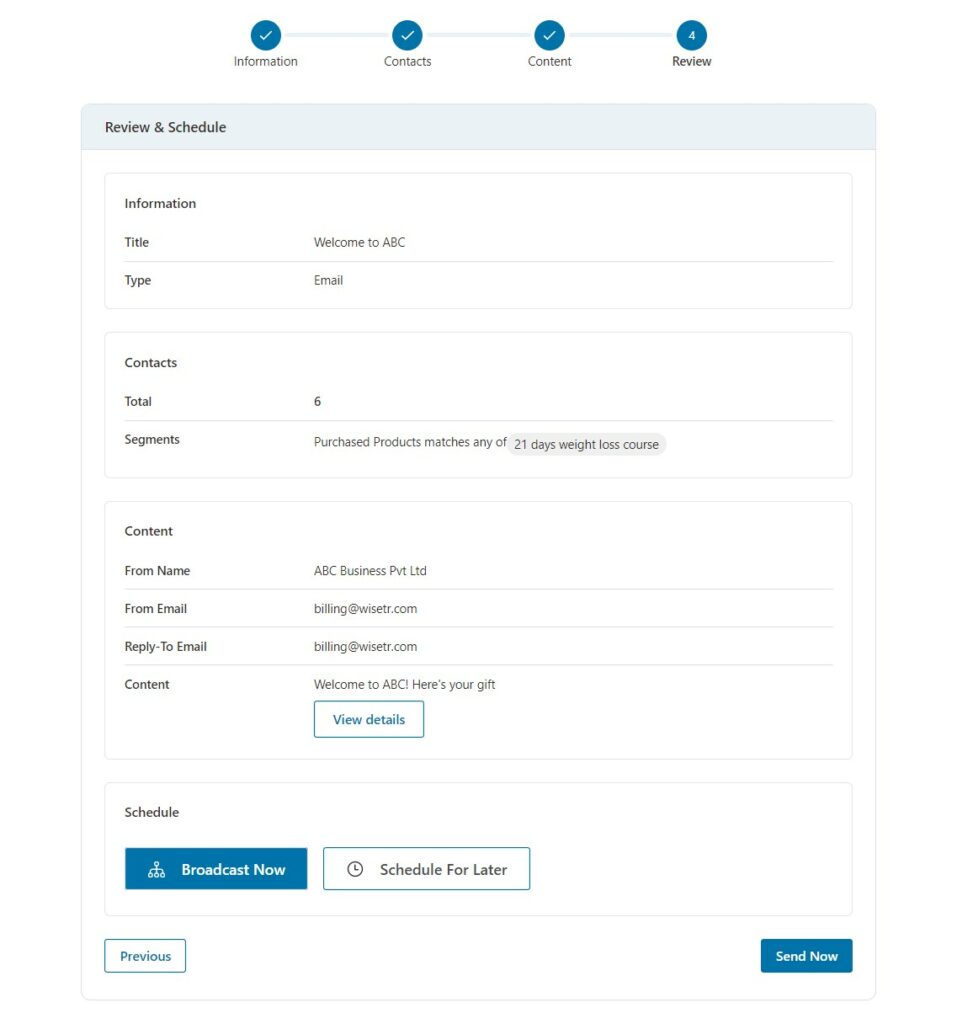
Step 6: Review the details
In this final step, you can view a summary of your campaign so that you can review it before sending or scheduling your broadcast.
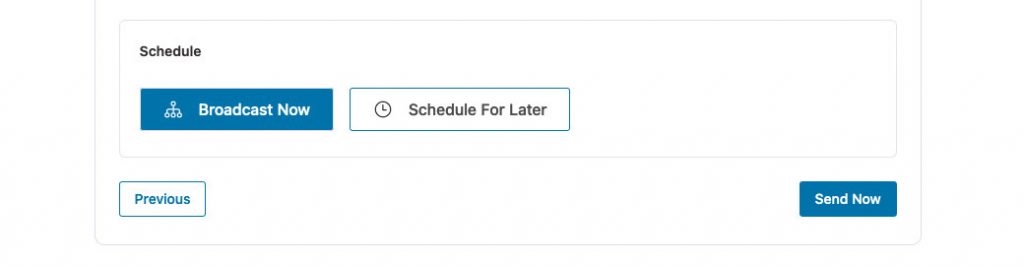
Step 7: Schedule your broadcast
Either you can click on Broadcast Now to send your email right away or Schedule for Later to set the time you want this email to send.
If you're scheduling it for later, you can select a specific date and time to send your email out.
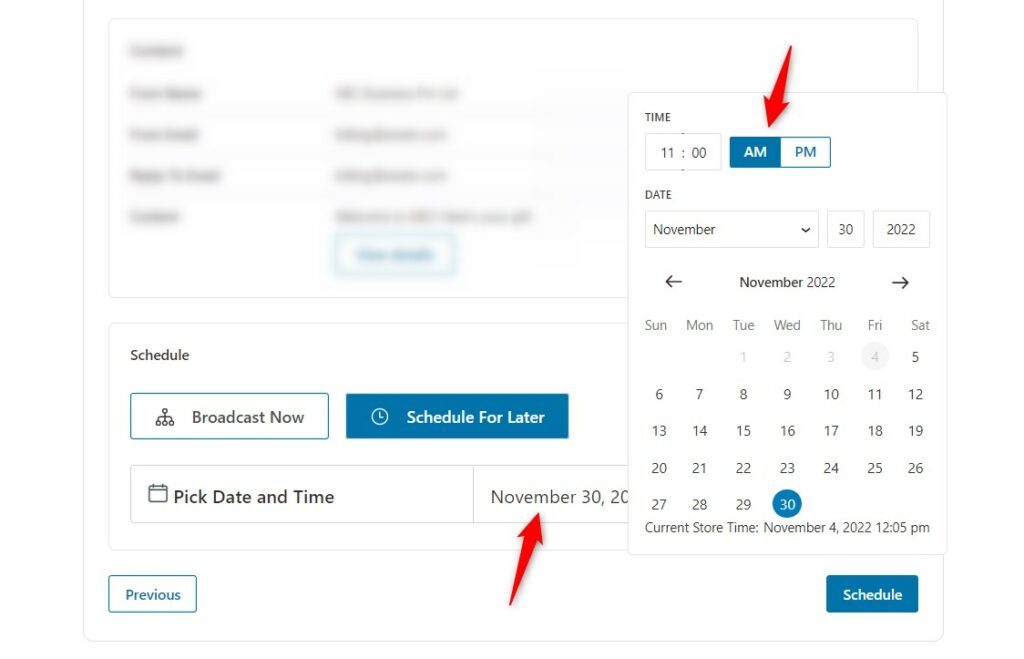
Select Schedule to set this email to a specific time.
Congratulations, you are all set to send your first broadcast email using FunnelKit Automations!


