Let’s see how you can connect Keap to FunnelKit Automations.
Step 1: Sign up to the Keap Devs account
Go to Keap Devs and create a new account.
Get your email verification done by completing the verification process.
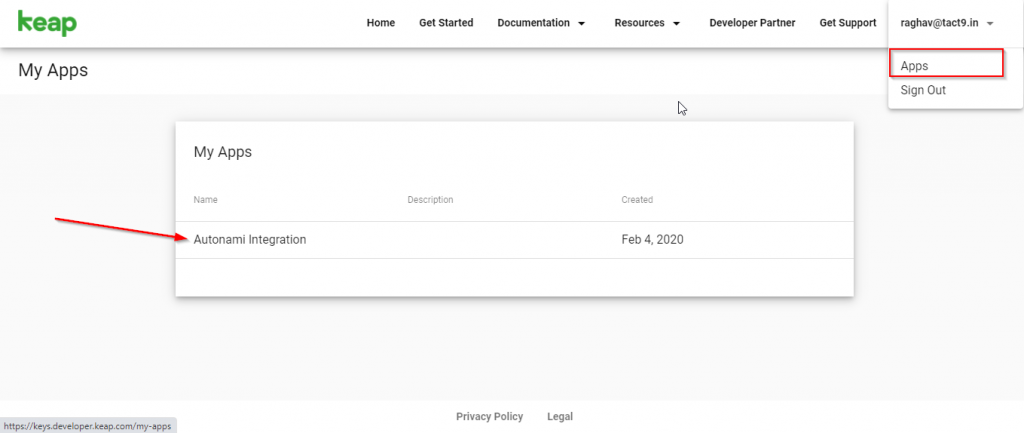
Step 2: Go to Apps
Go to your account and click on Apps.
Create a new app.
If you already have an app, click on your created app.
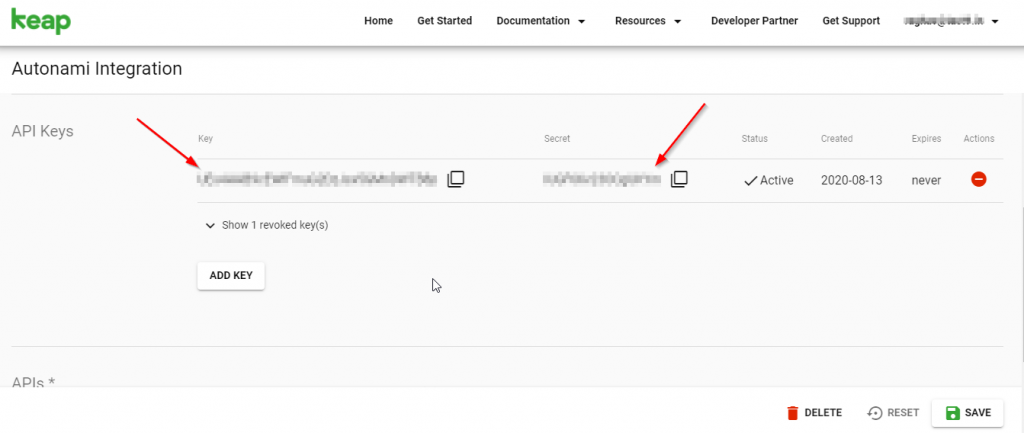
Step 3: Copy the API keys
Here, you'll be shown the key and secret code.
Copy both of them.
Step 4: Paste the keys in FunnelKit Automations
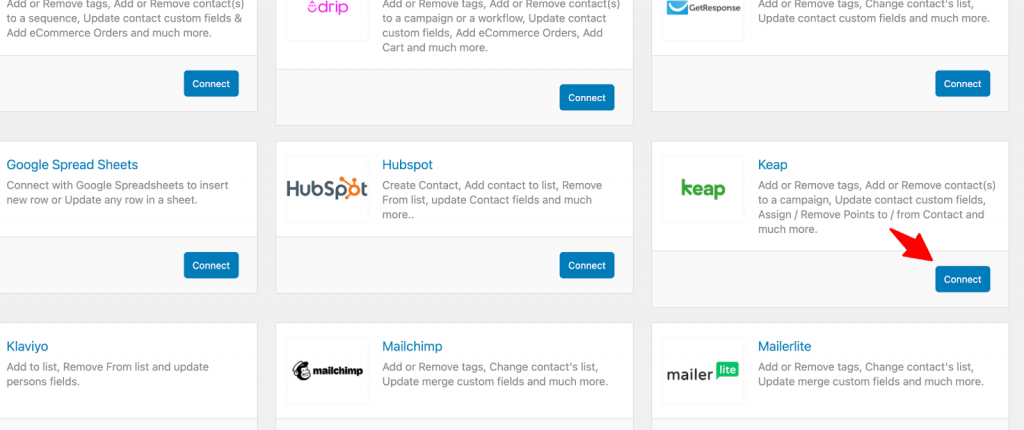
Go to the Connectors tab under FunnelKit Automations.
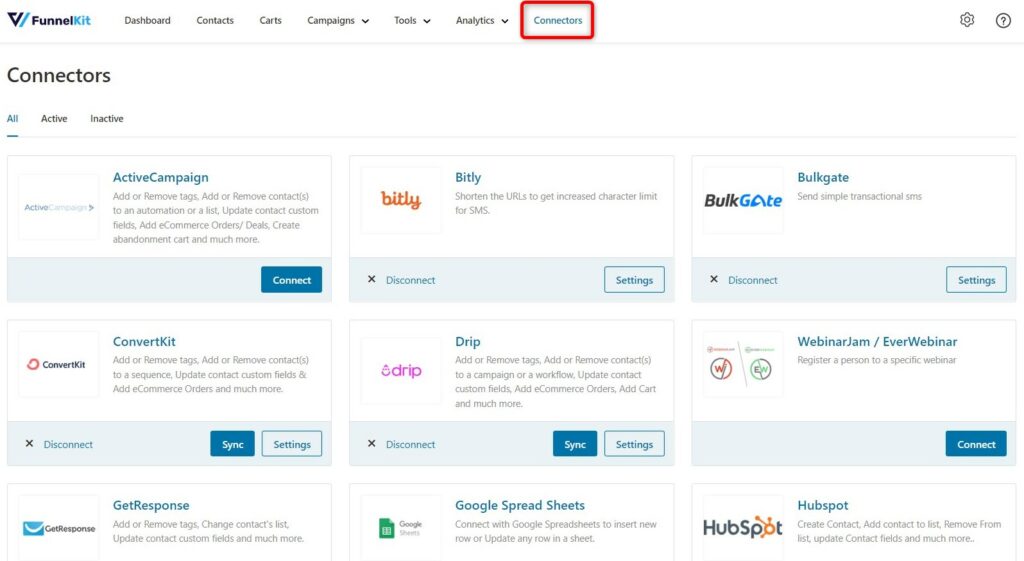
Click on Connect under Keap.
Paste the API key under Client ID and Secret under the Client Secret here.
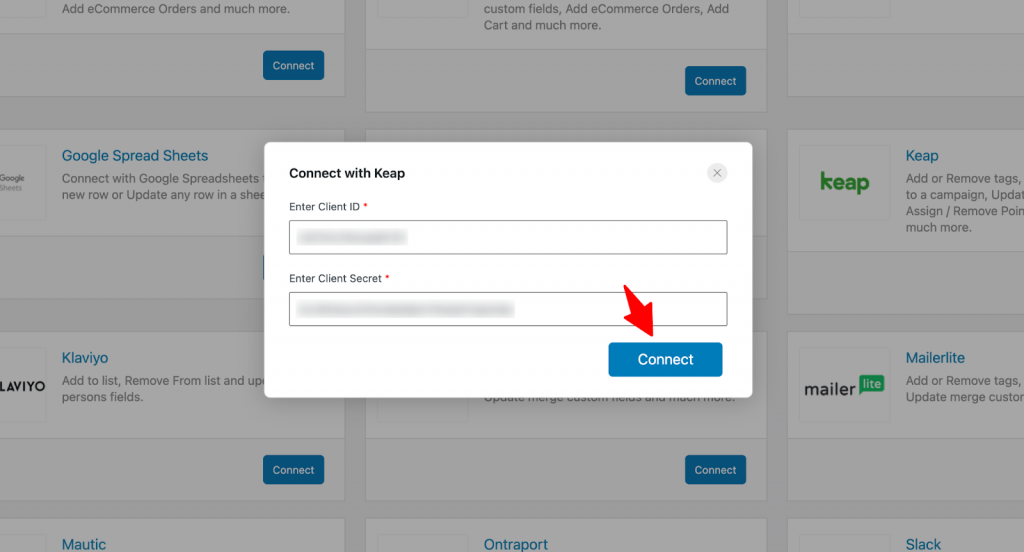
Once done, click on the Connect button.
This will take you to your Keap account.
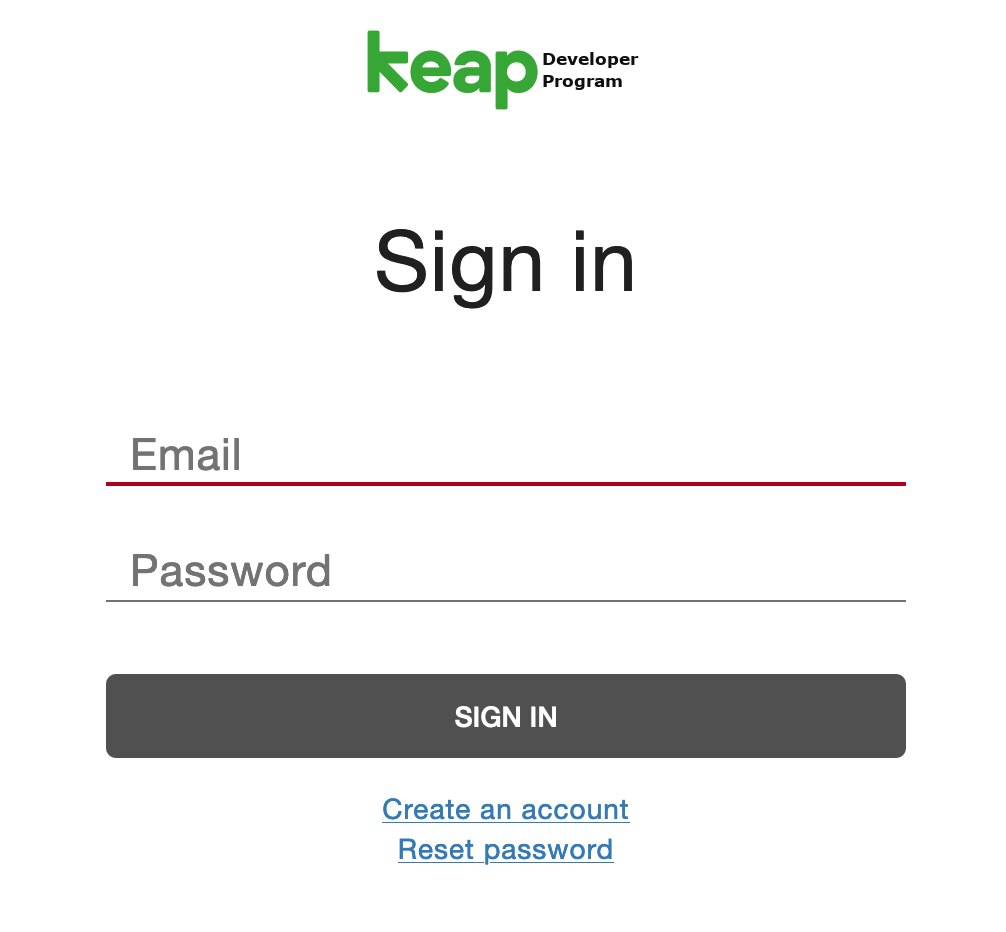
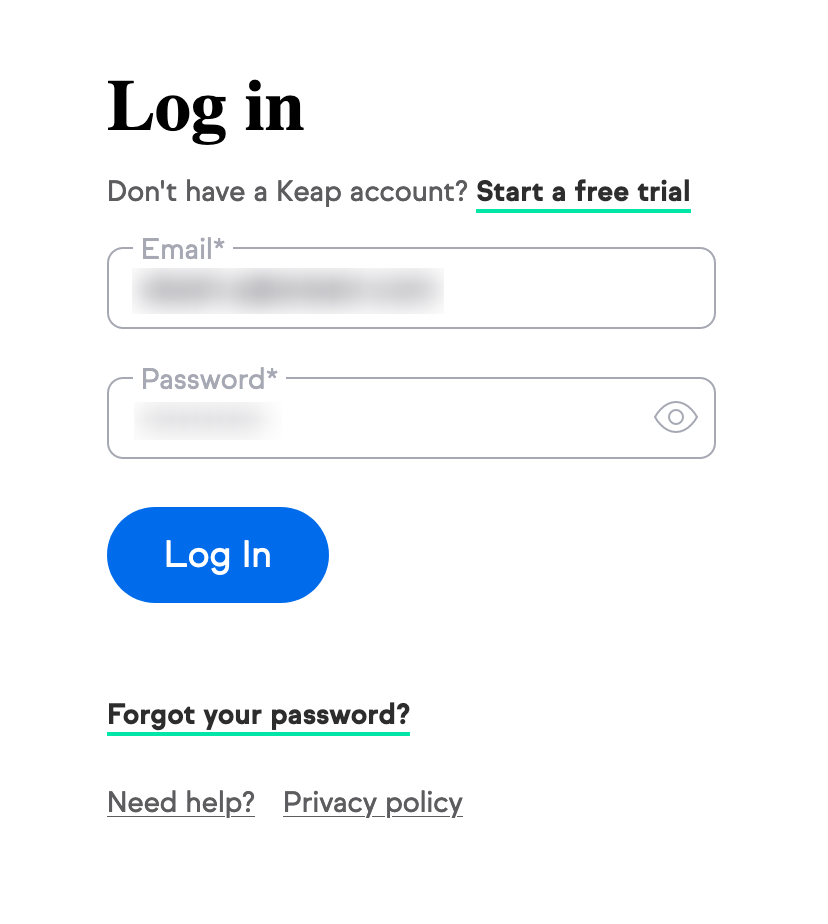
Step 5: Login to your Keap account
As you click on the Connect button, you'll be redirected to your Keap account.
Enter your login credentials to your Keap account:
Step 6: Allow the Authorization
Click on Allow to make the connection access.
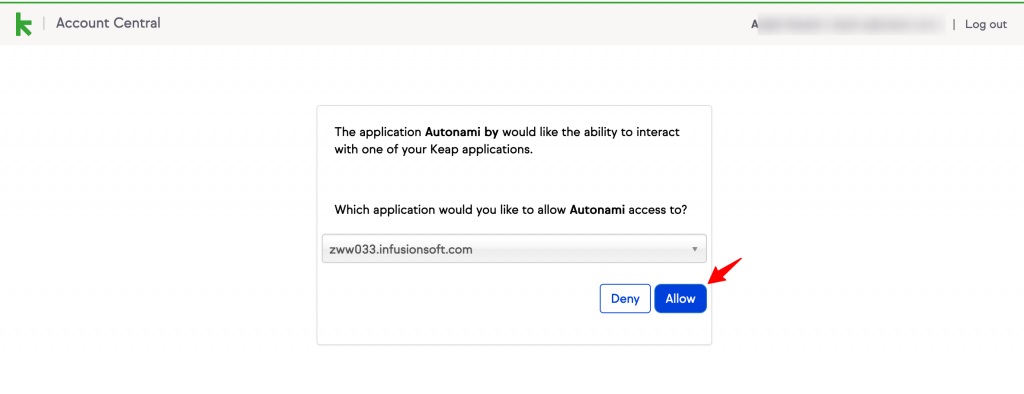
Once you click on Allow, it'll redirect to the FunnelKit Automations's Connectors tab with the successful connection:
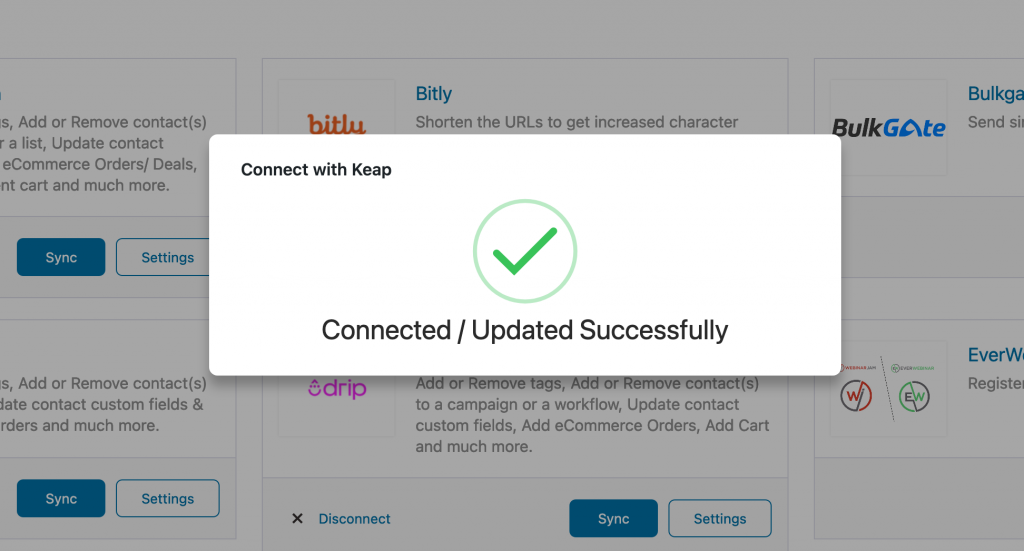
It’ll successfully connect Keap to FunnelKit Automations.


