Follow the step-by-step instructions below to connect PushEngage with FunnelKit Automations.
🔔 Please note that if you’ve already installed the PushEngage plugin on your website, you don't have to copy and paste the API key manually. It does it automatically.
Step 1: Login to your PushEngage account
Go to PushEngage and log in to the account using your credentials.
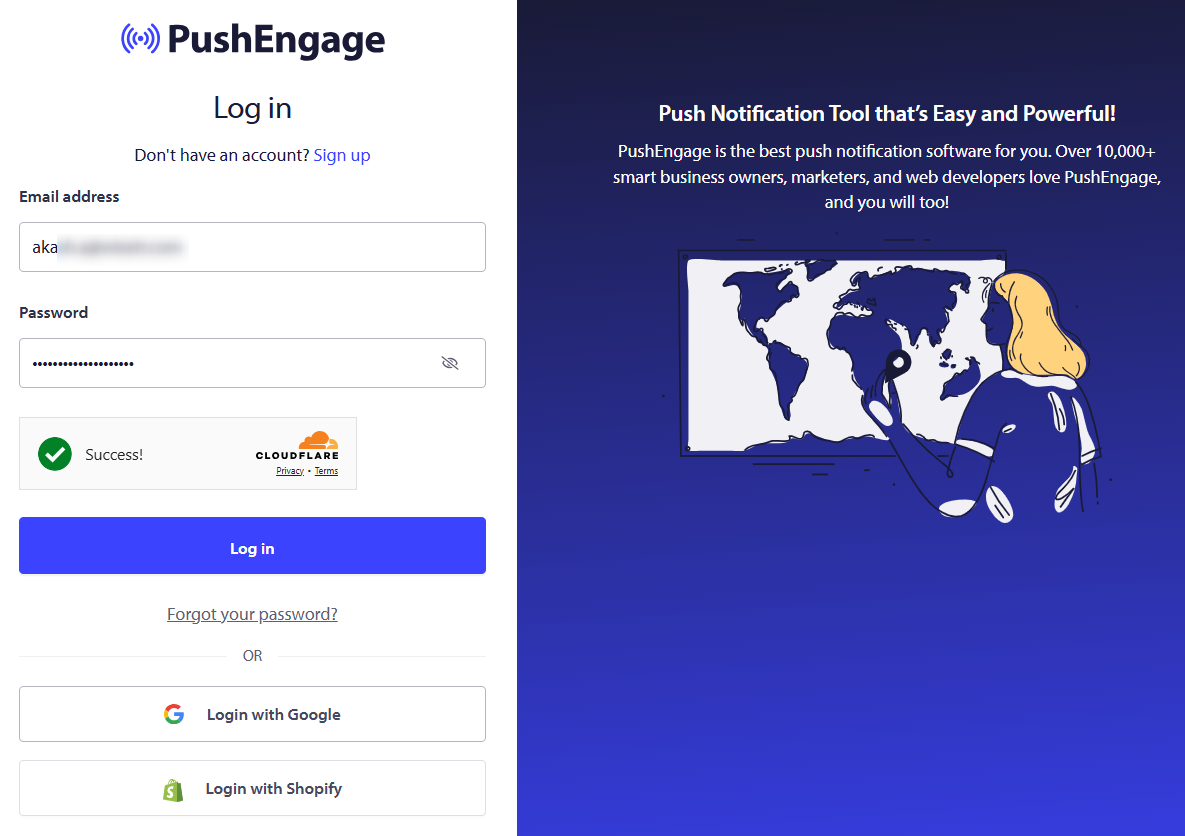
You’ll land on the PushEngage dashboard page.
Step 2: Copy the PushEngage API key
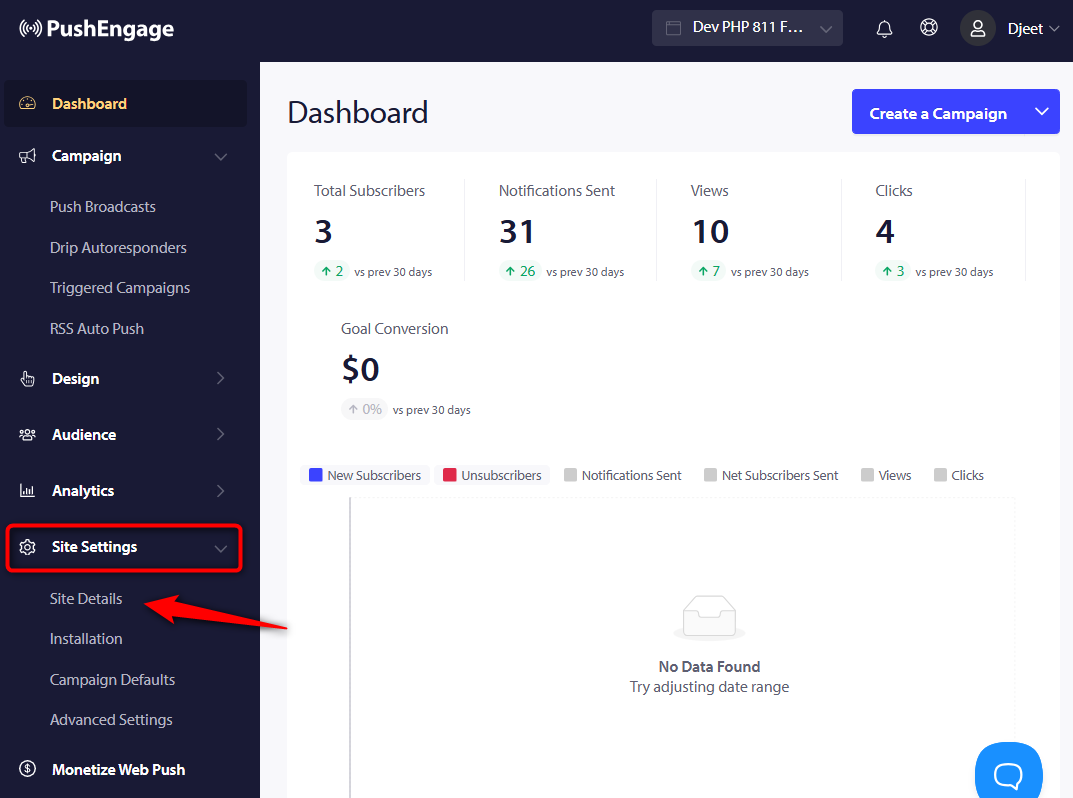
Under the Site Settings, click on Site Details from the left navigation menu.
Scroll down and you’ll find the API key.
Click on Copy.
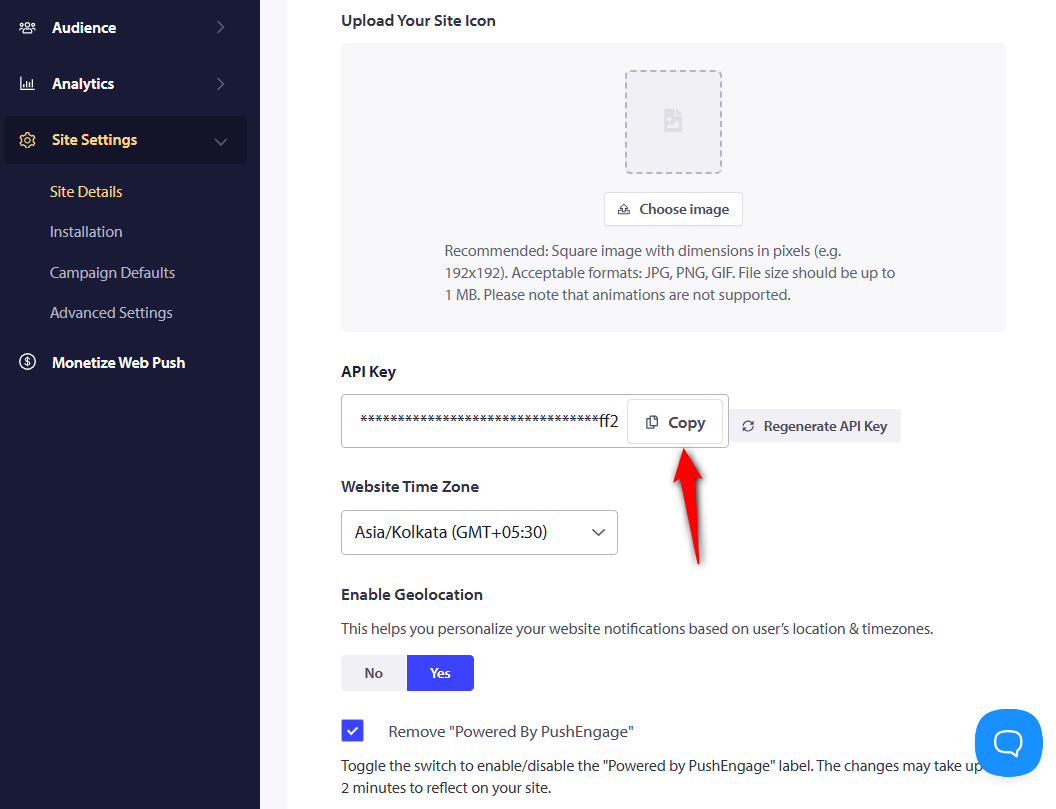
The API key will get copied.
Step 3: Paste the API key to PushEngage connector in FunnelKit Automations
Navigate to Tools ⇨ Connectors inside FunnelKit Automations.
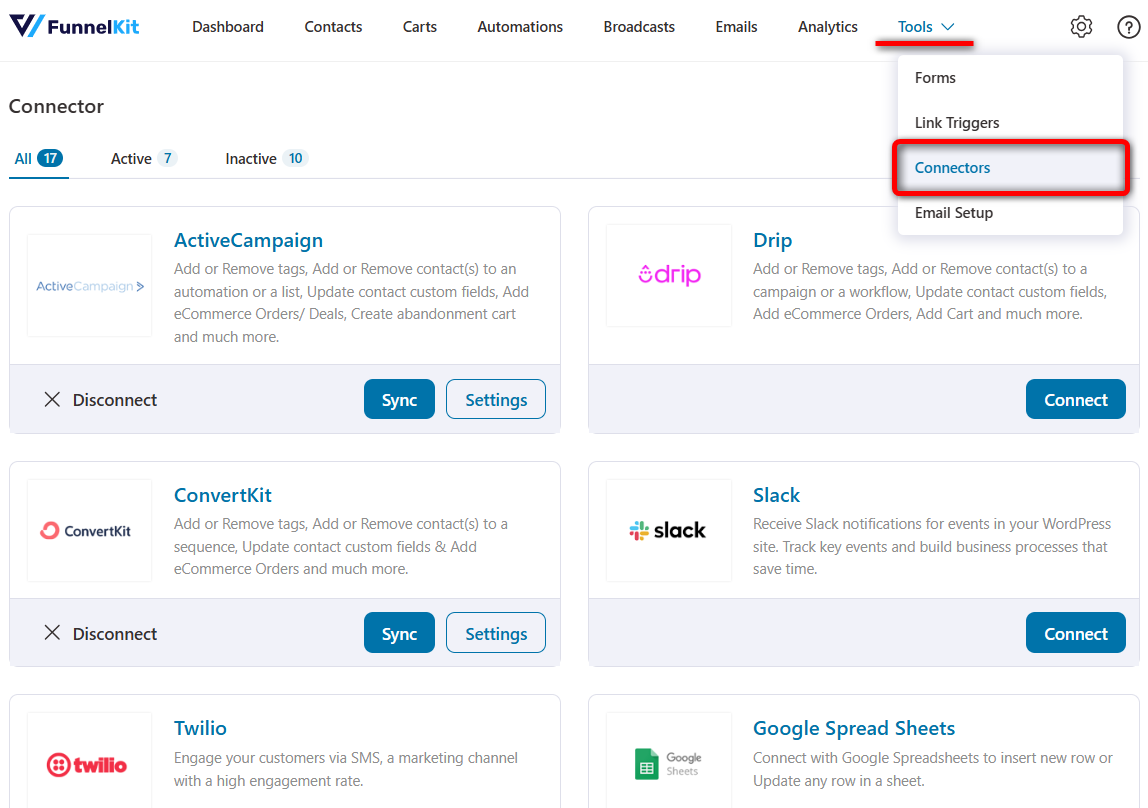
Scroll down and click on Connect under PushEngage.
Make sure to paste the API token key there and hit Connect.
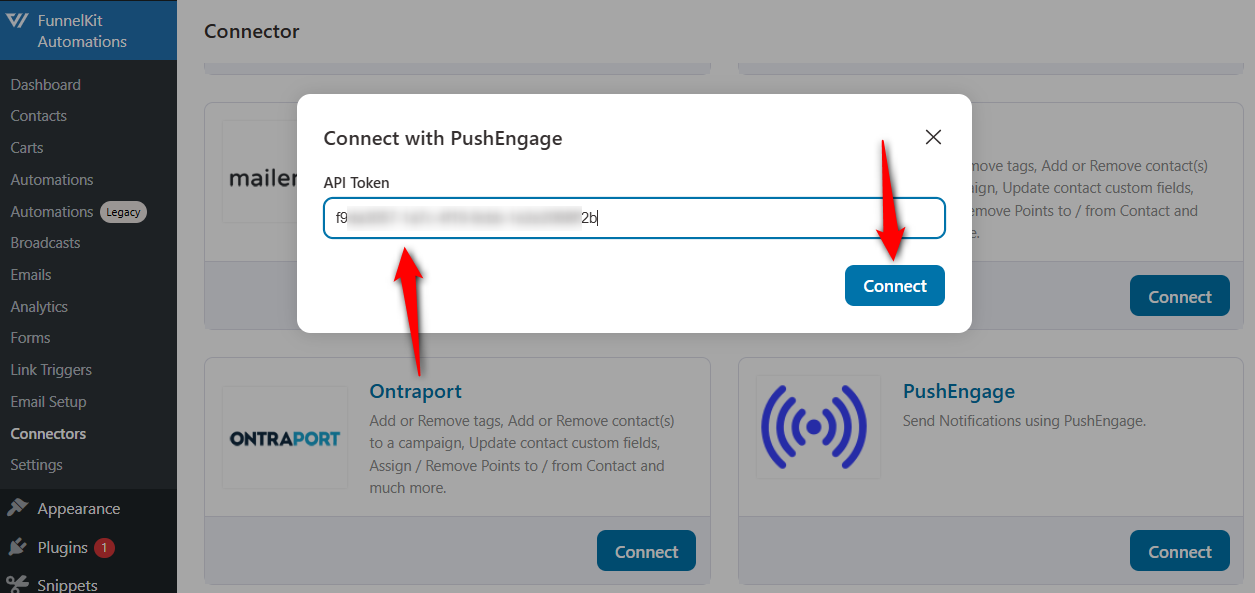
This will successfully connect PushEngage with FunnelKit Automations.


