Follow the step-by-step instructions to set up bounce handling in Elastic Email:
Step 1: Log in to your Elastic Email account
Log in to your Elastic Email account by entering the credentials.
Step 2: Copy the bounce tracking webhook URL
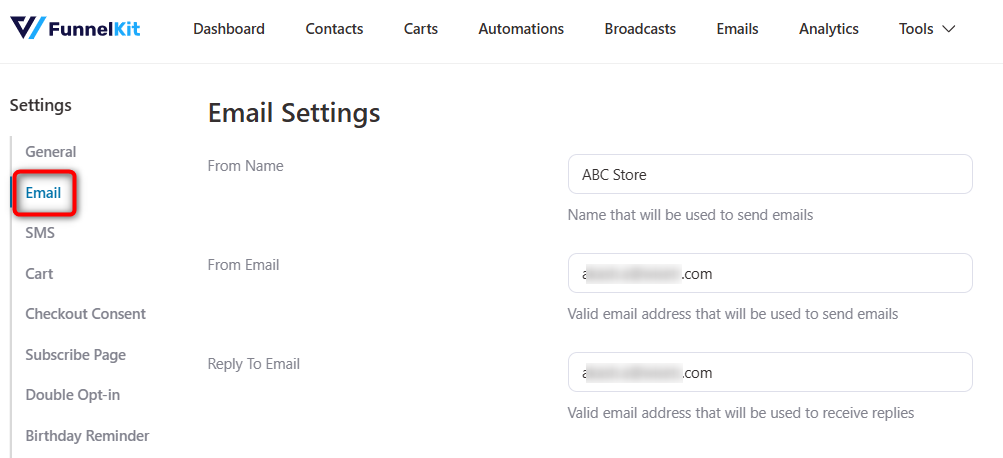
Go to Email Settings in FunnelKit Automations.
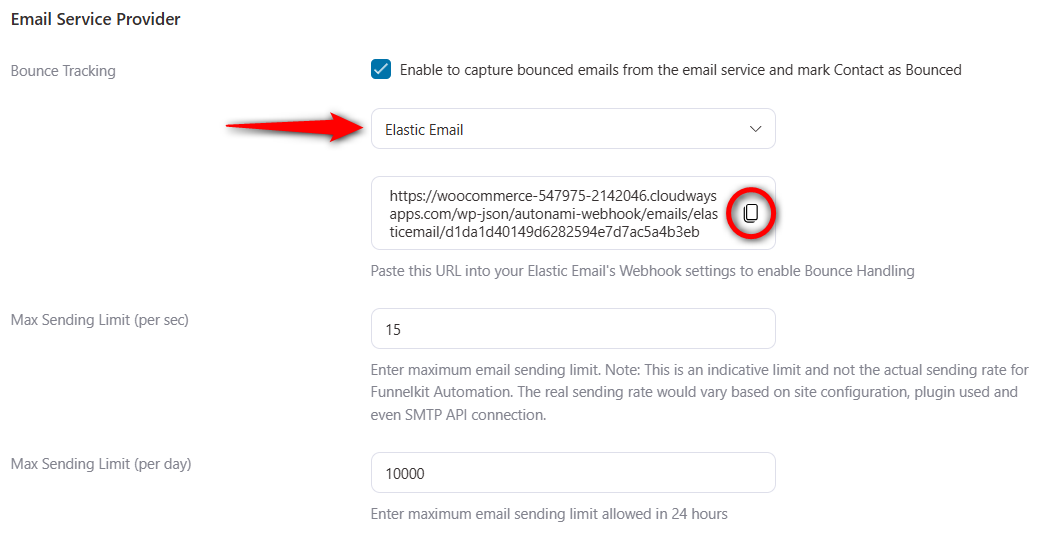
Scroll down below and enable Bounce Tracking.
Select Elastic Email and copy the bounce tracking webhook URL.
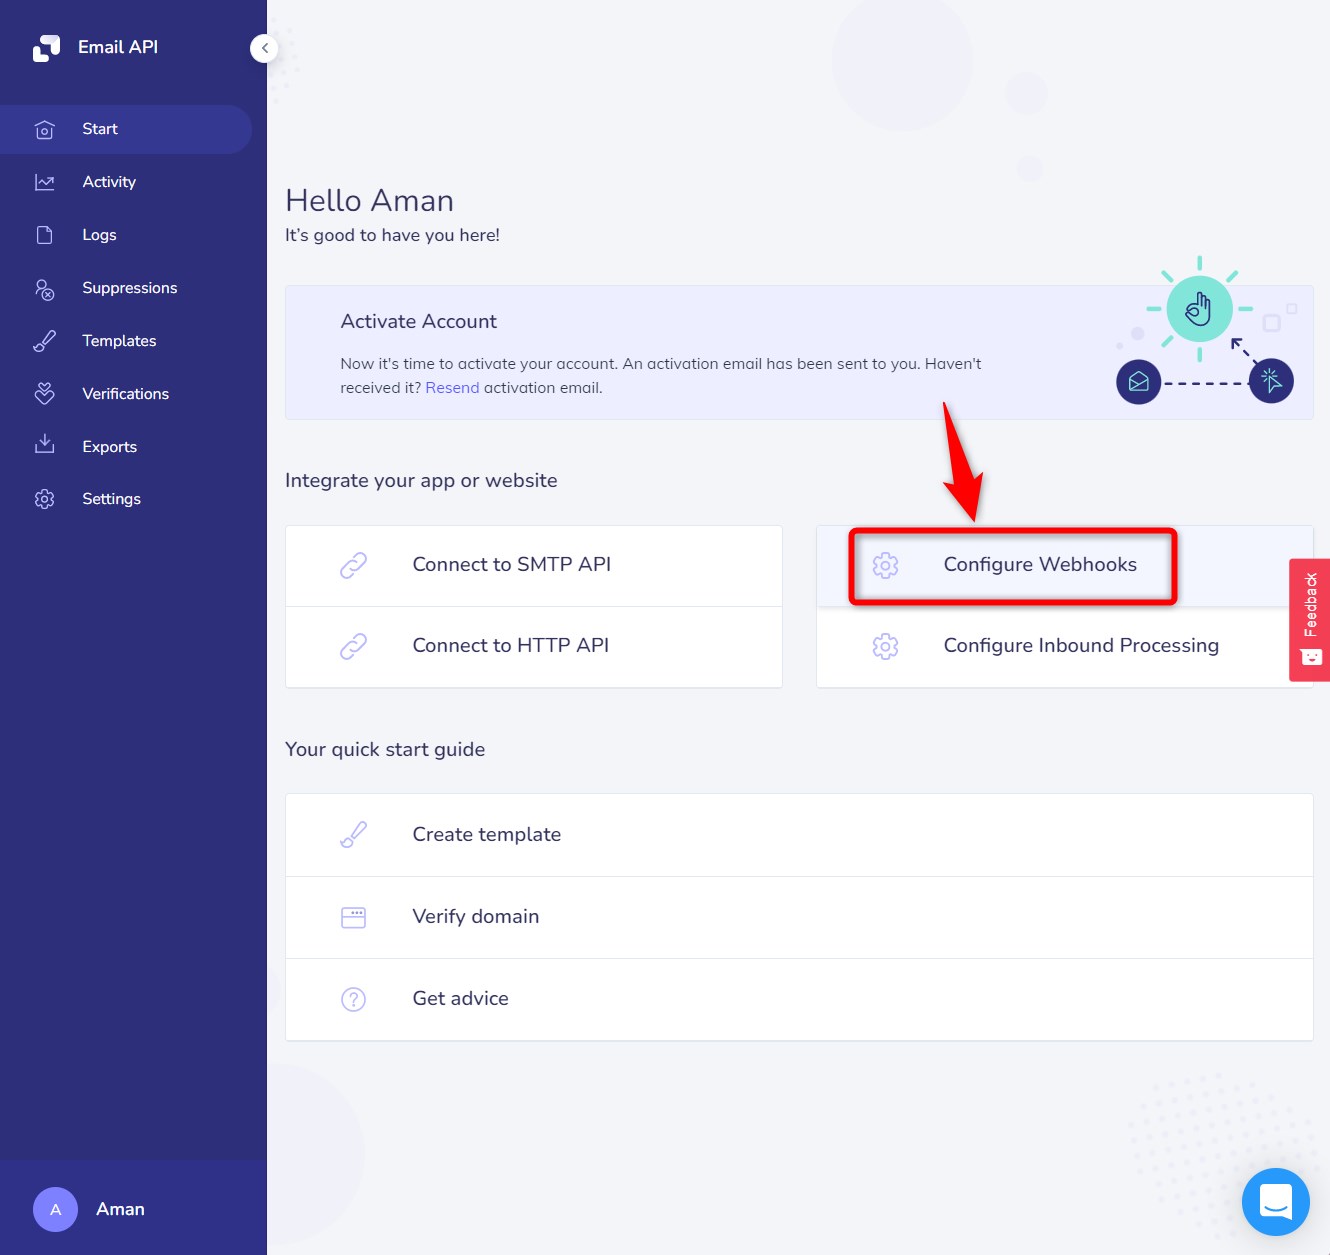
Step 3: Paste the webhook URL into Elastic Email
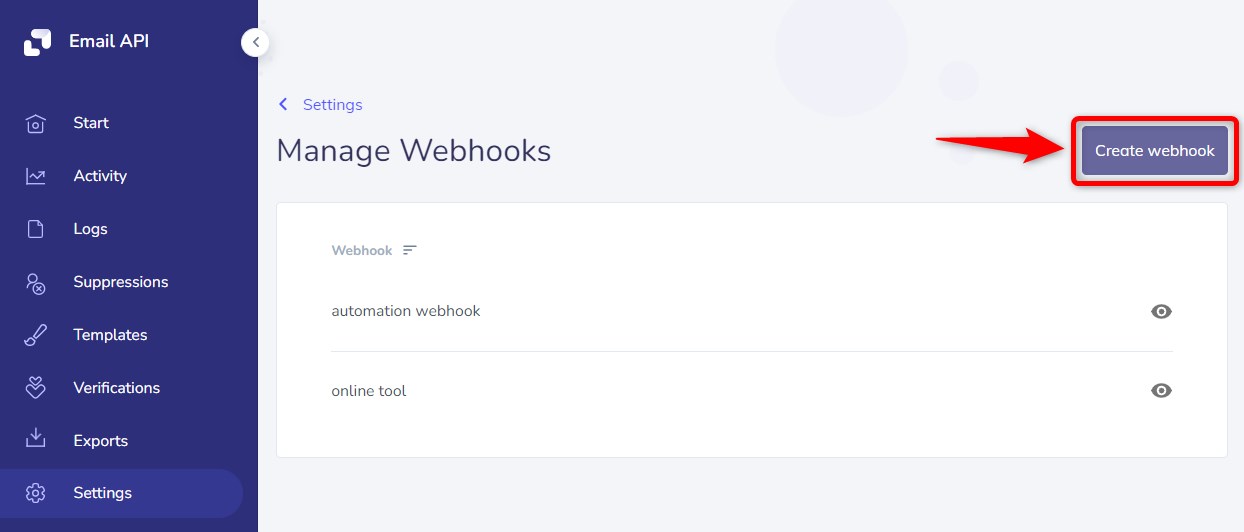
On your dashboard, click on Configure Webhooks.
Next, click on the Create webhook button.
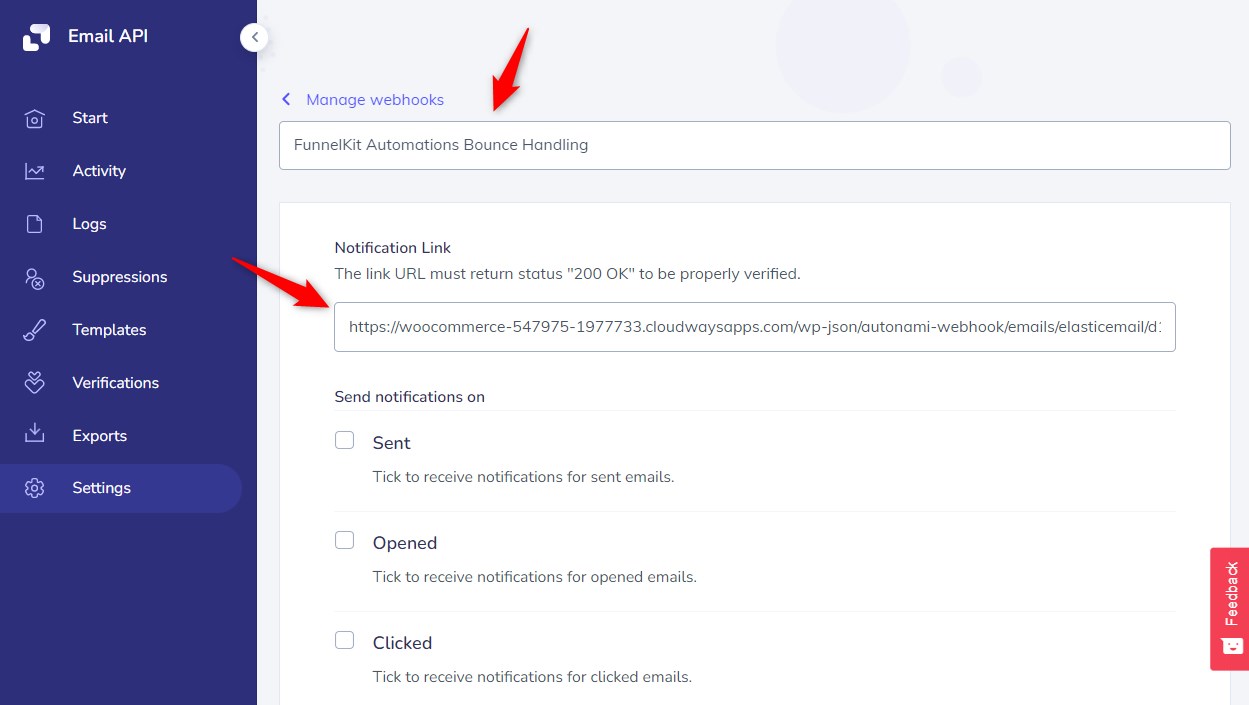
Enter the webhook name and paste the webhook URL here.
🔔 Quick Note: The same webhook handles both bounce and spam complaint events.
Now, enable the Complaints and Bounce/Error options from here.
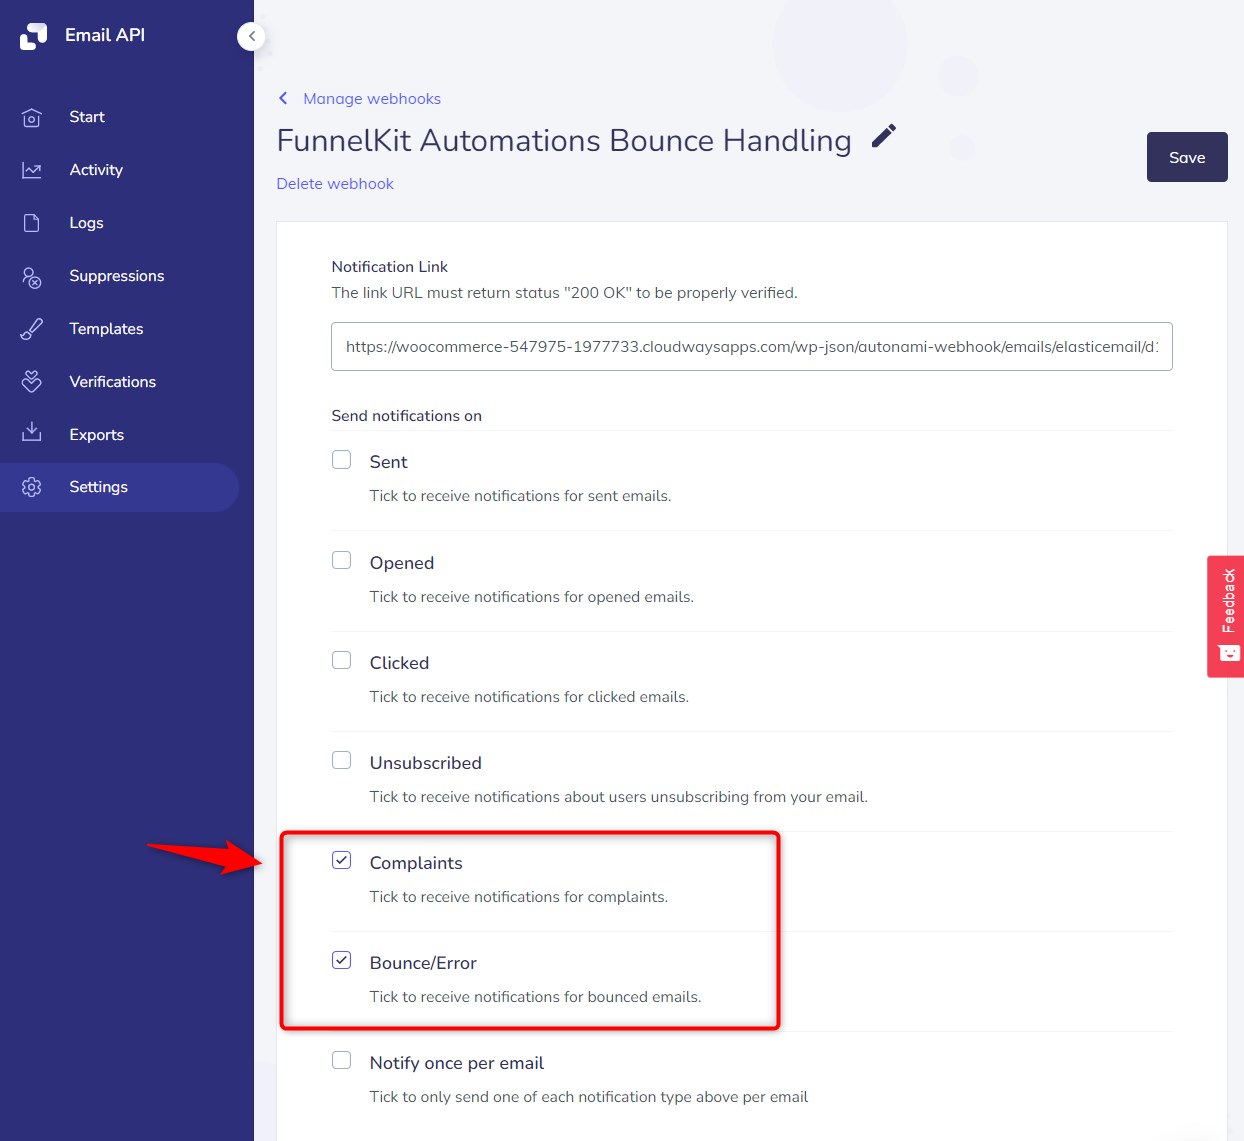
Click on Save when done.
That's it! This is how you can set up bounce handling with Elastic Email using FunnelKit Automations.


