In this documentation, you'll learn how to set up bounce handlers in FunnelKit Automations if you use the Postmark email service.
Step 1: Log in to your Postmark account
Go to your Postmark account and log in with your credentials.
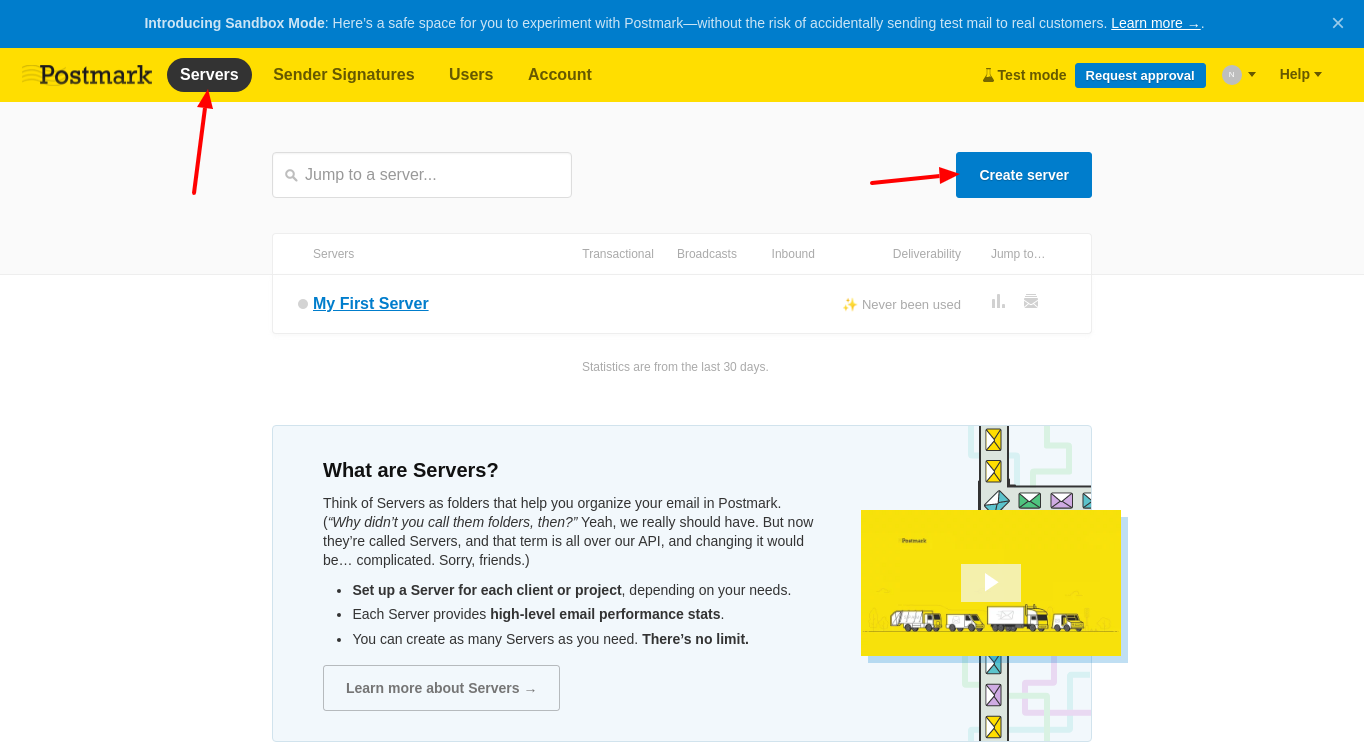
Step 2: Create a server
Go to Servers and click on the Create server button.
Enter the name and server type.
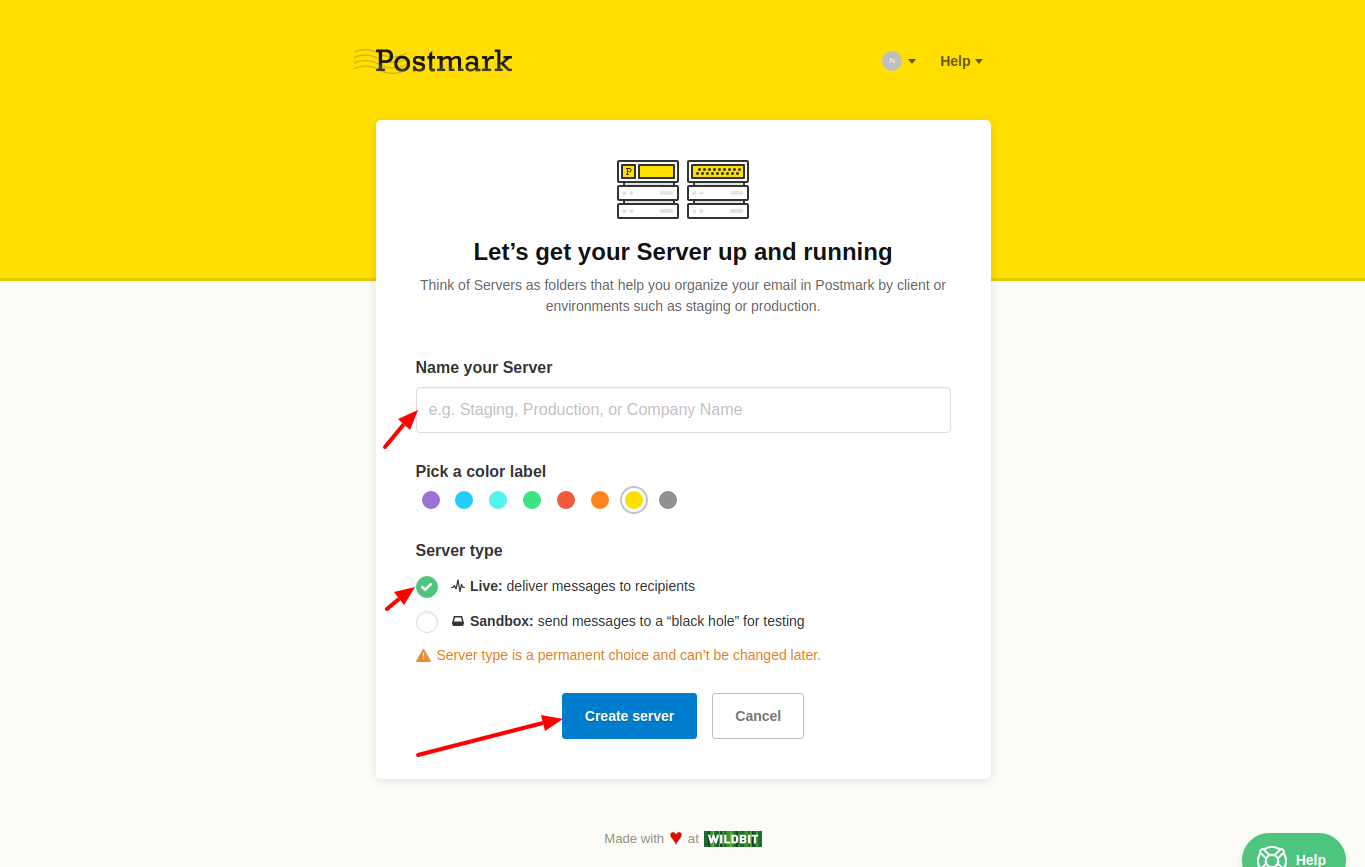
Once done, click on the Create server button.
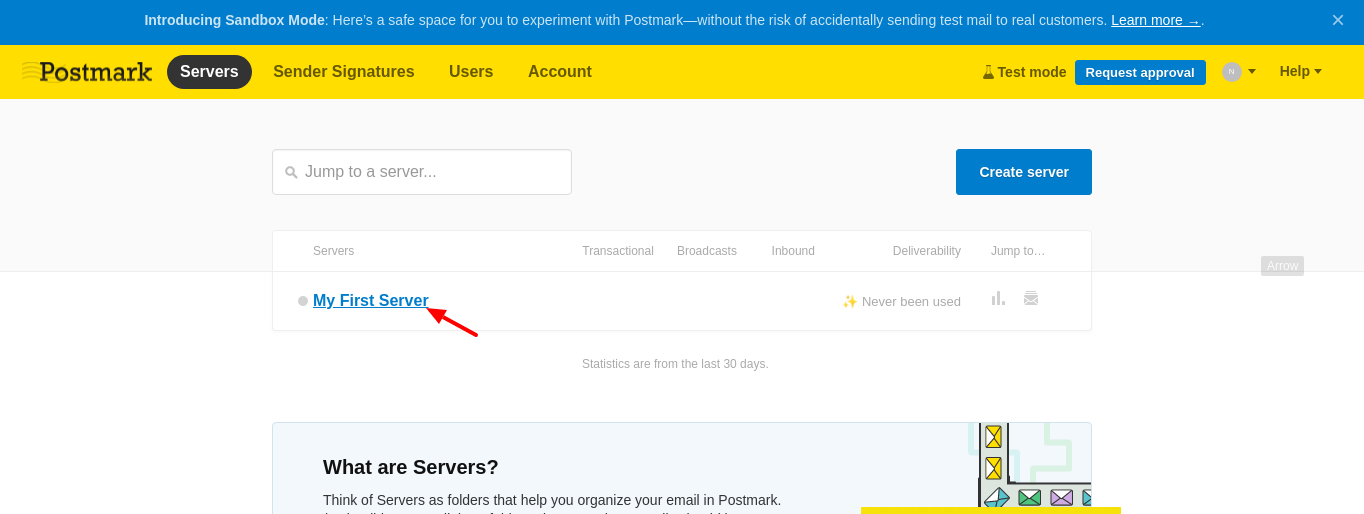
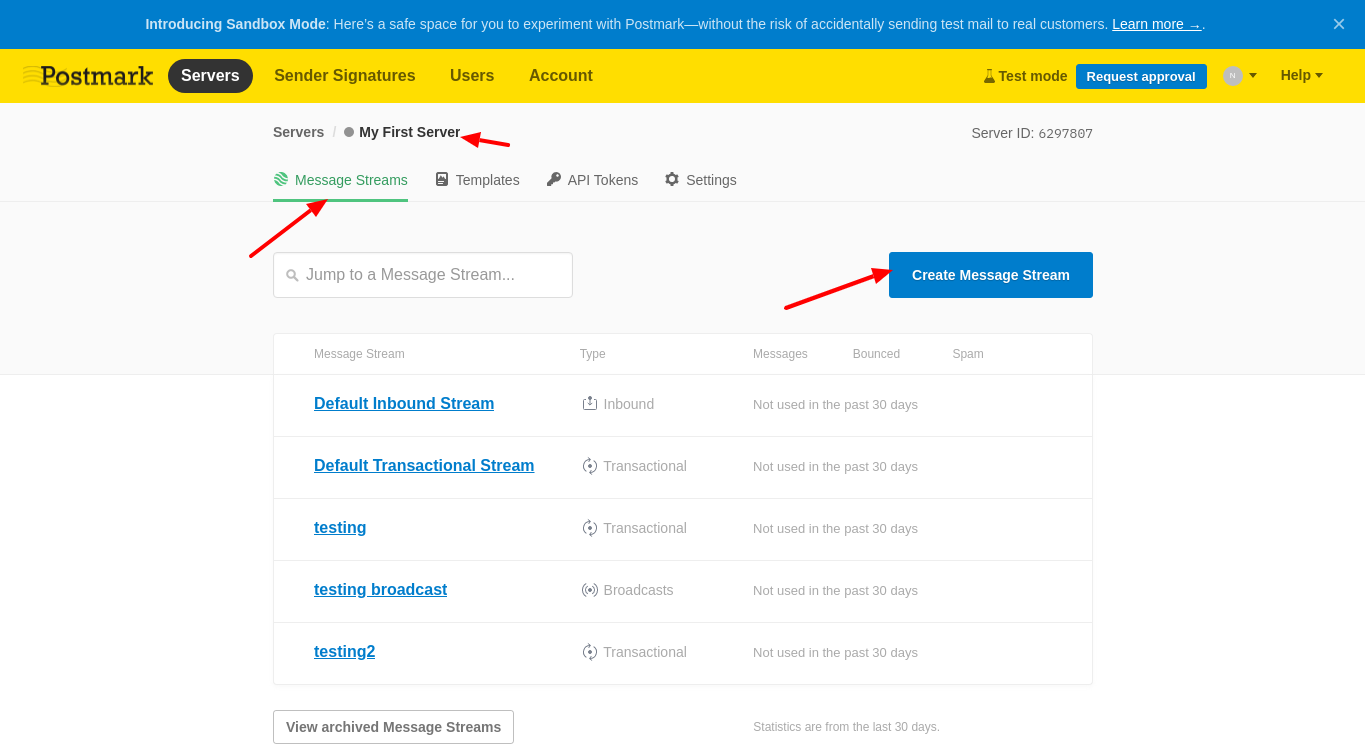
Step 3: Click on the server you've created
Step 4: Create a message stream
Under Message Streams, click on Create Message Stream.
Enter the name and type of the message stream.
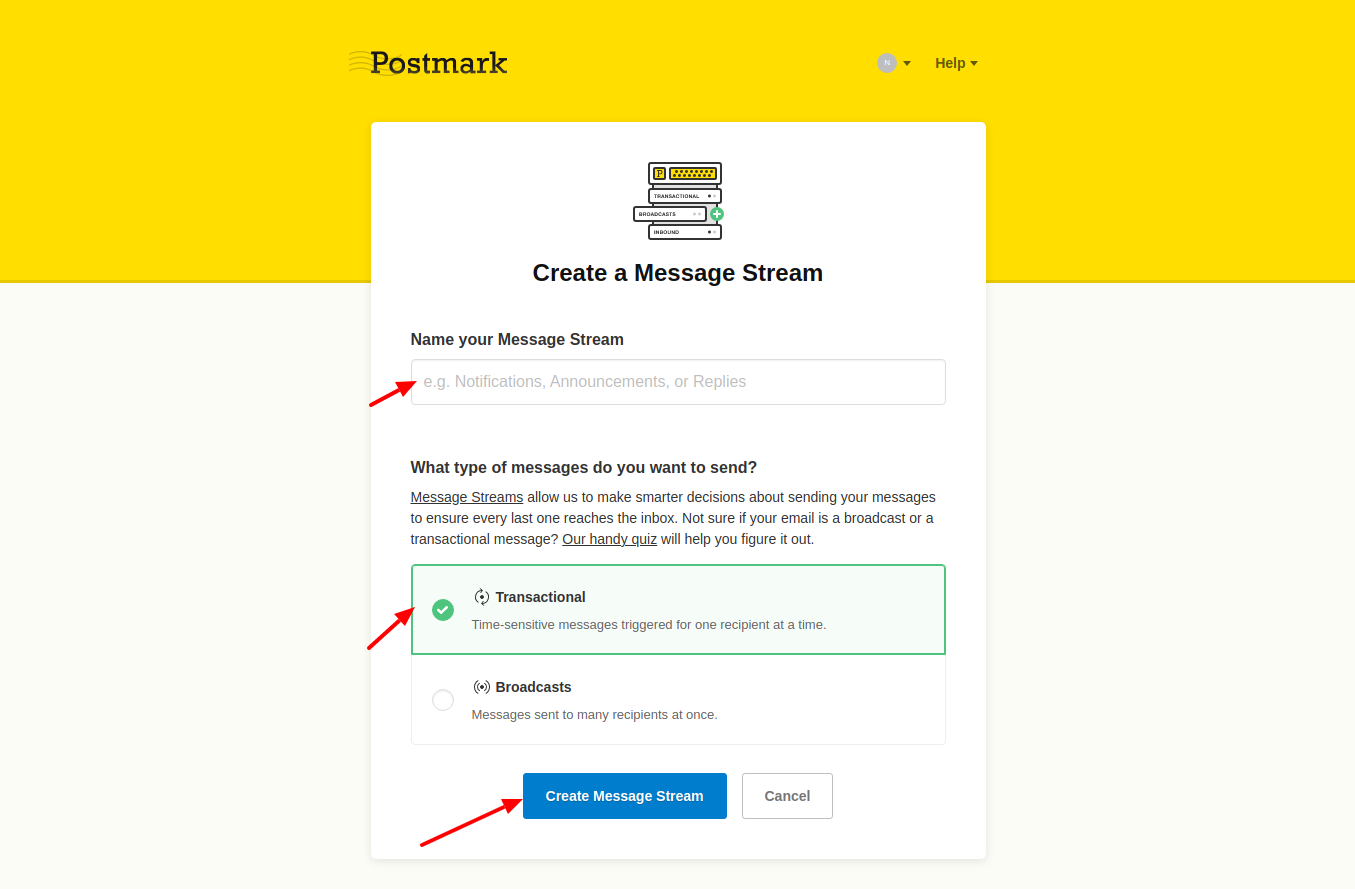
Once done, click on Create Message Stream.
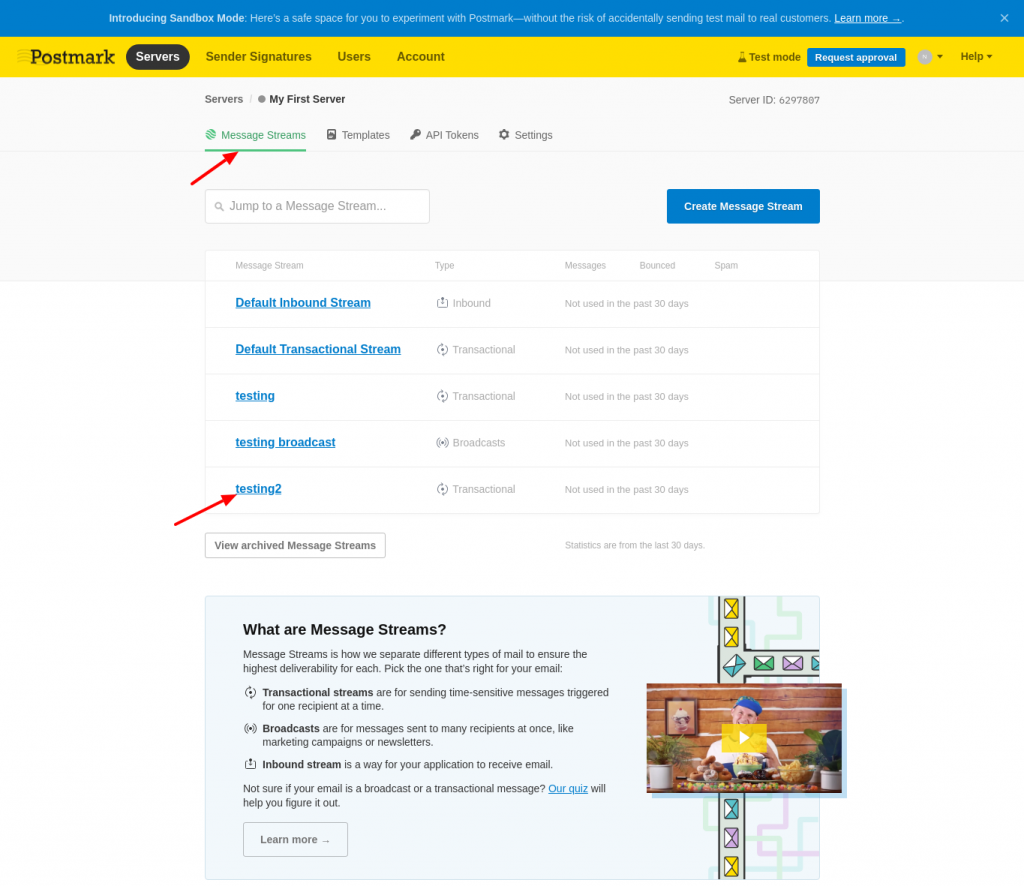
Step 5: Click on the Message Stream you've created
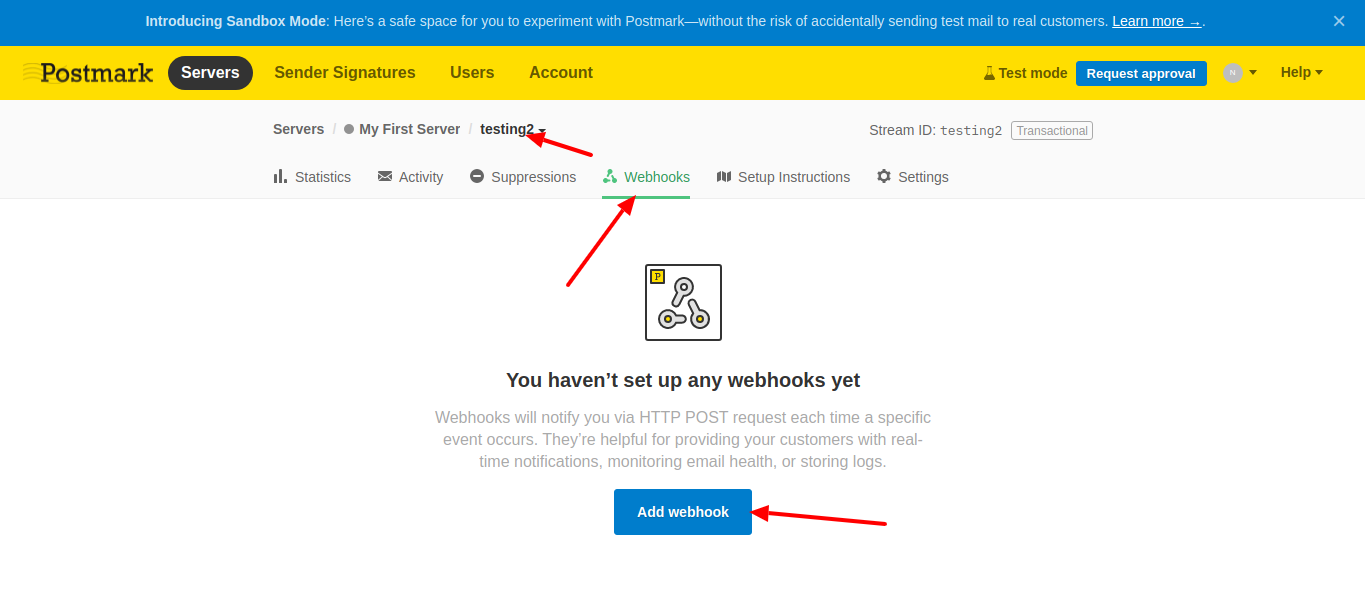
Step 6: Add the webhook
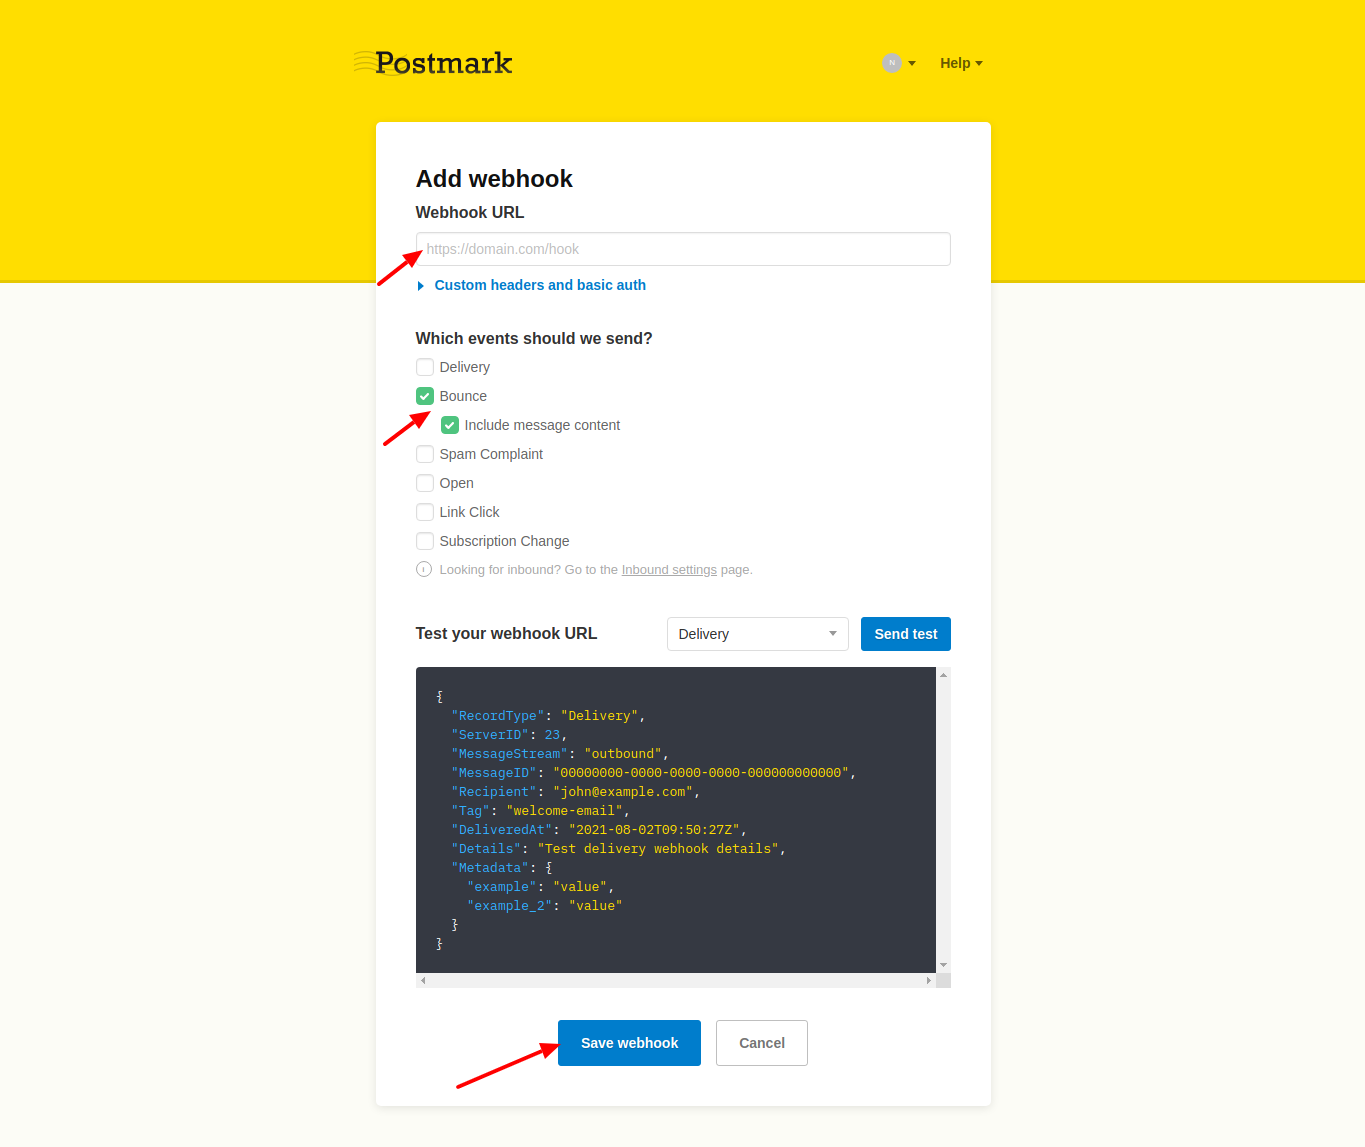
Under Webhooks, click on Add webhook.
Enter the webhook URL from FunnelKit Automations here.
To get the webhook URL, see the next instructions.
Copy this URL by going to Settings ⇨ Email Settings in FunnelKit Automations.
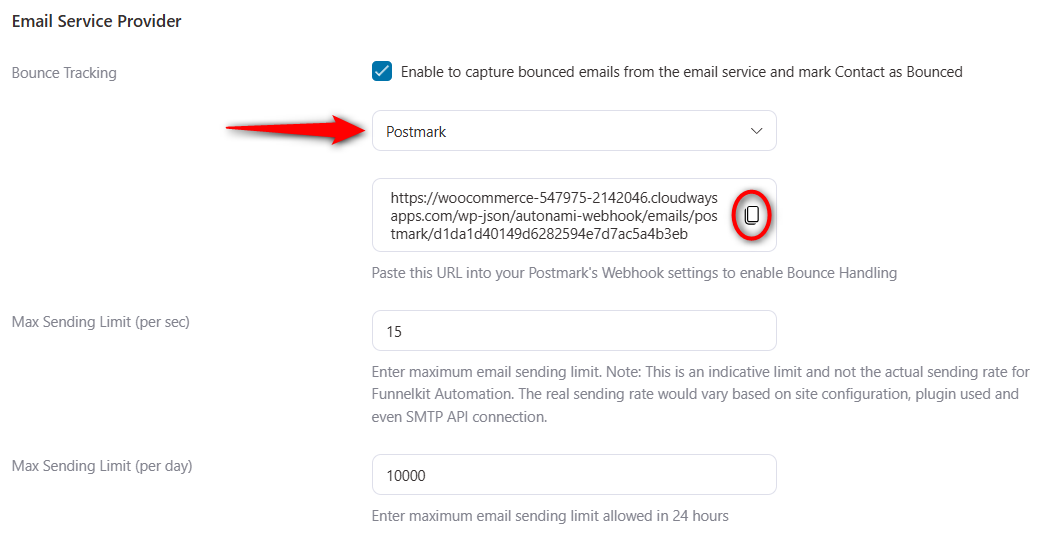
Then, paste it onto Pastemark URL.
Once done, click on Save webhook.
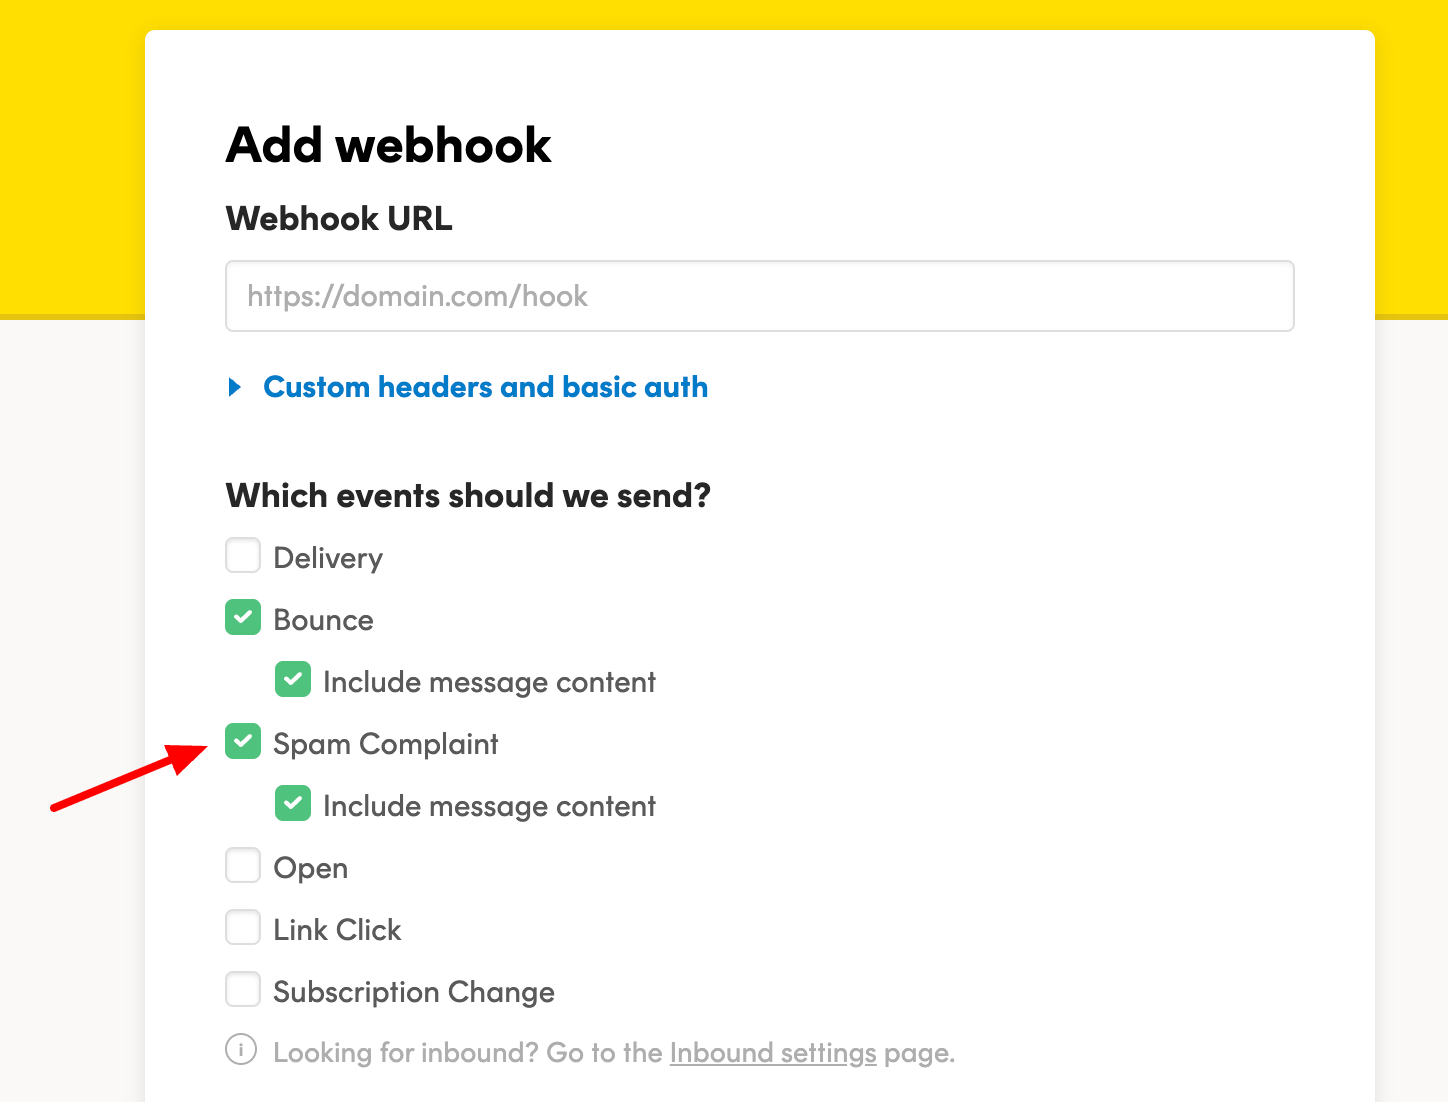
To handle spam complaints, you need to check the "Spam Complaint" while creating the webhook.
Well done! You have now successfully enabled bounce handling for Postmark.


