If you're using SparkPost to send emails, use this documentation to set up bounce handling in FunnelKit Automations.
Here's how you can set up bounce handling in SparkPost:
Step 1: Log in to your SparkPost account
Log in to your SparkPost account by entering the login credentials.
Step 2: Create an API key
Go to the Configurations tab.
Under API Keys, click on Create API Key.
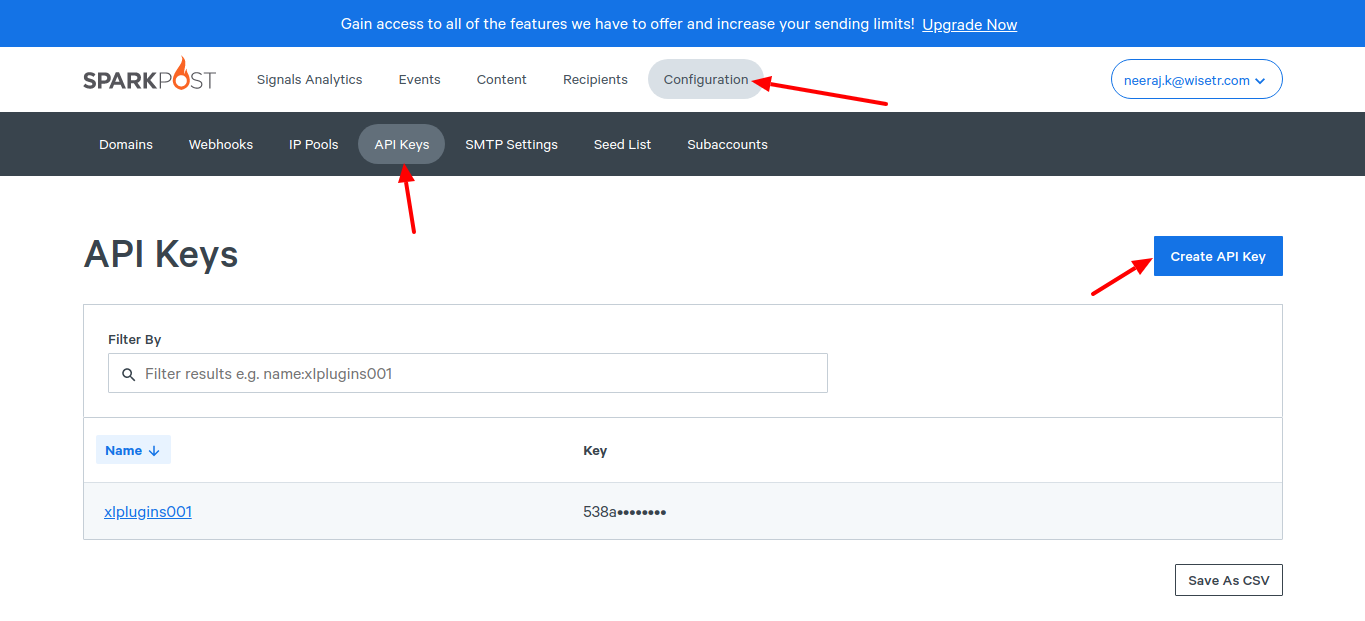
Enter the name of the API Key and set up permissions.

Once done, click on Create API Key.
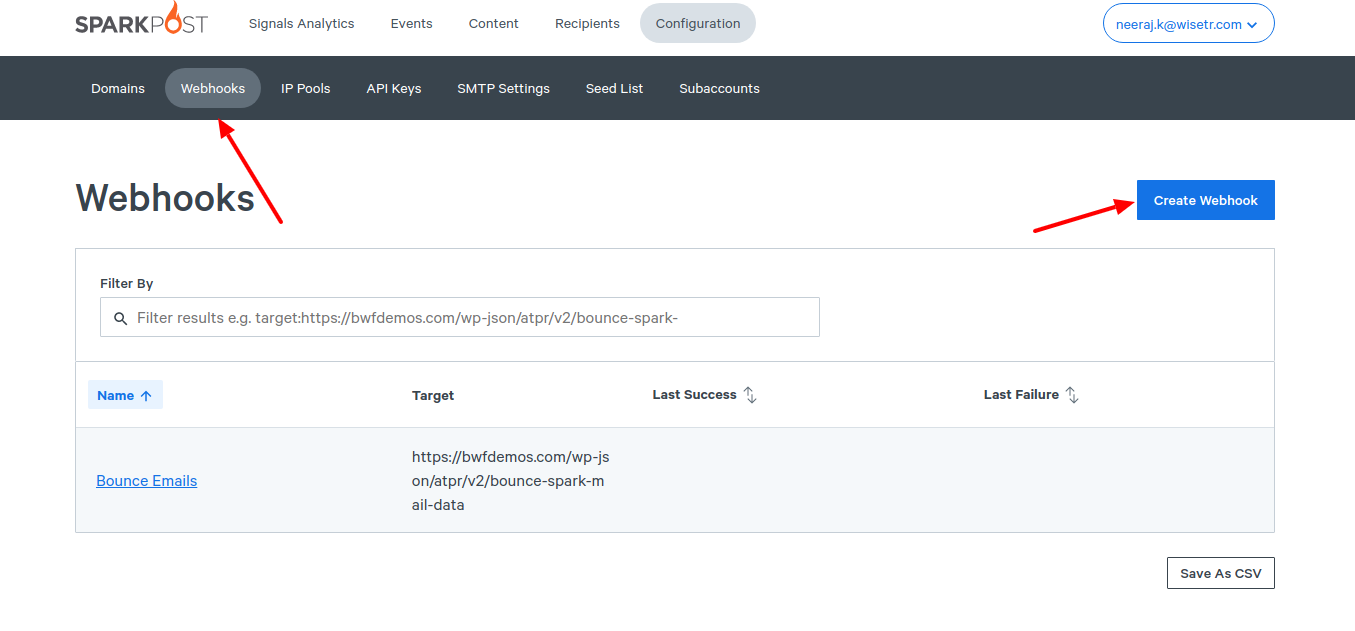
Step 3: Set up a webhook
Go to Webhooks and click on Create Webhook.
Enter the name, target URL, events, and authentication.
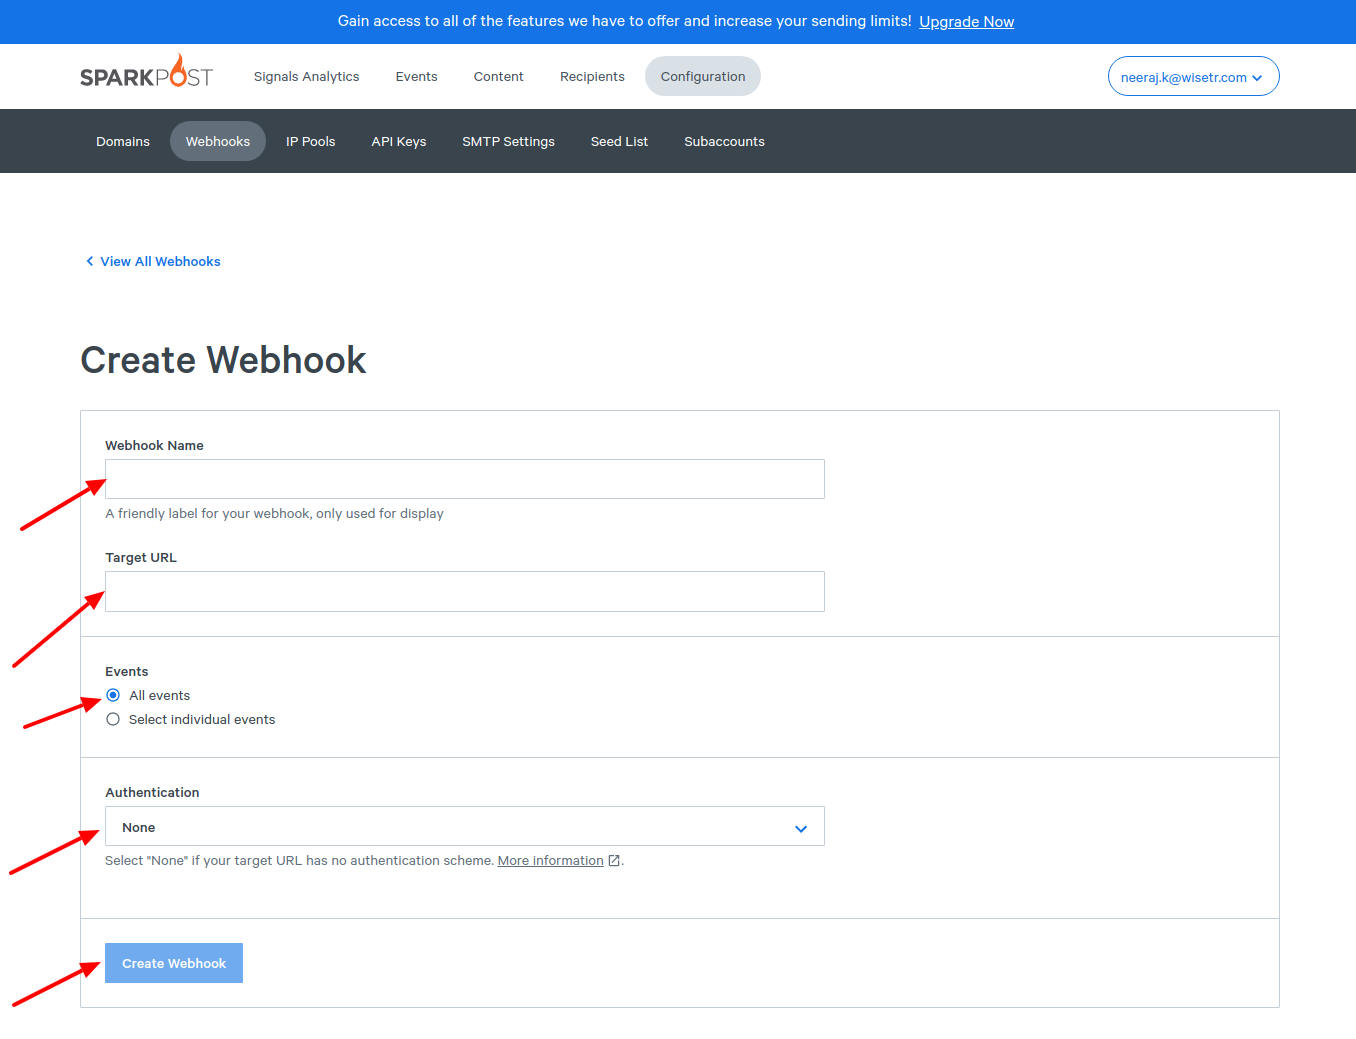
Step 4: Copy and paste the webhook URL
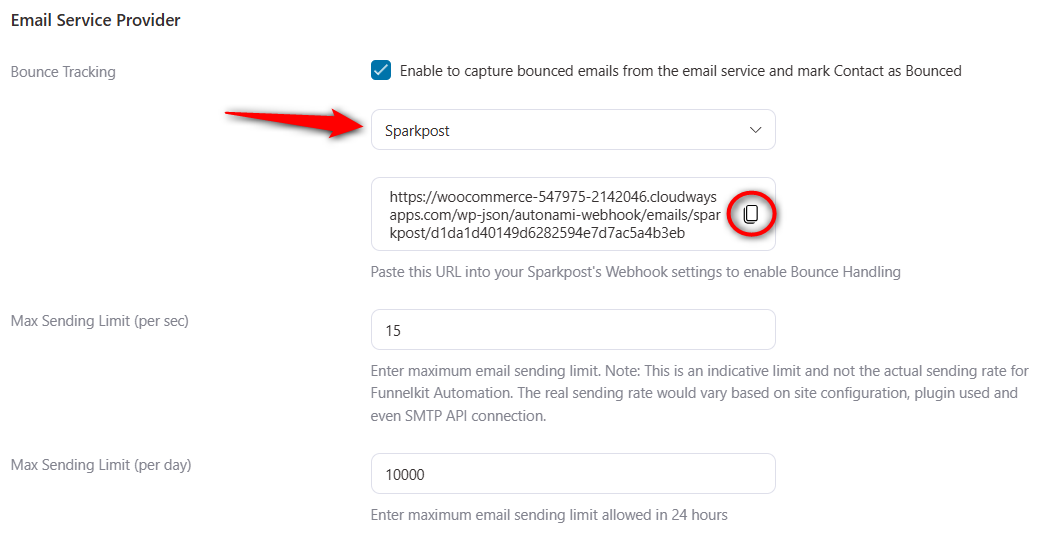
You can find the target URL for Sparkpost bounce handling by going to FunnelKit Automations ⇨ Settings ⇨ Email.
Once done, click on Create Webhook.
Well done! This is how you can set up bounce handling in Sparkpost.


