Do you want to engage with your buyers after they've just bought from your store?
Maybe to check in how their experience was or cross-sell relevant items or ask for review etc.
FunnelKit Automations allows you to set up automated post-purchase engagement emails.
These emails train people to open future emails from your store, lay the ground for the next sale and lay the foundation for a strong relationship.
Let's now look at how to create post-purchase engagement automation.
Step 1: Add a New Automation
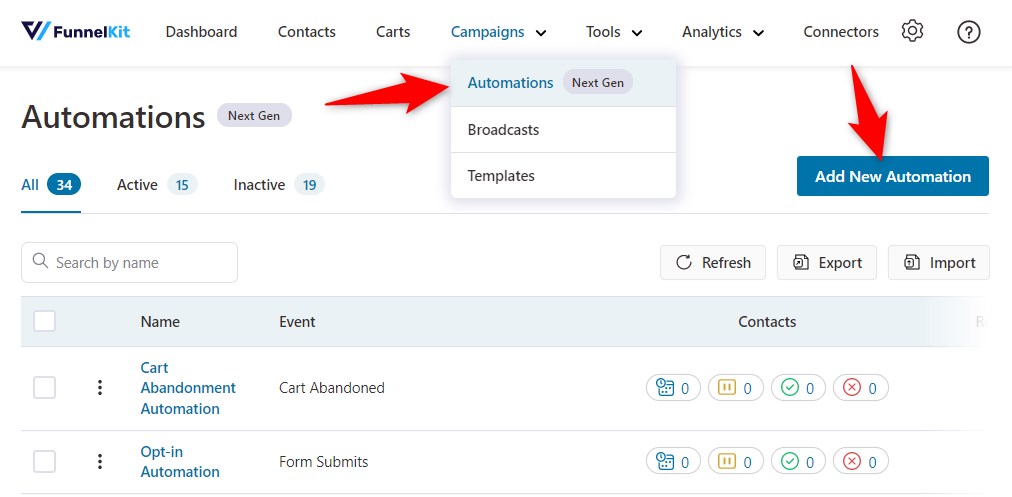
Go to Automations (Next Gen) under Campaigns.
Here's where you'll find the 'Add New' button to add a new automation.
Start from scratch and name your new automation.
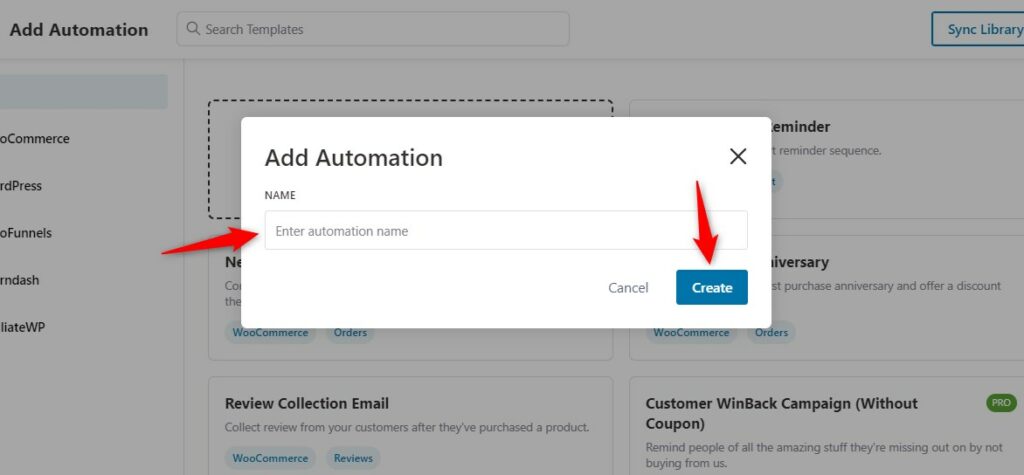
Click on Create when done.
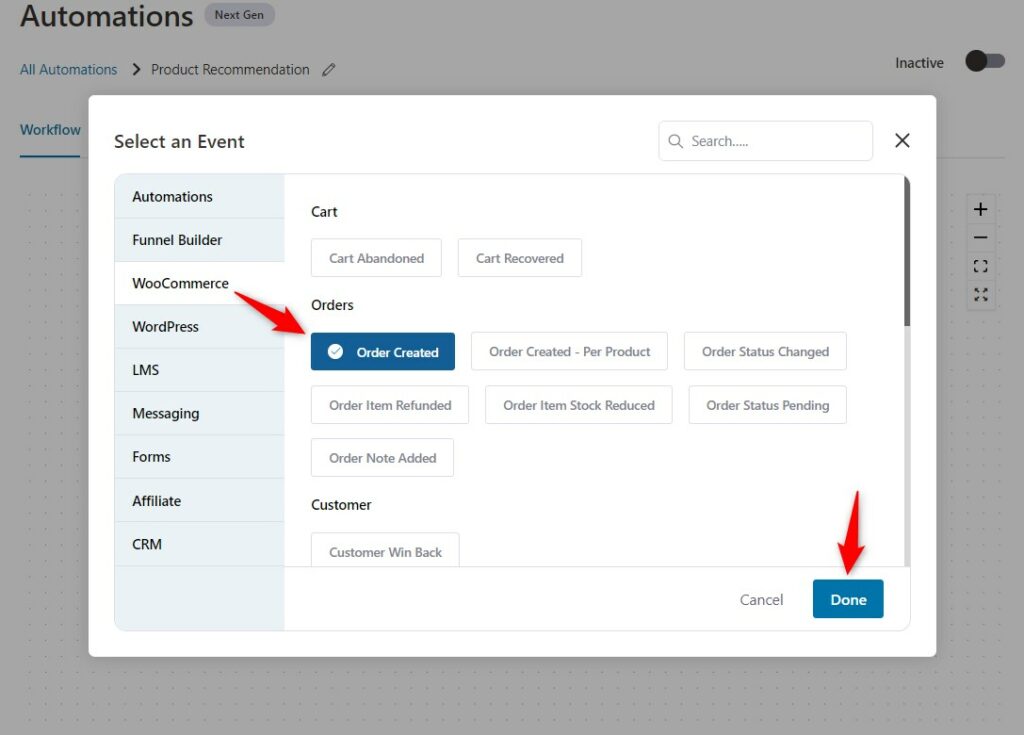
Step 2: Select the trigger
Next, select the event for this automation.
Specify order status, runs and allow currently active contacts to re-enter the automation.
You'll see these options when you configure the trigger.
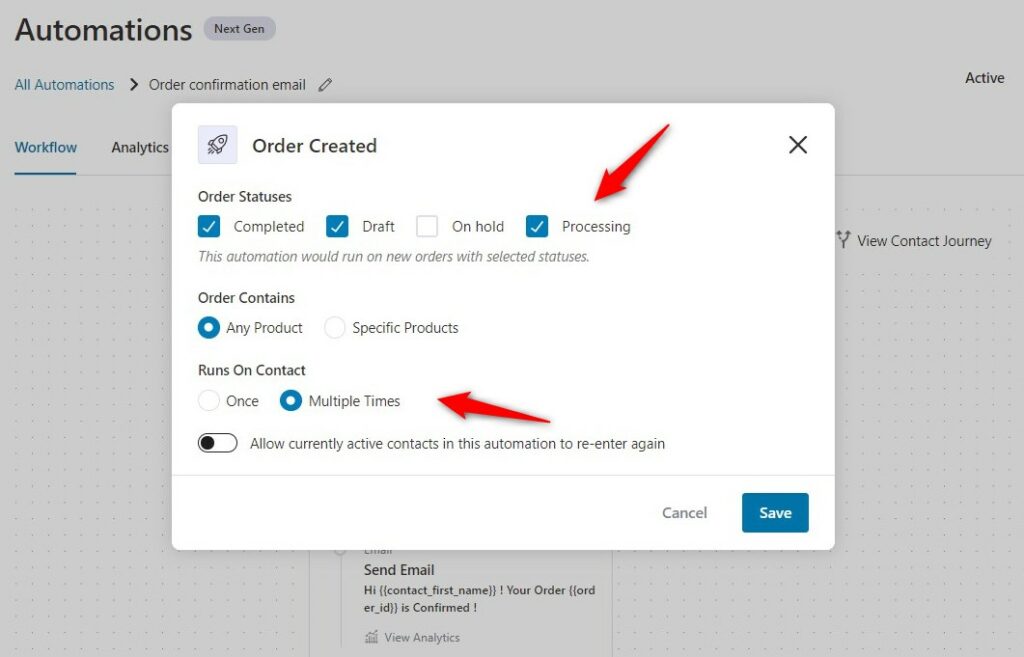
Order Status: Select the status of your order here - choose from 'Completed', 'Draft', 'On hold', and 'Processing'.
Order completed, draft, on-hold, or processing means the automation will start once after the order has been marked the respective status from the back-end.
Order Contains: Select the products if you want to run this automation on specific ordered items.
Runs: Select the option of once or multiple times you want to run this automation.
Re-enter Automation: Enable or disable the checkbox if you want the currently active contacts to re-enter this automation.
Tick this box for this use case.
Once you're done, click on Save.
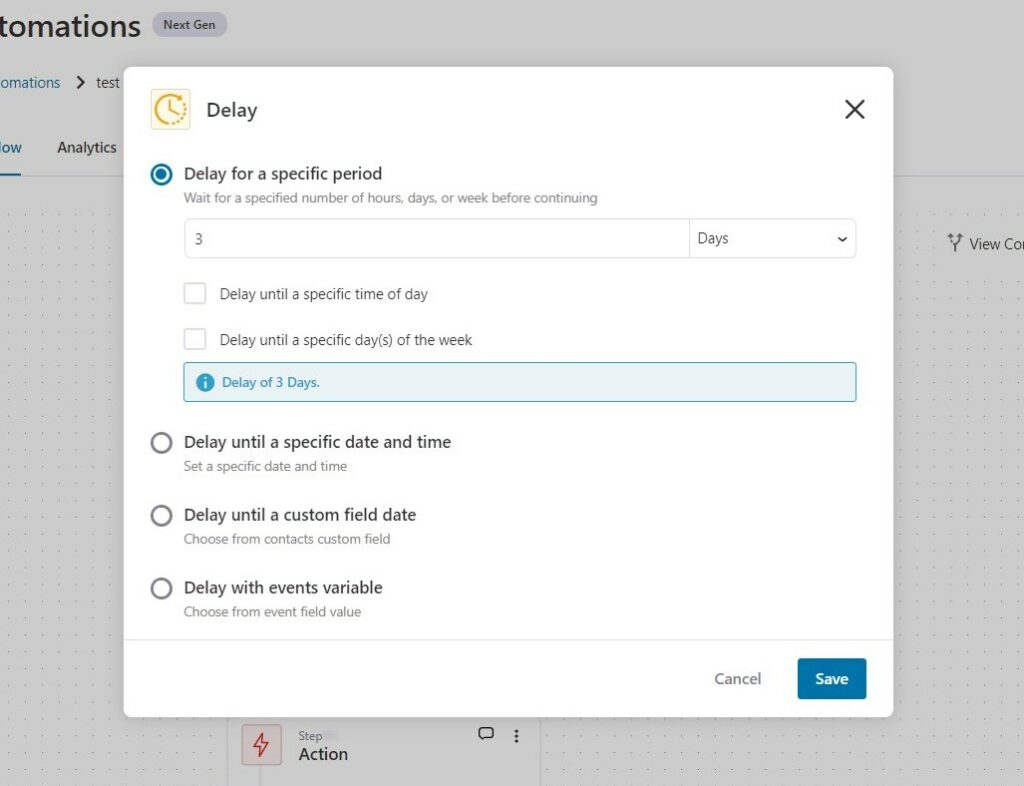
Step 3: Set the delay for the next actions
You'll have 6 options when you hit the '+' node icon.
Click on the node and add the delay.
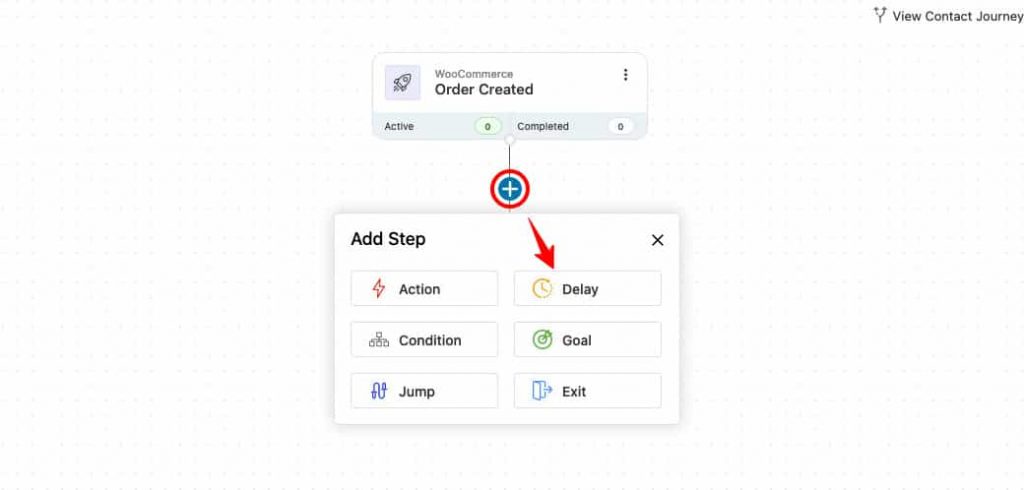
Schedule this email to be sent after 5 days of purchase.

Step 4: Add the 'Send Email' action
Select 'Action' in this case.
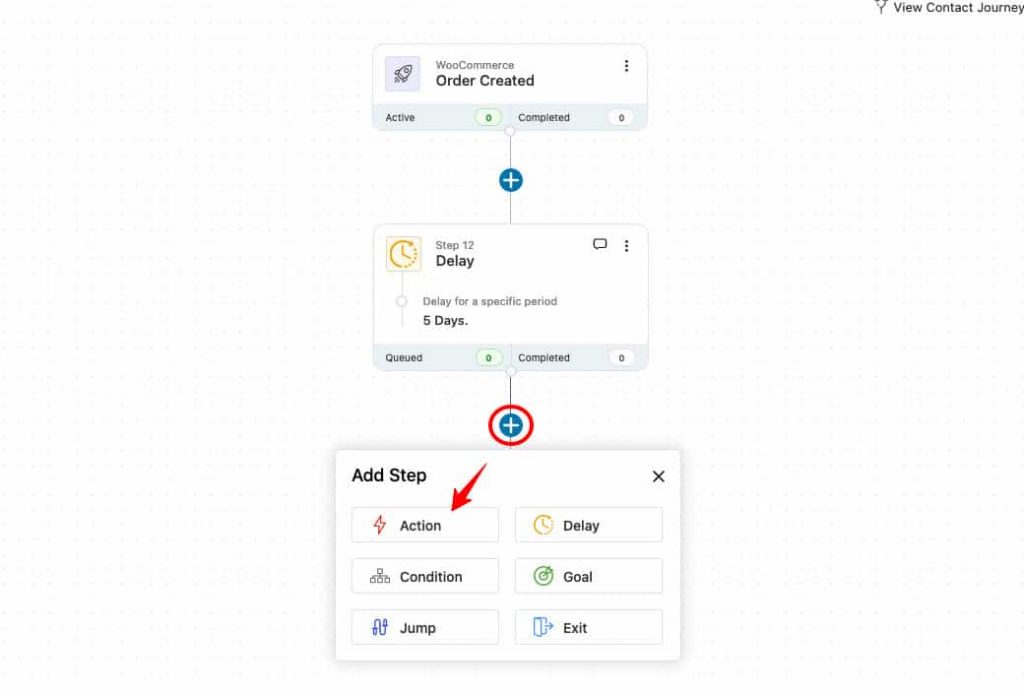
Select the 'Send Email' as action.
You'll find this option in the list of actions.
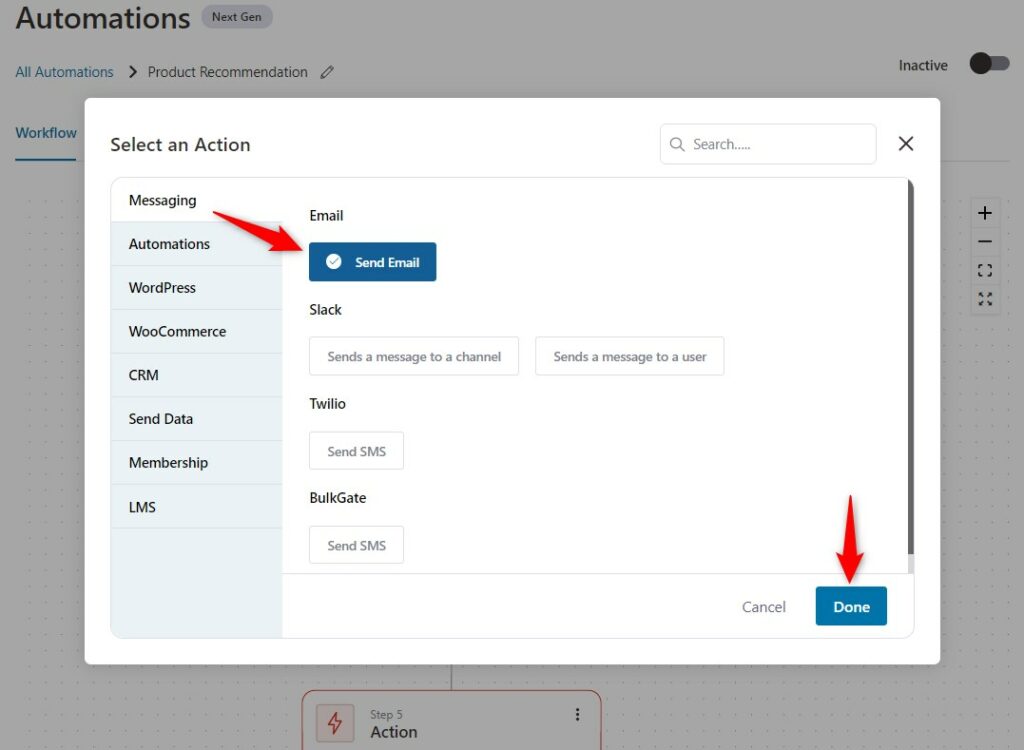
When you click on 'Send Email', the email customizer will show up.
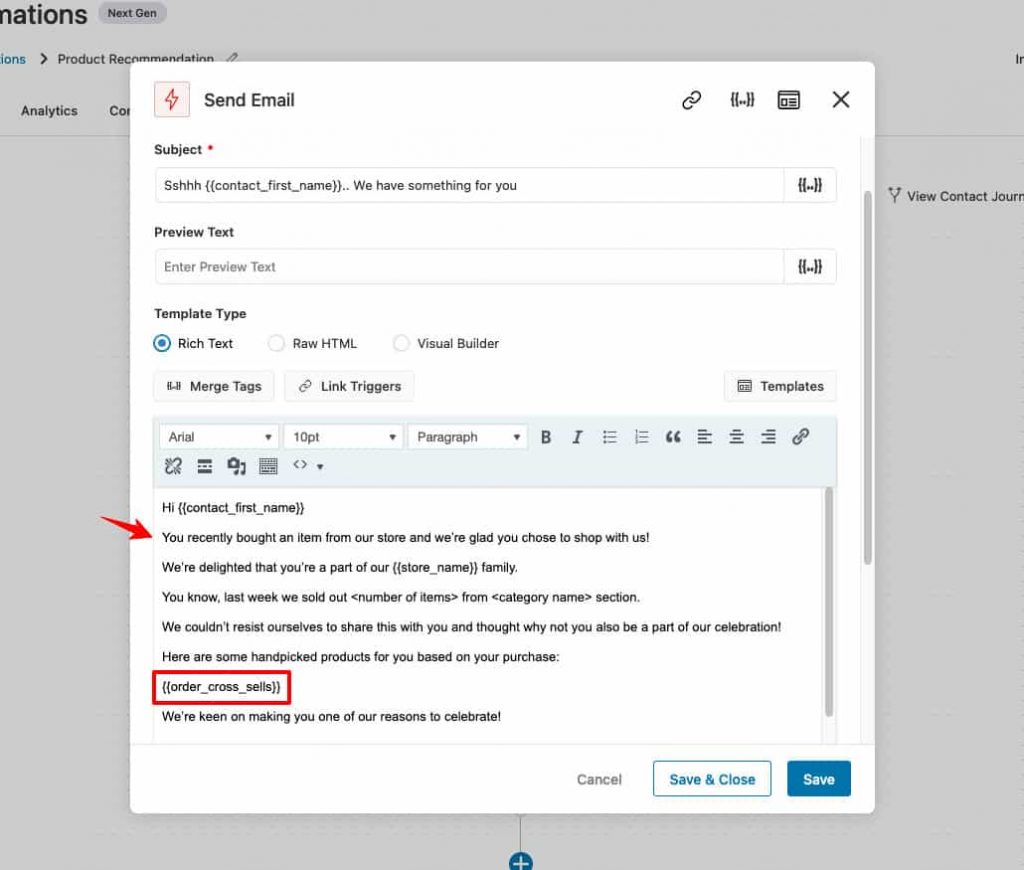
Step 5: Craft Your Email Body
Pick from a range of order and customer-specific merge tags to personalize the content of your email.
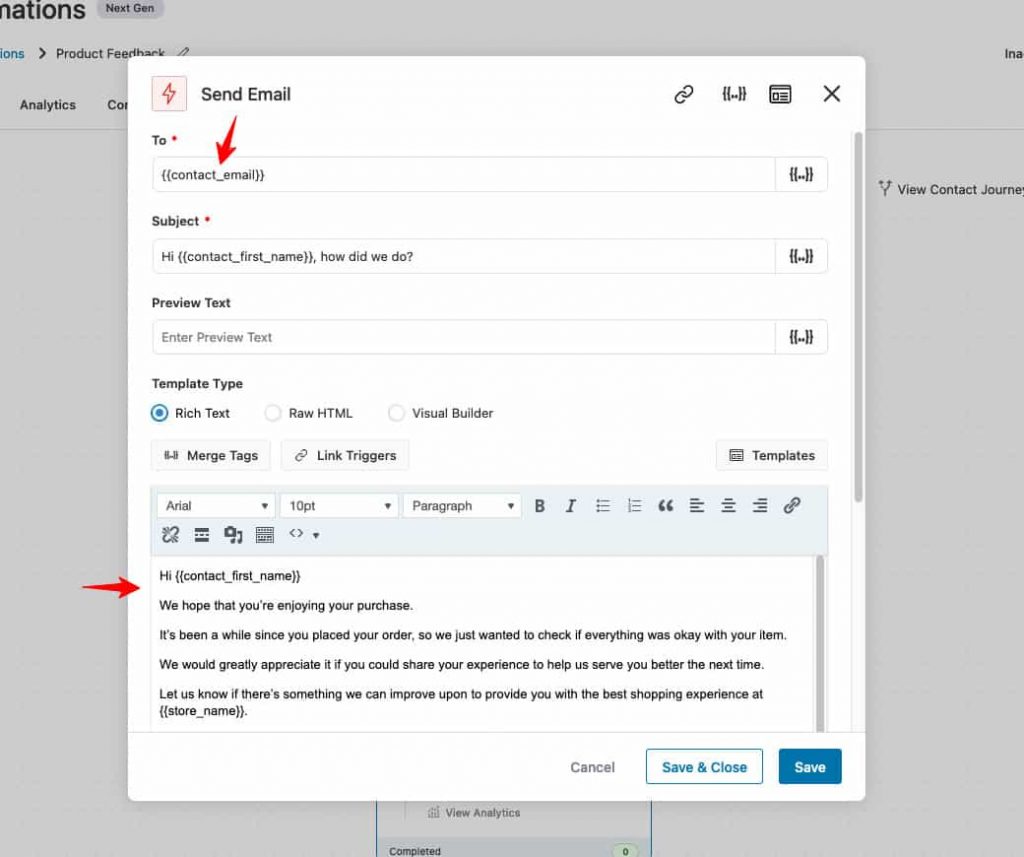
When you're done, just click on Save & Close to go back to your workflow.
Step 6: Add another delay of 3 days
Select the delay and assign it for 3 days.
Step 7: Add another email to the sequence
The second email will be to cross-sell other products in your store.
So, your email body could have all the cross-sells displayed in a grid or list format.
Click on Save & Close when done.
Step 8: Turn your Automation Live
Just hit the toggle button to make it live.

This means that your automation is now live and running.


