Let’s say you create a contact through a webhook and want to send a verification (double opt-in) email.
You can easily do that with FunnelKit Automations using two methods:
- Link Triggers
- Subscribe Link merge tag
In this documentation, we will look at how you can send a double opt-in email when creating contacts through webhook.
Method 1: Double Opt-in Using Link Trigger
Step 1: Set up the Webhook Received Event
Here, we have configured this webhook to receive data from another website.
You can refer to this documentation on how to send and receive data with webhooks.
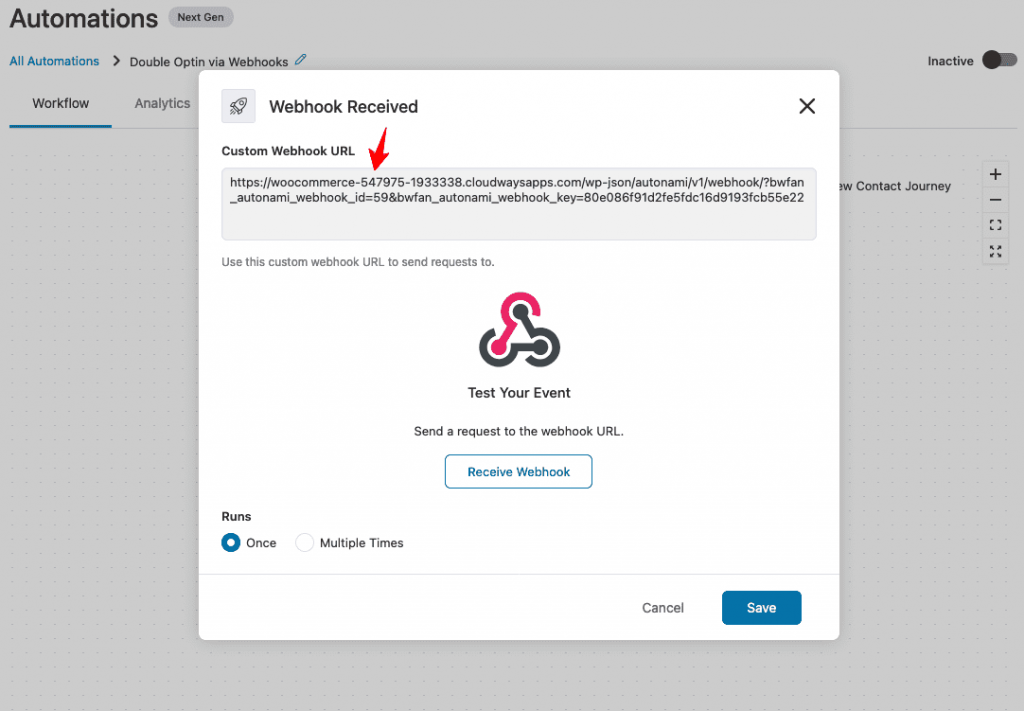
Send some test data and click on Receive Webhook to receive it.
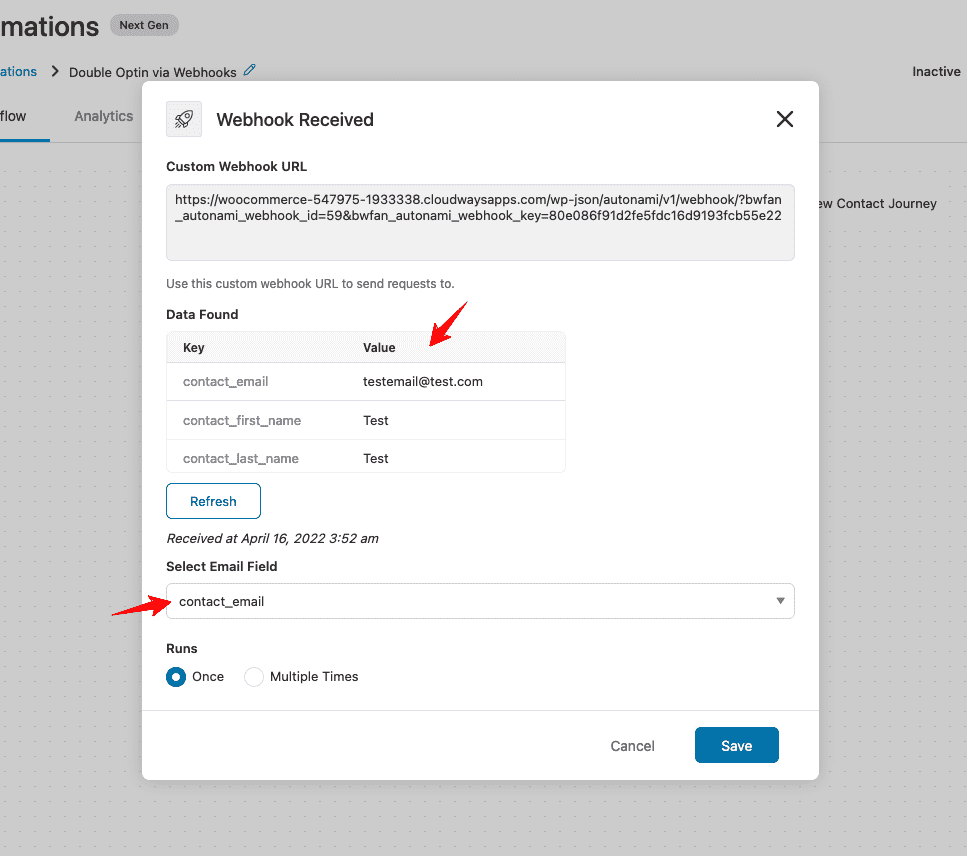
The data here gets received! This means that the webhook is successfully configured.
Make sure to map the email field.
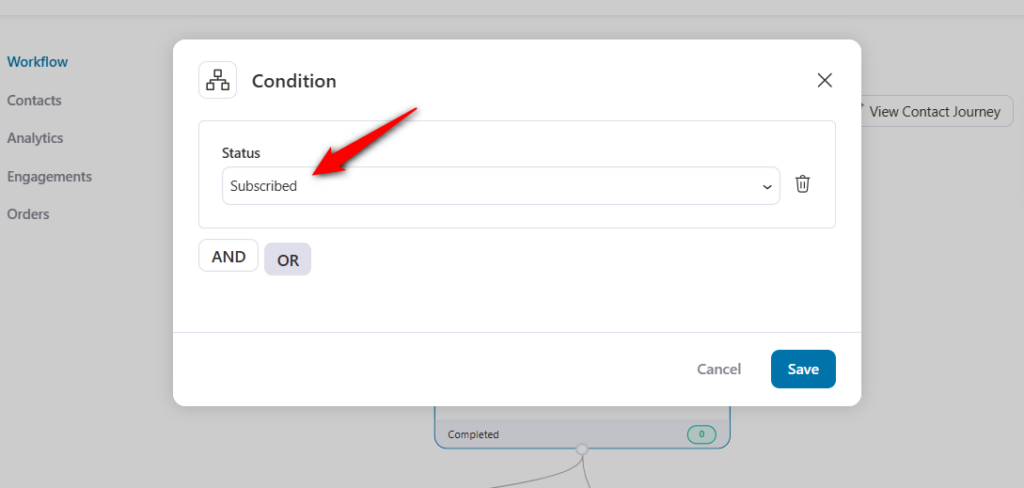
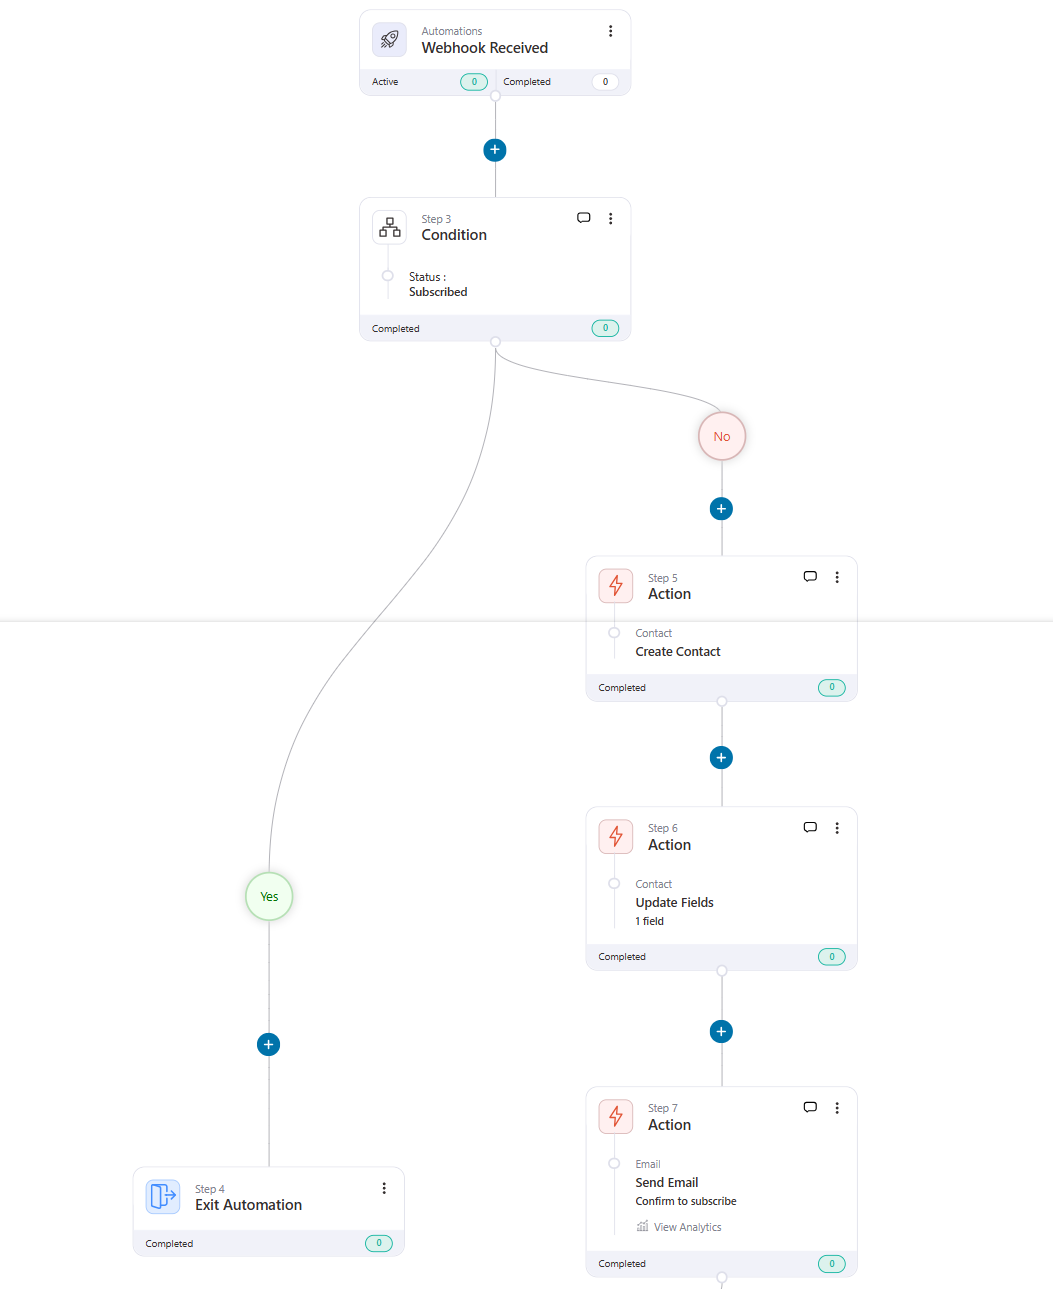
Step 2: Add the condition to check the subscribe status
Introduce a conditional rule to check if the contact’s status is Subscribed before creating a contact.
Logic:
- If the contact is subscribed:
- Exit the automation without performing any actions.
- If the contact is not subscribed:
- Proceed to create the contact and send an email with the required link trigger.
Step 3: Add the action to create your contact
Select the Create Contact under FunnelKit Automations as the action.
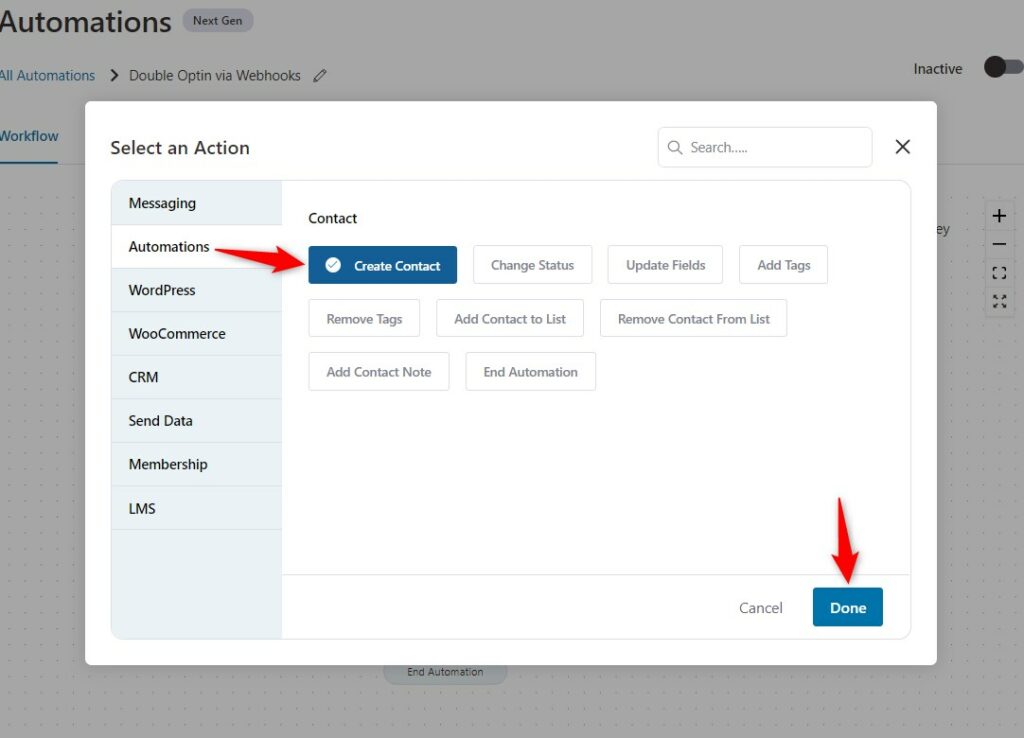
Click on Done.
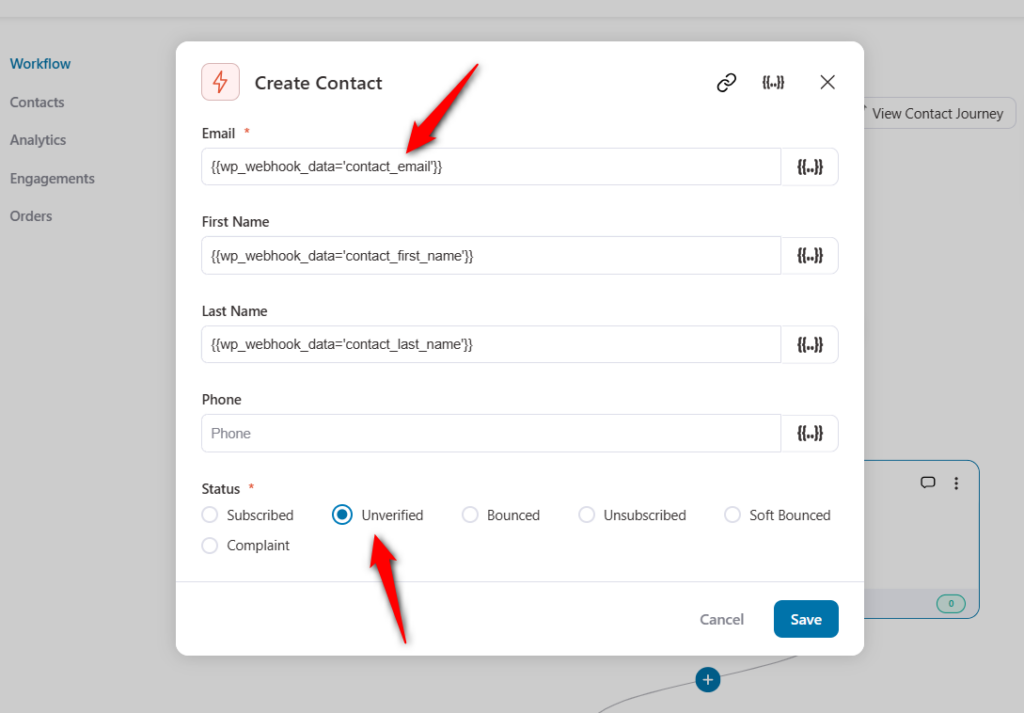
Step 4: Configure the fields of the contact
Use the Webhook Data merge tag to enter the fields:
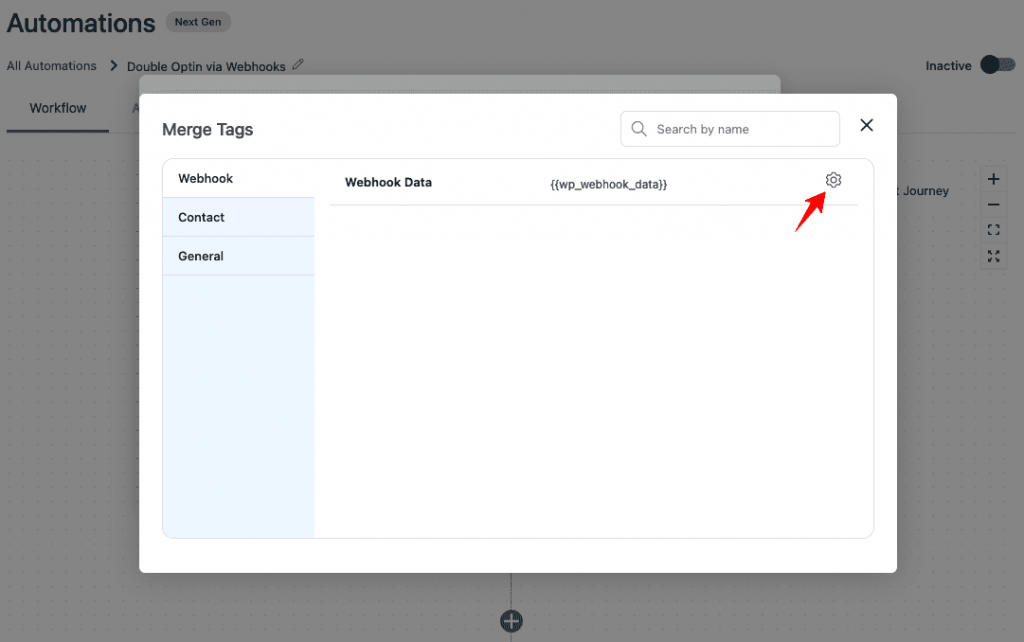
Now copy and paste the merge tags of the email, first name, and last name of the contact.
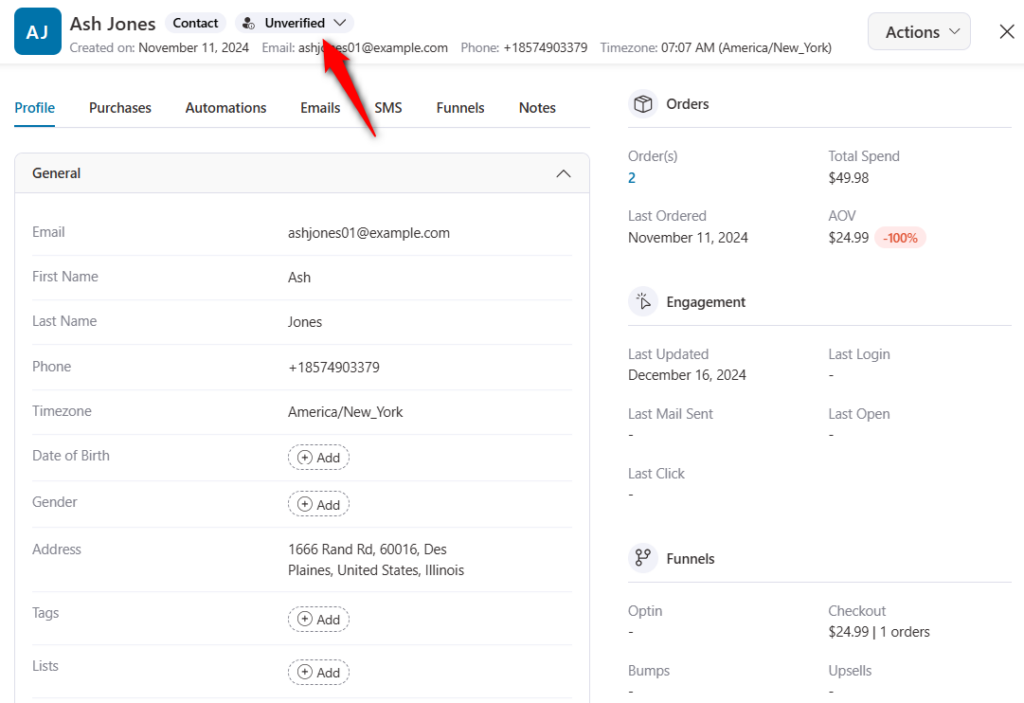
Set the contact status to Unverified because we will be verifying it using the double-opt-in.
Step 5: Add additional data to custom field inside the contact profile
If you have additional data coming from the webhook, you can update custom fields inside the contact profile.
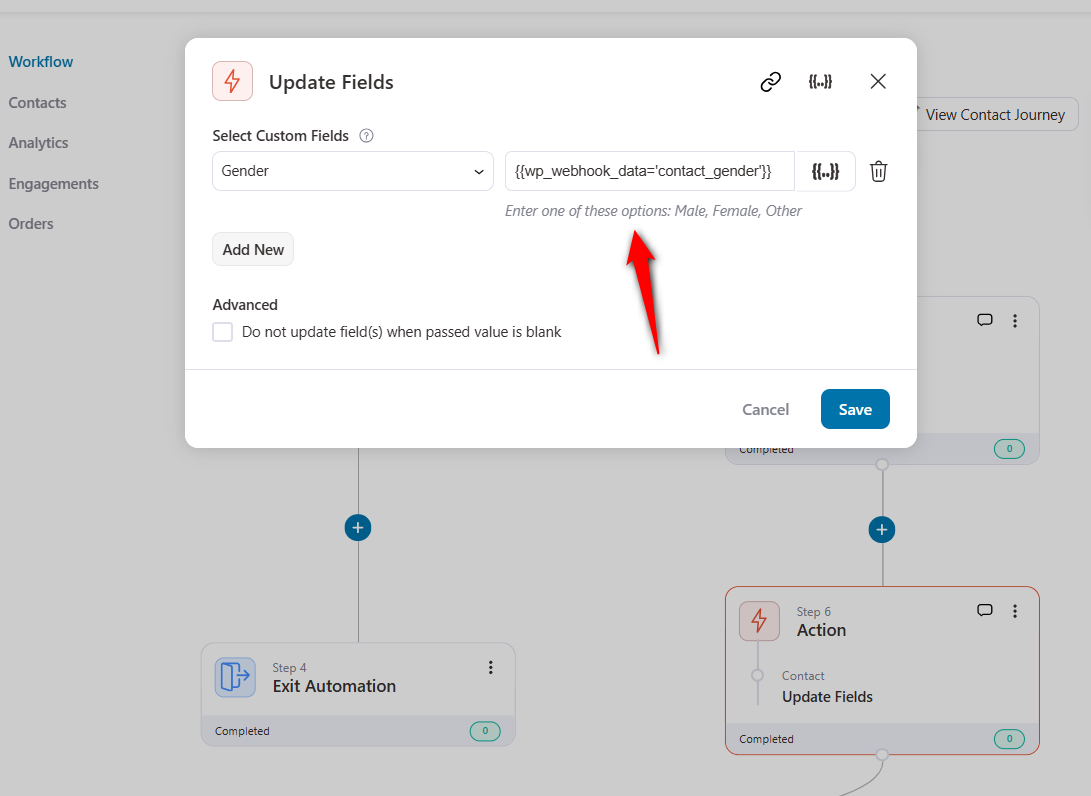
This helps you store additional data coming from the webhook.
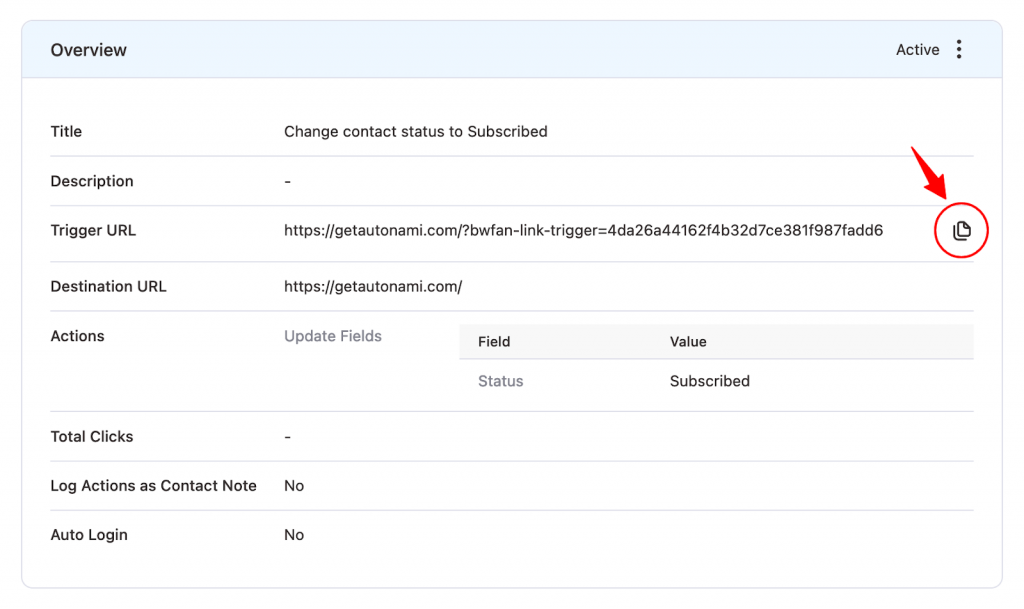
Step 6: Set up a link trigger for the verification link
Go to Tools ⇨ Link Triggers and add a link trigger of changing the contact status to “Subscribed”.
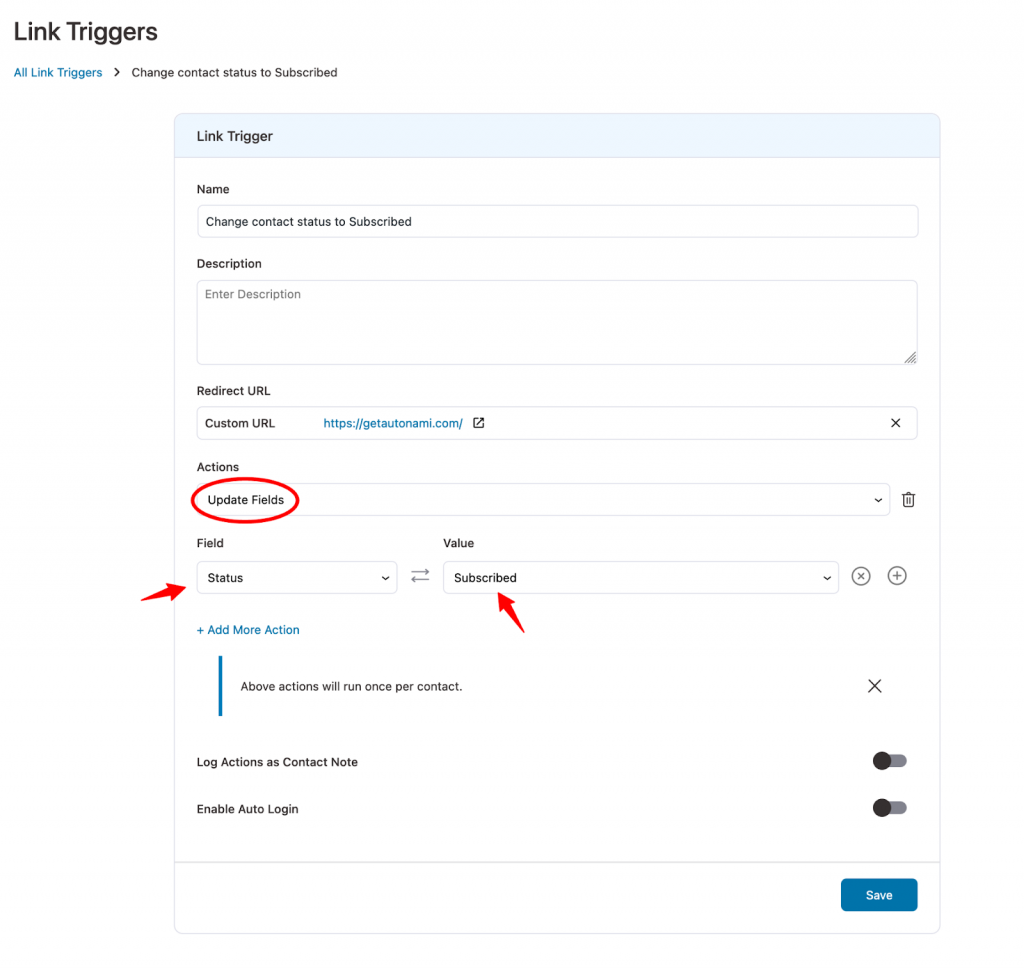
Click on Save.
Copy the Trigger URL of this Link Trigger.
Read this detailed document on how to set up link triggers in FunnelKit Automations.
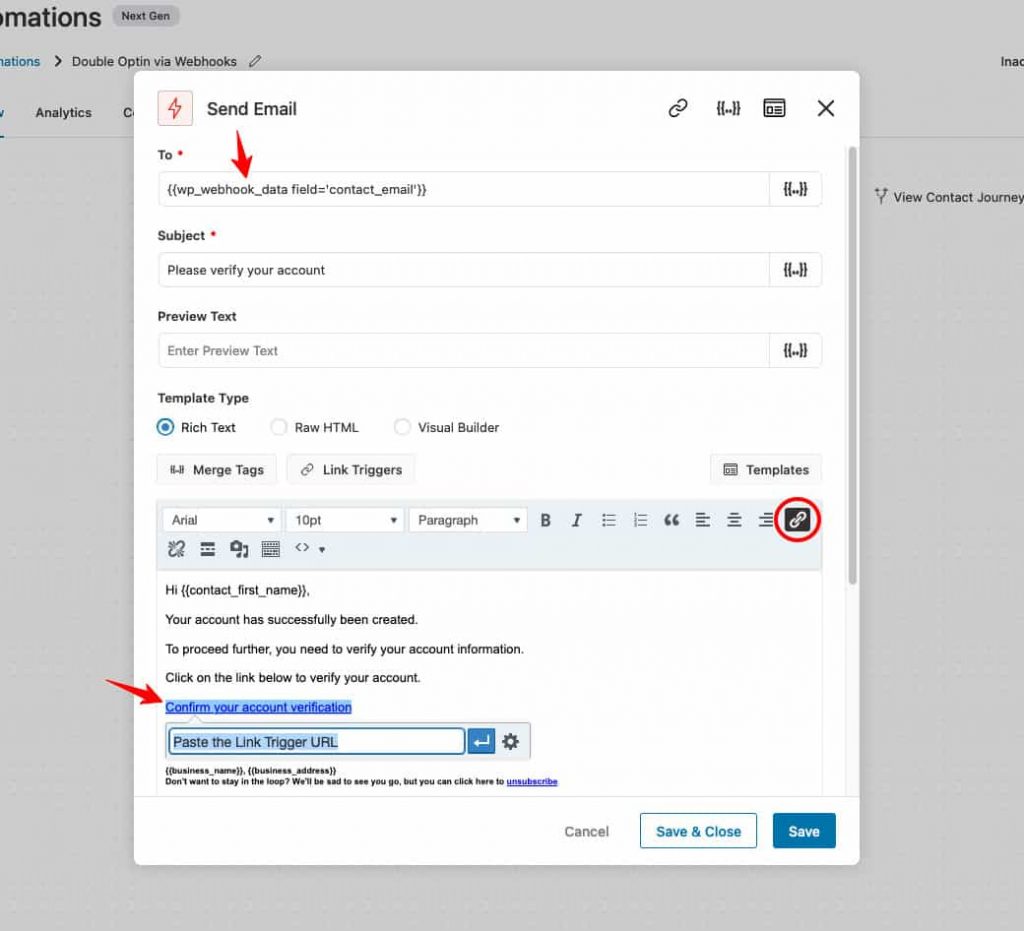
Step 7: Send an email with the Trigger URL
Add a Send email action to the sequence and include the Trigger URL within the email body.
That’s it! You have successfully created the needed workflow for this use case.
Activate the automation to make it live.
There is another method that you can use to send double opt-in emails.
Method 2: Double Opt-in Using Subscribe Link Merge Tag
Instead of link triggers, you can send an email with the hyperlinked subscribed link merge tag in the CTA.
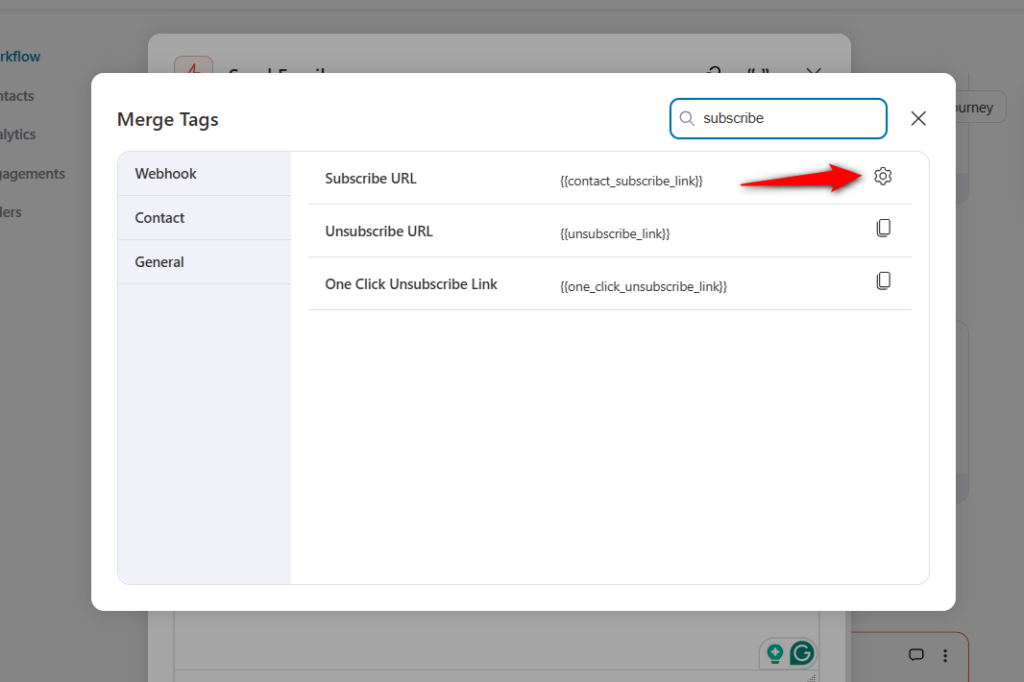
Enter the URL which you want users to redirect to after successfully hitting the subscribe button.
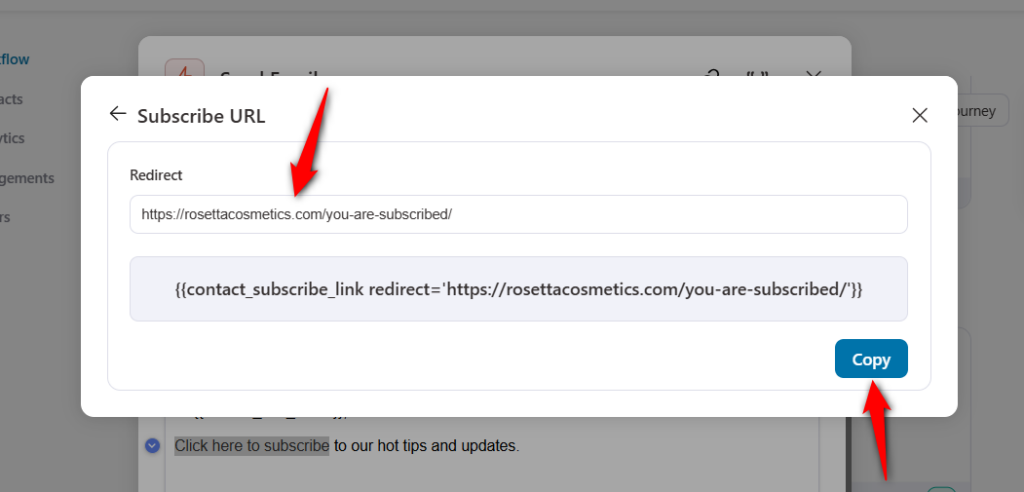
Copy the merge tag and paste it inside the email content.
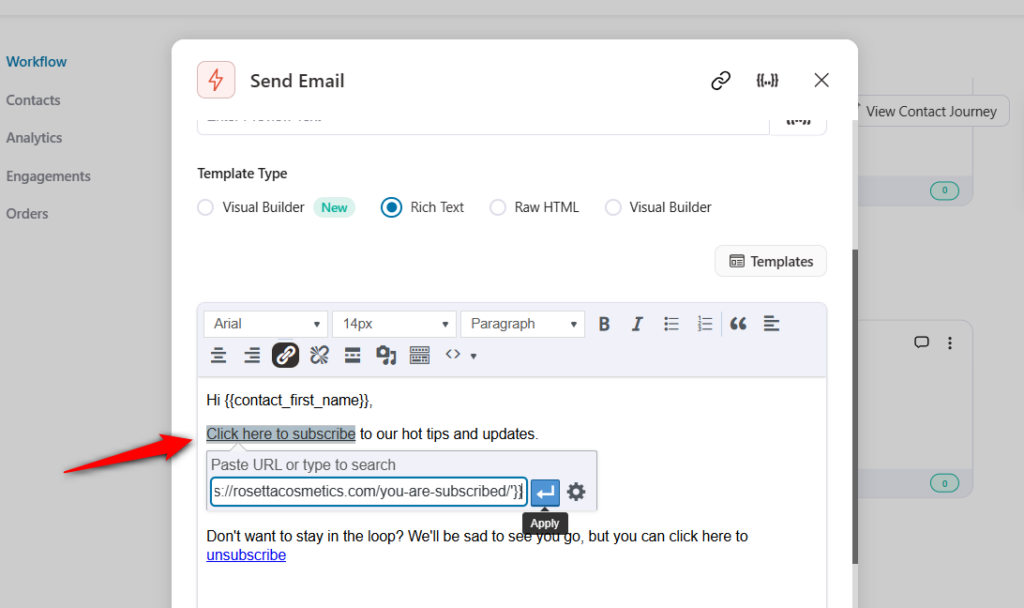
When users click on this CTA, their status will automatically update to Subscribed.
This is how you can send a double opt-in email using the Subscribe Link merge tag.
Testing the Automation
FunnelKit Automations will create the contact using the webhooks:
Then, they will receive this email in their mailbox:
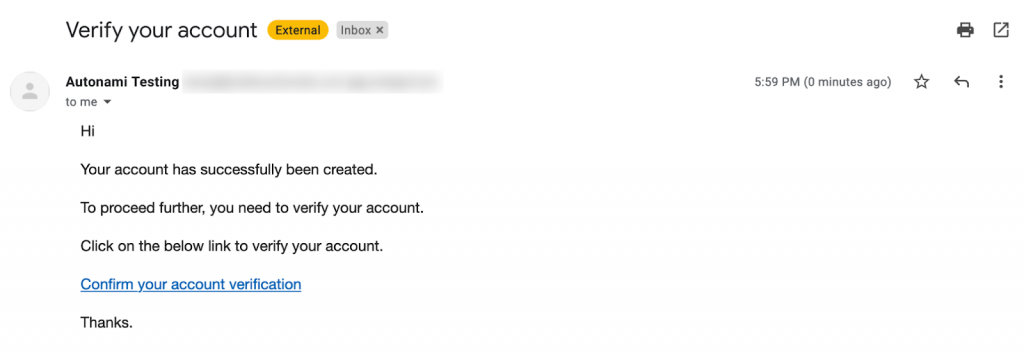
Upon clicking this link, the contact status will get changed to Subscribed.
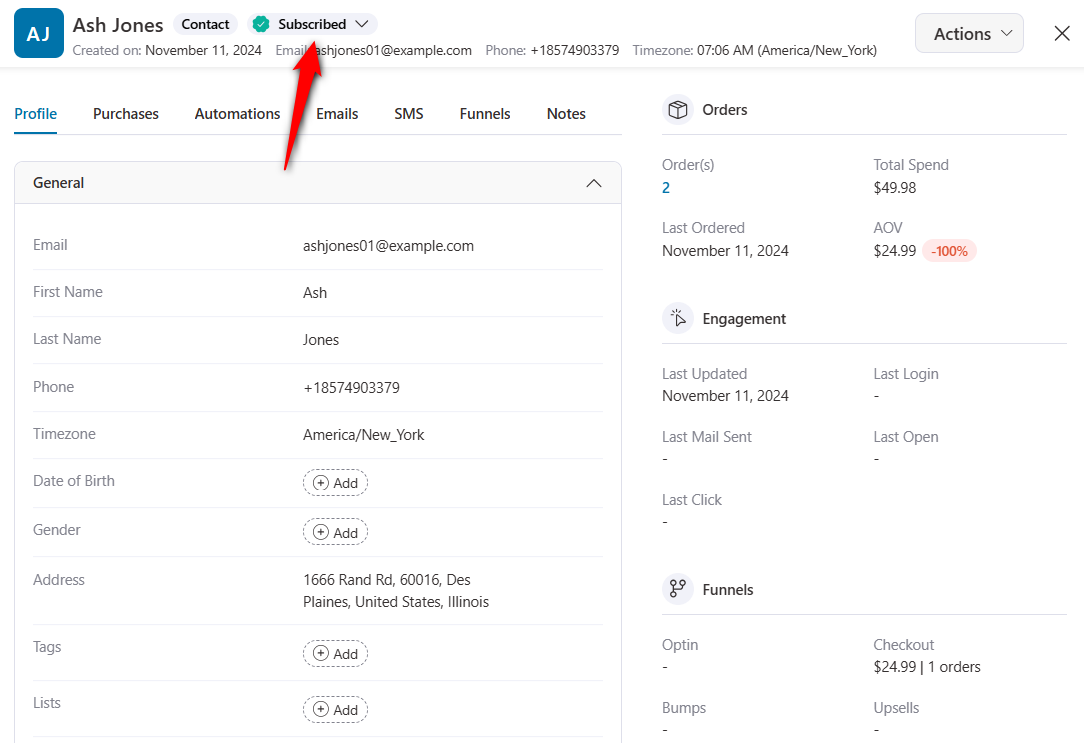
This is how you can use a double opt-in email for new contacts with FunnelKit Automations.


