OptinMonster is a popular lead generation and conversion-optimized tool used by website owners and digital marketers.
It helps businesses increase their email subscriber list and convert website visitors into customers.
FunnelKit Automations integrates with OptinMonster and helps you set up trigger-based automations.
In this document, you’ll learn how to create automated workflows for OptinMonster using FunnelKit Automations.
Learn how to connect OptinMonster to FunnelKit Automations here
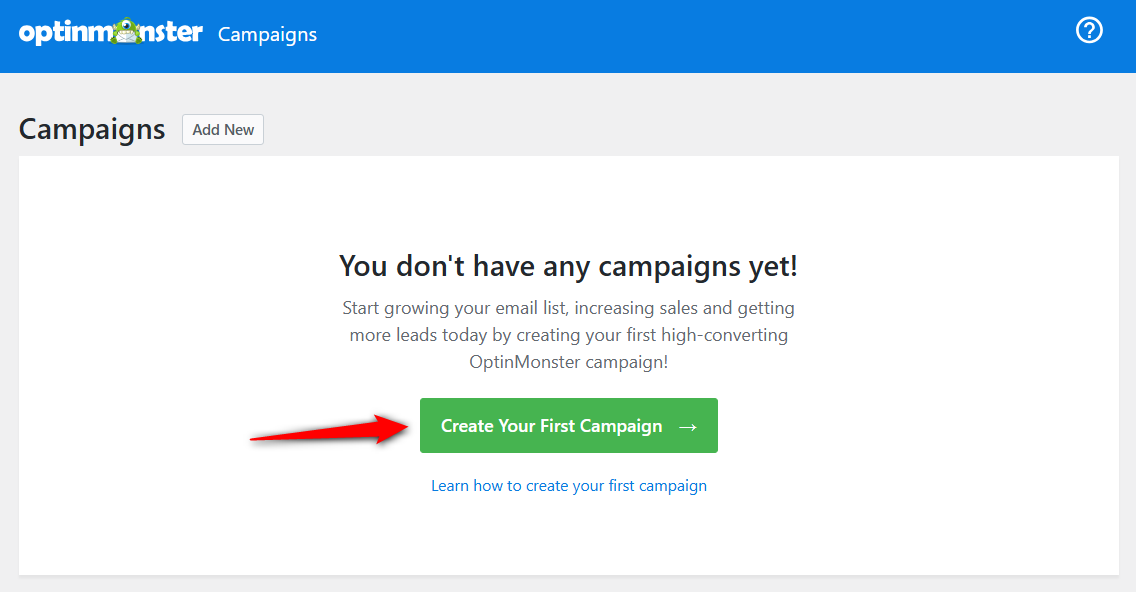
Step 1: Create a new OptinMonster campaign
Go to the OptinMonster plugin and click on the create campaign button.
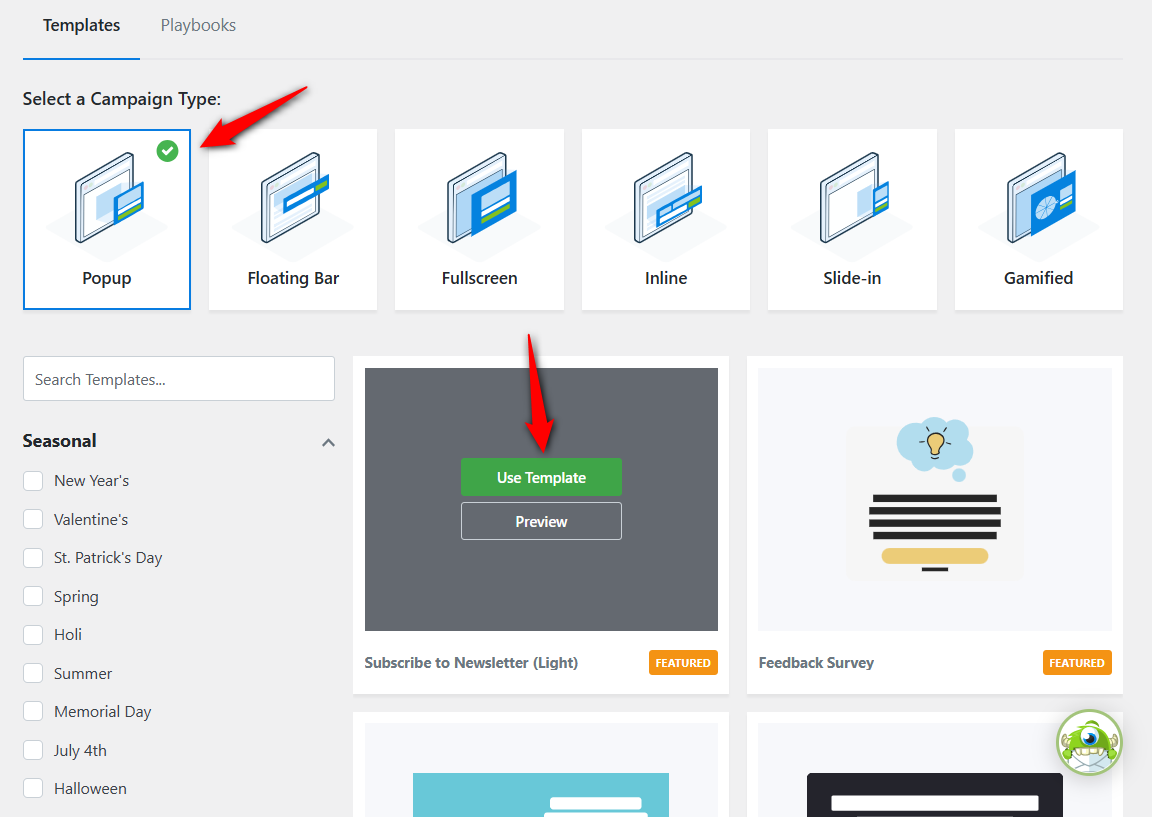
Select the campaign type and use a specific template.
Let’s select the popup and use the newsletter template.
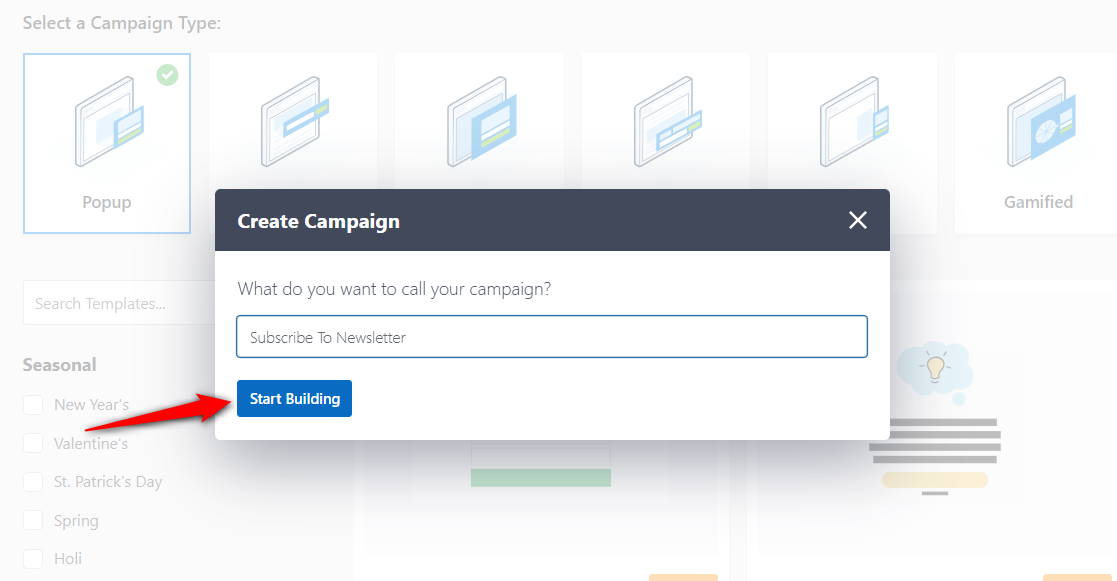
Enter the name of your campaign.
Design the campaign as you like and configure the display rules.
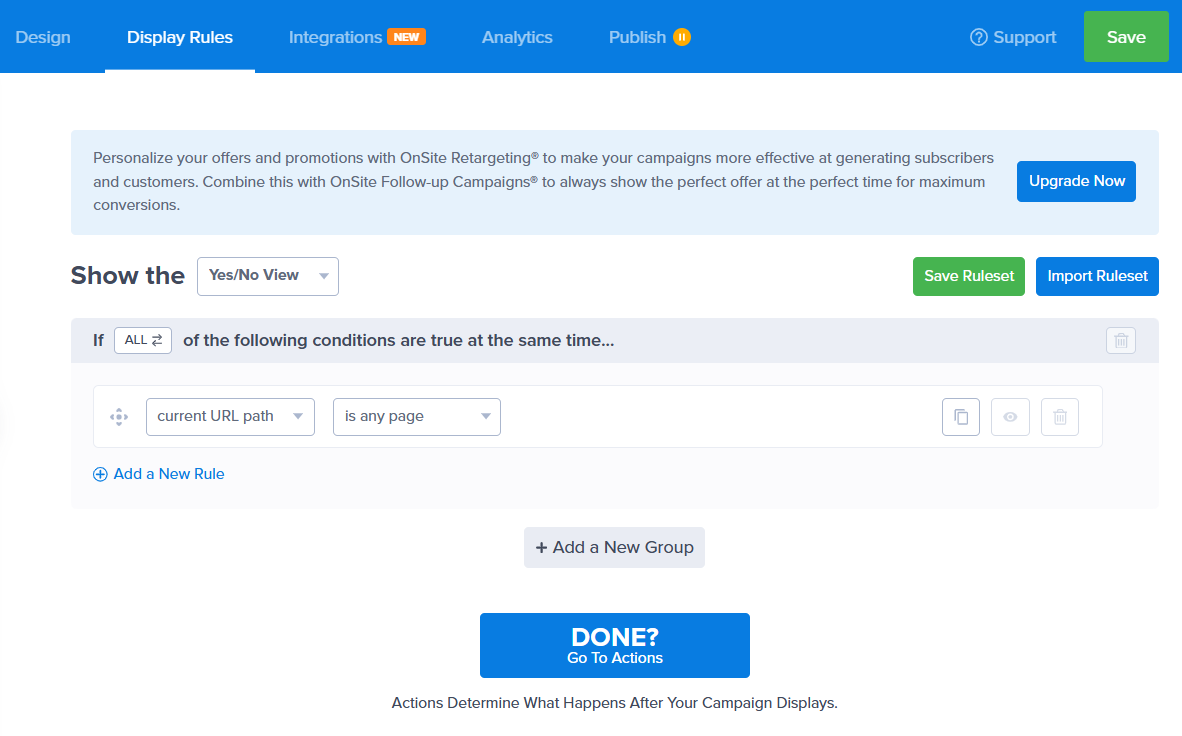
Save the changes.
Step 2: Add the integration
Go to the Integrations section and click on Webhook.
Next, select the latest webhook of your WooCommerce store and click on the Connect to Webhook button.
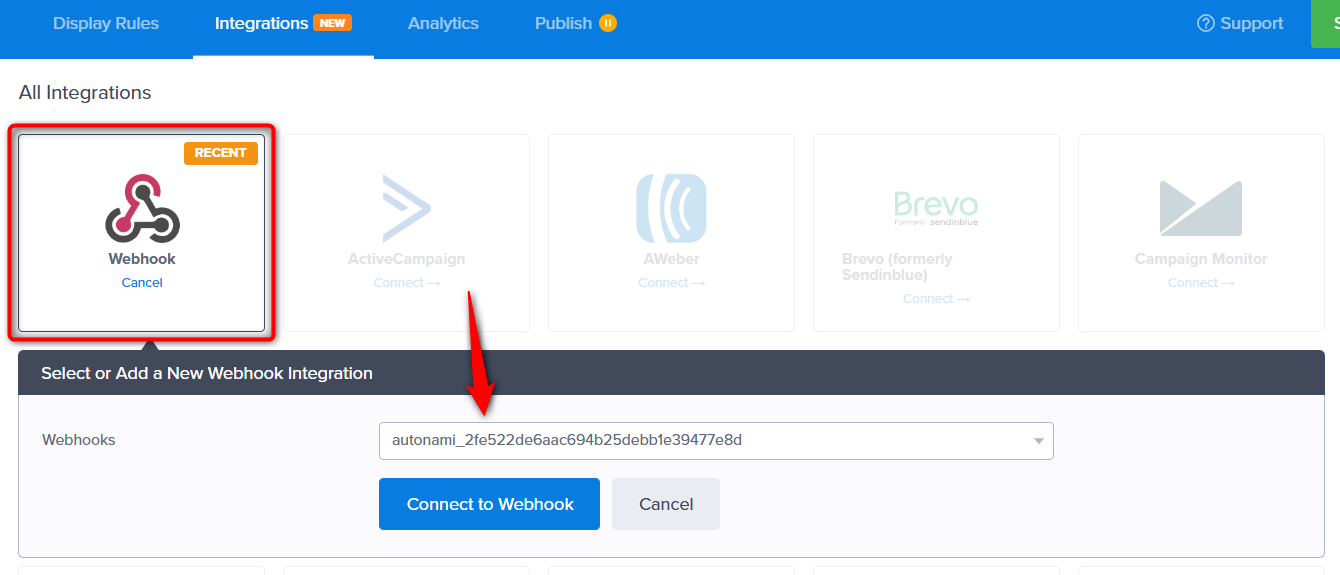
Make sure to save the changes.
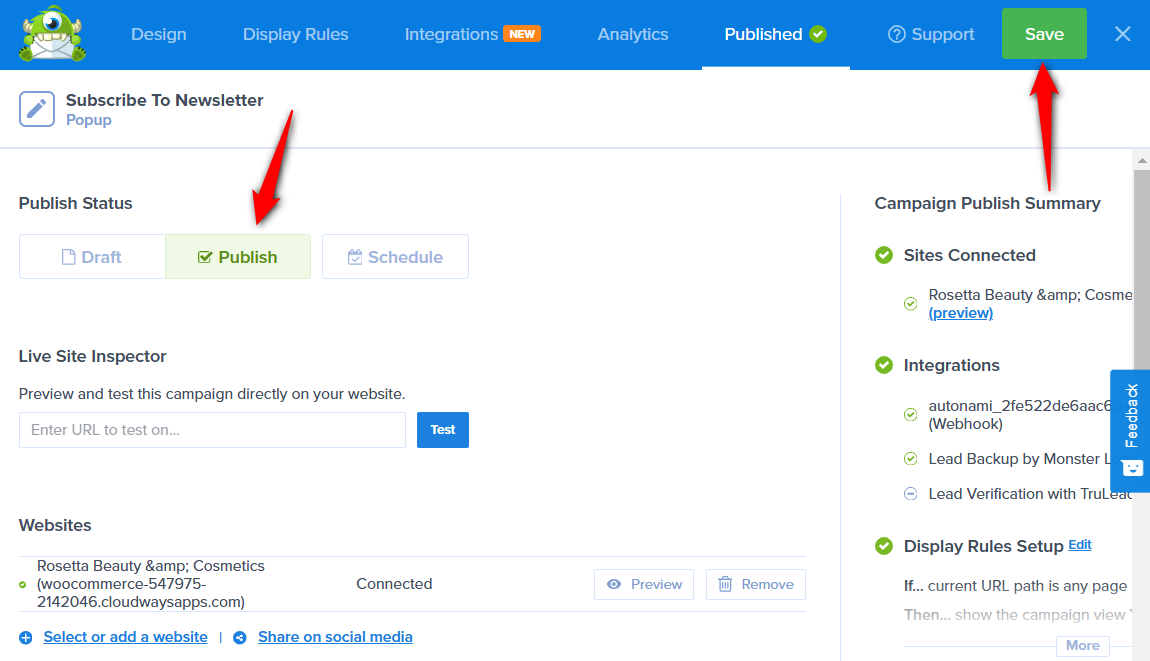
You can verify your webhook URL by logging into your OptinMonster account and visiting the Integrations section.
Next, go to the Publish section and activate your campaign.
Step 3: Create the automation for your OptinMonster integration
Go to Automations and create a new automation.
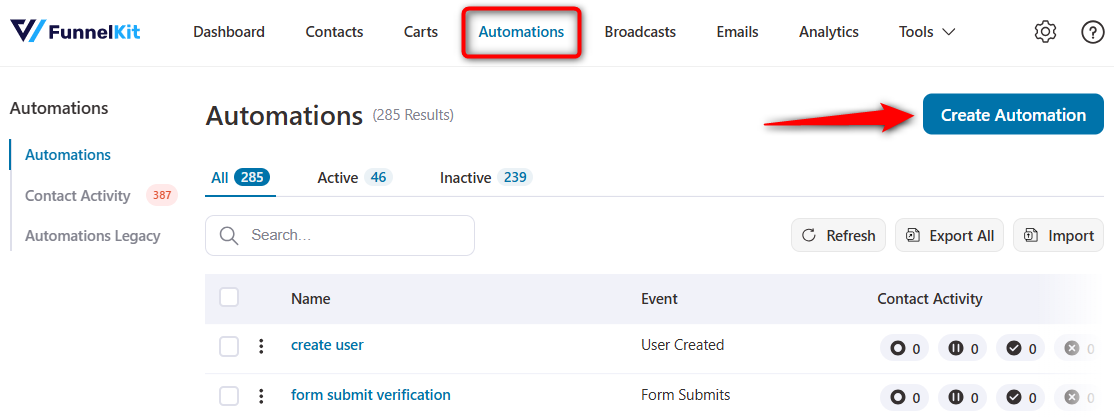
Start from scratch and enter the name of your automation.
Adding the OptinMonster event trigger
Next, add the ‘Form Submits’ event under OptinMonster Forms.
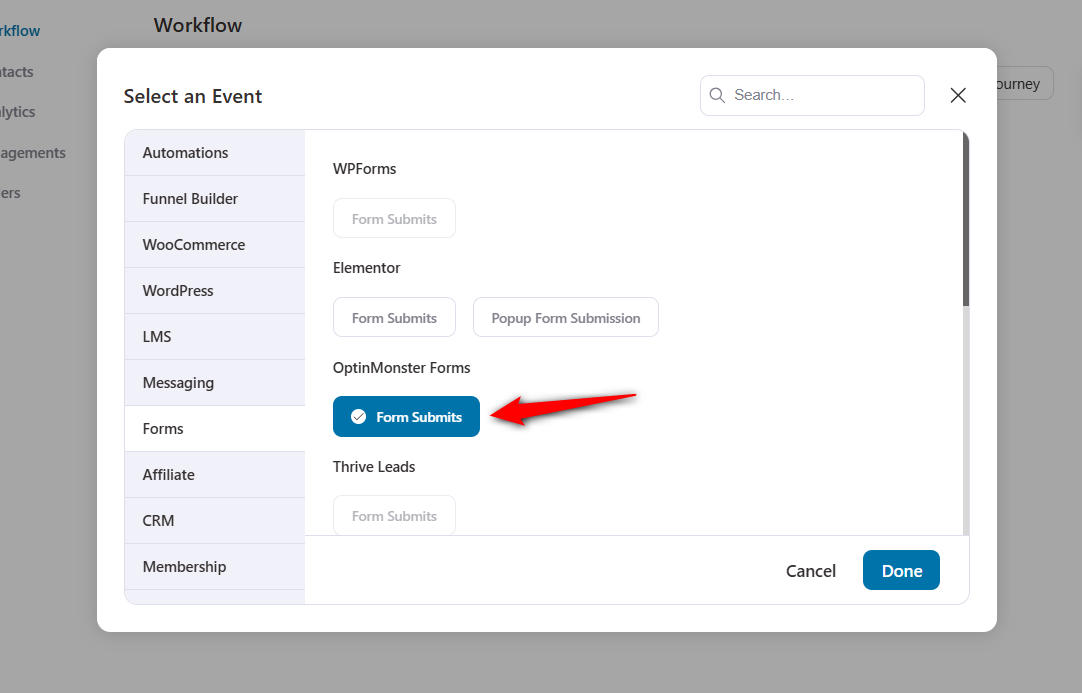
Click on Done.
Configuring the event trigger
You can select all or specific campaigns.
Here, we’ve selected the campaign, configured the subscription status and automation runs on a contact.
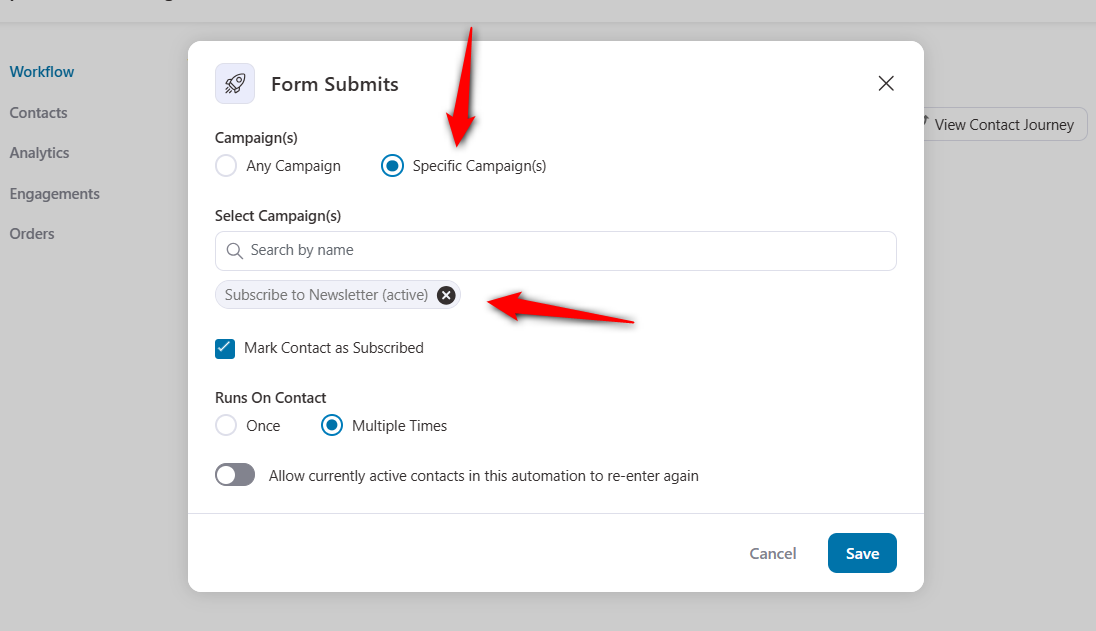
Click on Save when done.
Specifying the action
Click on the plus (+) icon and choose the Action step.
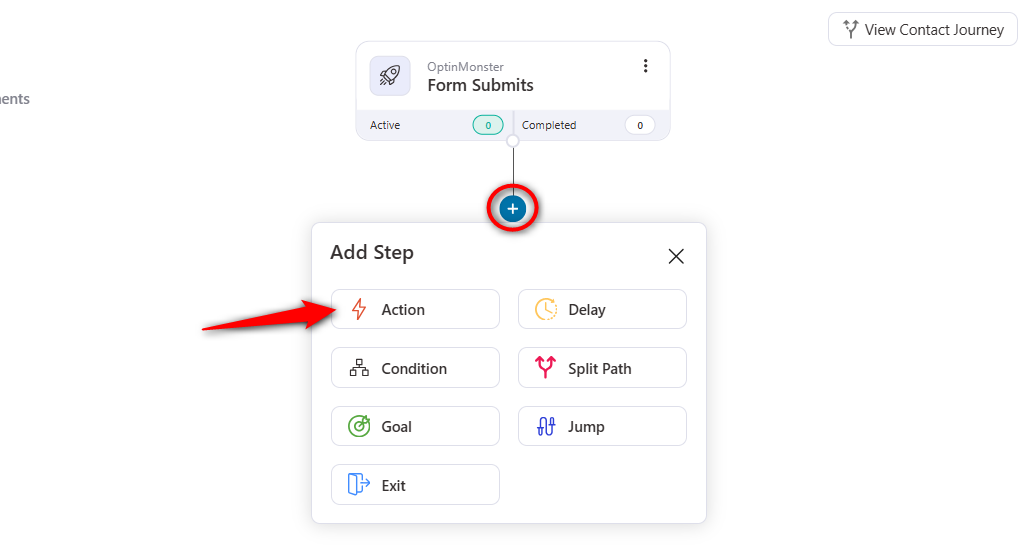
Specify the action as per your requirement.
Here, we have created a targeted email for our automation.
Once done, activate this automation.
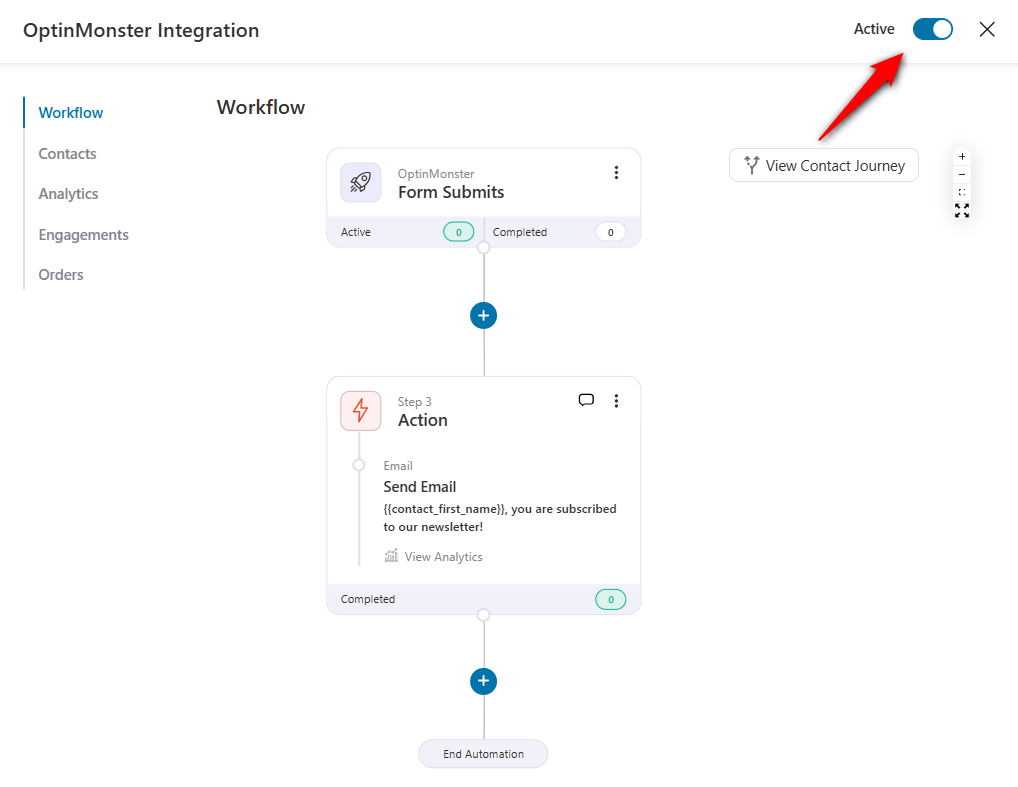
Well done! Your automation is now active.
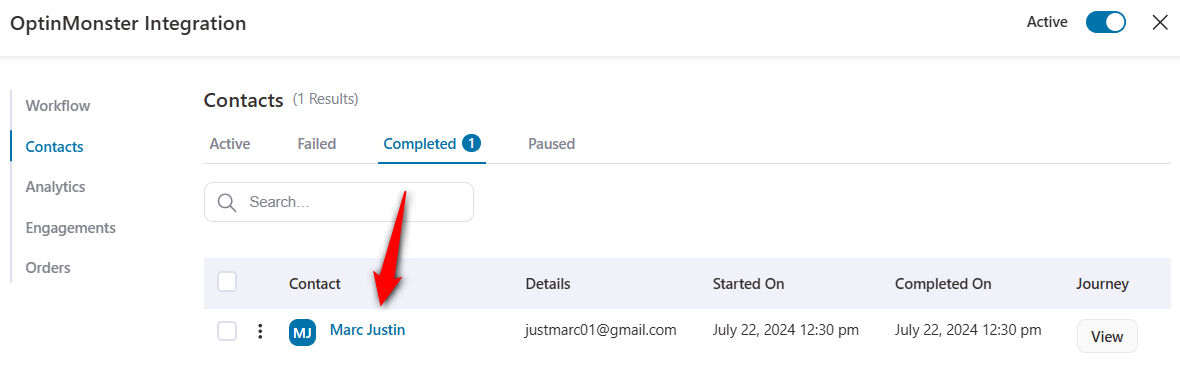
Step 4: Testing the OptinMonster integration automation
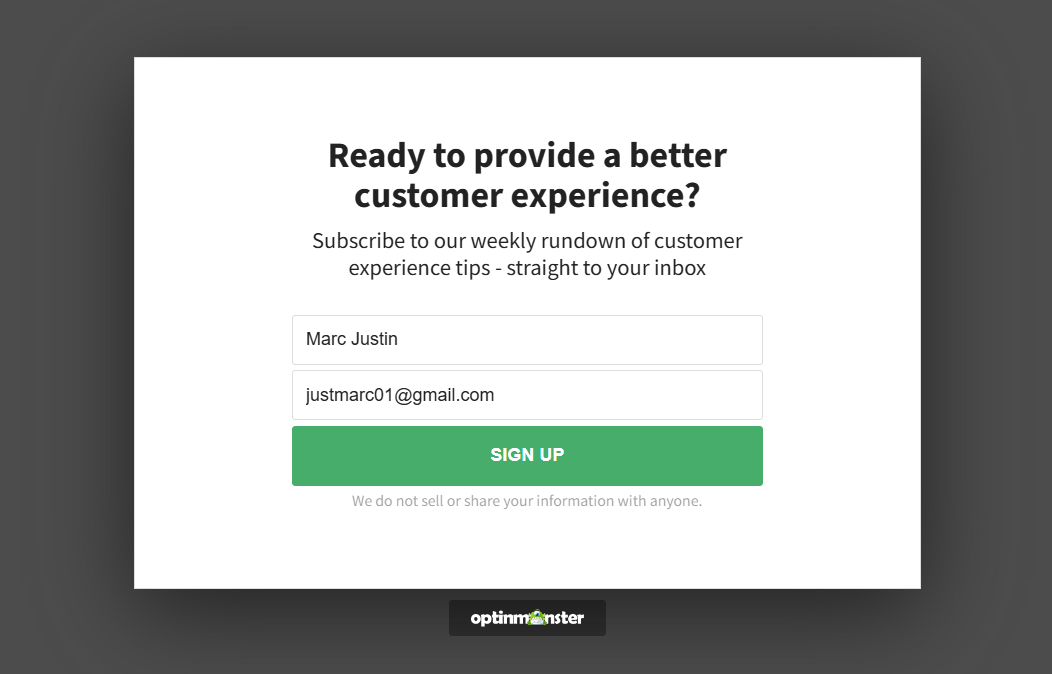
Now go to your website and you’ll see the popup form.
Enter the details and submit the form.
The automation will trigger and complete all the action there.
Next, go to the Contacts section under the automation.
You’ll see the completed contacts with the details you entered.
You can now set up innovative automated workflows with OptinMonster using FunnelKit Automations.
This was all the OptinMonster integration with FunnelKit Automations.


