FunnelKit Automations allows you to set up automations using WordPress-based events and actions.
In simple words, you can perform certain actions when specific events occur in WordPress. For example, a new user got added.
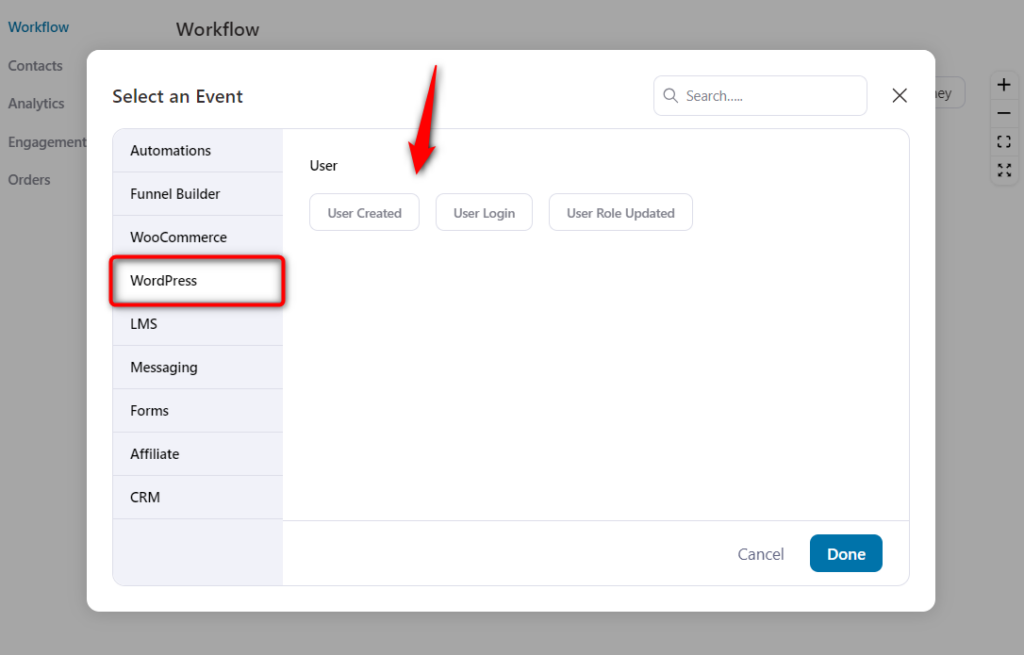
When you select WordPress from the list of events, you’ll be able to see some WordPress-specific triggers:
Triggers
There are two events or triggers inside of WordPress:
1. User Creation: When you select this trigger, your automation will run when a new user is created in WordPress. You can trigger emails, subscribe them to a list in your CRM, create a coupon, and so much more when a new user gets created.
2. User Login: Select this trigger to run your automation whenever a user logs in to WordPress. When a user logs in, you can perform any action.
3. User Role Updated: Set up automated sequences when a user role gets updated.
Actions
Here are a few actions associated with WordPress when setting automations in FunnelKit Automations.
1. Create User
This action lets you create a user in WordPress. When you choose this action, you'll get the option to specify things about the user:
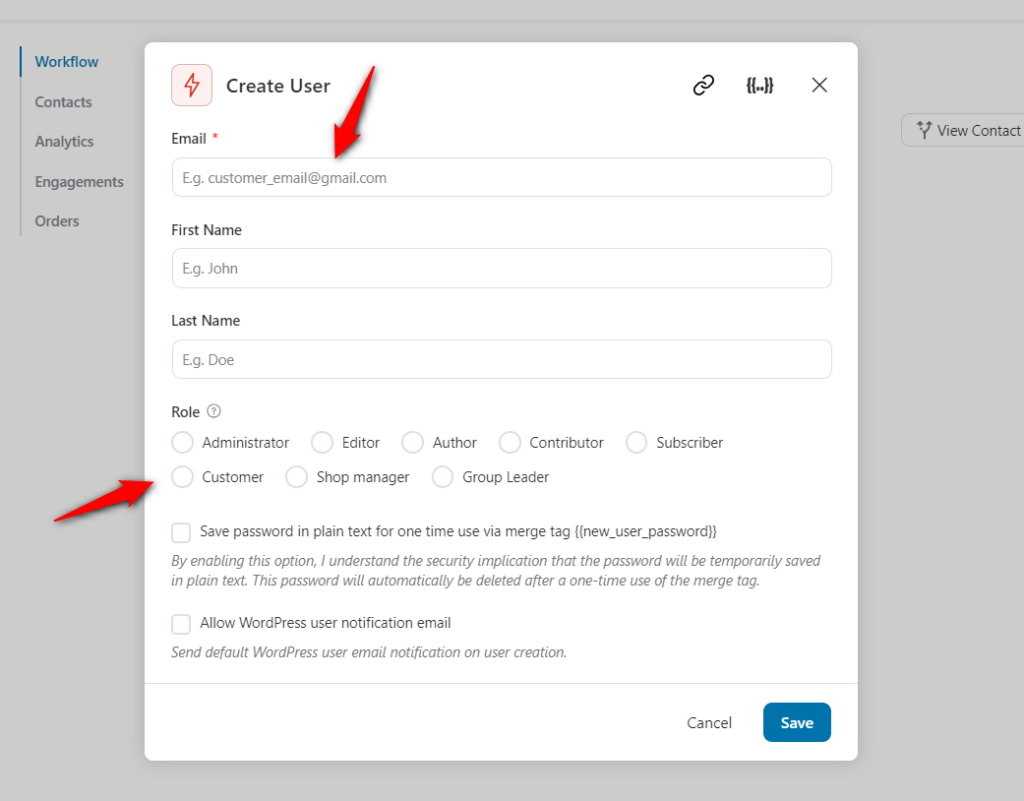
2.1 Email: Specify the email of the user - you can use merge tags to personalize it.
2.2 First Name: Enter the first name of the user.
2.3 Last Name: Enter the user's last name.
2.4 Role: Choose the role of the user. Select from 'Administrator', 'Editor', 'Subscriber', and many more.
You also have the option to set a delay for this action.
Note: If a user already exists in WordPress with the specified email id, then this action will not get executed.
2. Update User Meta
Select this action to update the user meta for the user. You'll have to enter the key and the values of the user that you want to update.
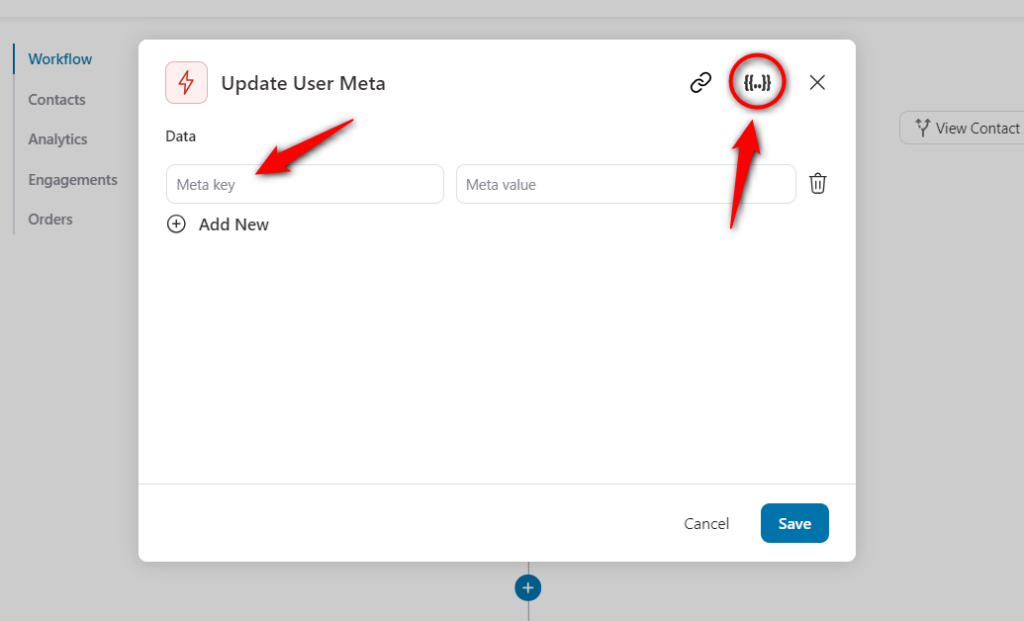
You can enter multiple key and value pairs.
Note: If the entered key doesn't exist, then a key with that name will get created with the specified value.
3. Update User Roles
This action lets you update the WordPress user roles. You can select among Administrator, Editor, Author, Contributor, and many more in that list.
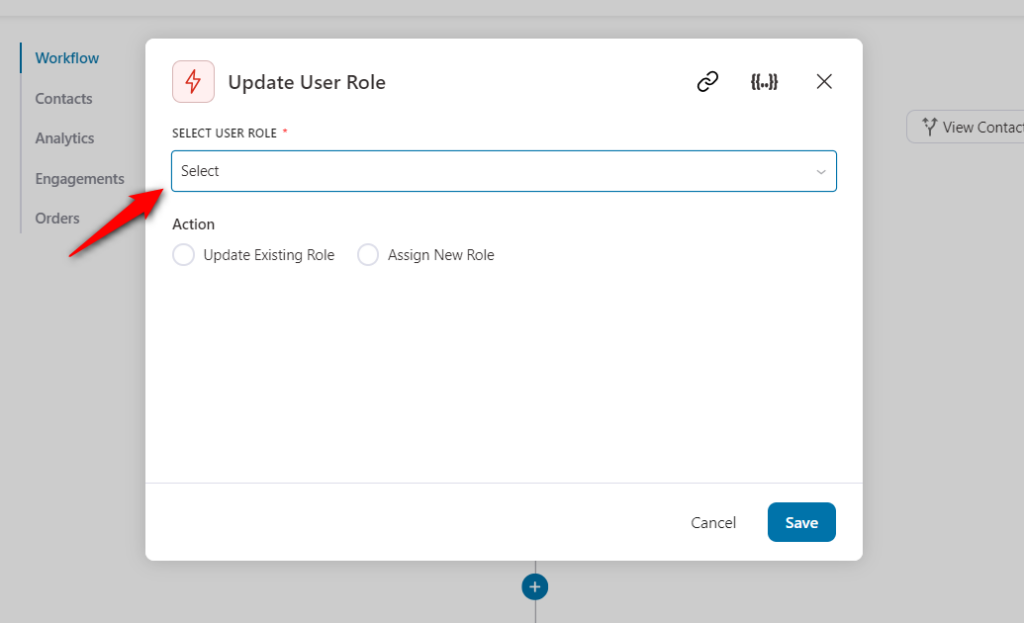
Once done, turn the toggle on to enable this automation.
4. Custom Callback
This action lets you execute a piece of code/function at your end when an event gets triggered. You'll have to specify the callback name.
So, when the event in your automation gets triggered, the function associated with the callback hook will get executed.
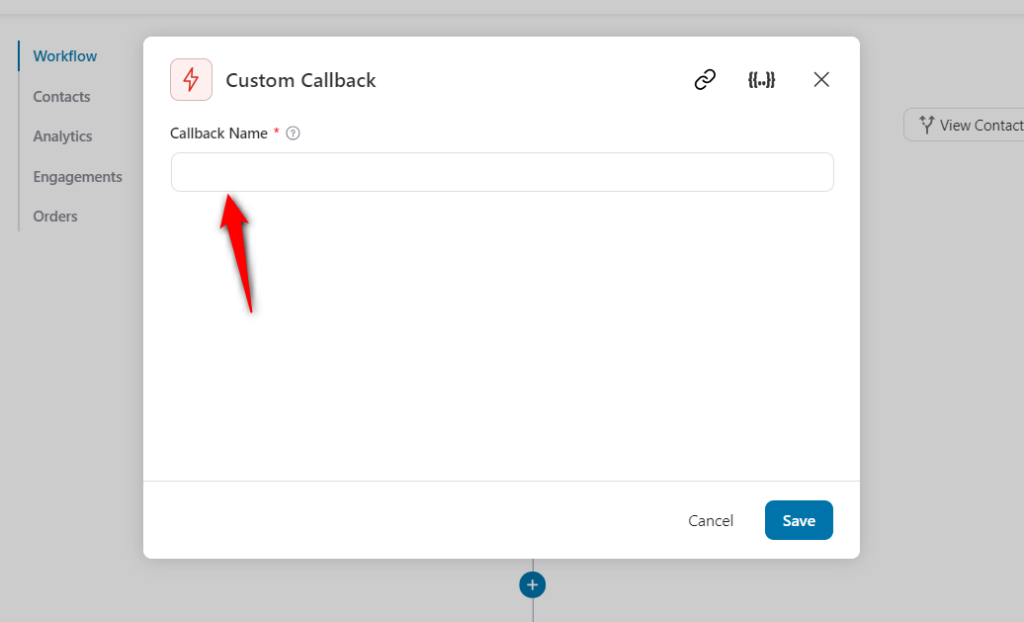
This lets you execute any action you want using codes from your end.
For example, when you select the 'Order Note Added' event under WooCommerce, you can create a function to append the note added to an order in a Word doc where you've maintained a collection of all the order notes.
5. Debug
This action lets you add a message in Logs under FunnelKit. You'll need to specify the message here.
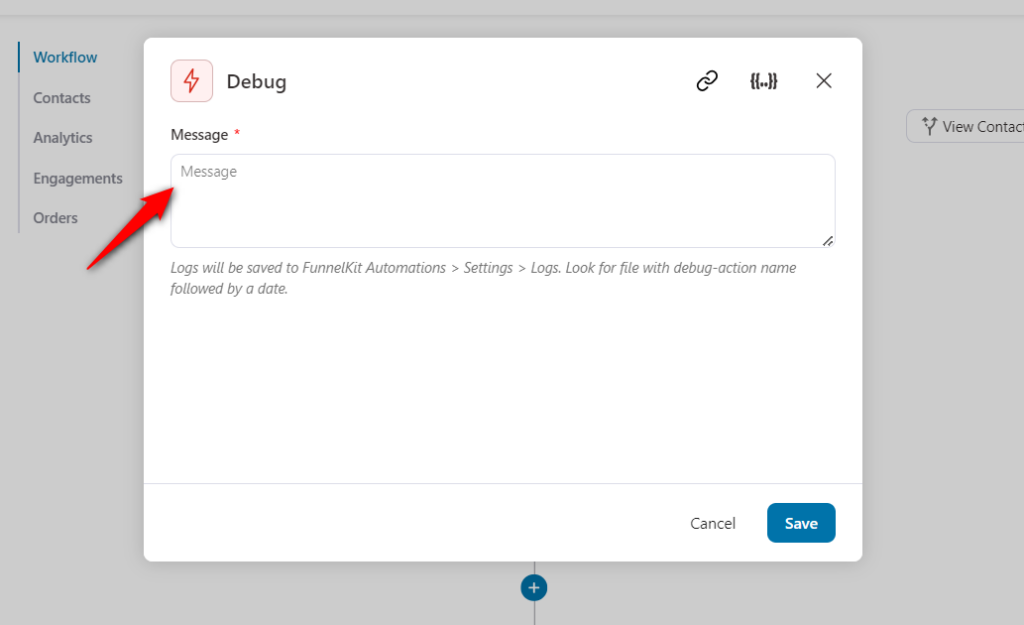
Please note that you need to enable the logging first by going to the Settings section in FunnelKit Automations.
Under General, go to the Advanced tab and enable the option from there.
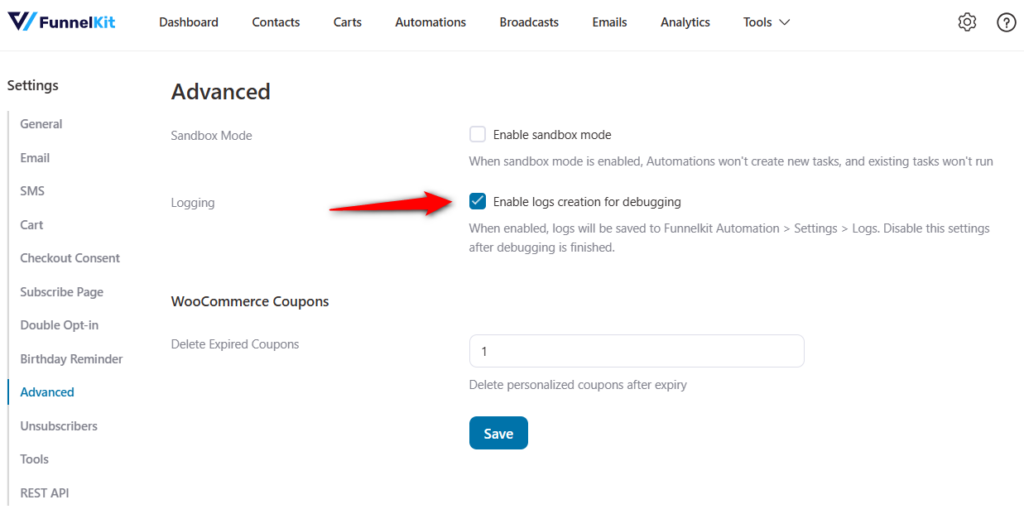
You can view the message logs by visiting FunnelKit Automations Settings >> Logs.
Rules
There are two interesting rules that FunnelKit Automations offers under WordPress:
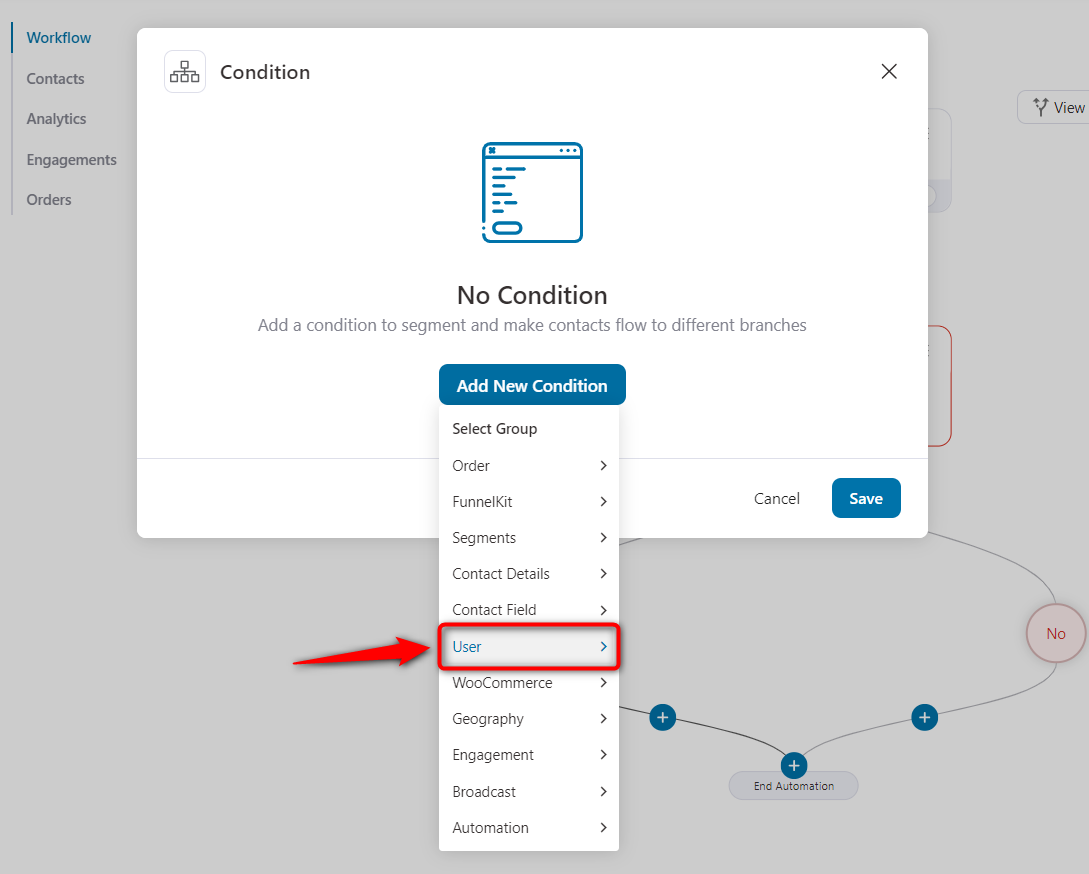
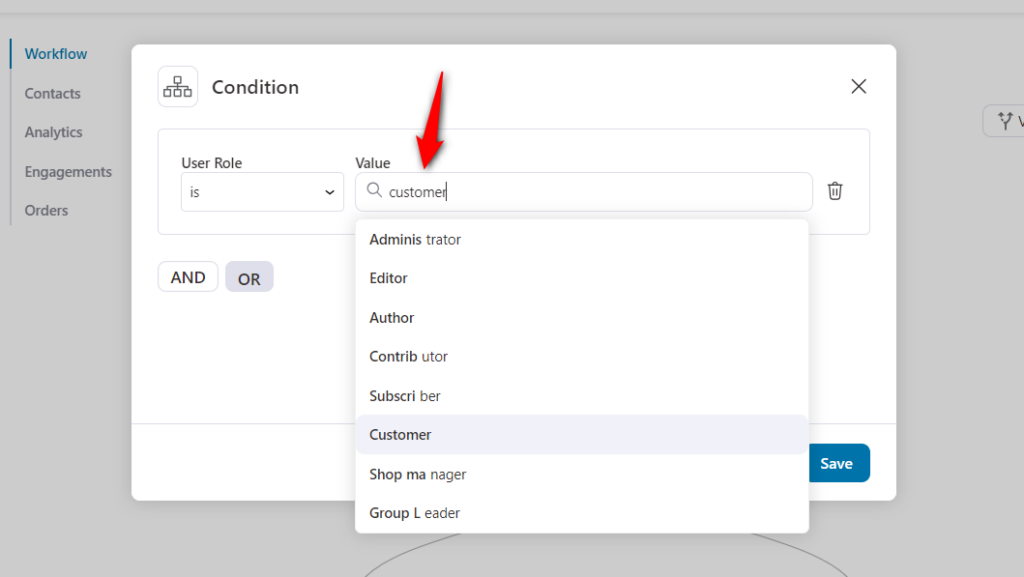
1. User Role: Select this rule if you want to take action based on the role of the user. Take a look:
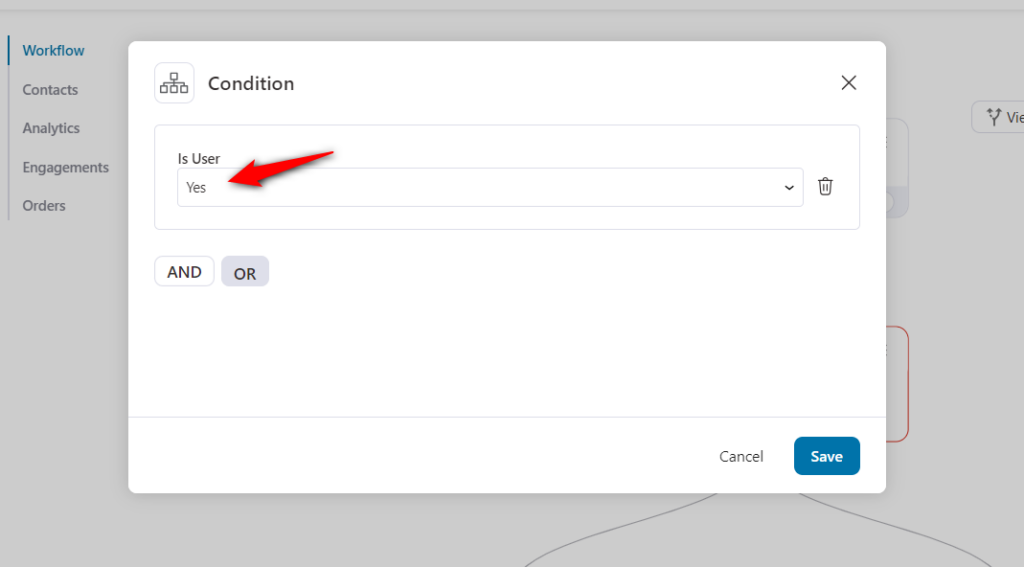
2. User: When you select this rule, you can take action for specific users.
Set the condition based on whether the user is on your contact or not.
Once you have set the condition for your rule, you can perform actions.
This is how can you can set up automations in FunnelKit Automations using WordPress-based triggers and actions.


