FunnelKit Automations extends its support over multiple languages that allows you to create multilingual automations and tasks.
For this purpose, FunnelKit Automations integrates well with three plugins:
- WPML
- Polylang
- TranslatePress
These plugins let you set up your site in multiple languages. Moreover, you can create multiple pages and products in different languages on your WooCommerce store.
#Use Case
Here, we will be demonstrating a simple automation of sending an email when the purchase is made. But emails for a particular language will be only sent to the customer shopping from that regional store.
For instance, if we have a separate store for our US and German customers, we can configure every process and task for their individual languages. This way people shopping in our US store will receive emails in the English language. While for other countries, they will be sent emails in different languages as per the way you set them in FunnelKit Automations.
Let’s create and test multilingual automations in FunnelKit Automations.
Creating the Multilingual Automation
Here, we have installed Polylang on our WooCommerce store and added two languages: English and Español. We have created one product for each language.
Let’s start building our automation in FunnelKit Automations.
Step 1: Add a new automation
Click on Add New Automation to create a new automation.
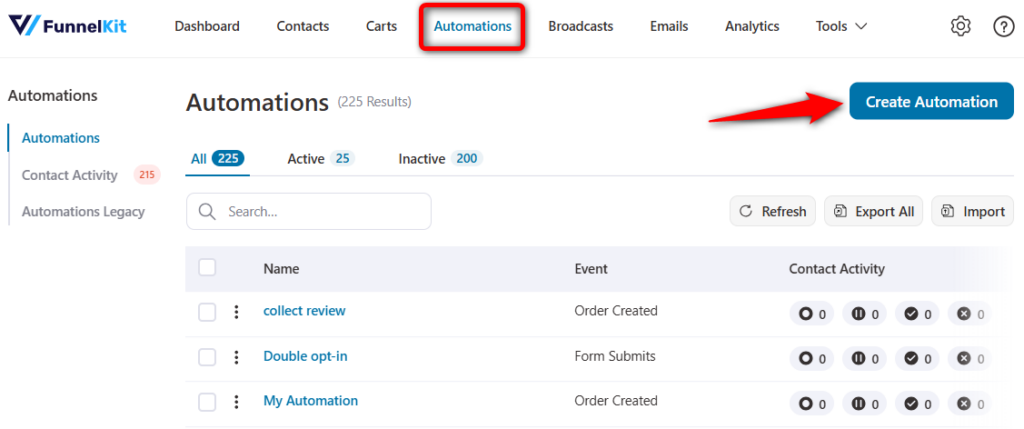
Click on Start from scratch.
Then, enter the name of your automation.
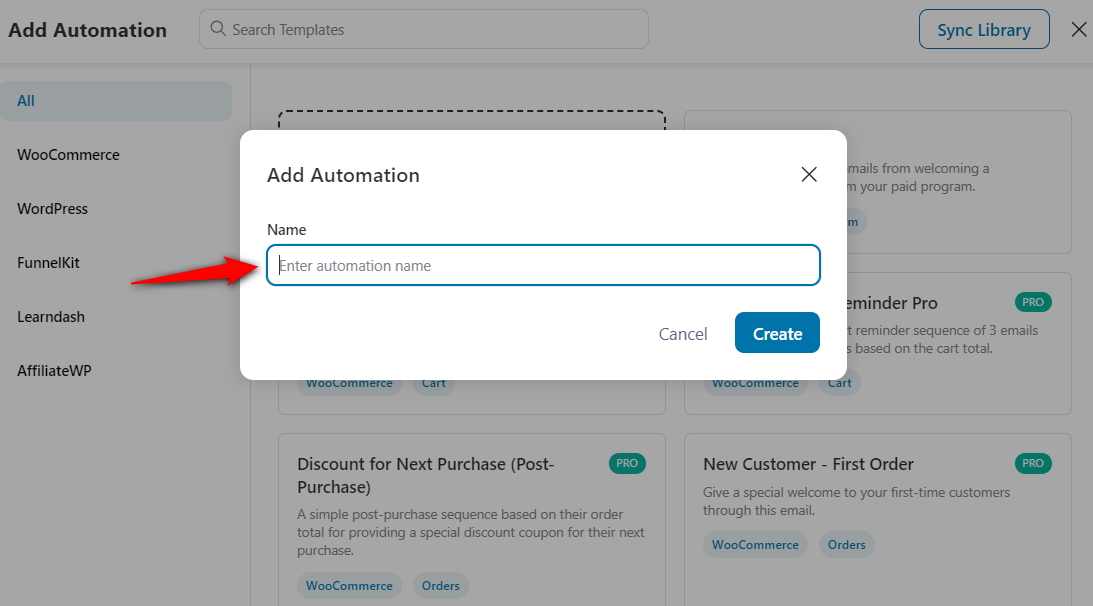
Once done, click on Create.
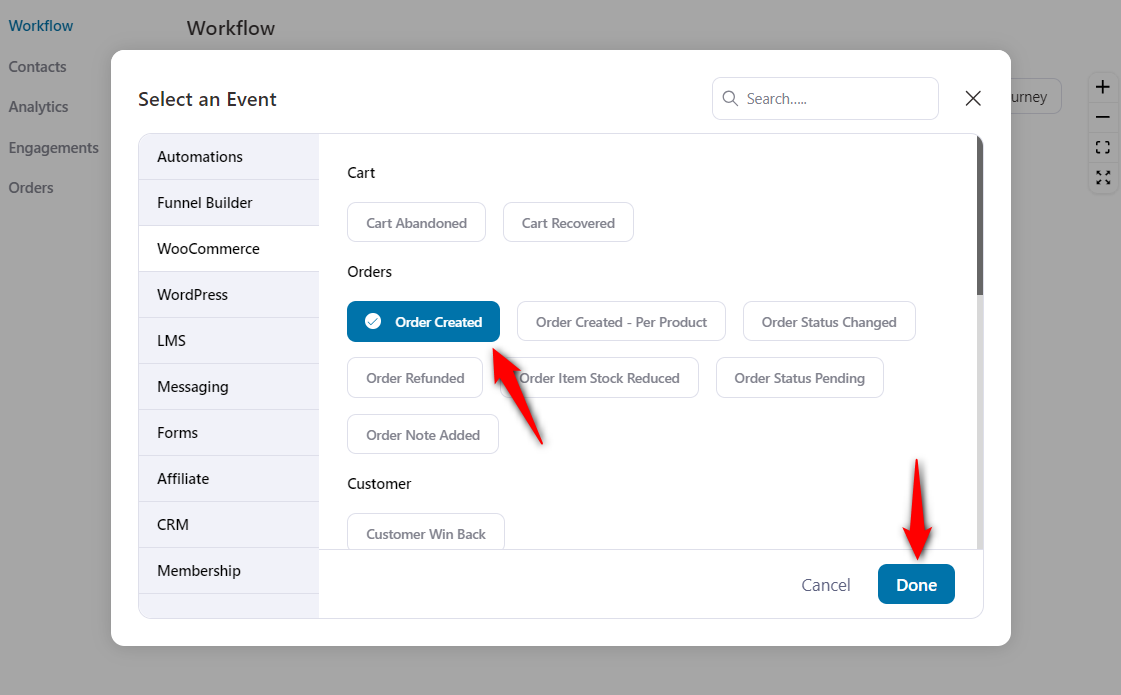
Step 2: Select an event - WooCommerce Order Created
Select the trigger - Order Created under WooCommerce.
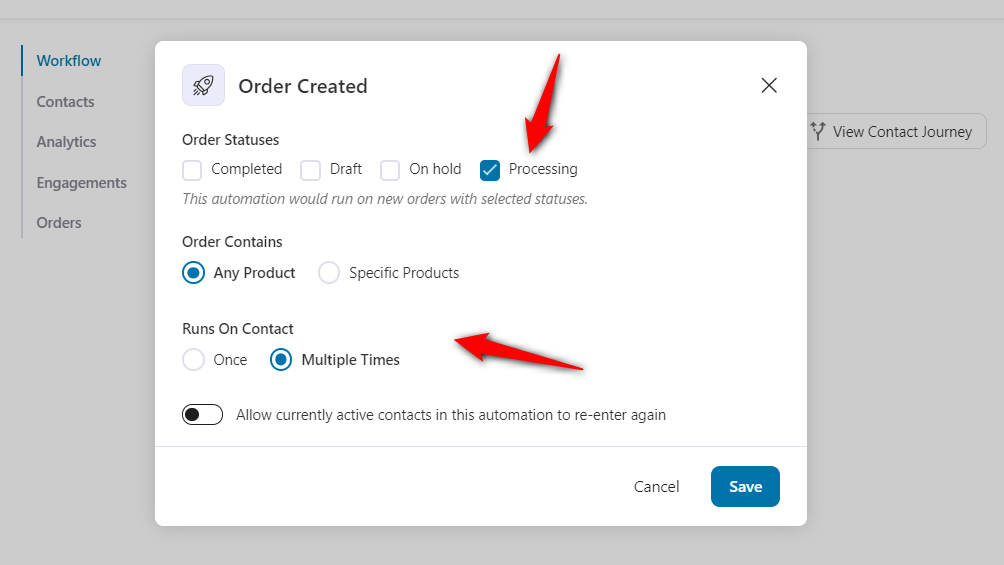
Configure the event by clicking on the trigger node.
Step 3: Select an action - Send Email
Click on (+) icon to add the 'Send Email' action.
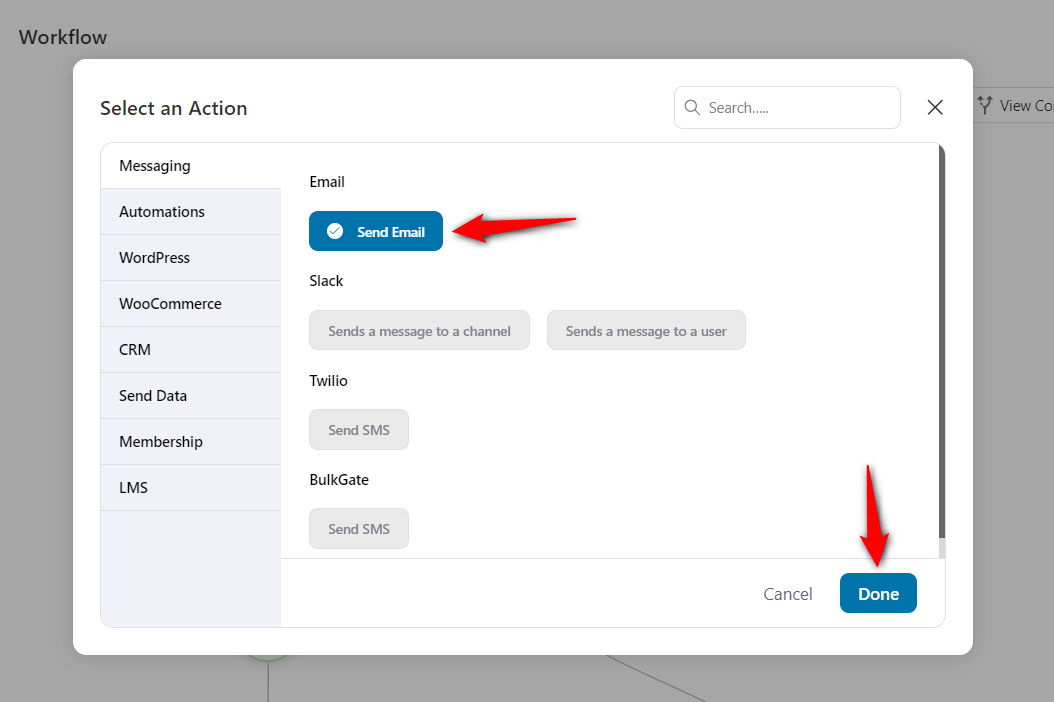
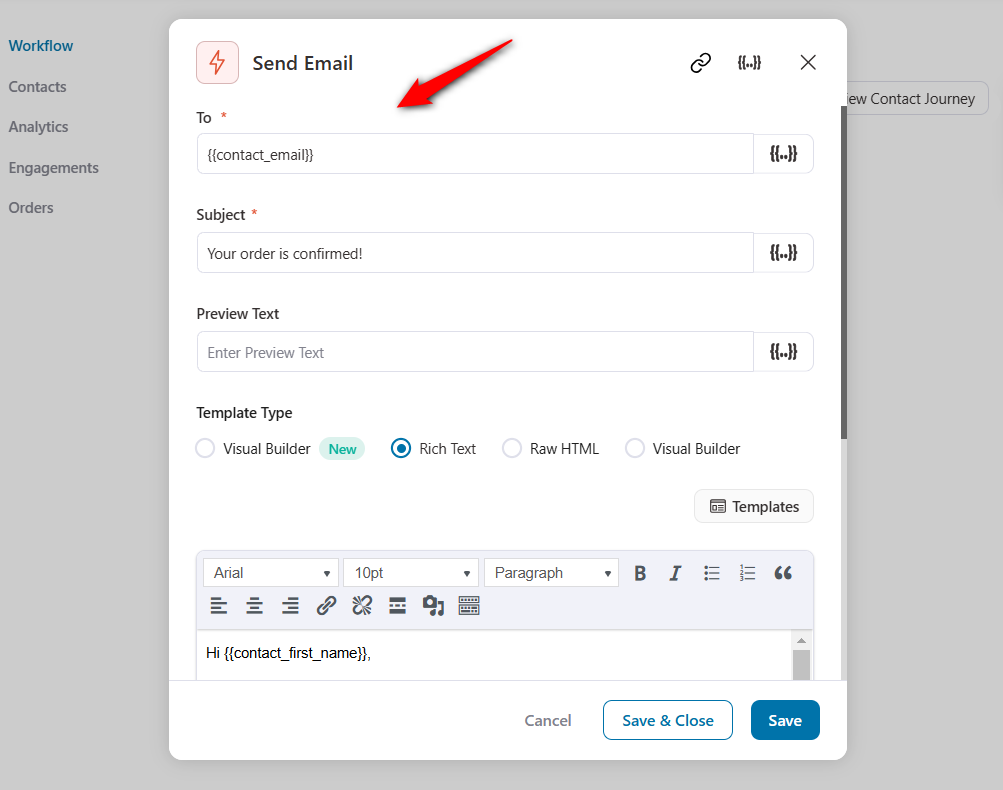
Step 4: Configure the action
So for differentiating, we are going to write the respective language in the subject line.
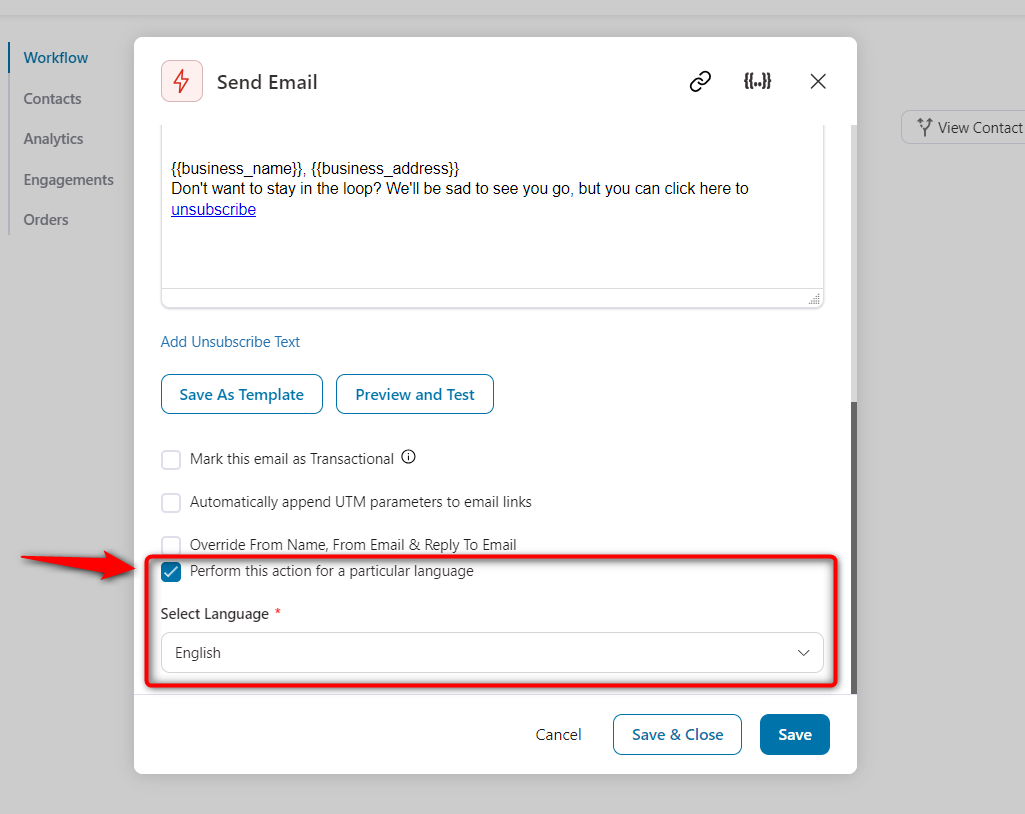
Scroll down and you’ll see this option - Perform this action for a particular language
Enable this option and select the language as “English”.
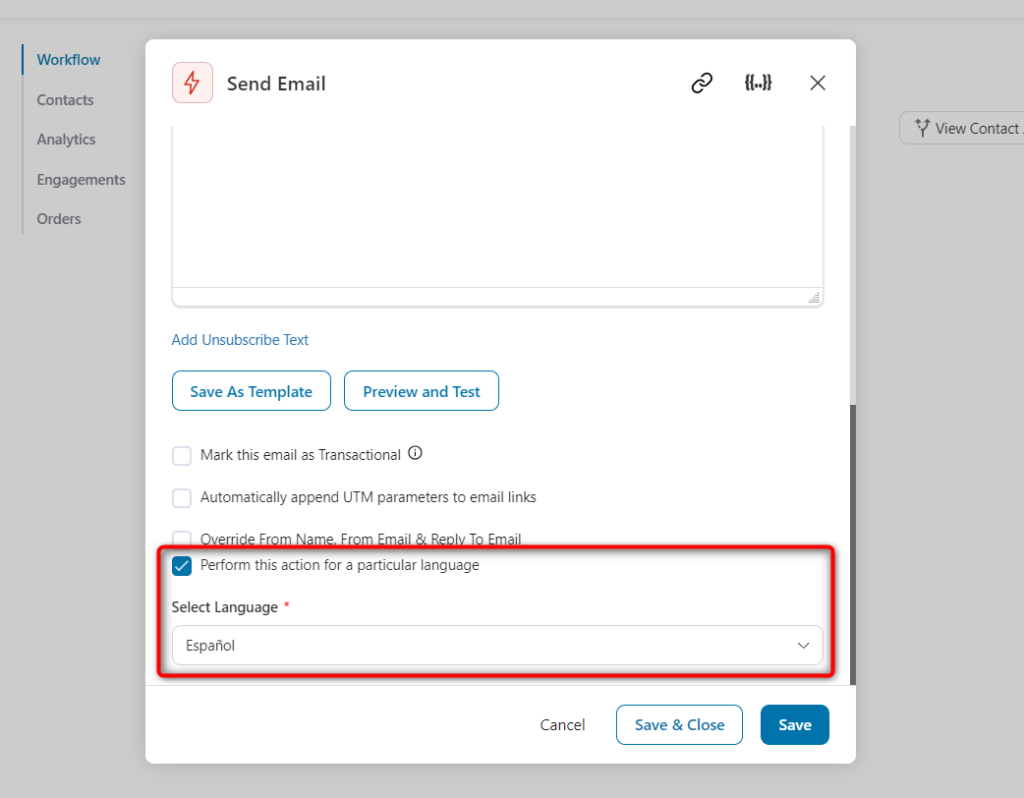
Step 5: Repeat the above step for another language
Here, we have added another action and set the language as Español.
Step 6: Turn the automation live
Turn the toggle to active and make your automation go live.
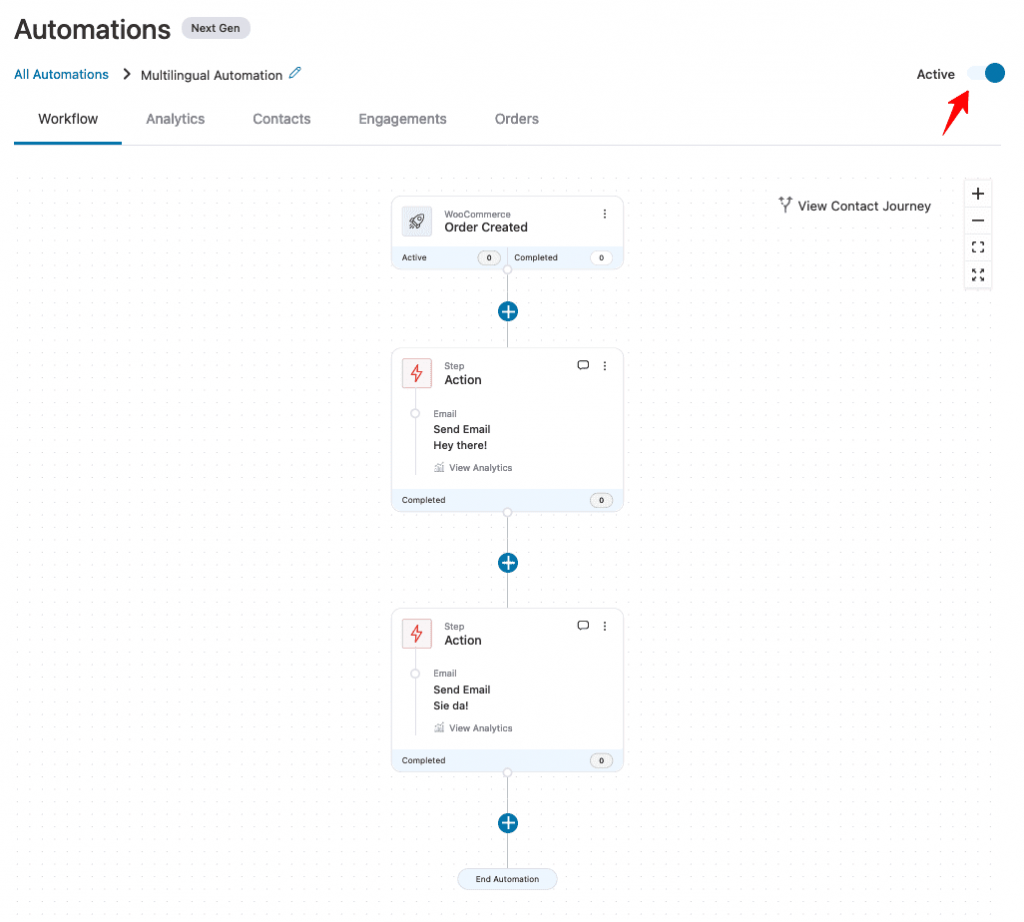
Well done! You have successfully created your multilingual automation.
Let’s now test this automation.
Testing the Multilingual Automation
Here’s how you can test this automation:
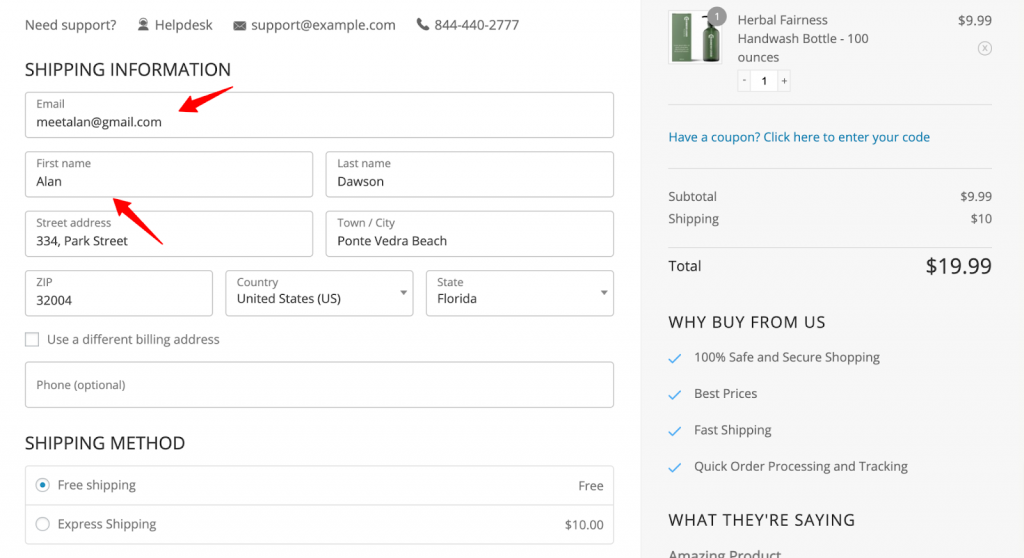
Step 1: Make a purchase from your store
Here, we will be making a purchase from the US store.
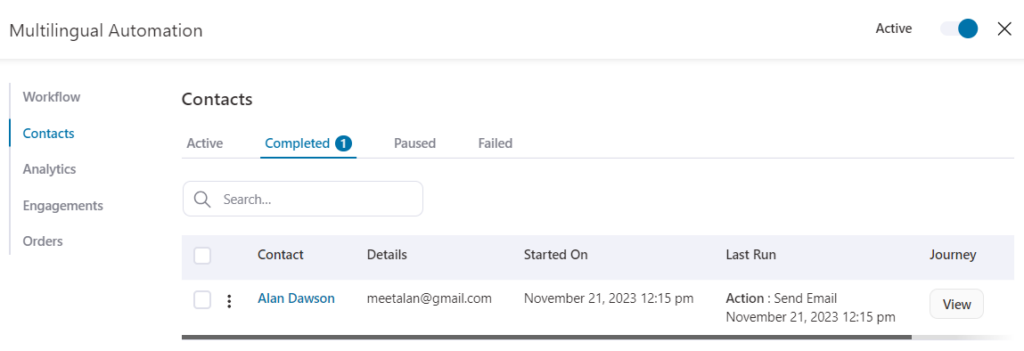
Step 2: Go to Contacts in the same automation
You’ll be able to see this task executed here within this automation.
Step 3: Go to this Contact’s profile
If you go to this contact’s profile, then under Emails, you’ll be able to see the respective email sent to him.

Similarly, you can do this for any other region, and the language linked with that email will then be sent.
This means that our multilingual automation works!


