If you use Brevo (Sendinblue) to send emails, learn the step-by-step process to set up bounce handling in FunnelKit Automations.
Follow the steps below to set up bounce handlers in Brevo (formerly Sendinblue):
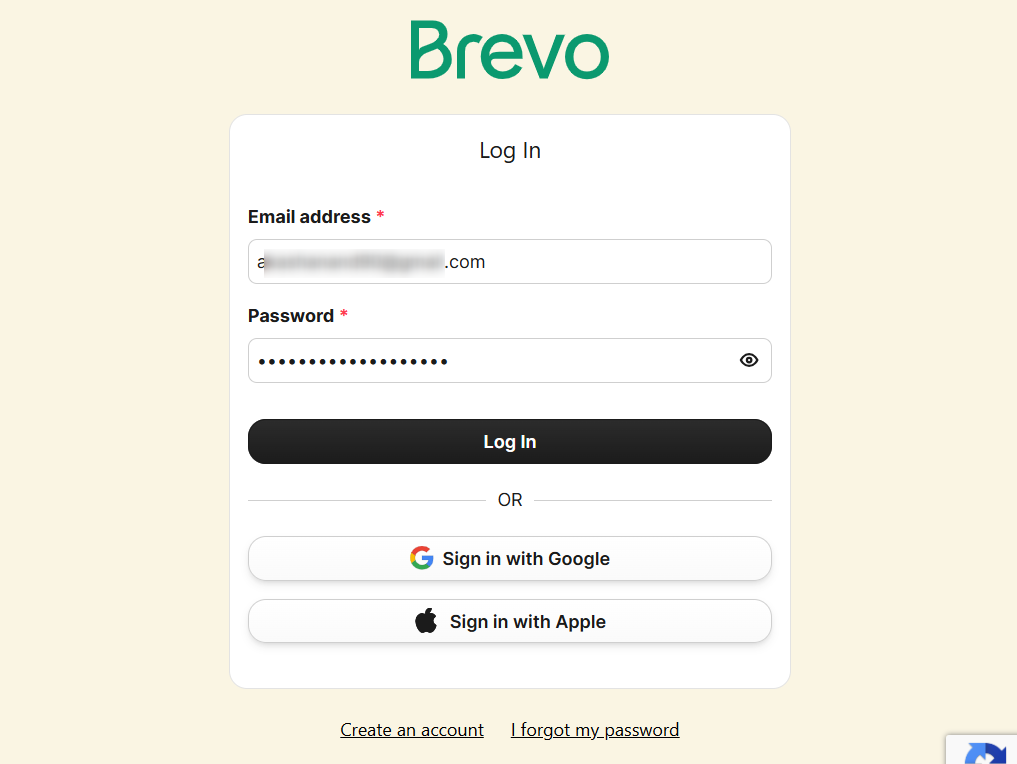
Step 1: Log in to your Brevo account
Enter the login credentials to your Brevo account and click on Log in.
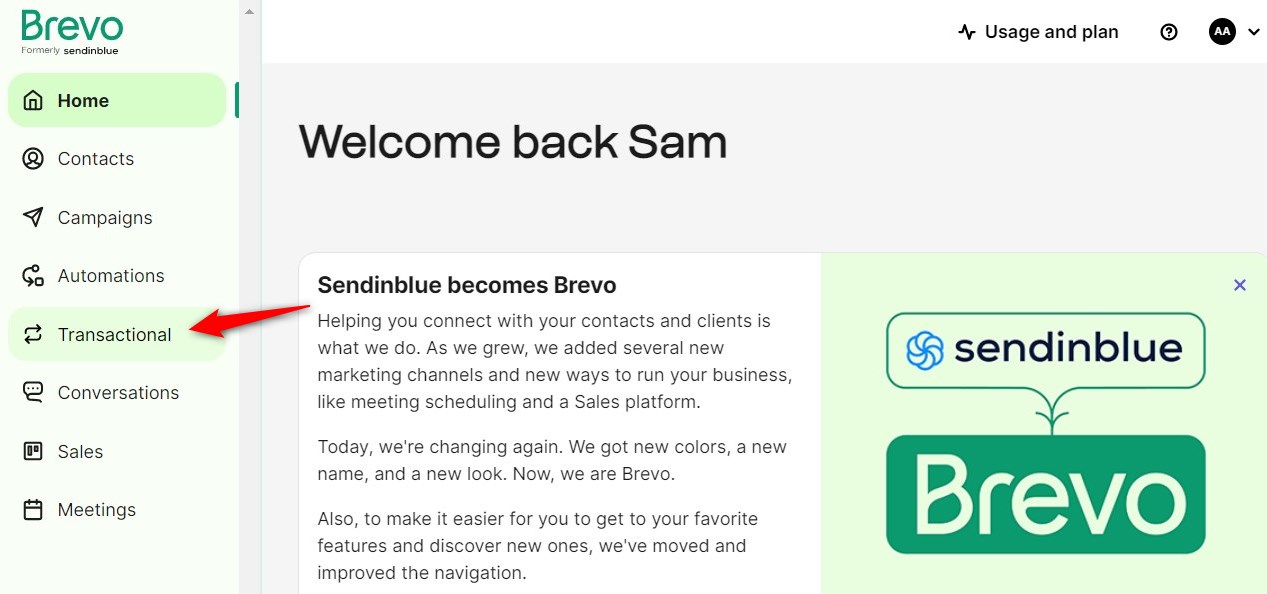
Step 2: Click on Transactional
You'll land on the Brevo dashboard.
Now, click on Transactional.
Step 3: Go to Settings
Under Email, go to the Settings page.

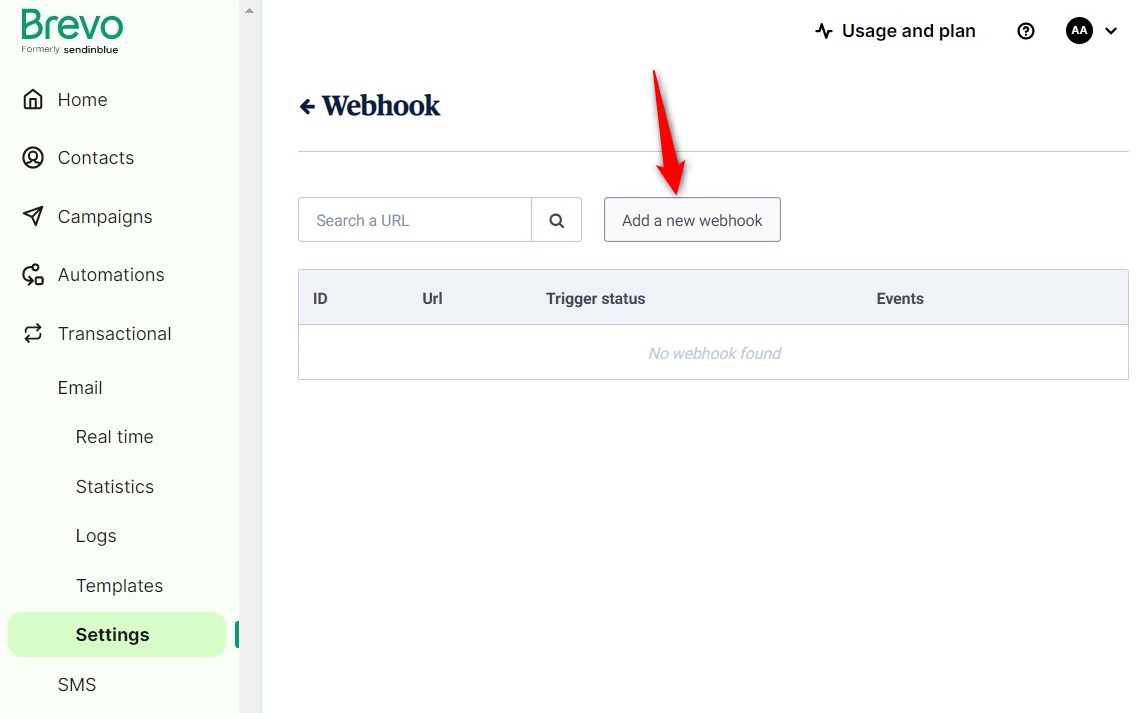
Step 4: Set up webhooks
Click on Webhook.

Add a new webhook from here.
Enter the URL to call, select hard bounce, and description for this webhook.
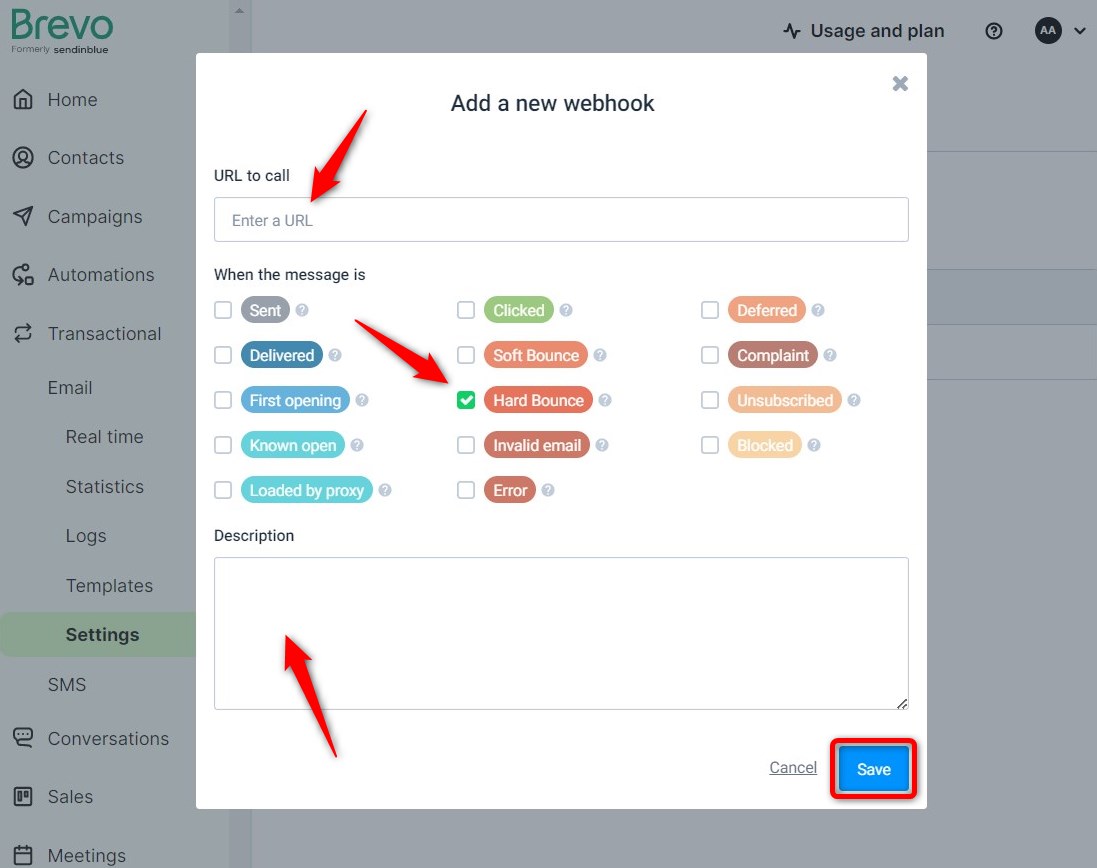
You can find this URL by going to the FunnelKit Automations Settings ⇨ Email.
Enable the bounce handling and select Sendinblue as shown in the screenshot:

Once done, click on Save.
There you go! You have now successfully enabled bounce handling for Brevo (formerly Sendinblue).


