In this documentation, we’ll show you how to set up bounce handlers for Mailgun:
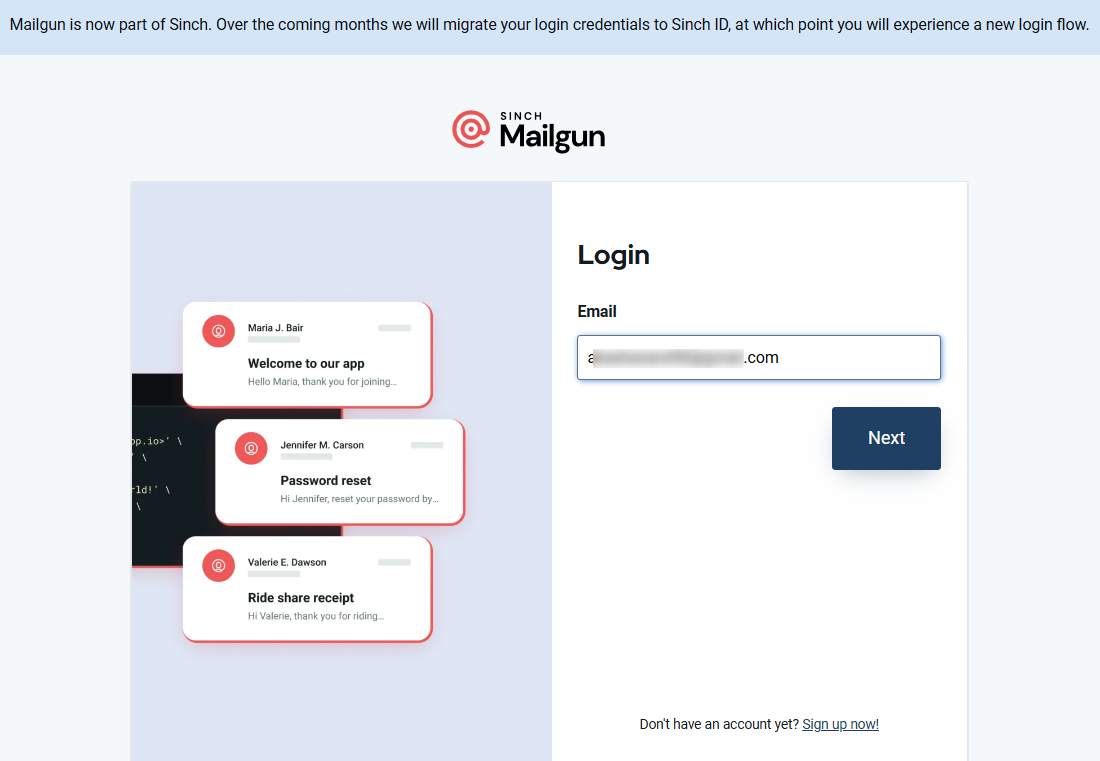
Step 1: Log in to your Mailgun account
Go to your Mailgun account and enter the login credentials.
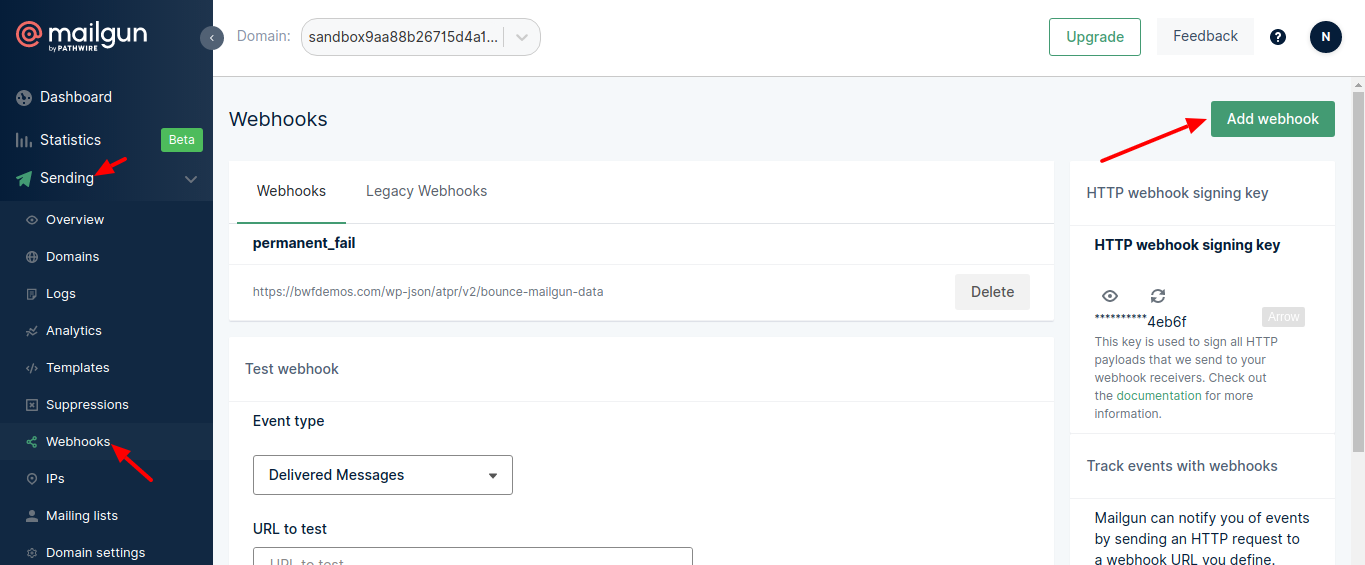
Step 2: Add the webhook
Go to Sending ⇨ Webhooks.
Now, click on Add webhook.
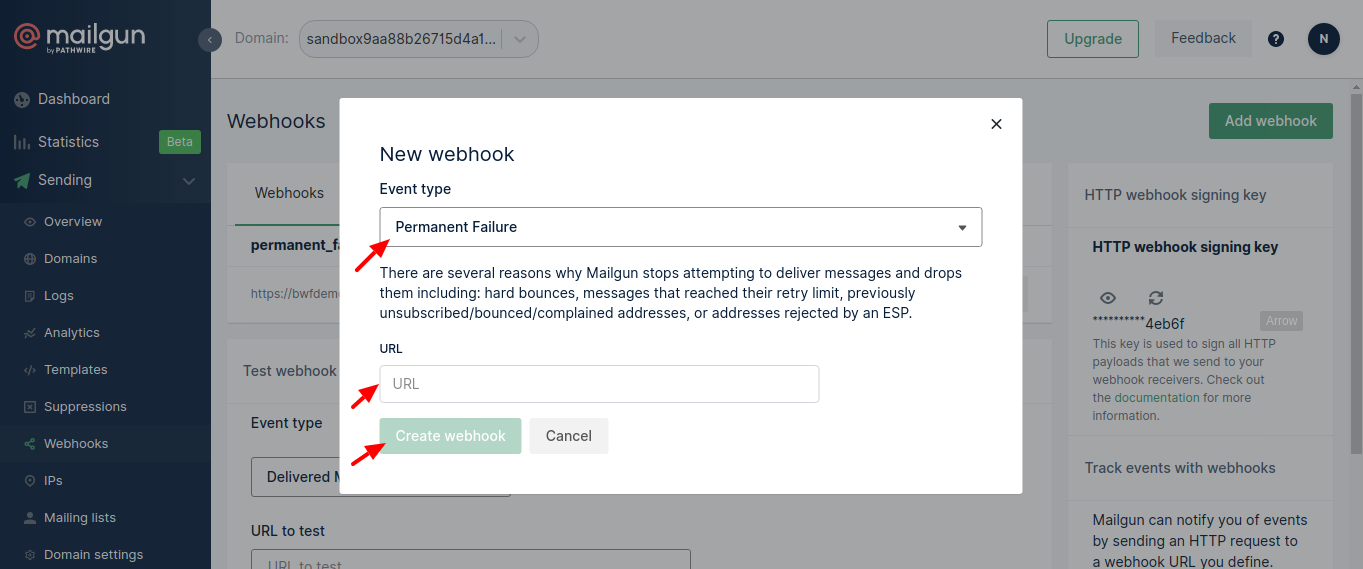
Step 3: Enter the HTTP Webhook URL
Select Permanent Failure as the event type and enter the bounce handling webhook URL here.
To find this URL, go to the next step.
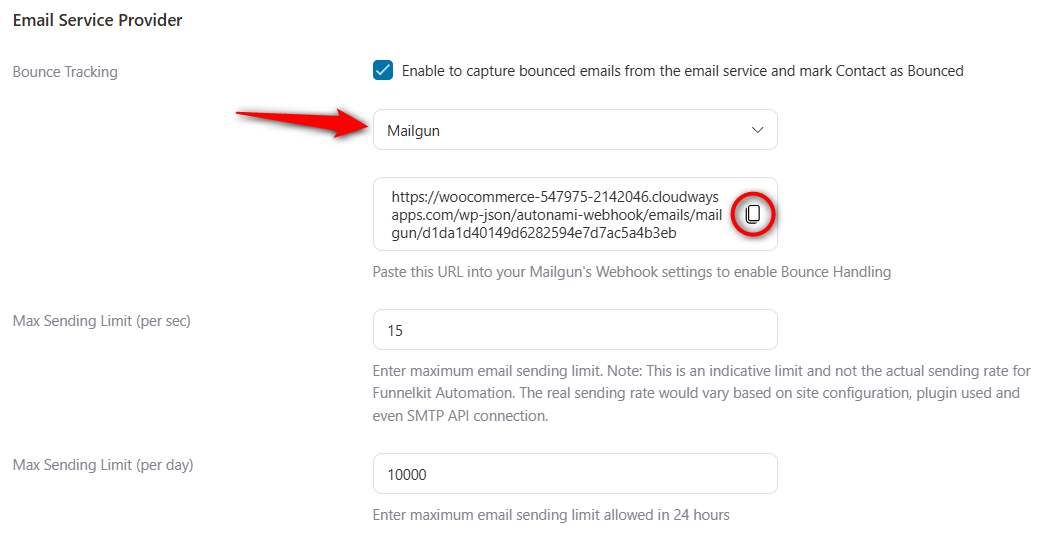
Step 4: Copy the webhook URL from FunnelKit Automations
Go to Settings ⇨ Email Settings in FunnelKit Automations.
After scrolling down, select your provider under the Bounce Tracking section. Copy this URL and paste it on the Mailgun webhook.
Once done, paste this URL into the Mailgun webhook URL and click on Create webhook.
This is how you can set up bounce handling for Mailgun.


