In this documentation, we will share how to send order data automatically to any external source via an HTTP Request when an order is created.
Step 1: Add an Action to Your Automation
Navigate to your automation workflow and click the ➕ icon to add a new step.
From the list of available options, choose Action.

Step 2: Select “Send Data To Any Source”
Go to the Send Data tab and choose “Send Data To Any Source (HTTP Request)”.
Click Done to proceed.

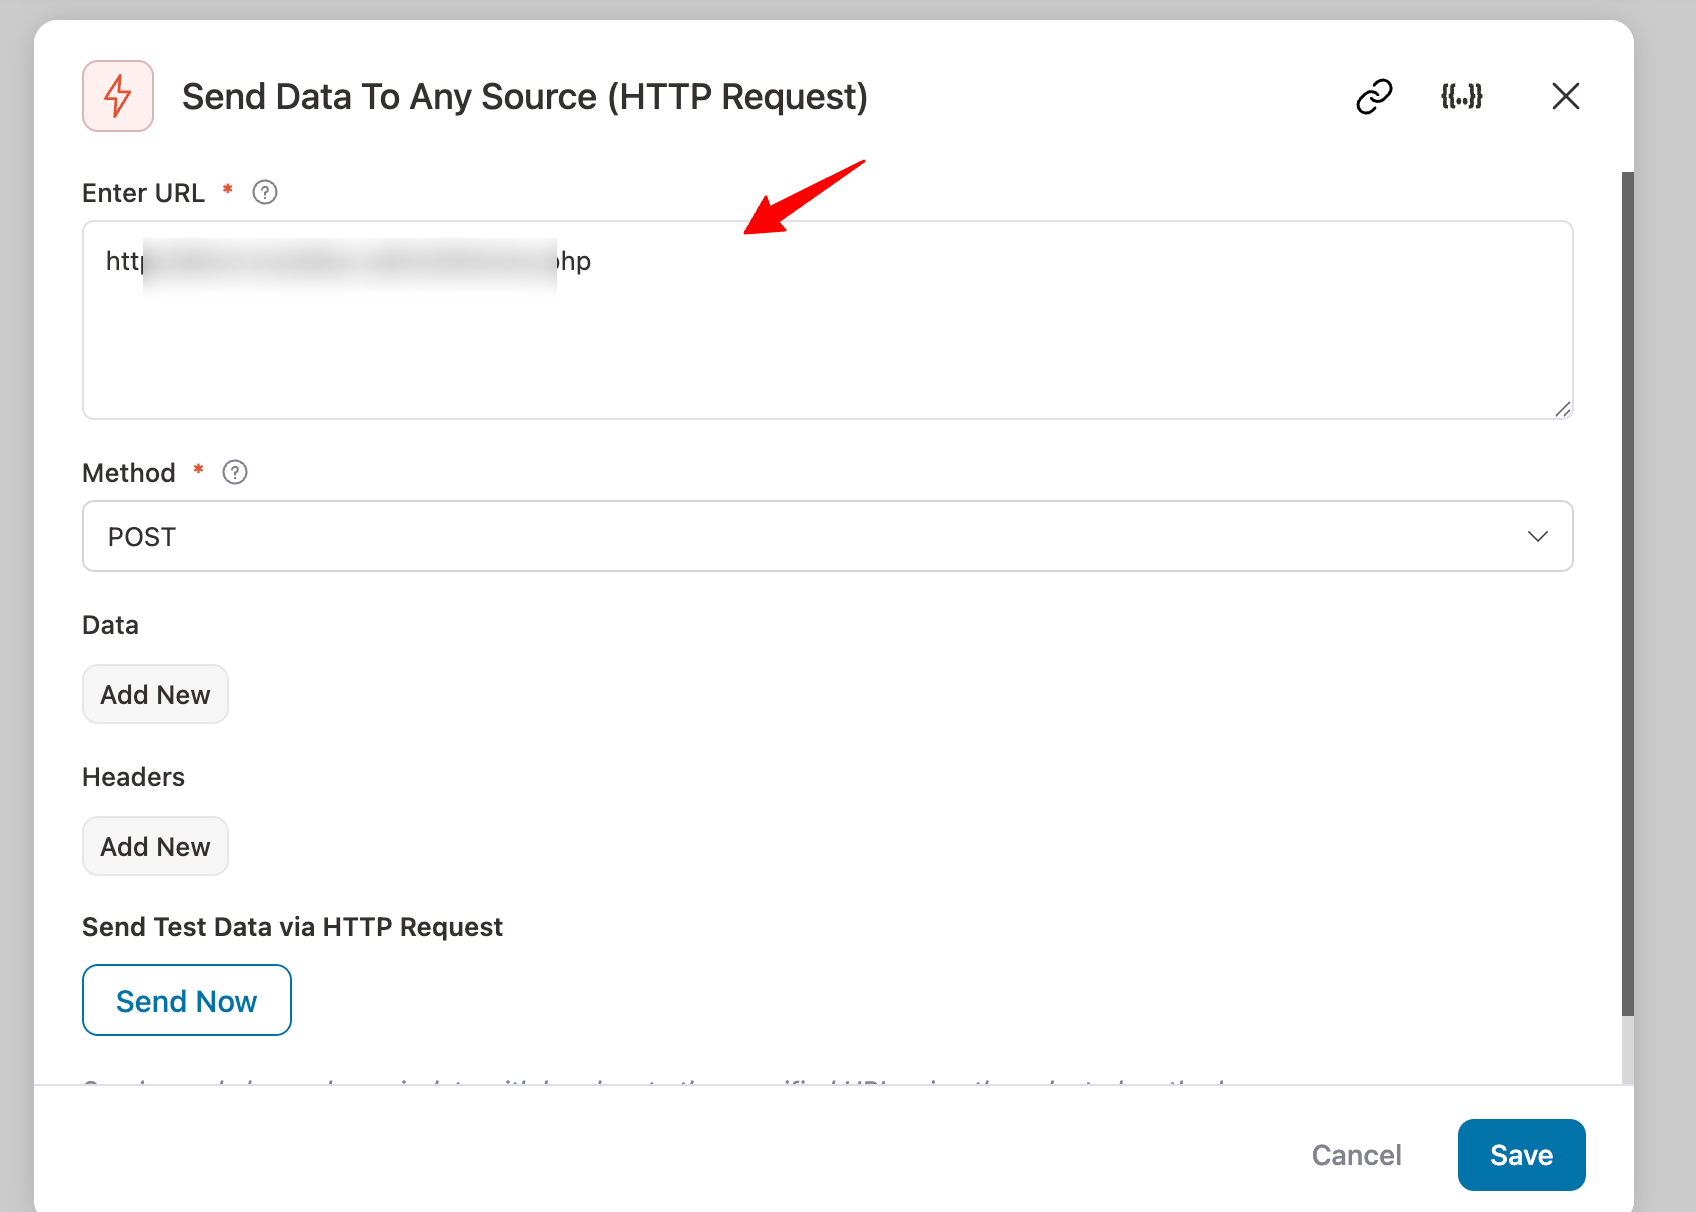
Step 3: Configure the HTTP Request
- Enter the URL of the destination where you want to send the data.
- Set the method to POST.

Step 4: Add and Map Data Fields
Here you can set up the data you want to send. Click “Add New” to create a new data field.
- For each field, set a name as key and use the appropriate merge tag as the value.
- To send nested data, use dot notation (e.g., contact.address.country).

Finally, hit Save.
Step 5: Add Request Headers
If the destination URL requires headers (such as authentication or content type), click “Add New” under the Headers section and provide the Key and Value

Step 6: Send Test Data
Click the “Send Now” button to send a test request to the specified URL.
This helps you verify that all configured data and headers are being sent correctly.

Step 7: Save and activate the Automation
Ensure that you save the action and then activate the automation.
Once your automation is active, the configured data will be automatically sent to the specified destination each time an order is created.
Here is how the response will be received at the recipient’s end.


