Merge tags are the smart personalization tags that we can use to get dynamic data values. You can personalize your emails in by using merge tags in FunnelKit Automations.
FunnelKit Automations offers various merge tags related to email, users’ information, order items, cart data, order data, and so much more.
You can find merge tags in Automations and Broadcasts.
In this documentation, you’ll learn how to use merge tags when creating your email in a rich text editor and drag-drop builder.
Here we'll be using abandoned cart automation as an example. Therefore, we have selected the event - Cart Abandoned and Send Email as the action.
How to Use Merge Tags in Rich Text Editor
Step 1: Personalize your email using merge tags
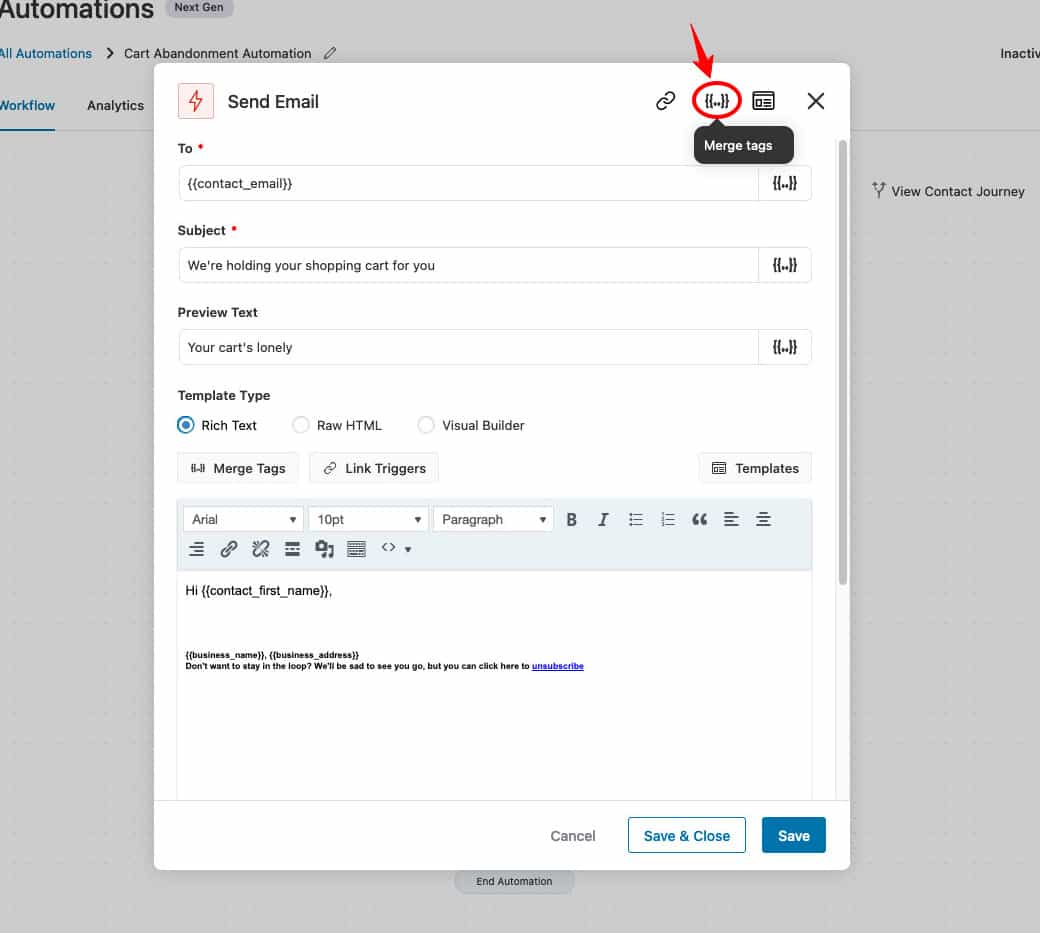
Select Rich Text under Template.
To get the abandoned cart items, click on Merge Tags.
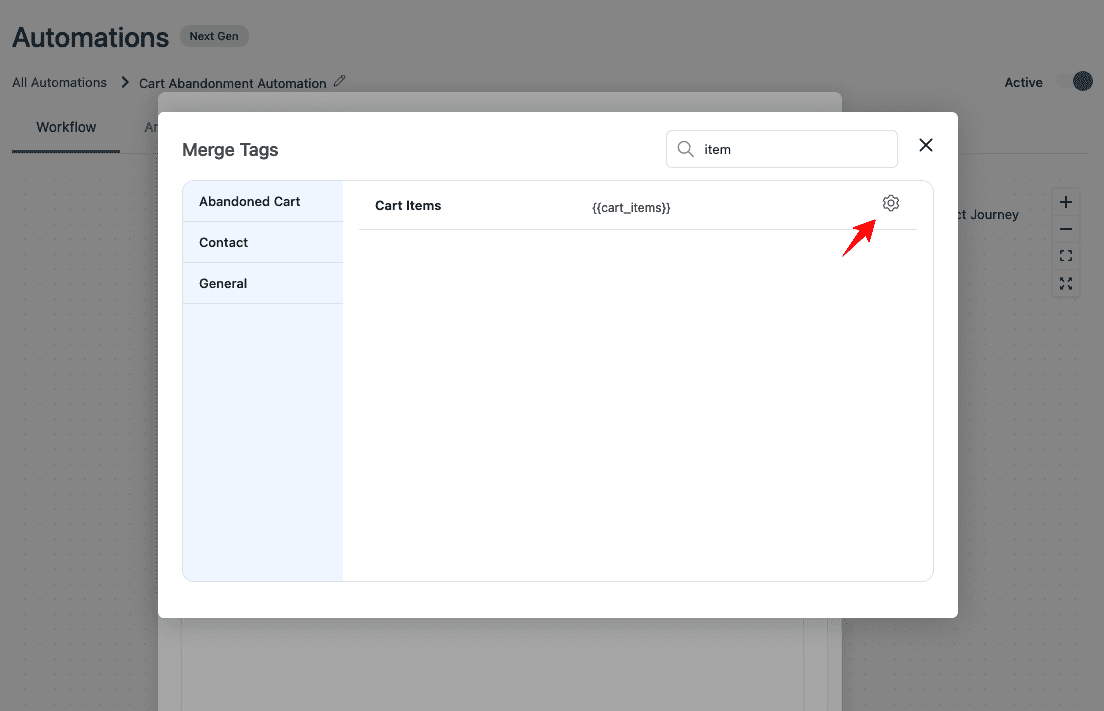
Now, click on Select next to Order Items.
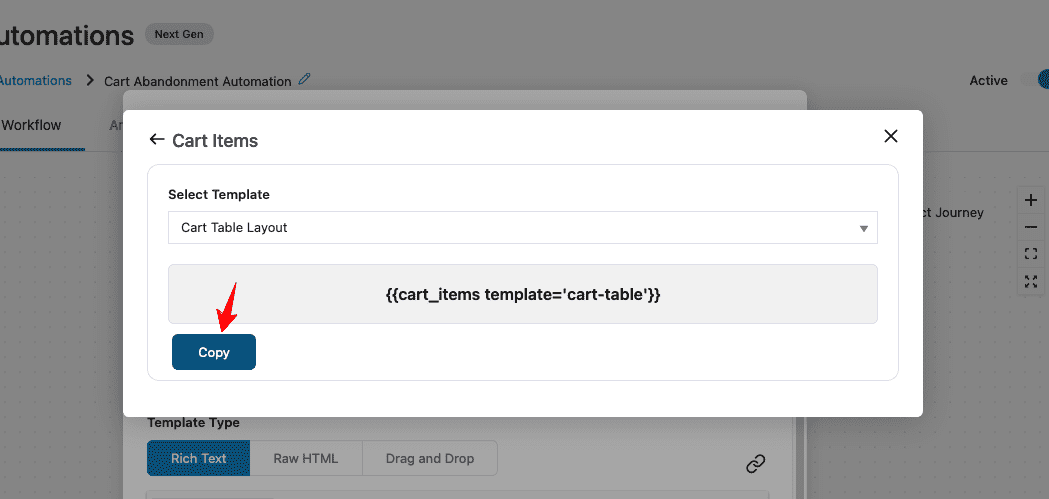
Select the template - Cart Table Layout.

Now click on Copy.
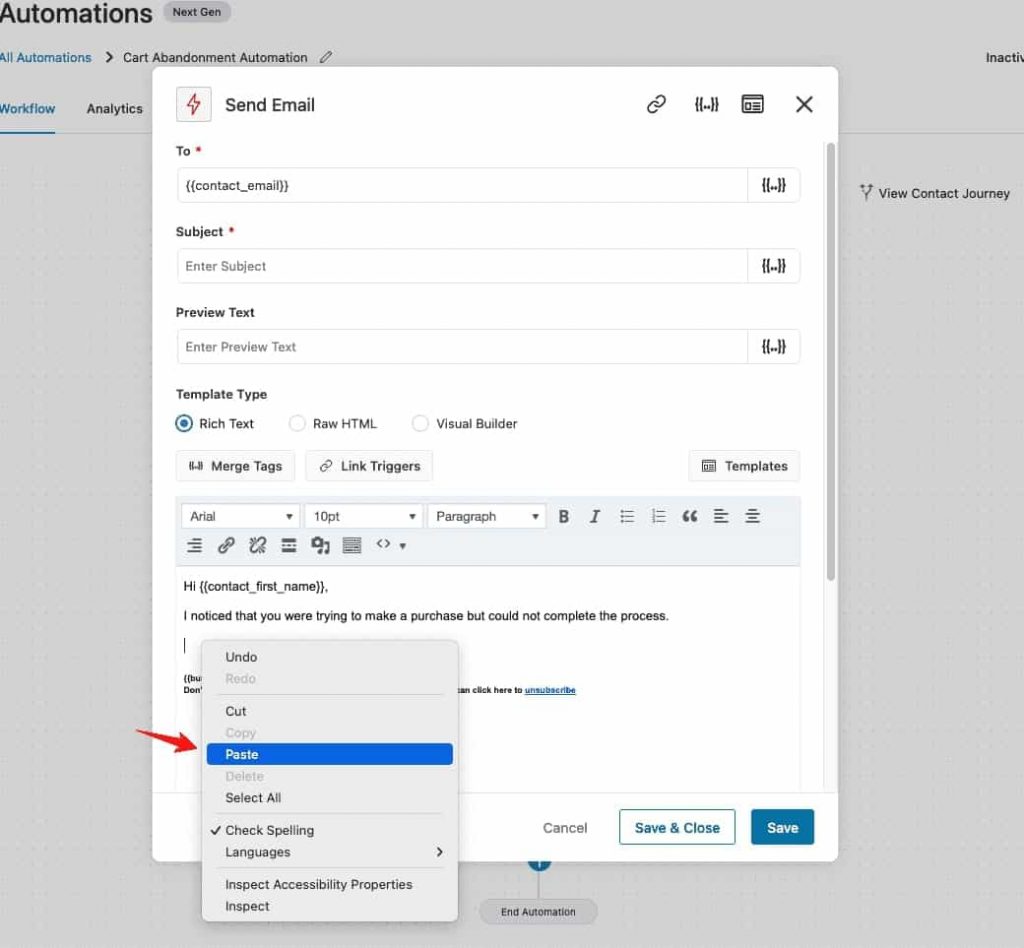
Step 2: Paste the copied tag on your email content
Paste the merge tag on your email content body.
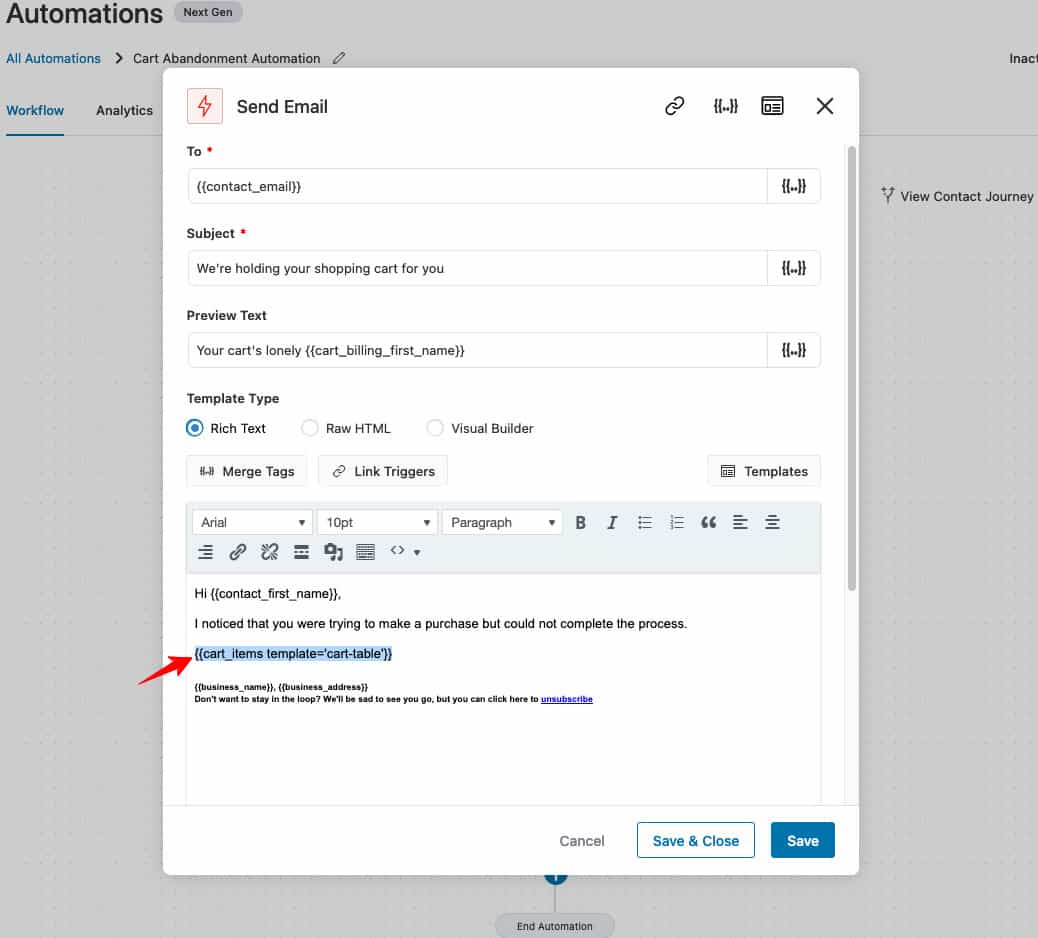
Your order item cart template merge tag has been pasted. This will get the user’s cart items to show on their email at the time of abandonment.
Step 3: Add other merge tags
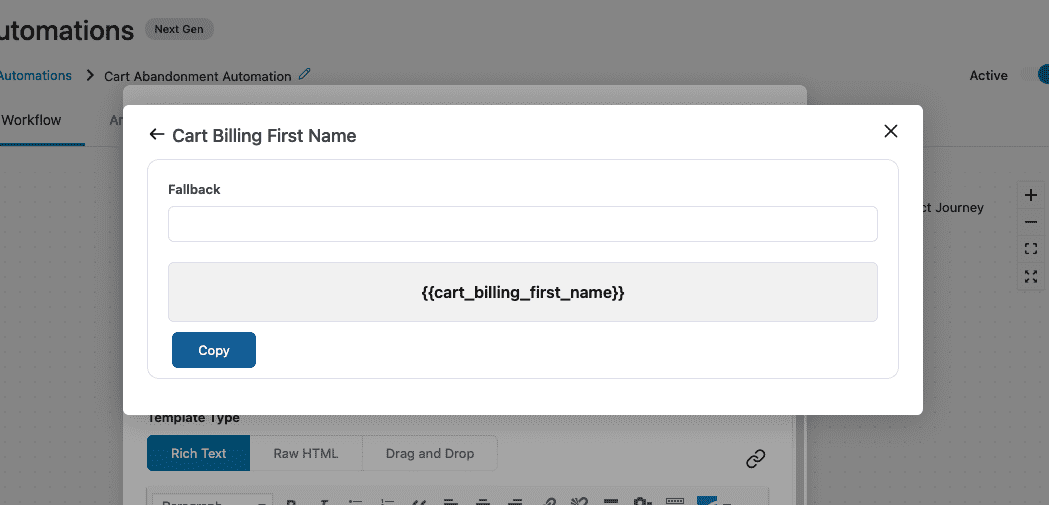
Similarly, you can add other merge tags such as the user’s first name if they’ve filled their name before abandoning their cart.
This is the merge tag for the first name:
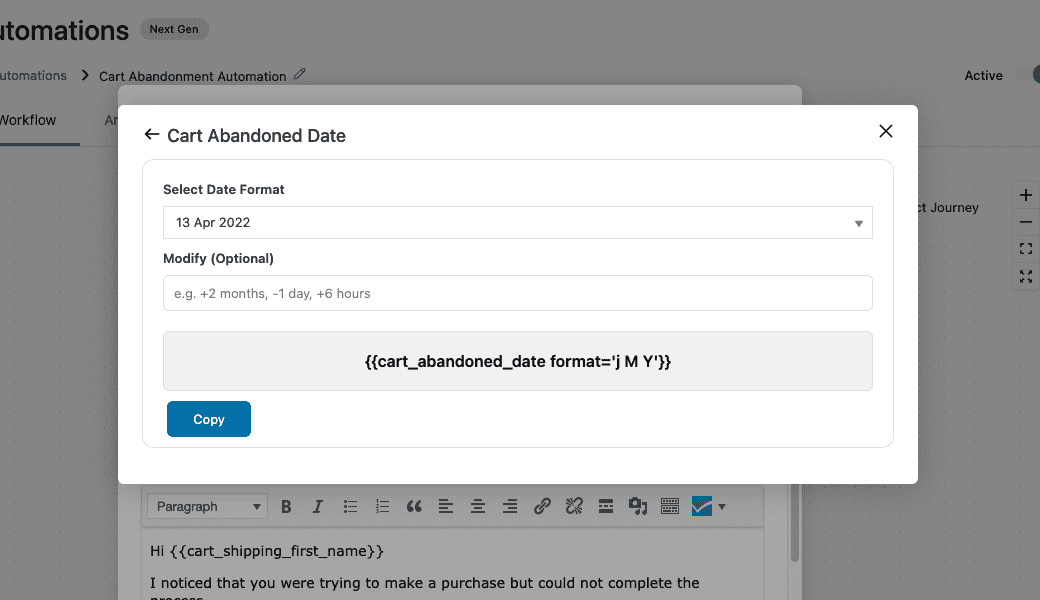
This is the merge tag for the date when the user has abandoned their cart:
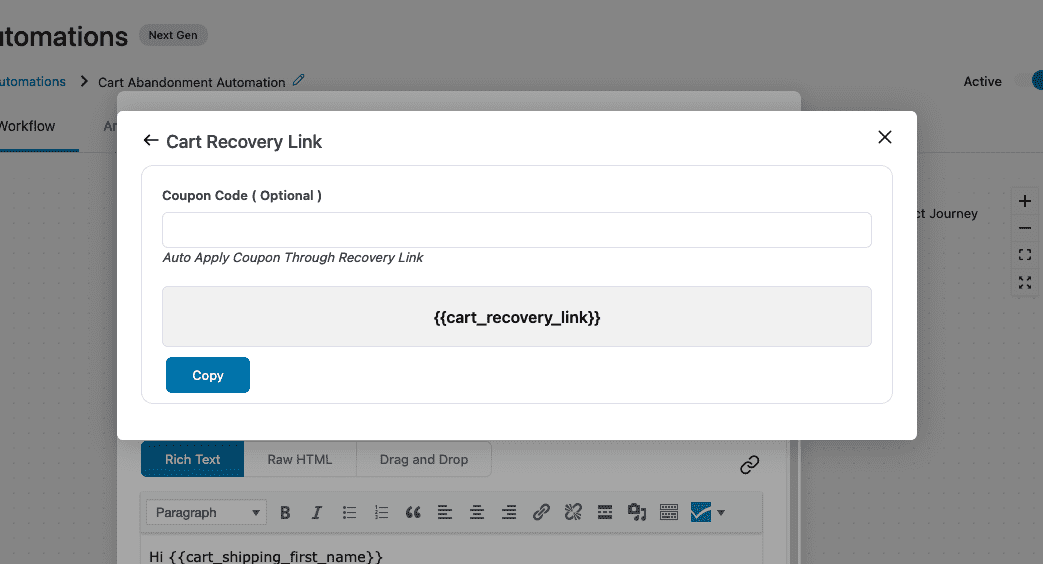
This is the merge tag for the cart recovery link:
Paste all these merge tags into your email body content.
To interlink a merge tag, copy the text and click on Insert Link. Then, paste the merge tag and click on Apply.
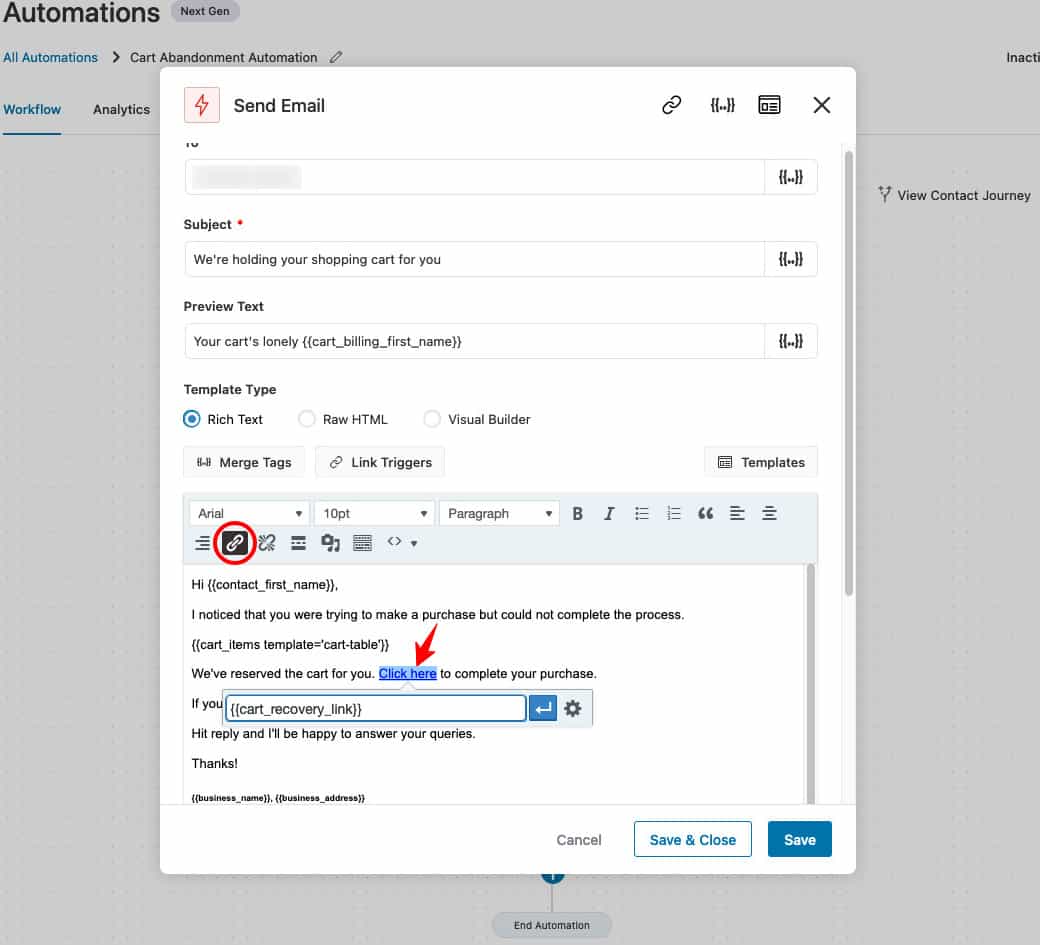
Here, we have pasted all our merge tags:
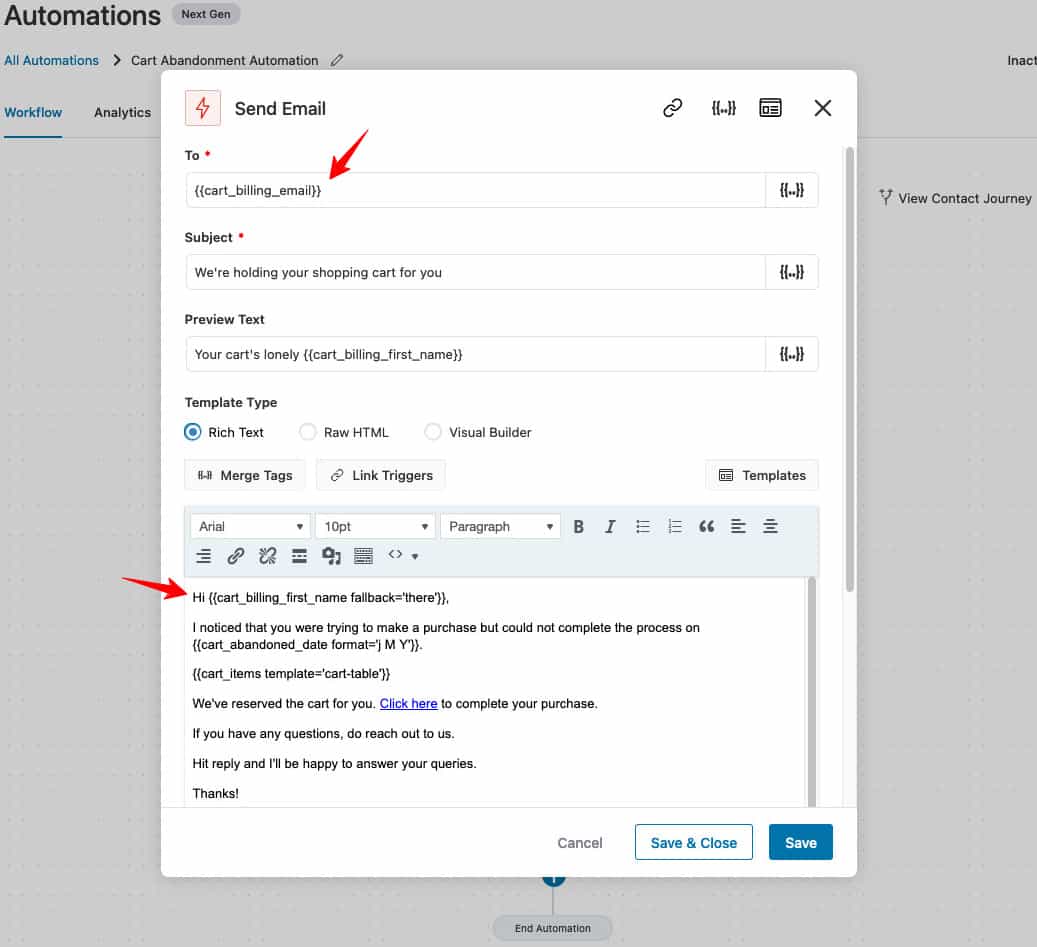
Once done, click on the Save button.
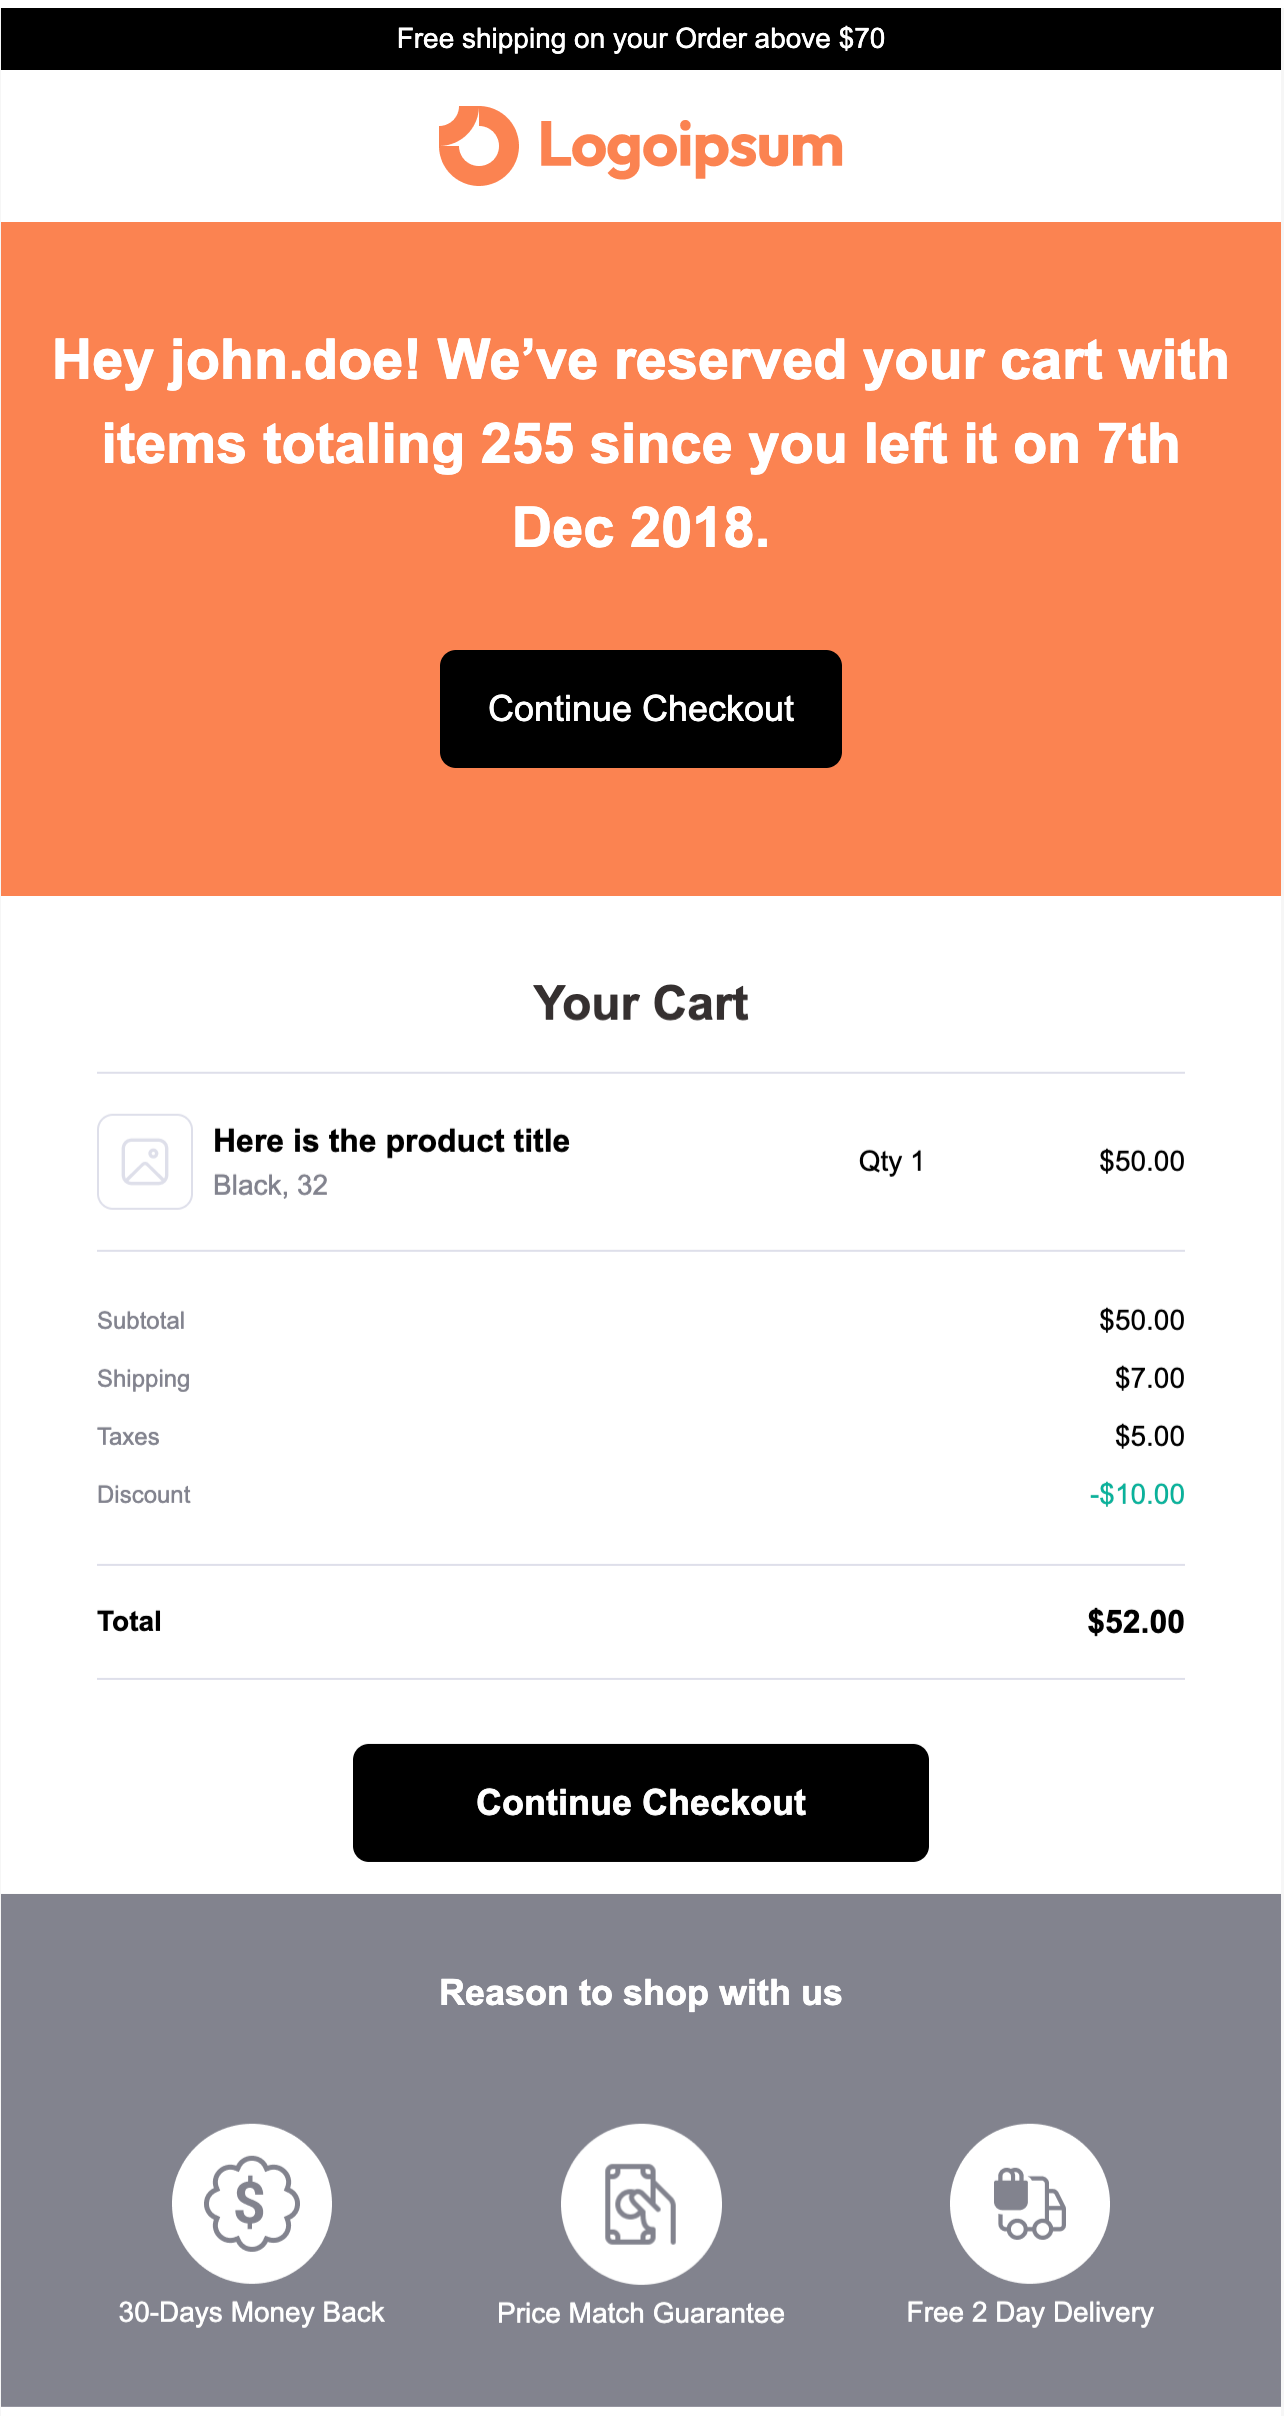
Now, when a user abandons their cart, this email will be sent to them.
Here is the sample email:

Congratulations! You’ve successfully used merge tags to personalize your email via the rich text editor to be used in Automations.
How to Use Merge Tags in Drag and Drop Builder
Here are the steps you need to follow to use merge tags in visual builder:
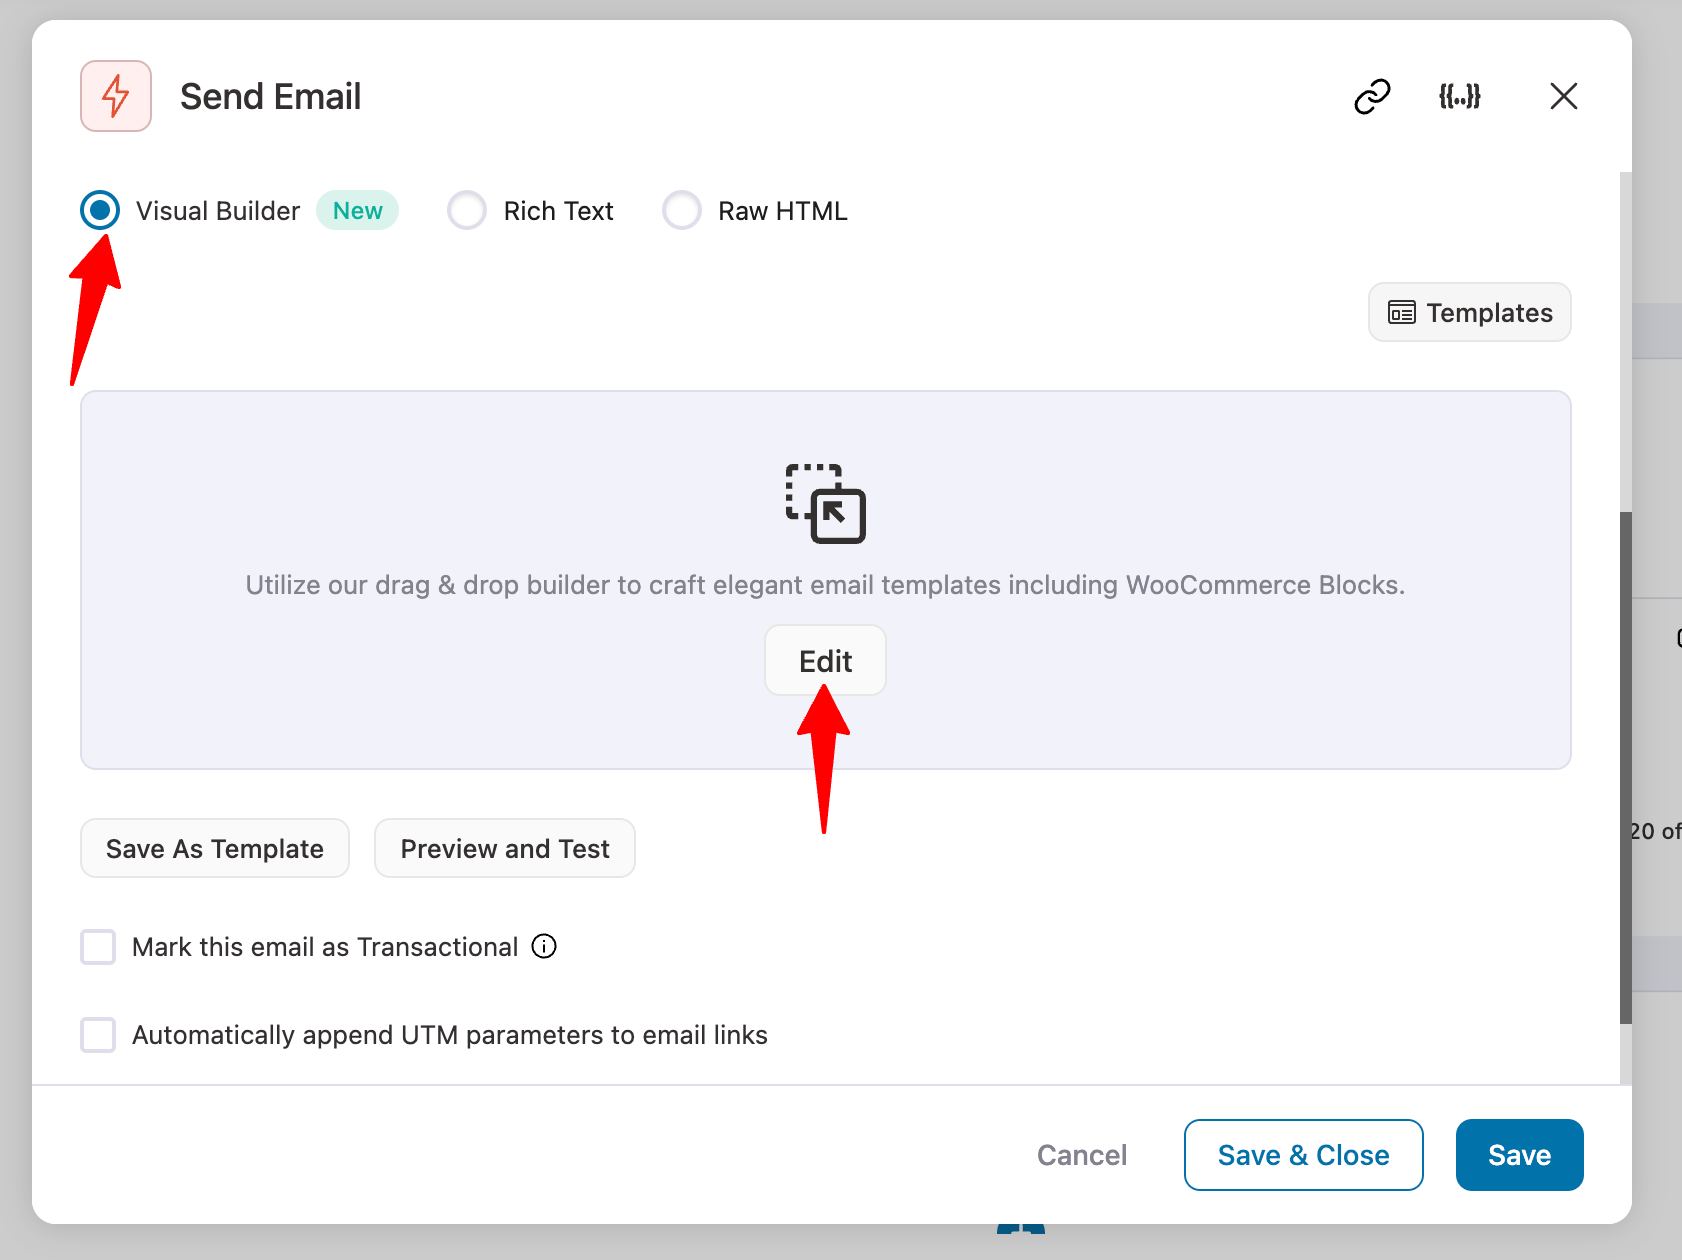
Step 1: Open the drag-and-drop visual email builder
Select the New Visual Builder, then click on Edit to launch the built-in email editor.
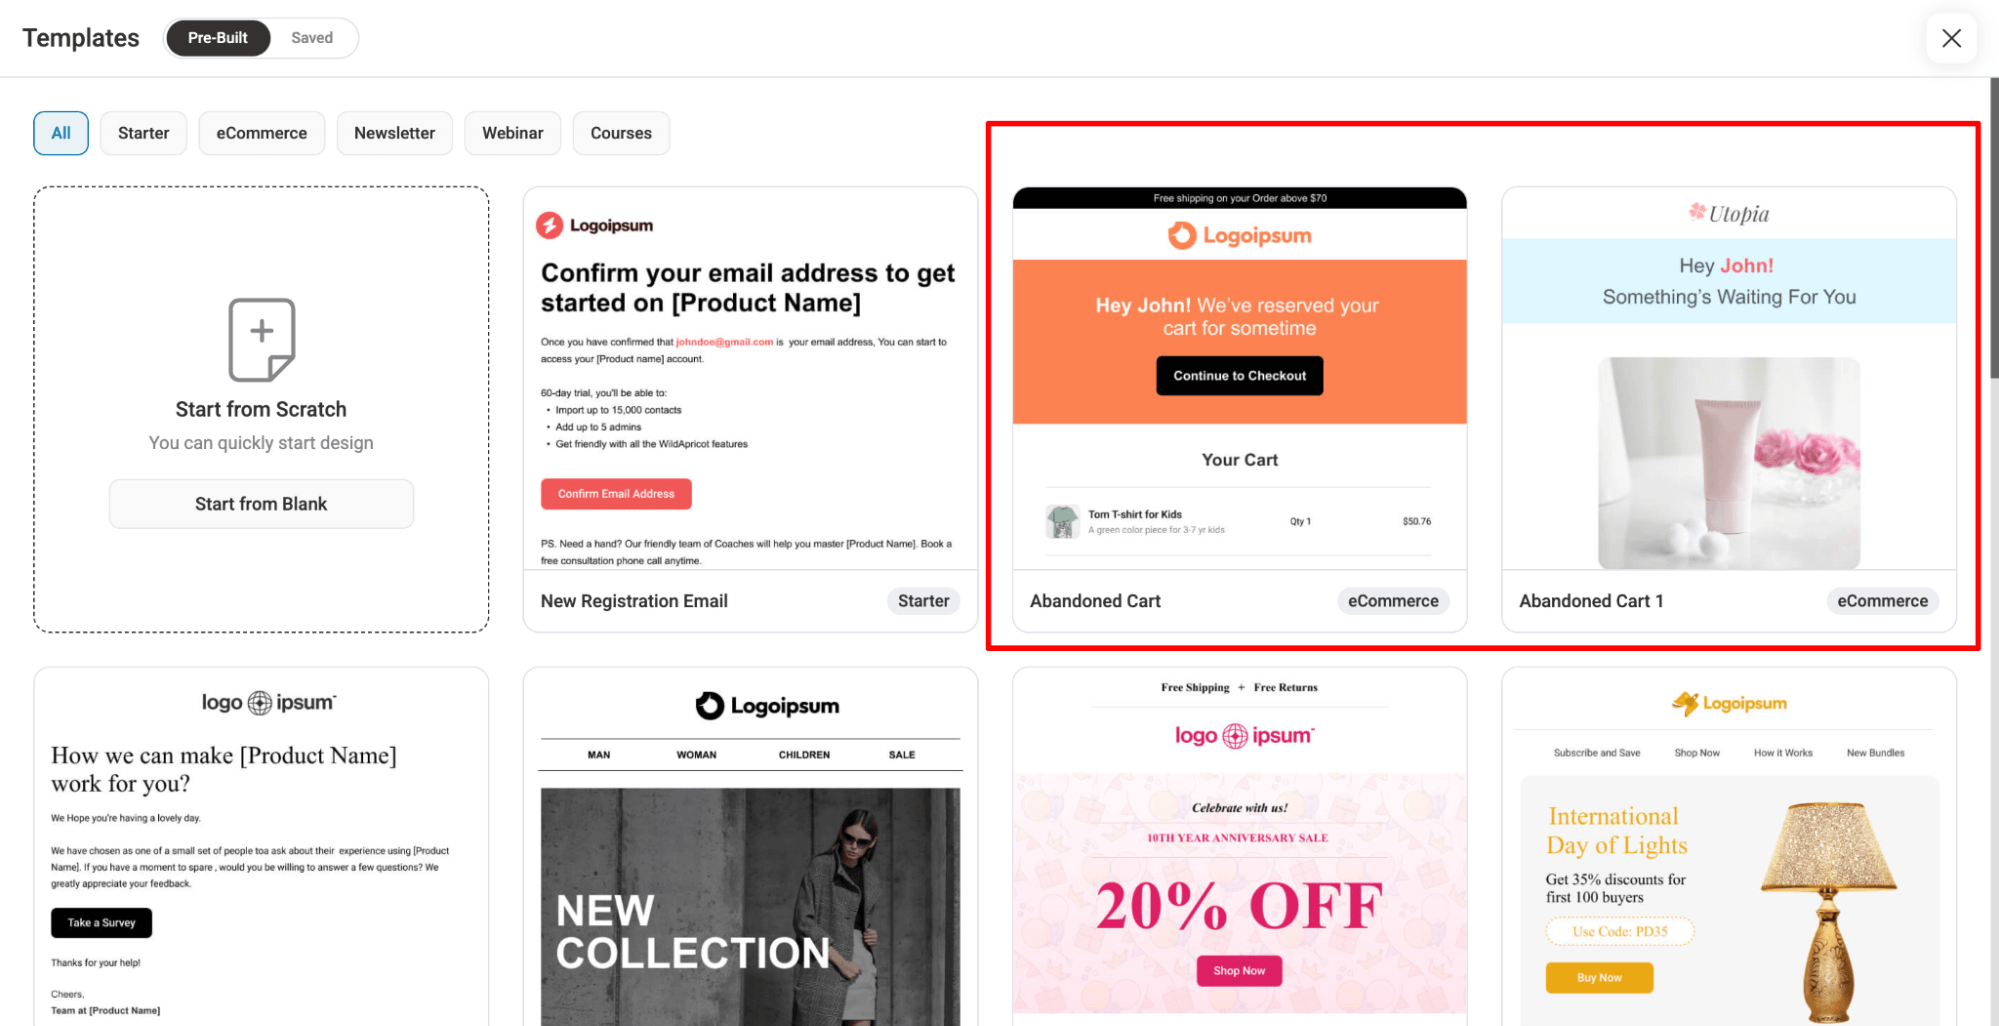
Now select any of the prebuilt templates and customize your email.
Step 2: Select your merge tags
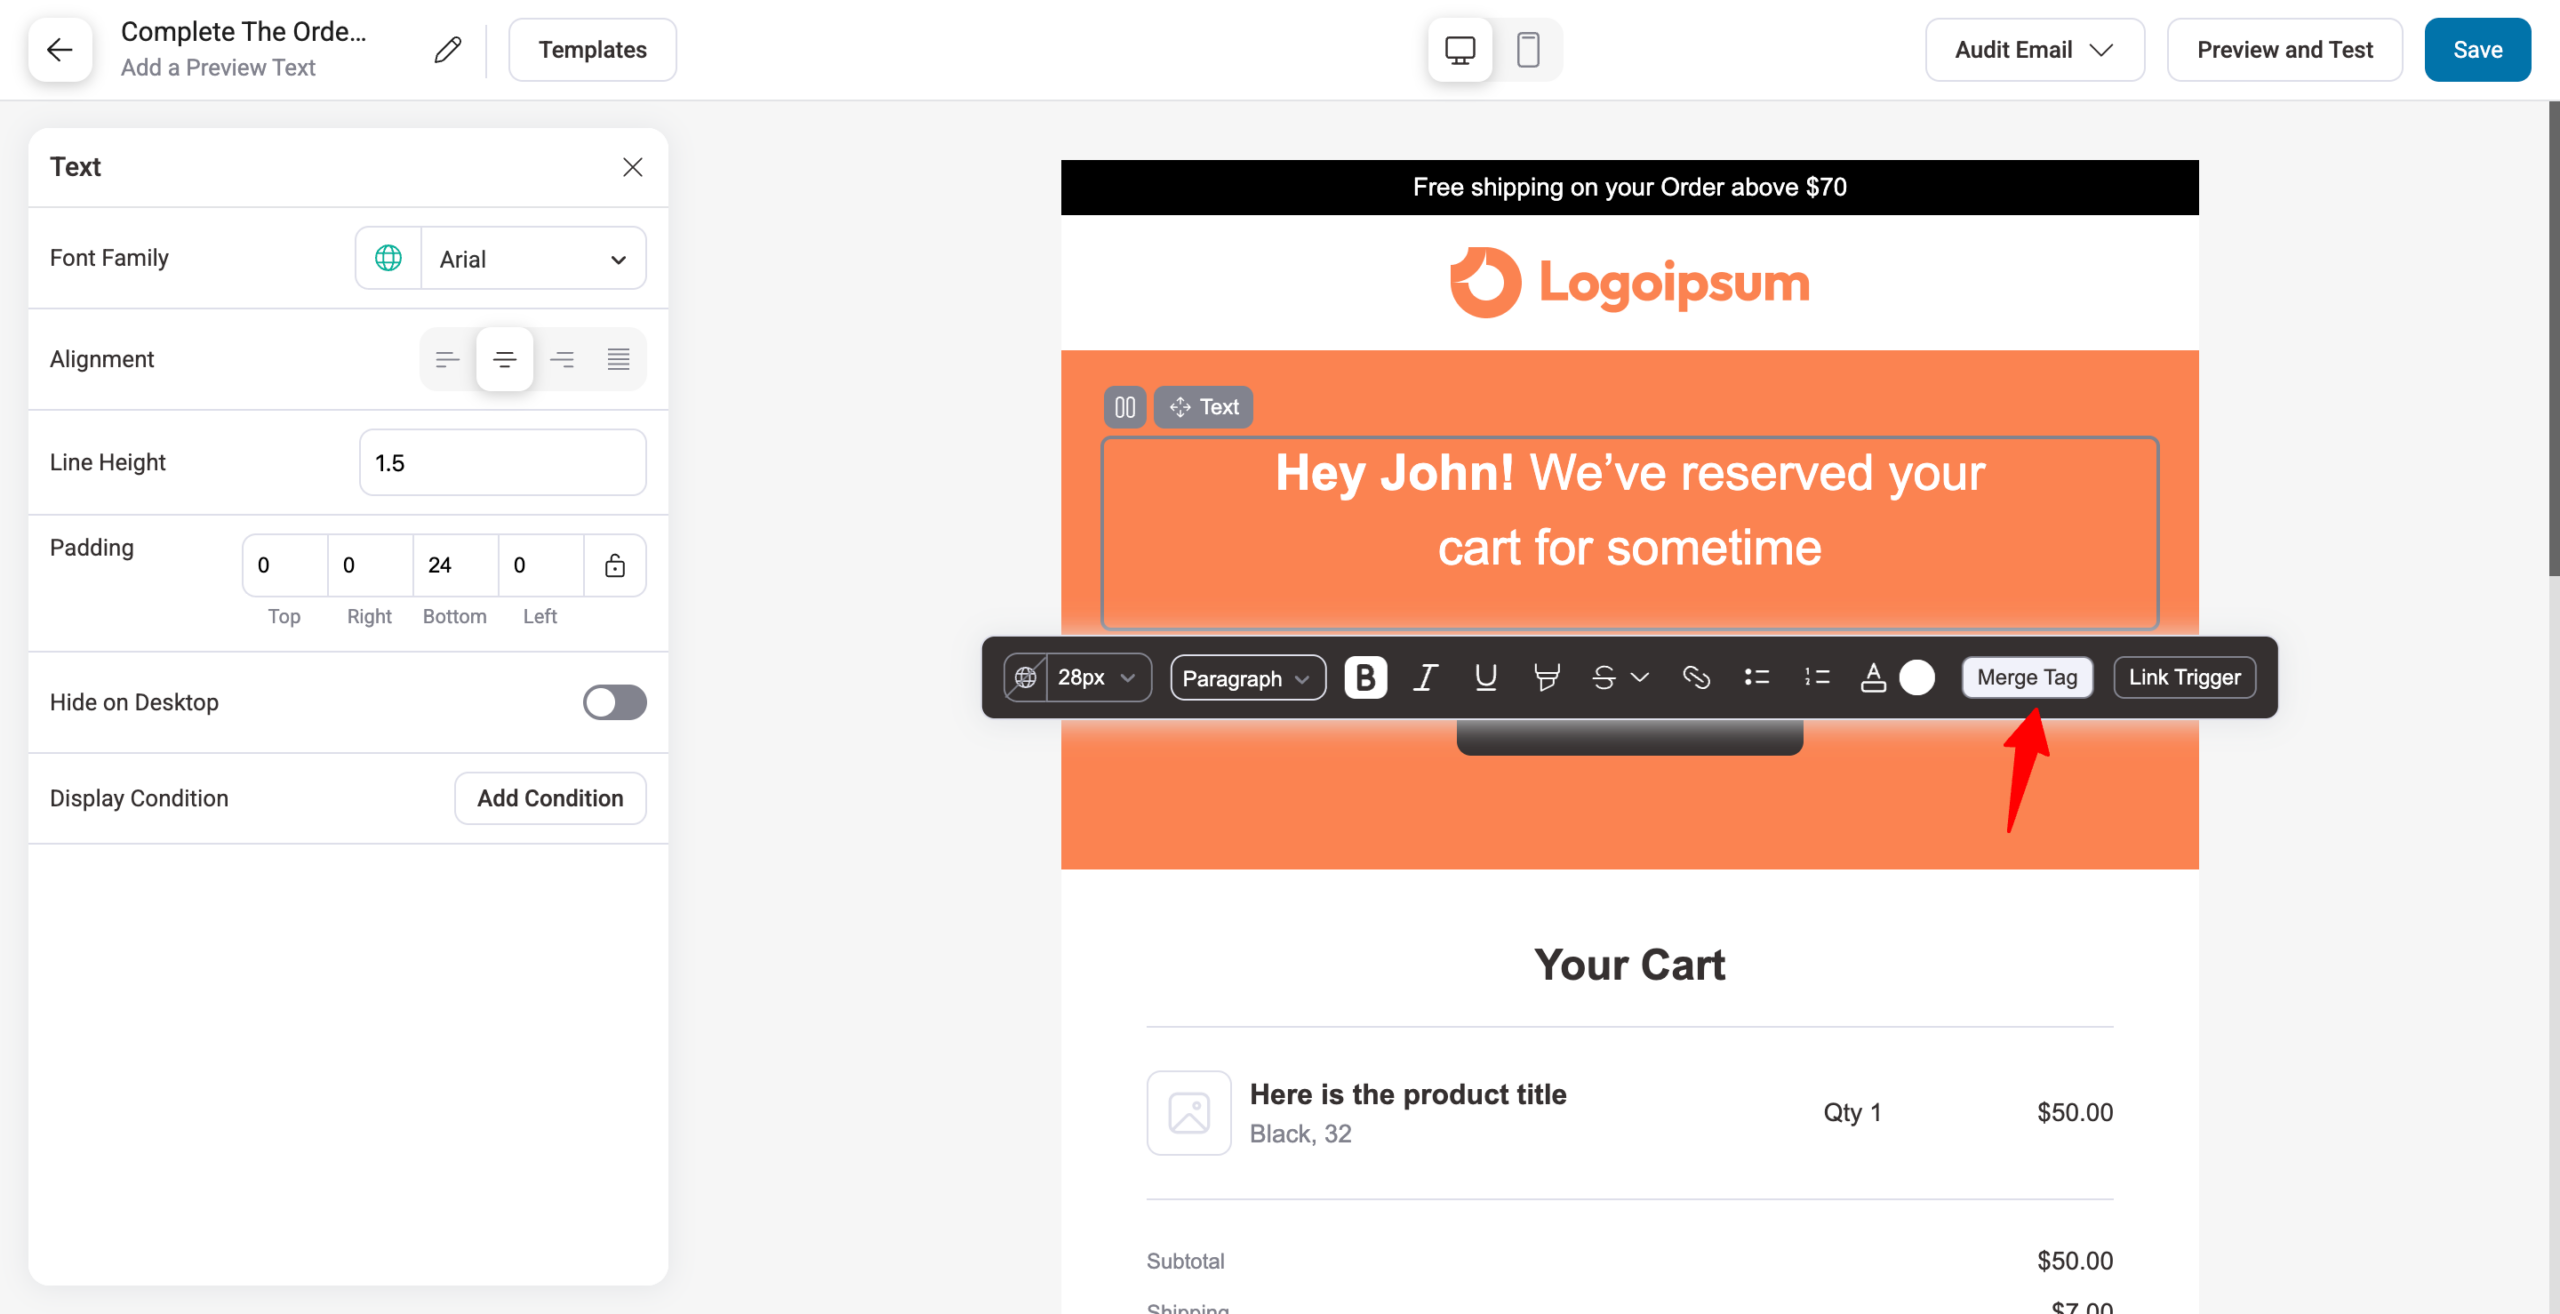
Now, to use the merge tag, click on any section and hit the Merge tag button.
Next, search for and copy any merge tag. For a simple merge tag, click the copy button. For others, you can hit the Settings icon.
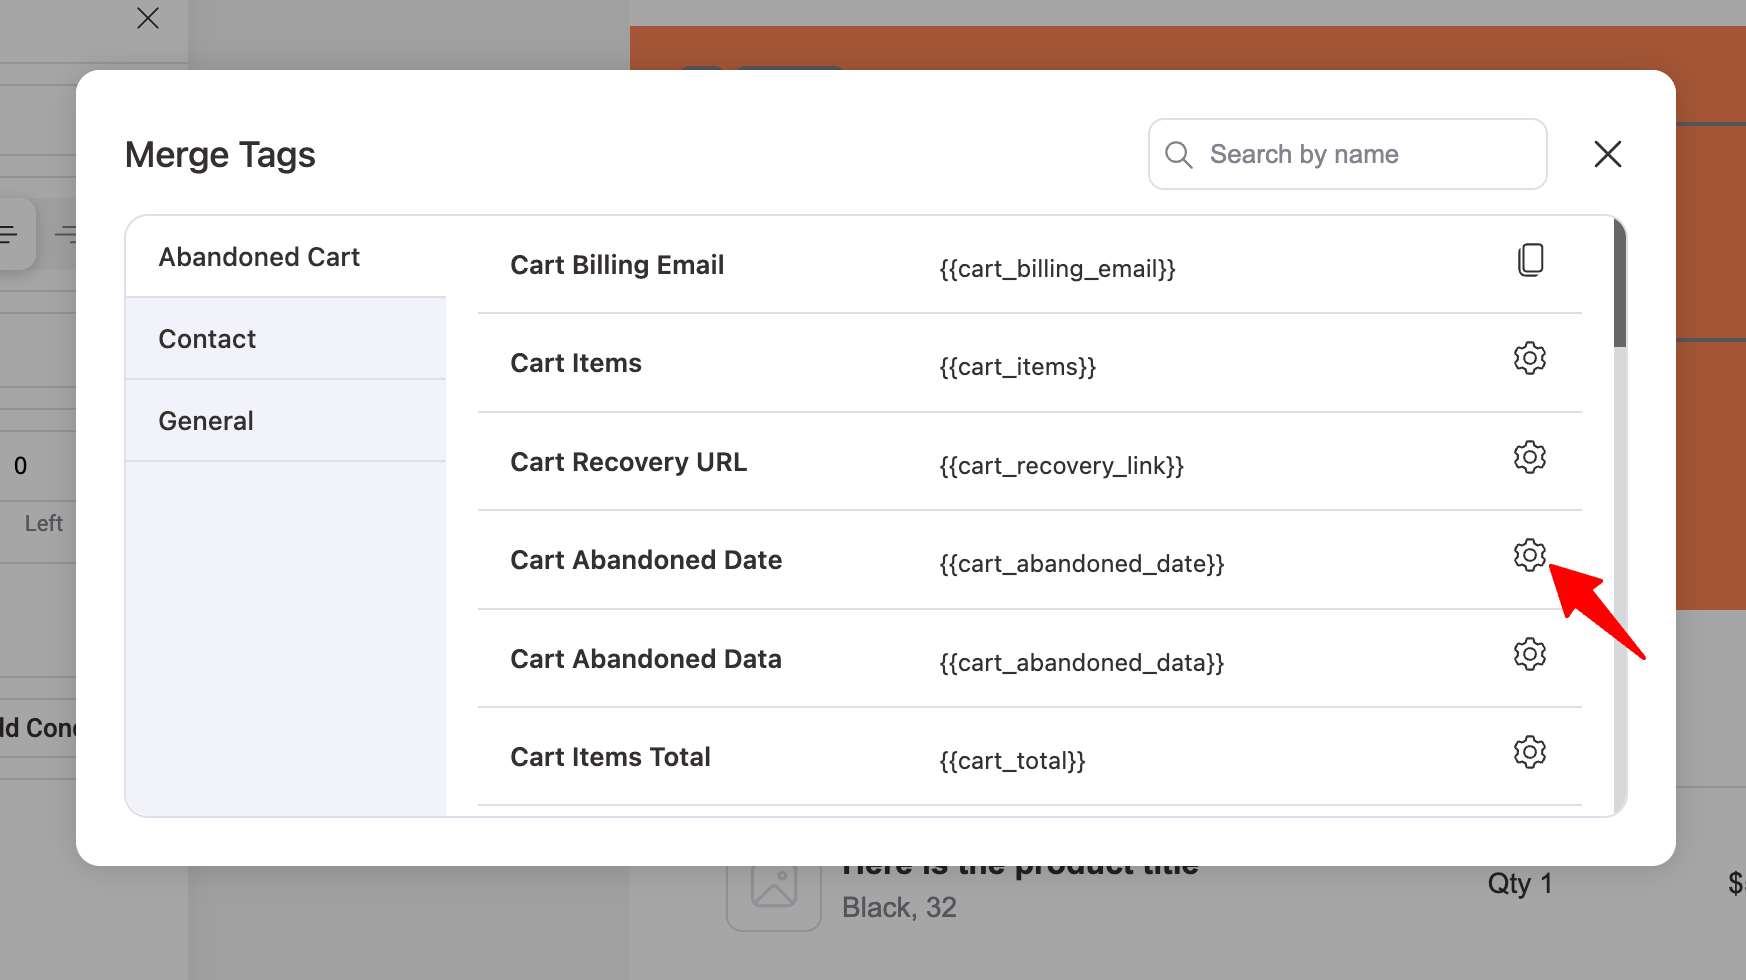
Then configure the merge tag options, and then copy it.

Step 3: Paste the copied merge tags into the content
Paste this copied merge tag into your email body content.
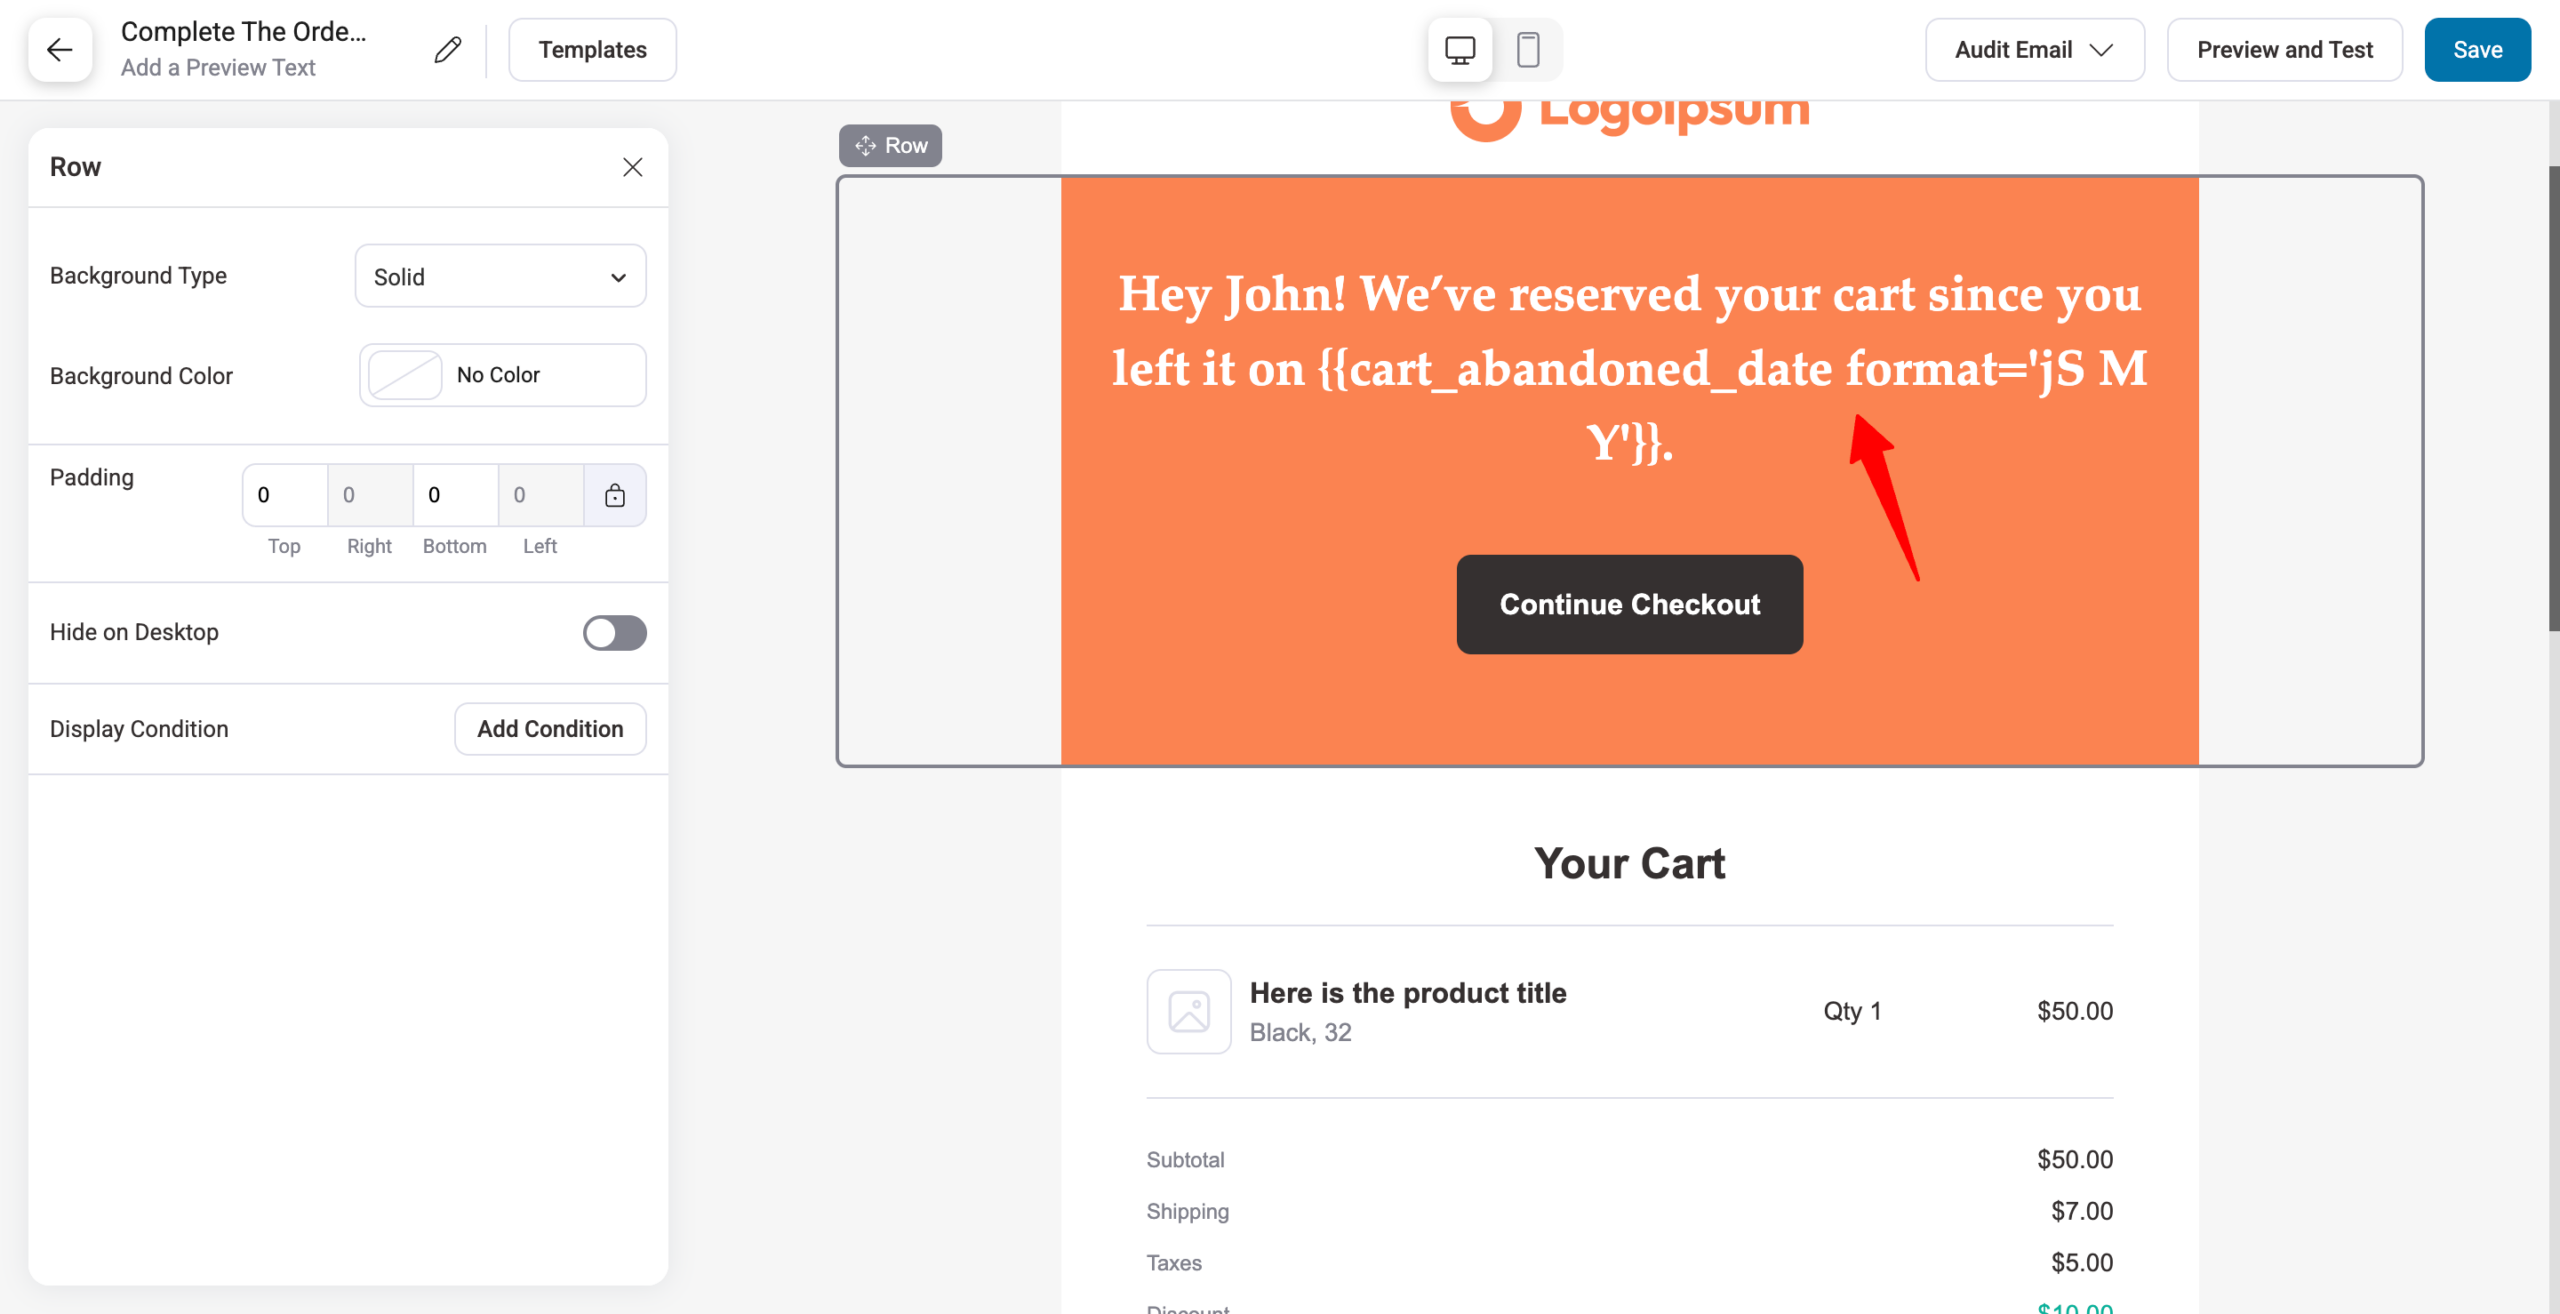
Step 4: Add more merge tags
Add more merge tags by following the same process.

Once done, click on Save.
After saving, you can audit the email and send a test email as well.
Here is an email preview: