When you connect Google Spreadsheets to FunnelKit Automations, you get three actions to take:
- Insert Row
- Update Row
- Delete Row
Let's look at how to set up these actions.
Create an Automation
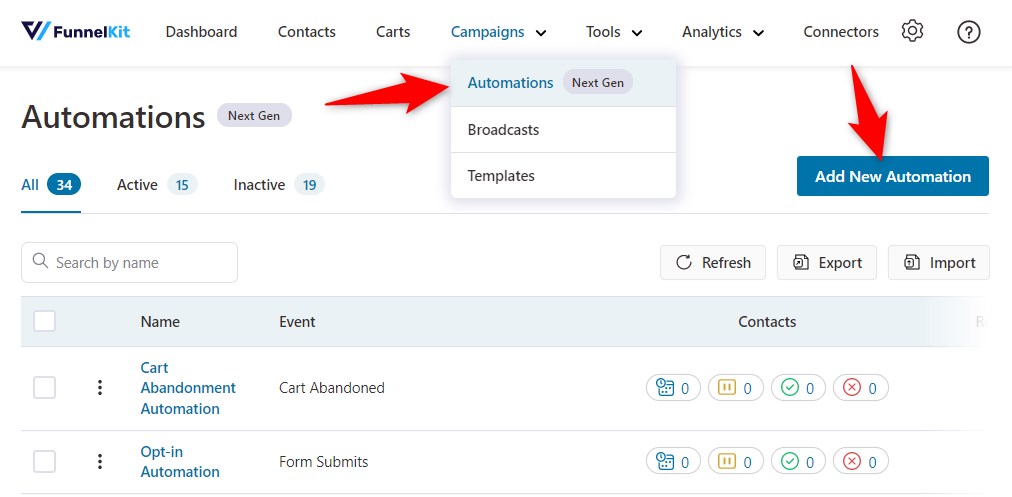
Click on Add New in Automations.
Hit Start from Scratch and name your automation.
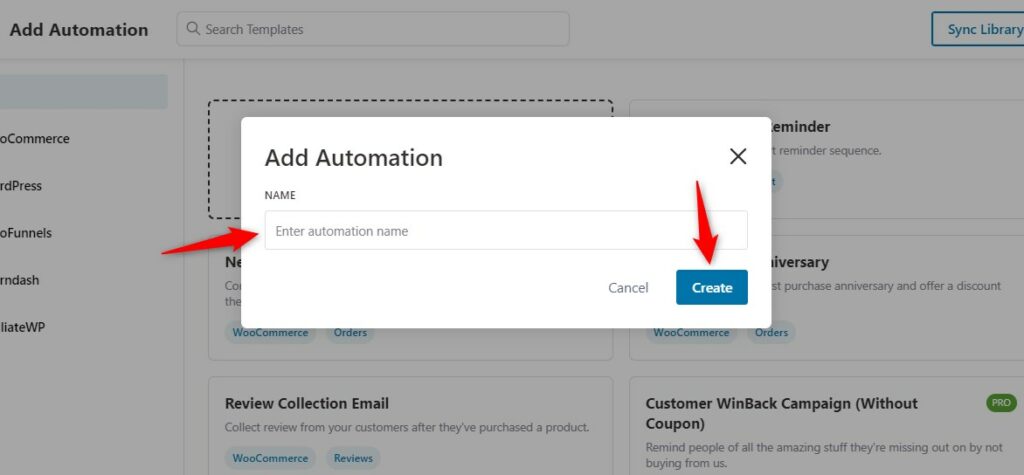
Click on Create.
From the events listed on the right side of the screen, select Order Created.
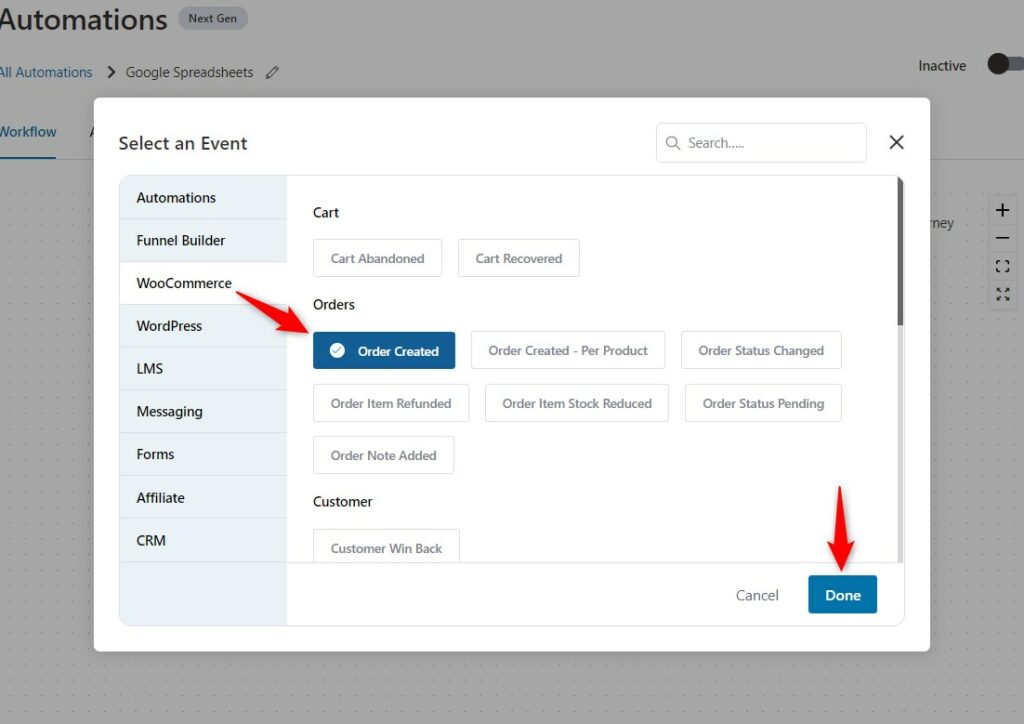
Configure this trigger by clicking on it.

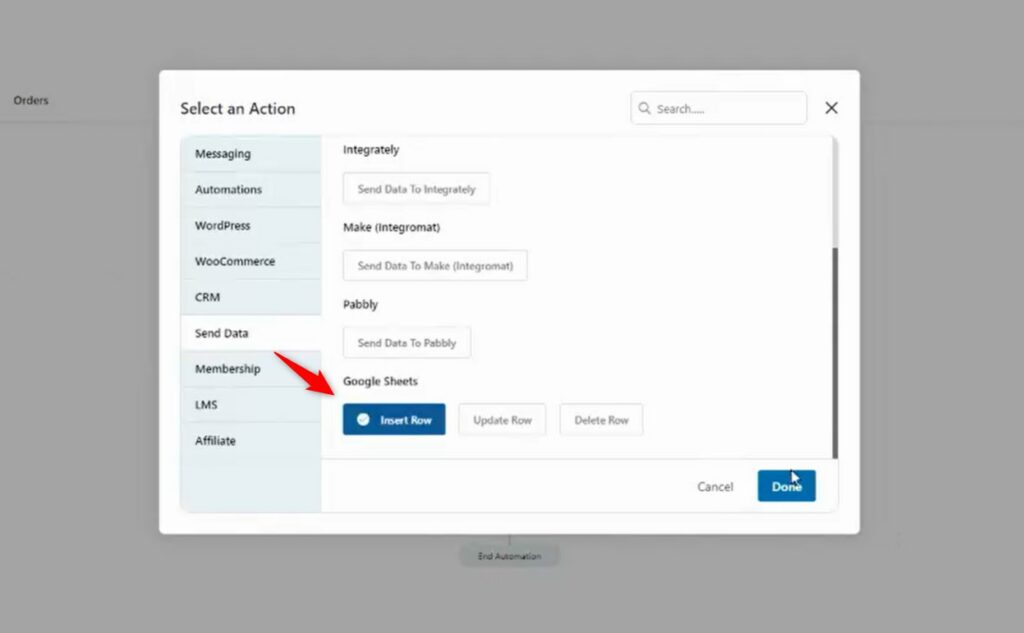
Next, click on the + icon to add an action to this event.
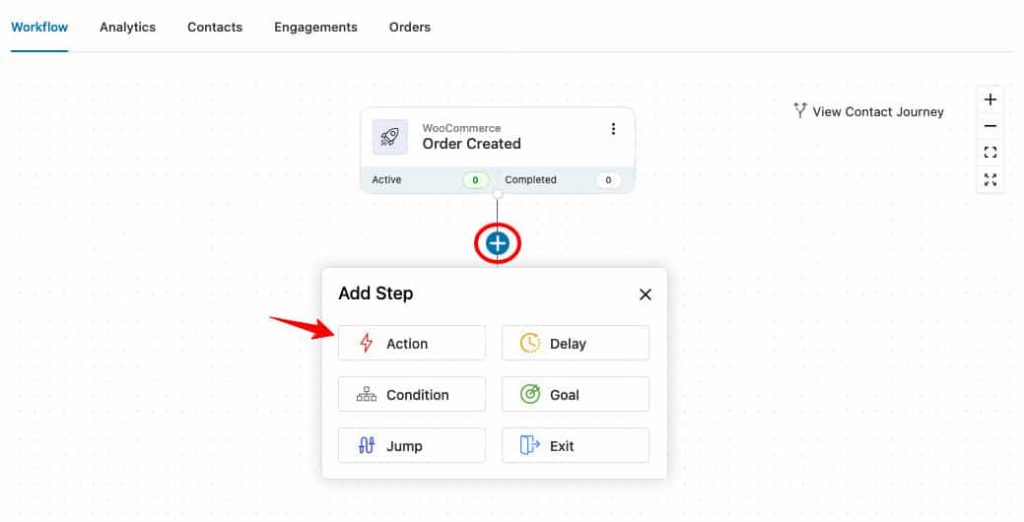
From the drop-down menu select the option of Insert Row under Send Data.
In another window, open the Google spreadsheet you want to connect to the automation, and copy the Google Sheet ID (as highlighted in the image below).
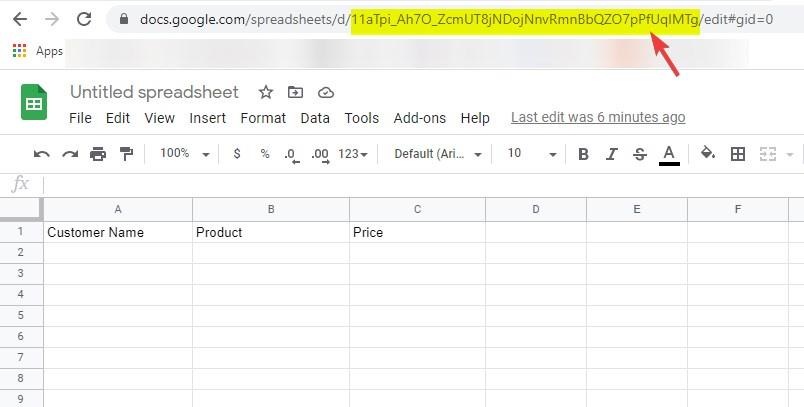
Important: The Google Sheet ID is not the complete URL, but only a part of it, so be careful when you are copying it.
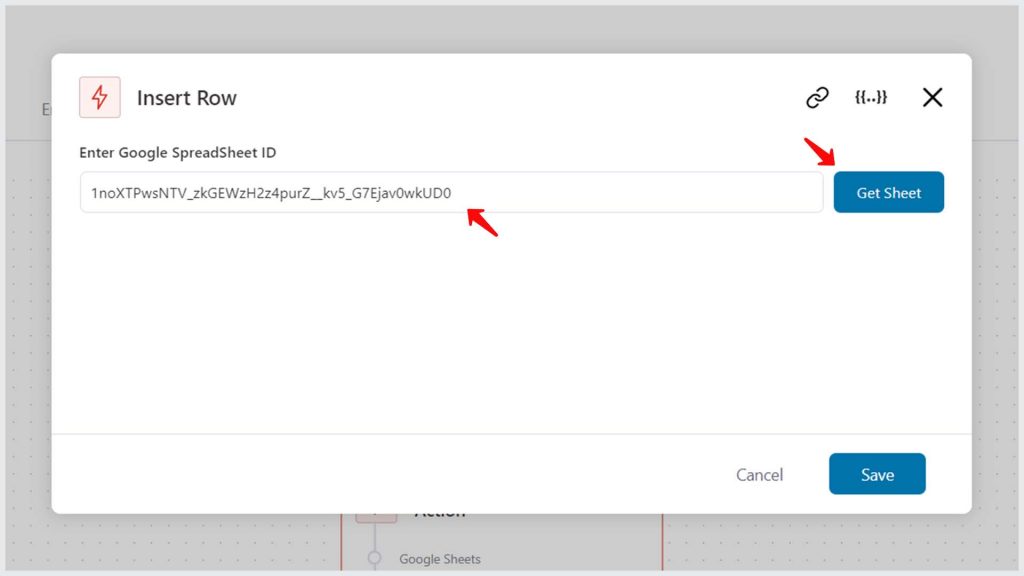
Paste the link in the respective field on the Automation page and click on Get Sheets.
Now you may add the required columns to the spreadsheet.
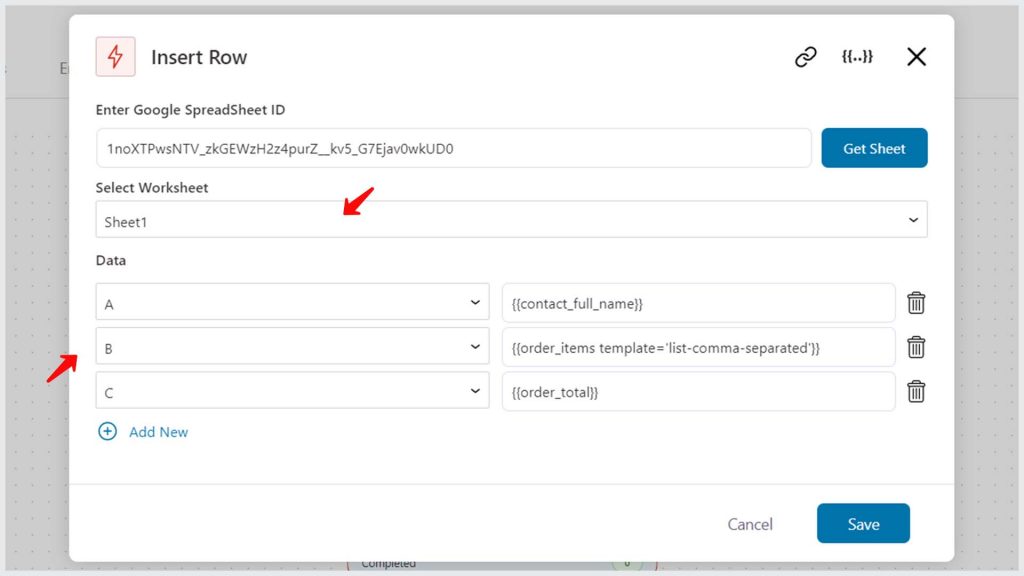
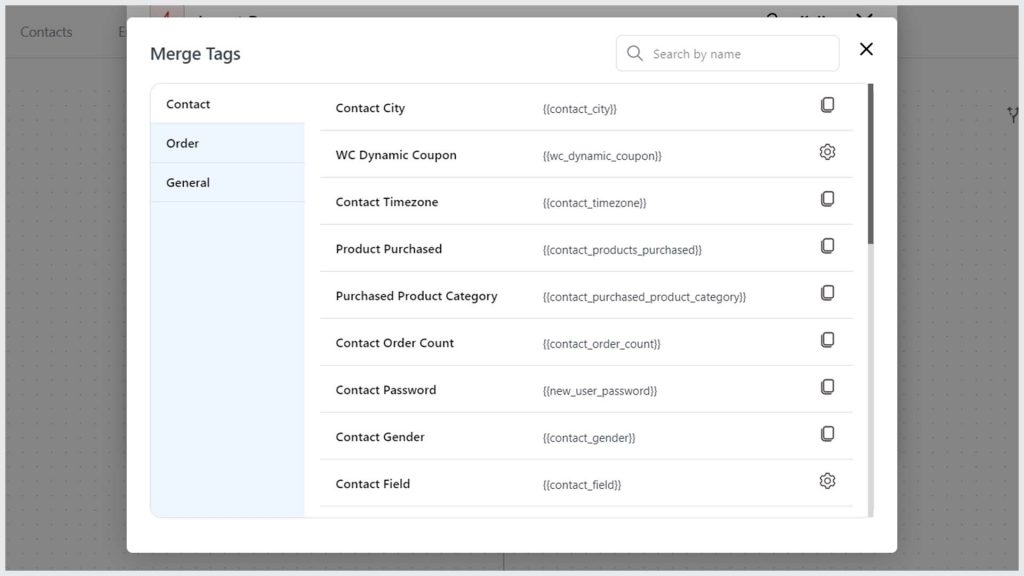
Search and add appropriate Merge Tags to the respective columns in the automation.
Click on the Save button to lock all the changes.
Make the automation live by turning the toggle to Active.
Test the Automation
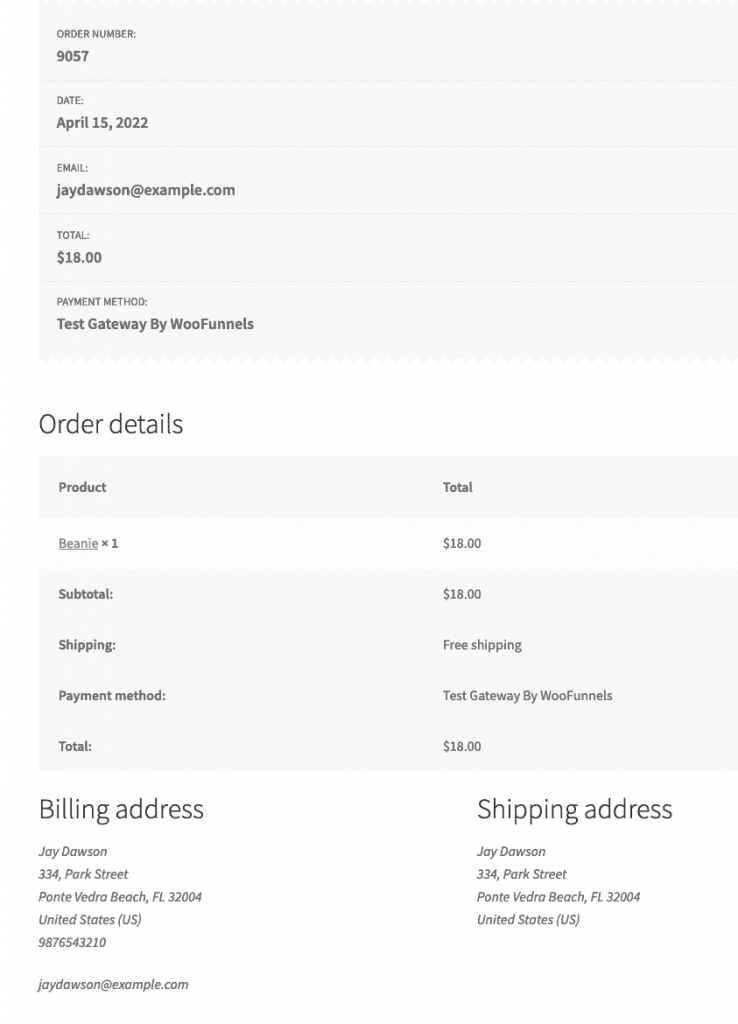
Place a test order to check the task execution.
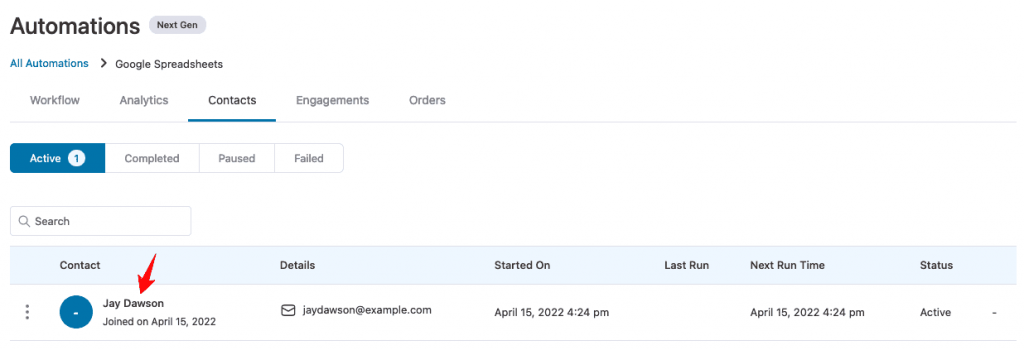
Now go to Contacts in Automation.
Here you’d be able to see a new active contact for the order you just placed.
You will see the connected spreadsheet once the task is completed.
The relevant data from the order placed will be updated in the sheet.

And that’s how you set up actions of Google Spreadsheets in FunnelKit Automations.


